Onboard NetQ
The NVIDIA NetQ server must be onboarded before you can use topology validation, auto-correction, and other NetQ telemetry operations in Bridge. Topology discovery must also be complete so Bridge has an accurate view of your physical network before validation or auto-correction can run. This is an optional step if NetQ functionality is not required.
Prerequisites
- Topology discovery — Physical infrastructure topology must be discovered in Bridge.
- NetQ server — A NetQ server must be deployed and reachable from Bridge with valid credentials and a channel webhook URL.
Onboard the NetQ Server
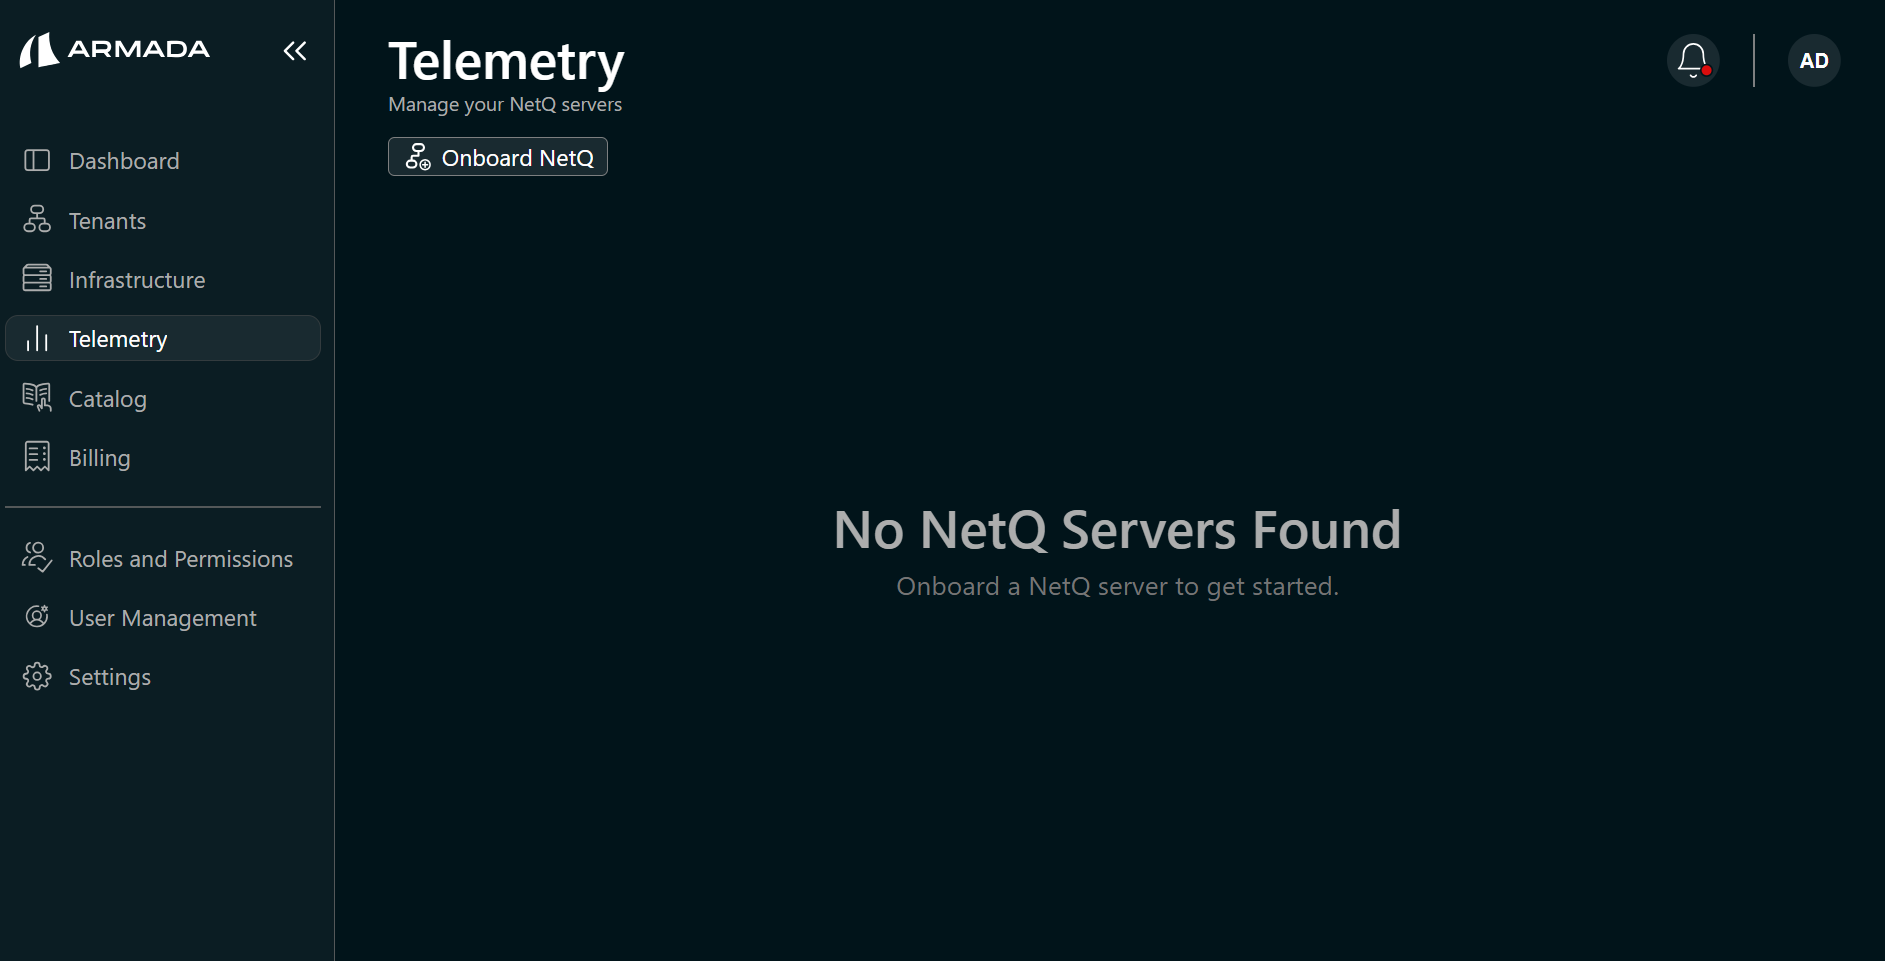
- In the sidebar, click Telemetry.
- Click Onboard NetQ.
-
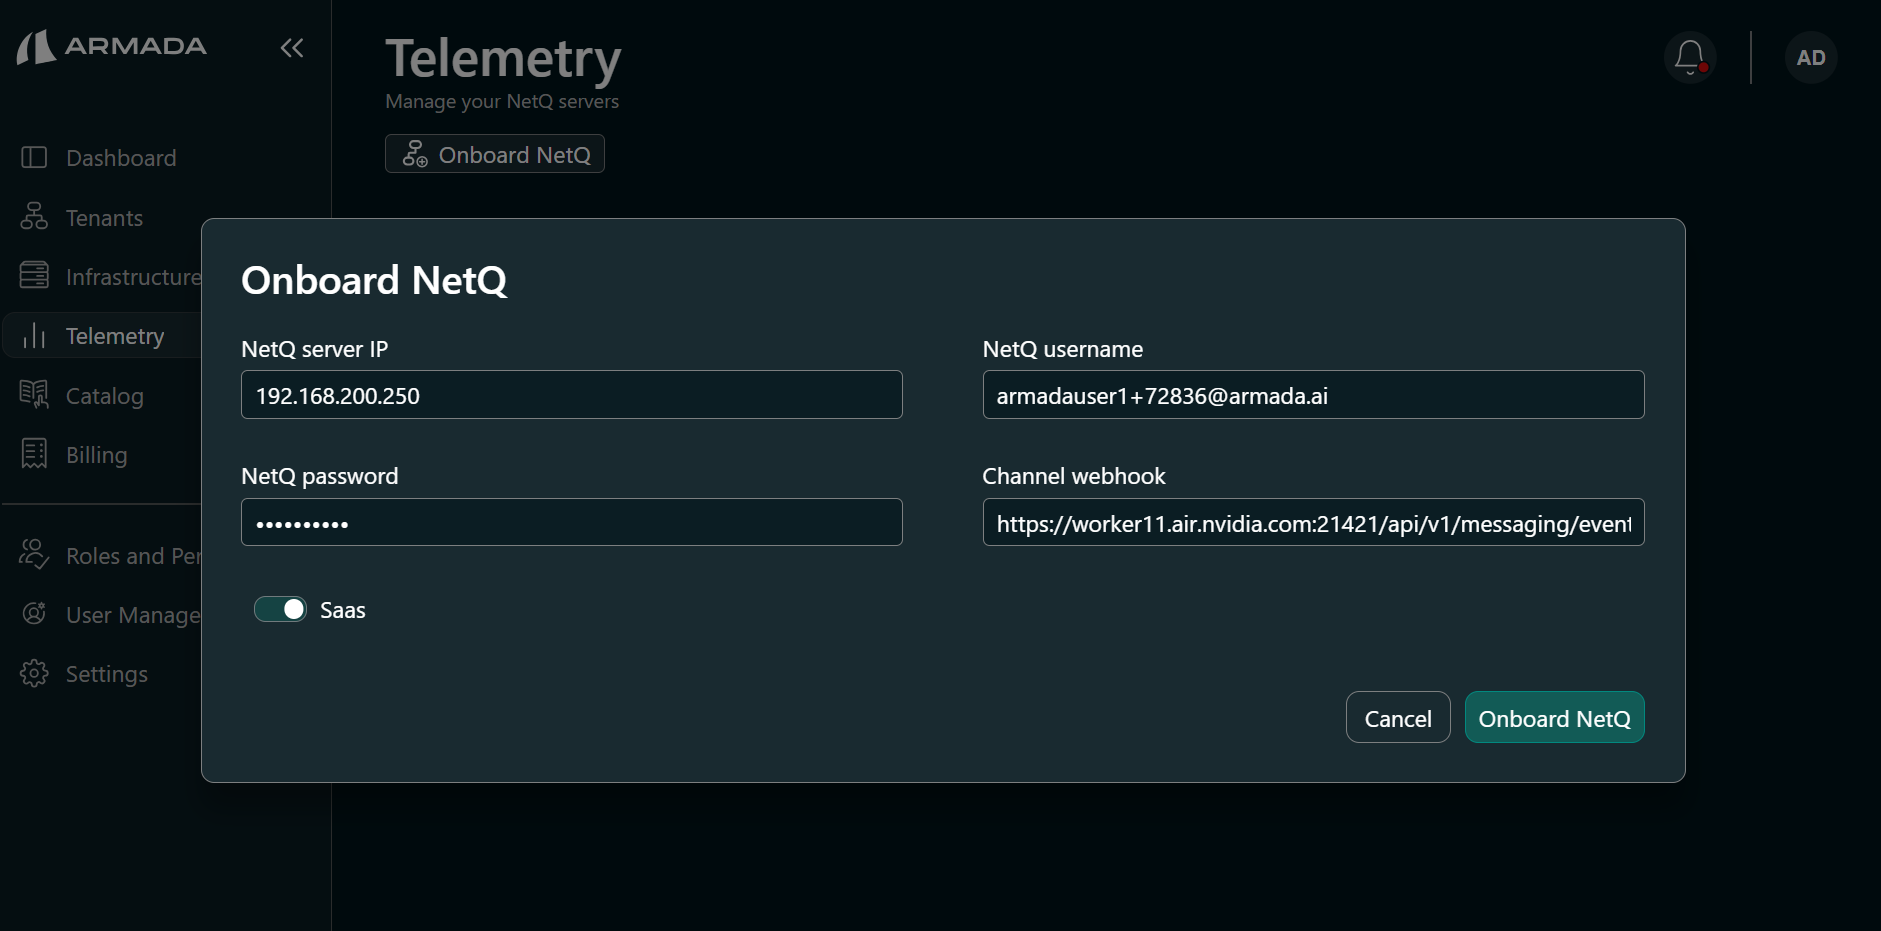
Enable SaaS, then enter the following details:
Parameter Value / Source NetQ Service IP NetQ server eth0 IP address (for example, 192.168.200.250)NetQ Username NetQ login username NetQ Password NetQ login password Channel Webhook https://<public-ip-or-domain>:<https-netq-service-external-port>/api/v1/messaging/events(for example,https://worker11.air.nvidia.com:21421/api/v1/messaging/events) -
Click Onboard NetQ to complete the process.
Verify Onboarding
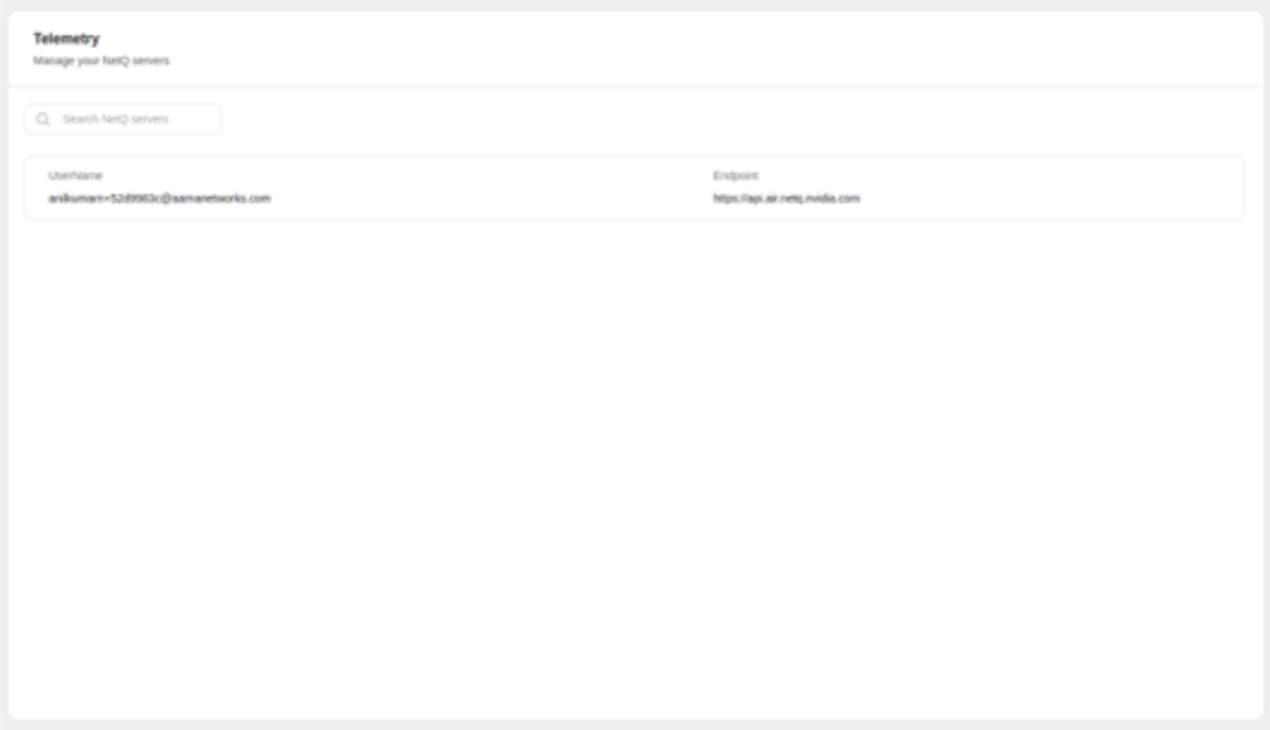
- The onboarded NetQ server appears on the Telemetry page.
- After onboarding, Bridge automatically creates the amcop channel on the NetQ node.
Verify the Notification Channel
-
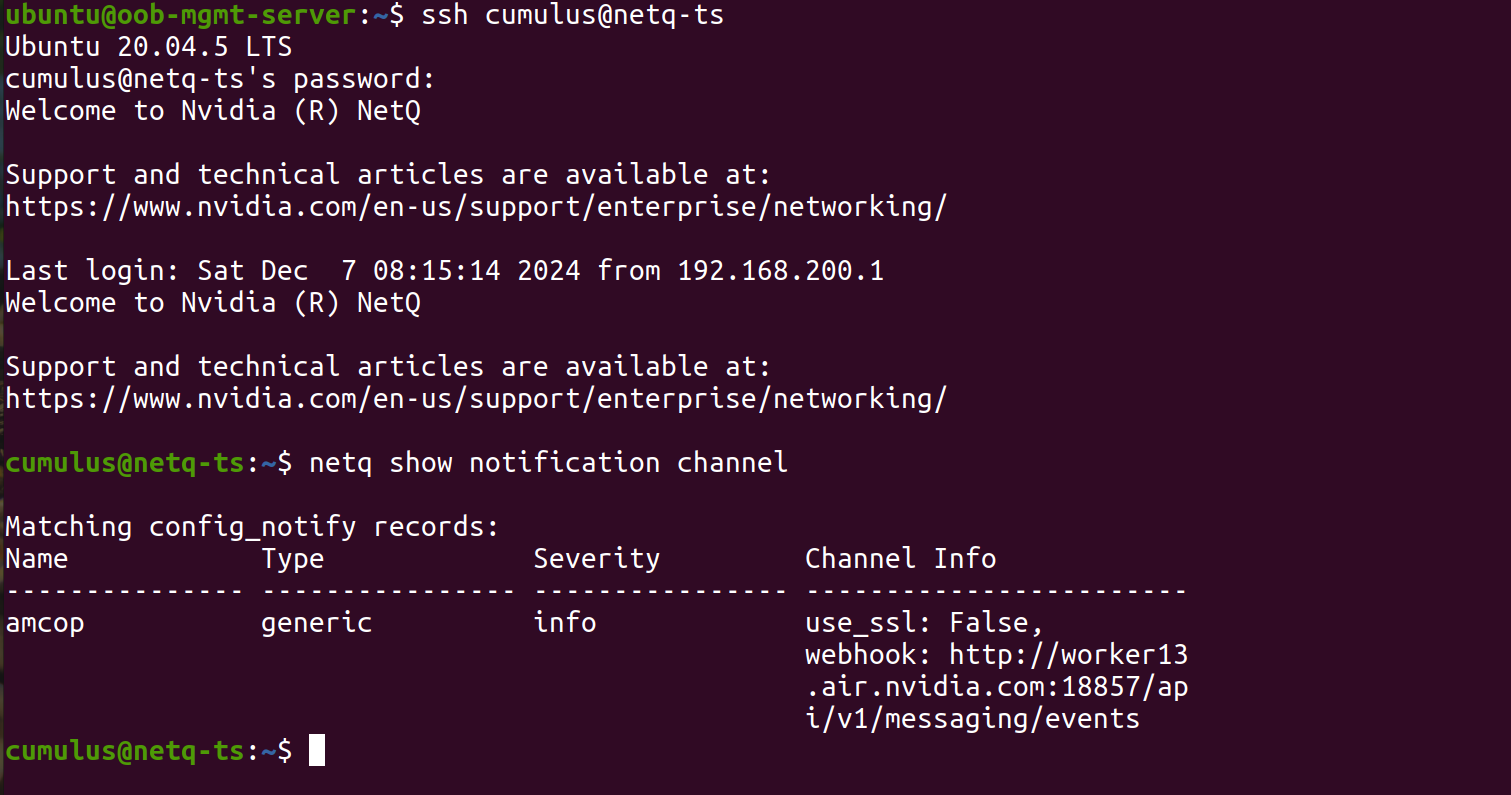
SSH into the NetQ server from the management node using the default credentials nvidia/nvidia (username/password).
ssh nvidia@<netq-hostname>noteOn first login, you may be prompted to reset the password.
-
Verify the automatic creation of the amcop channel:
netq show notification channel
Next Steps
- Topology Validation — Verify that infrastructure is discovered correctly by comparing the Bridge-discovered topology with the
.dotor.jsonfile used to create the NVIDIA DSX AIR simulation.