Volumes
Overview
Volumes let you provision storage from storage nodes in your infrastructure and mount them on baremetal servers.
The workflow has two parts:
- Create a volume under Storage → Volumes.
- Mount the volume on a bare metal server under Compute → BareMetal.
Prerequisites
- Tenant Admin access — Log in as a Tenant Admin to create volumes and mount them on bare metal servers.
- Storage nodes — Storage nodes available in your tenant infrastructure.
- Allocated bare metal — At least one allocated bare metal server to mount the volume on.
Create a Volume
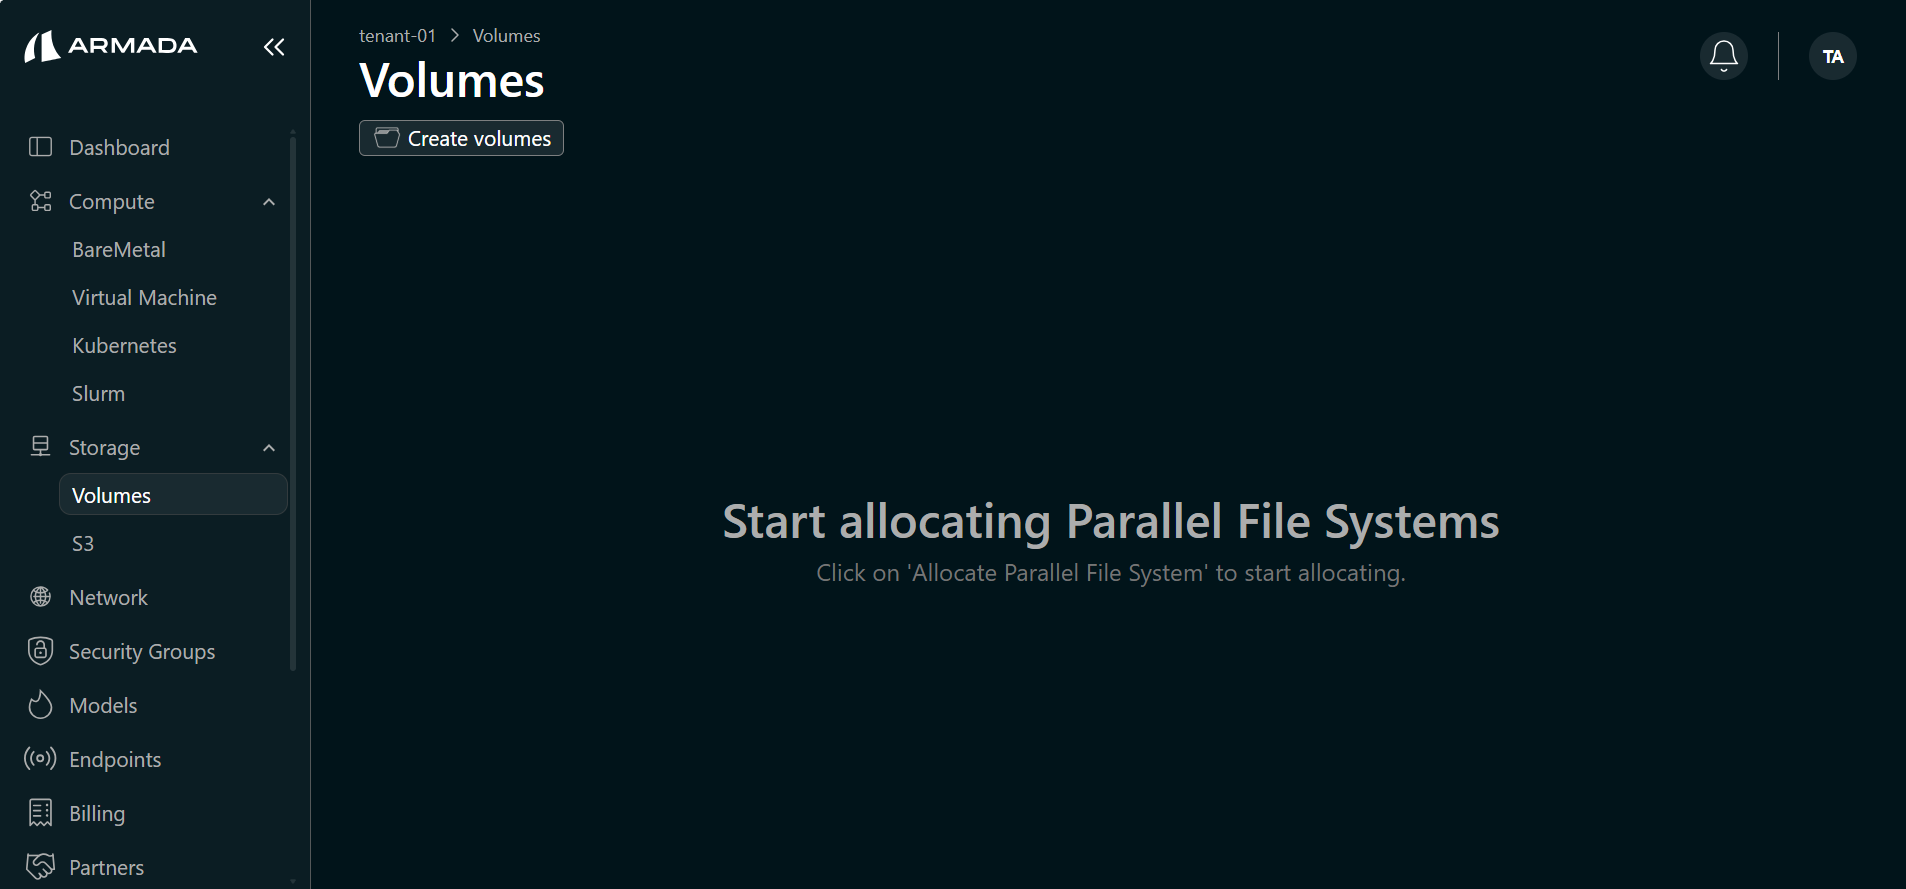
Step 1: Open Volumes
- In the sidebar, go to Storage → Volumes.
- Click Create volumes.
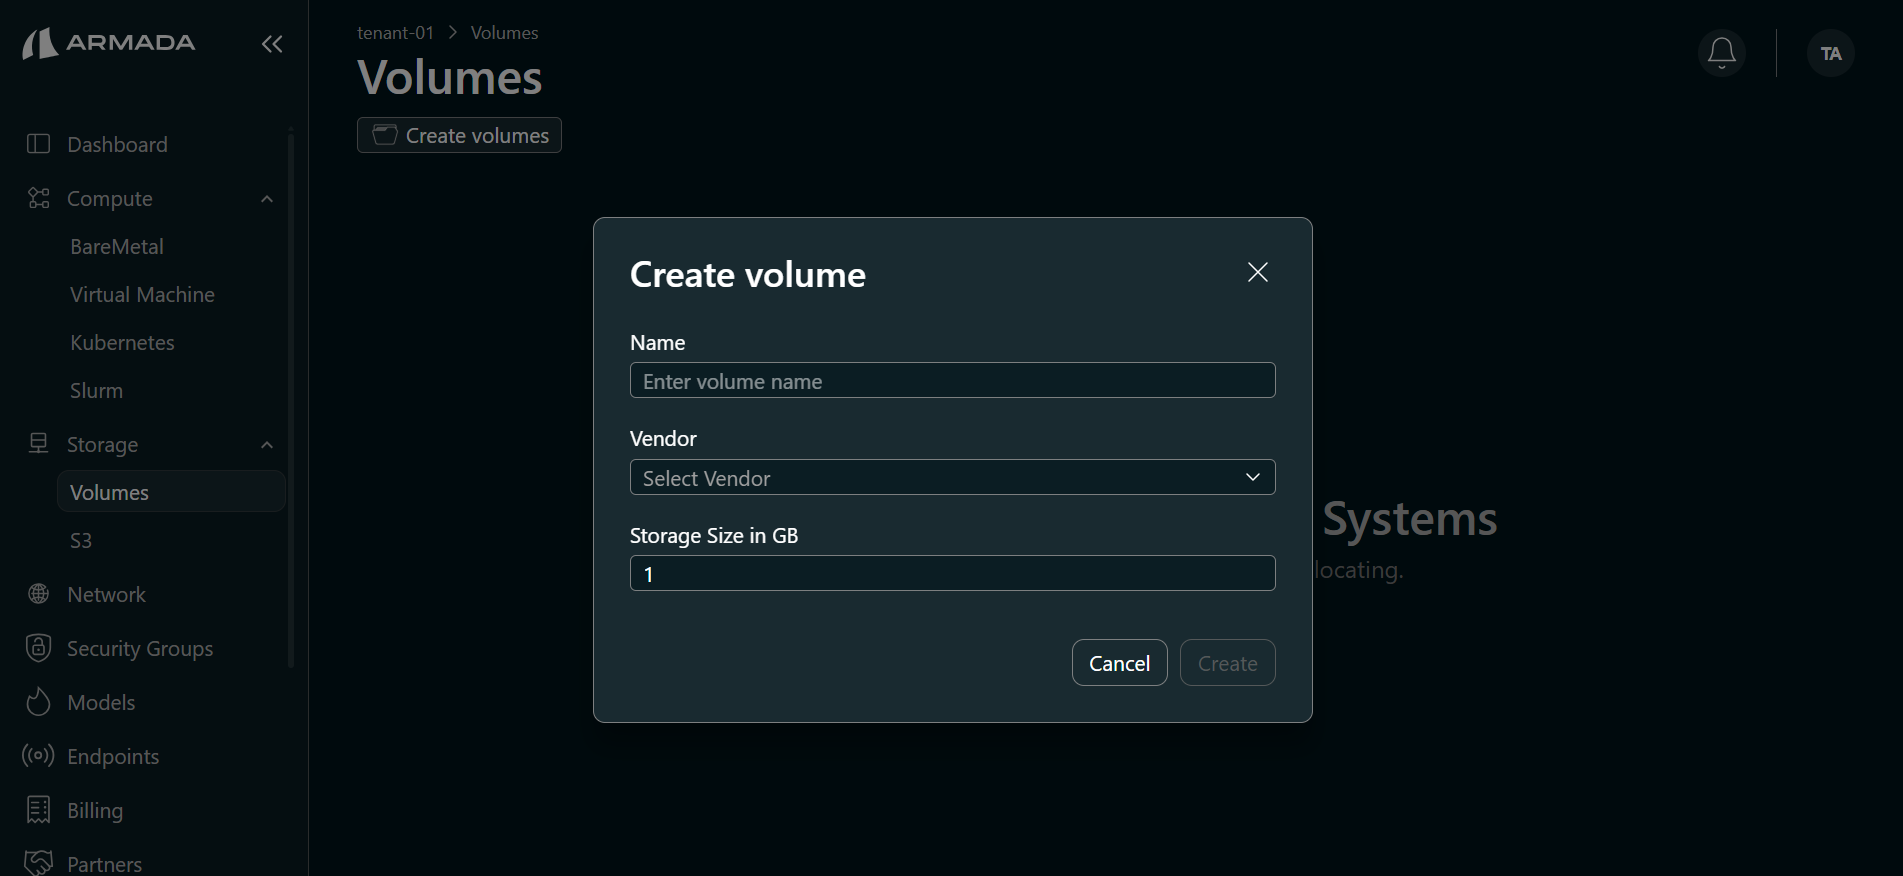
Step 2: Configure the Volume
- Enter a Name.
- Select the Vendor.
- Enter the Storage Size in GB.
- Click Create.
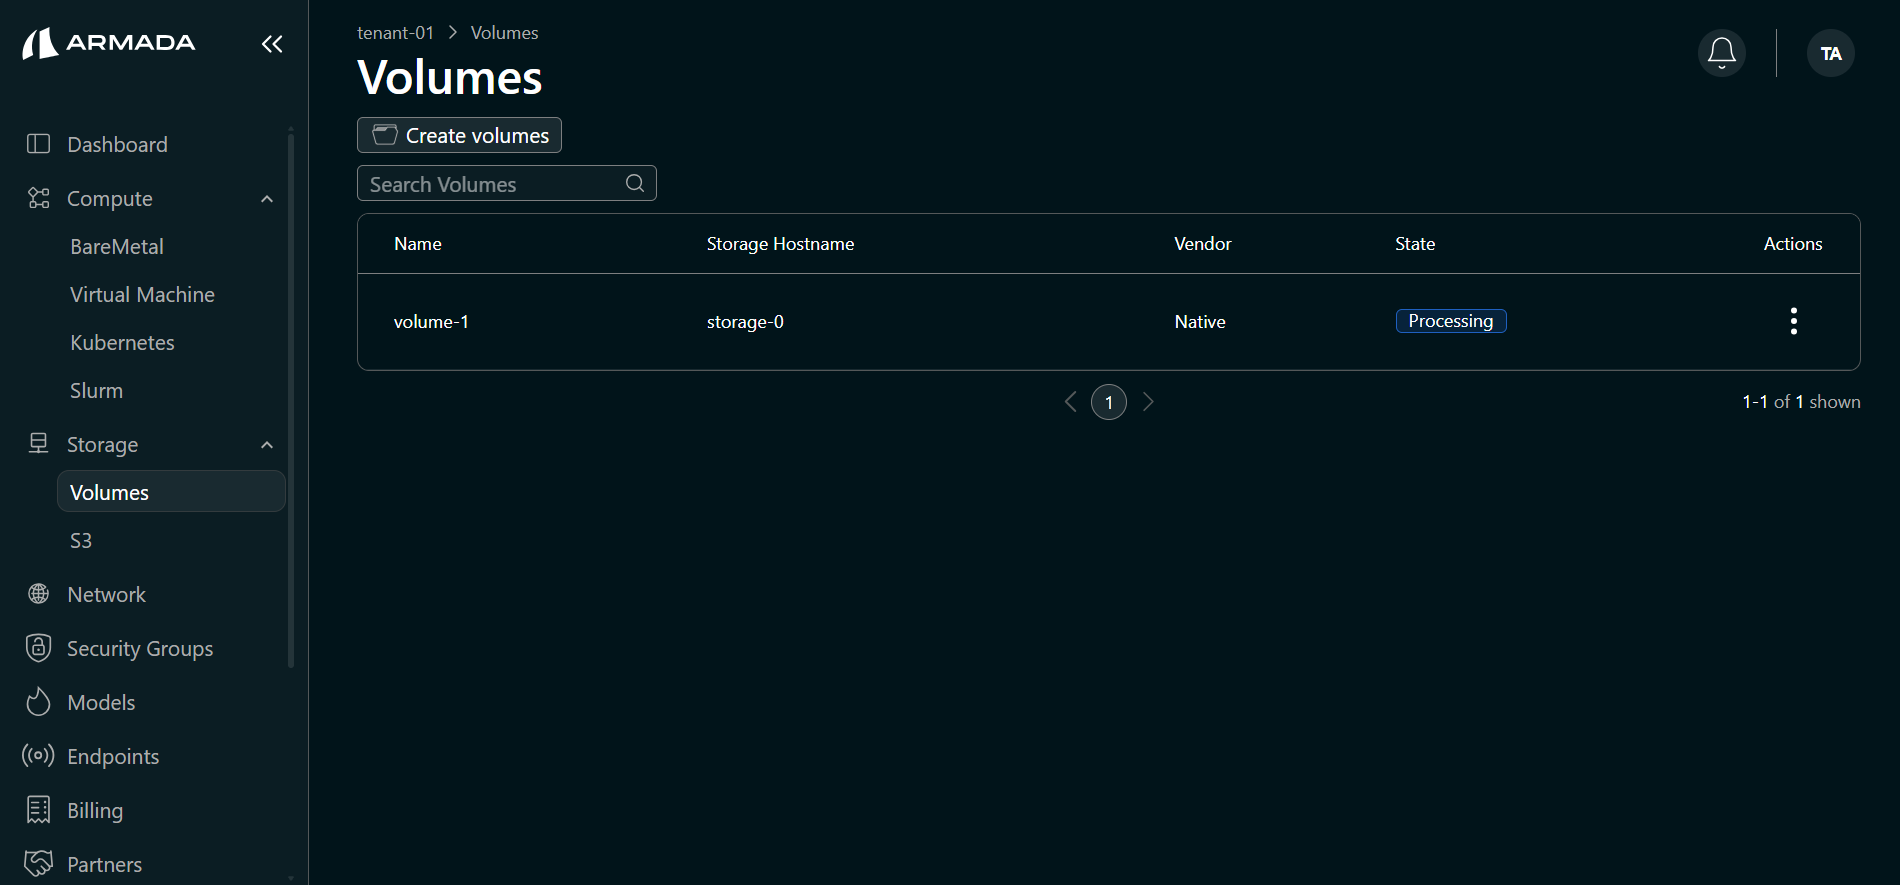
Step 3: Verify Volume Creation
- The new volume appears in the Volumes table with a Processing state.
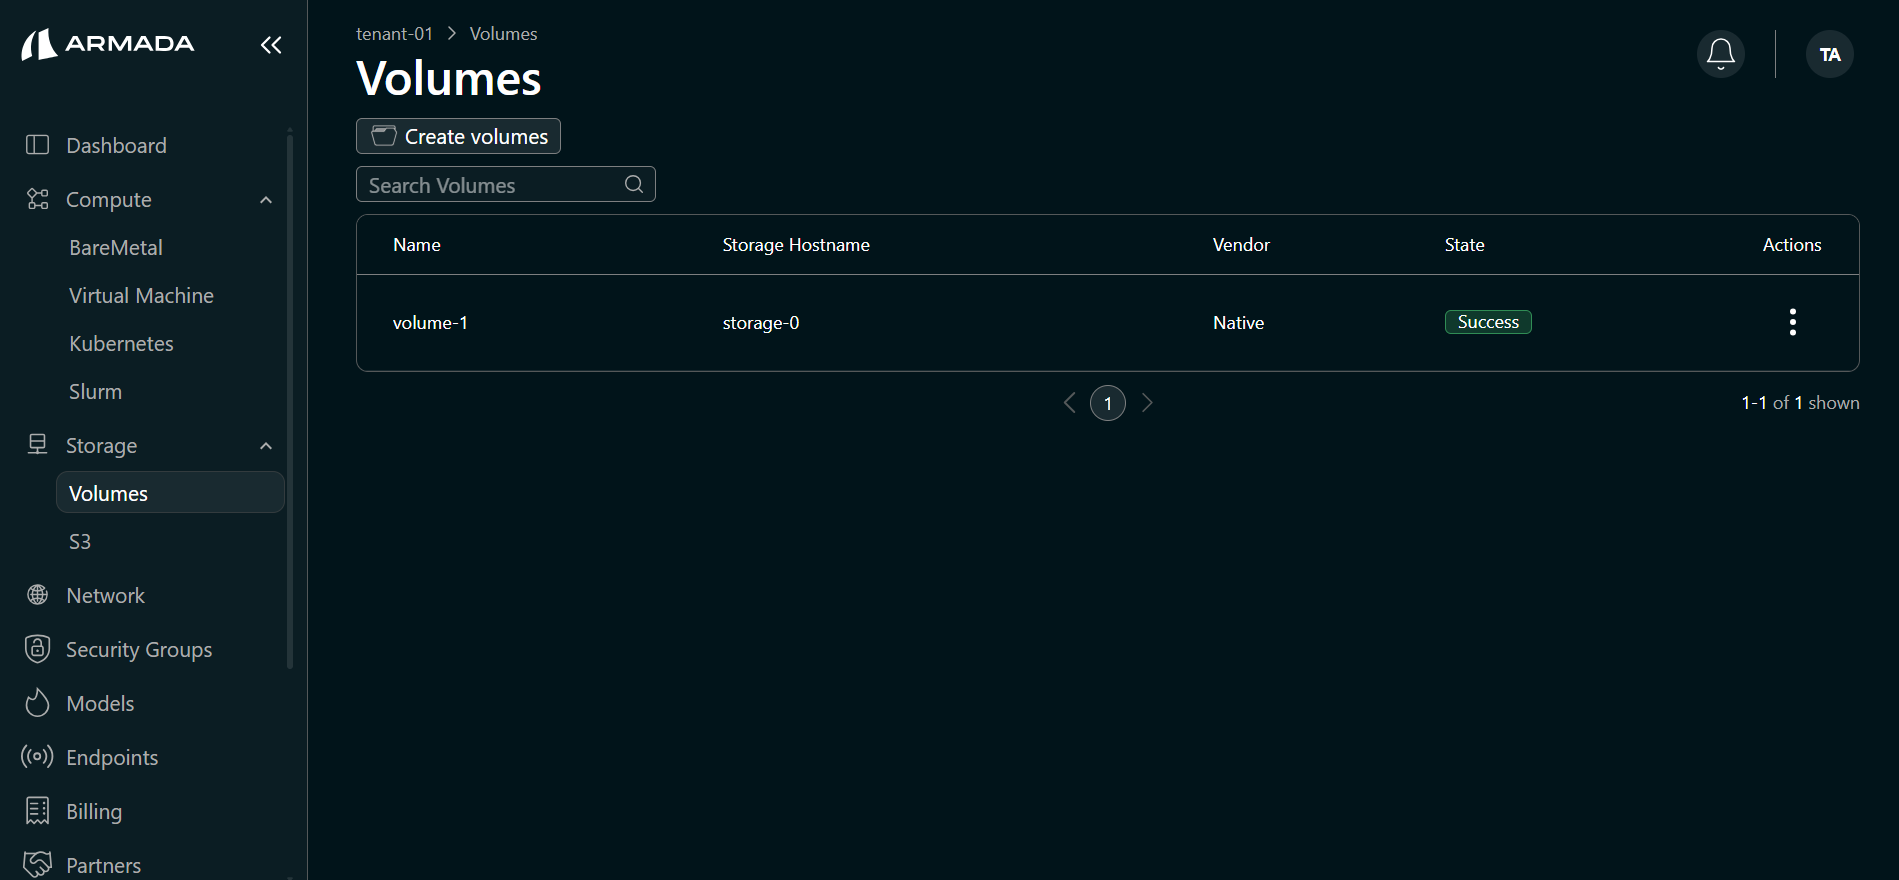
- Wait for the volume to reach the Success state. Creation time depends on the volume size.
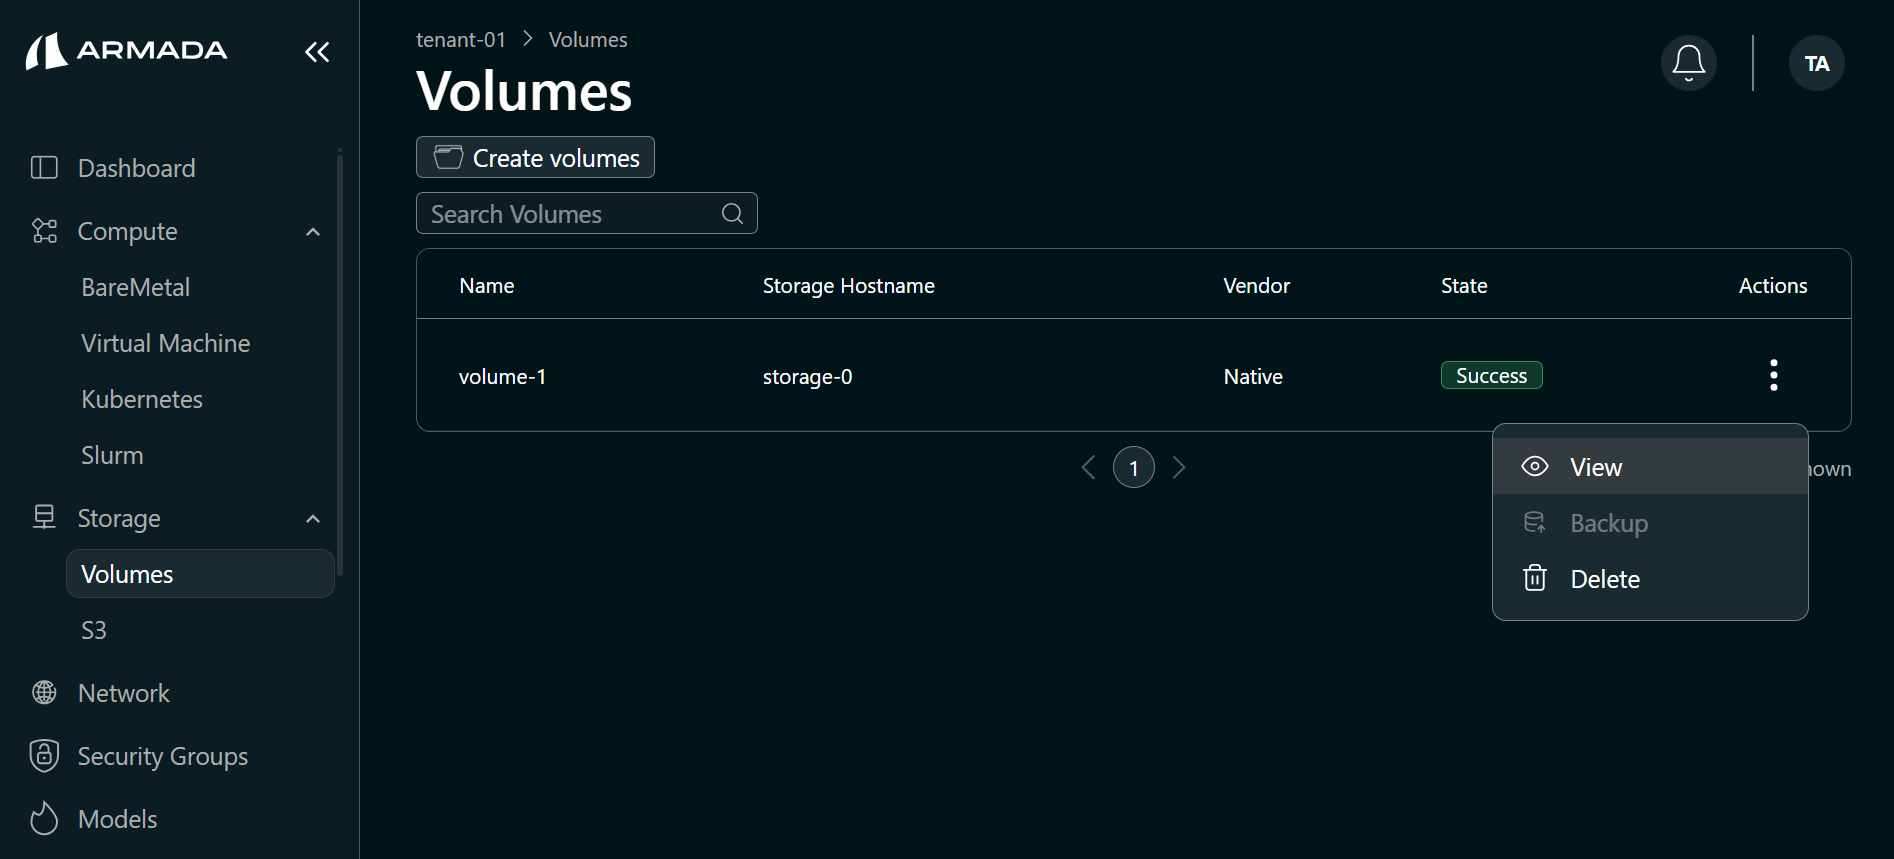
Step 4: View Volume Details
- In the Volumes table, click the Actions menu (⋮) for the volume and select View.
-
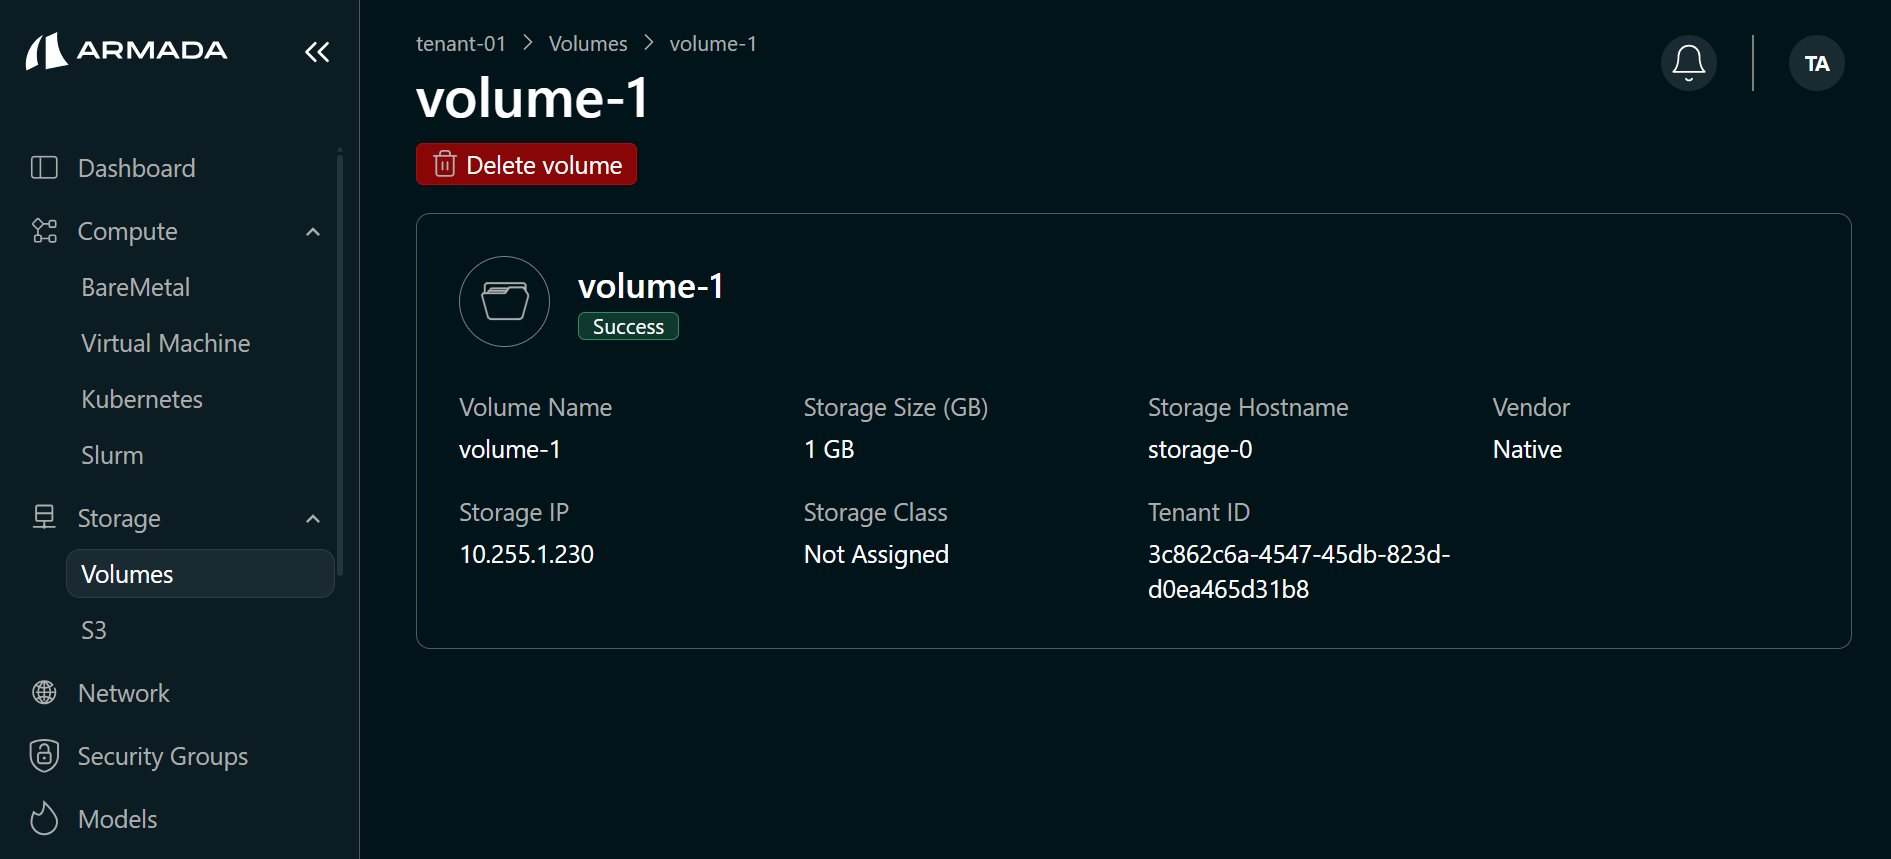
Review the volume details on the overview page:
- Volume Name
- Storage Size (GB)
- Storage Hostname
- Vendor
- Storage IP
- Storage Class
Mount Volume on Bare Metal
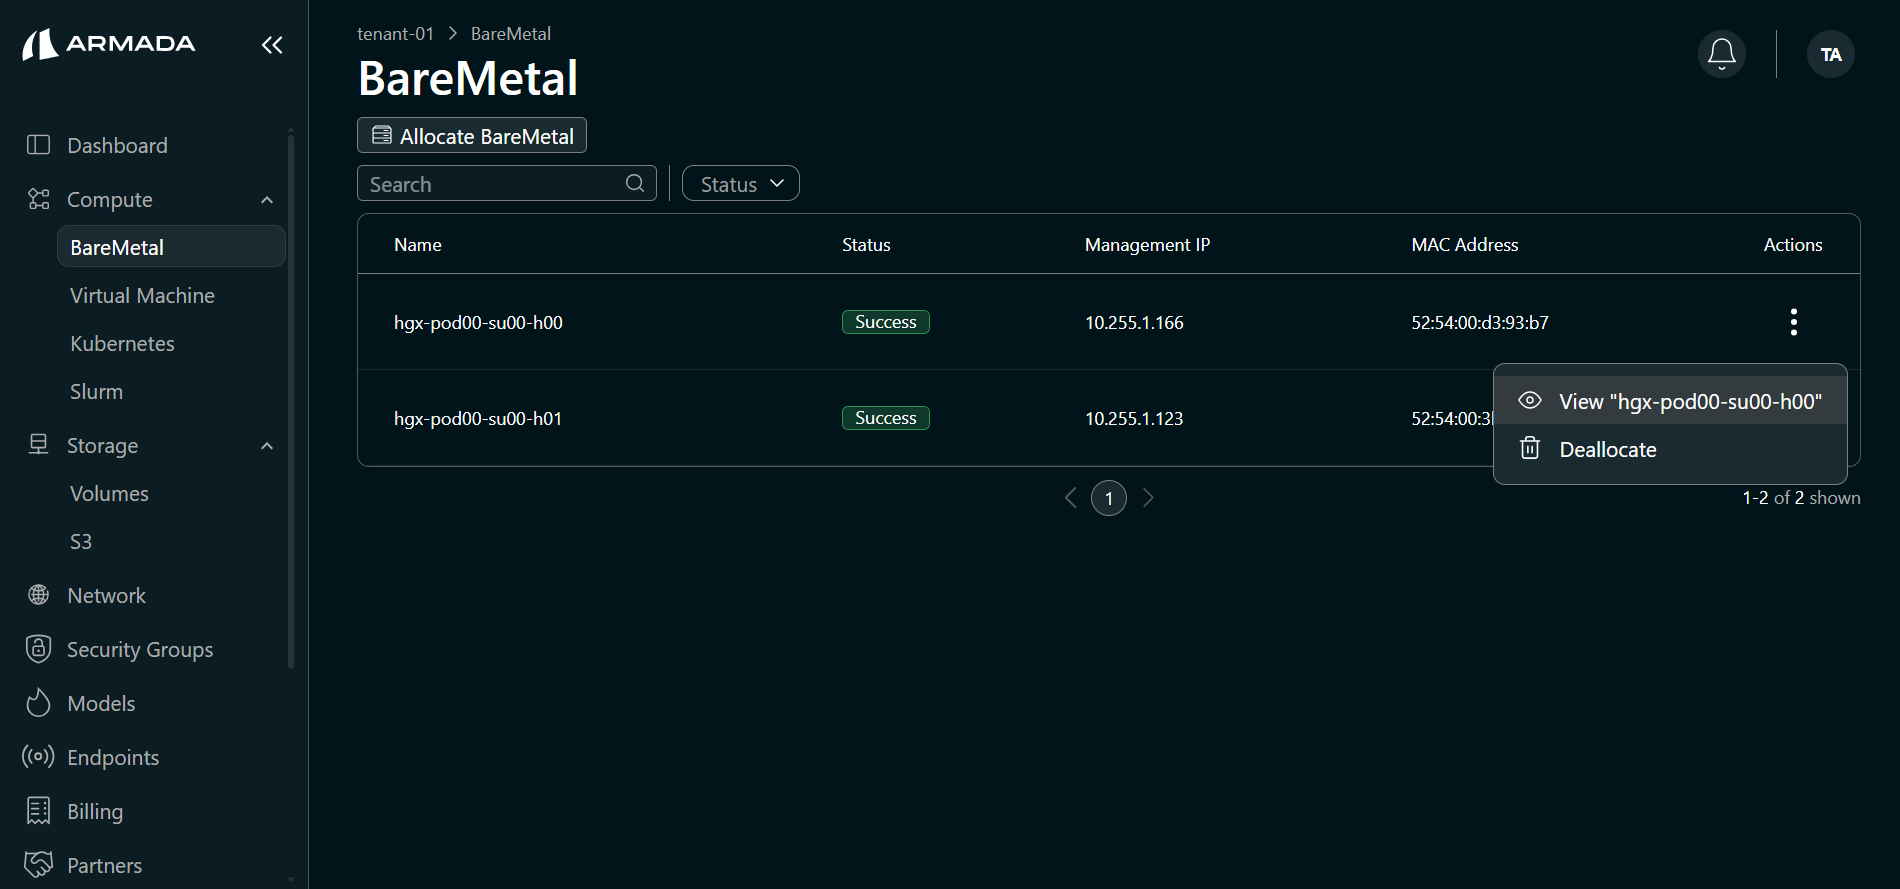
Step 1: Open the Bare Metal Server
- In the sidebar, go to Compute → BareMetal.
- Click the Actions menu (⋮) for the target server and select View.
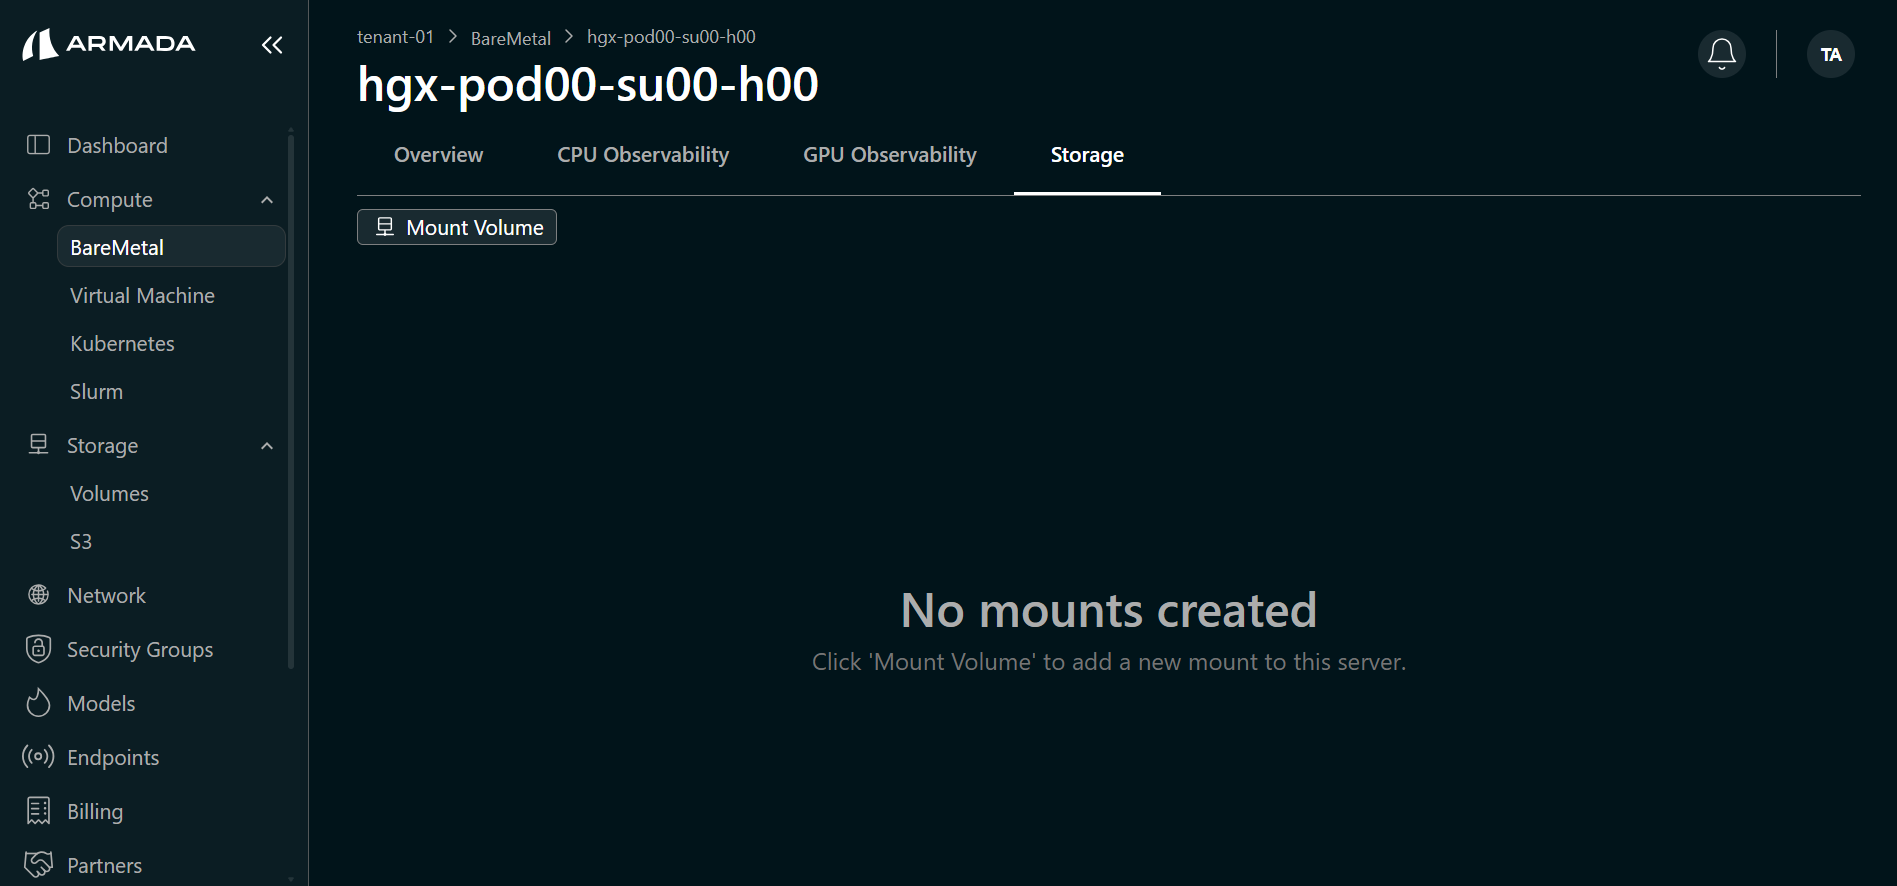
Step 2: Open the Storage Tab
- Open the Storage tab.
- Click Mount Volume.
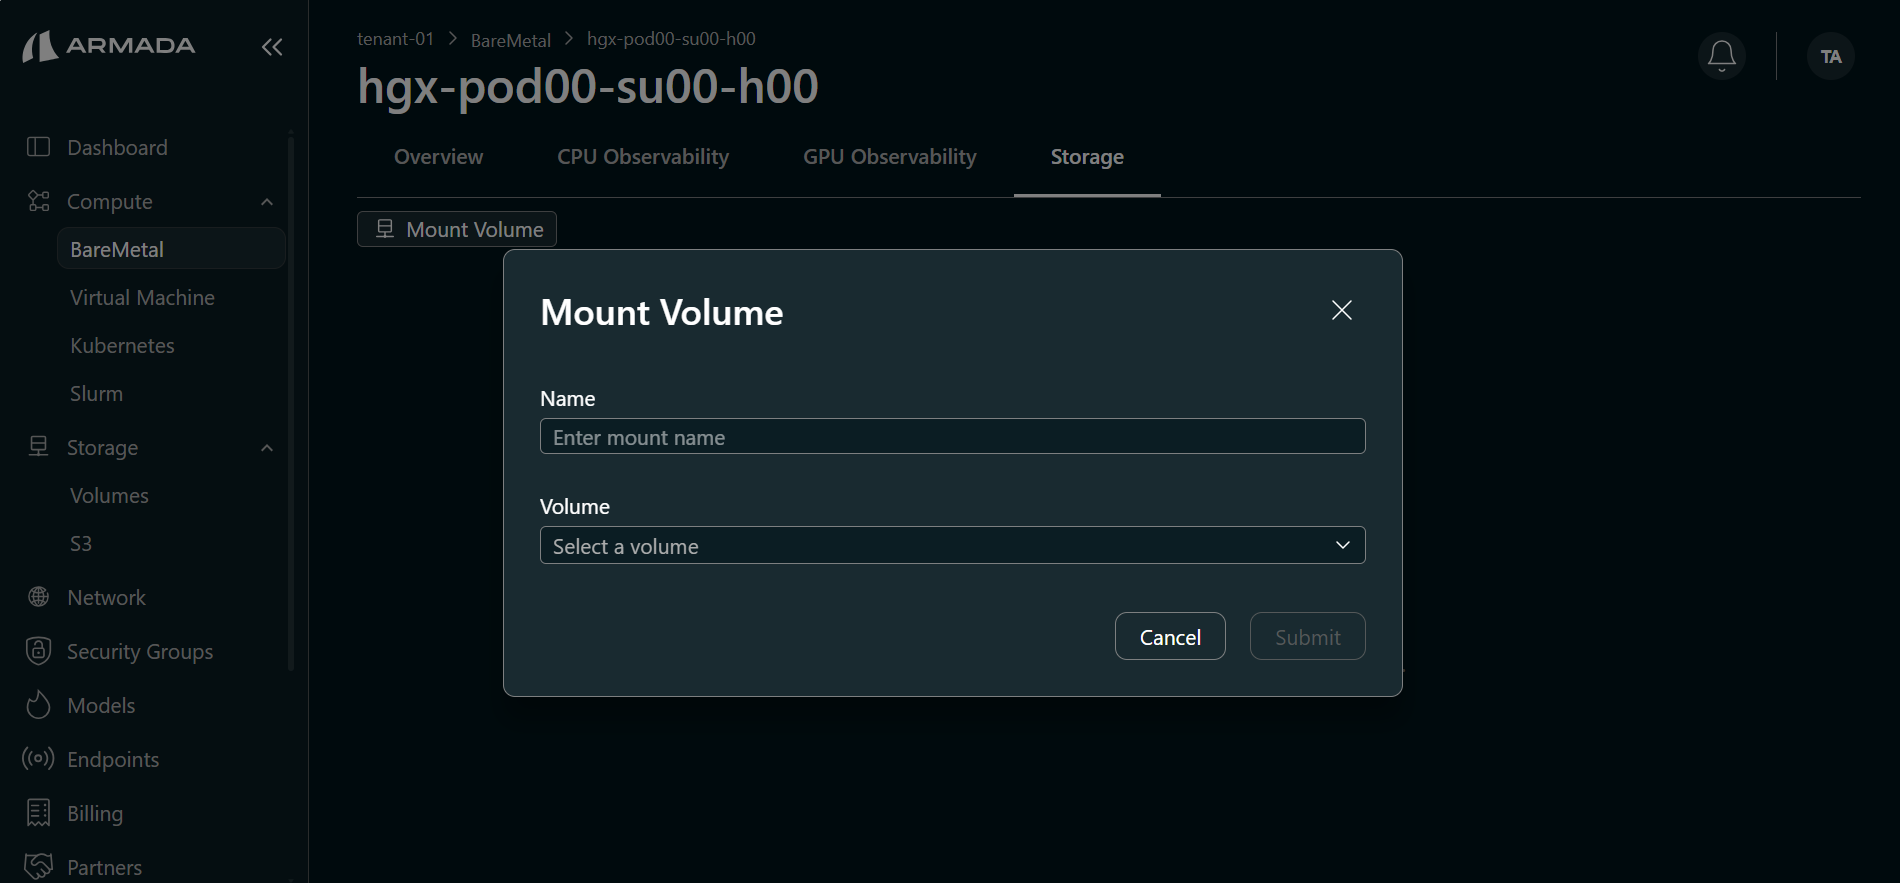
Step 3: Configure the Mount
- Enter a Name for the mount.
- Select the Volume created in the previous section.
- Click Submit.
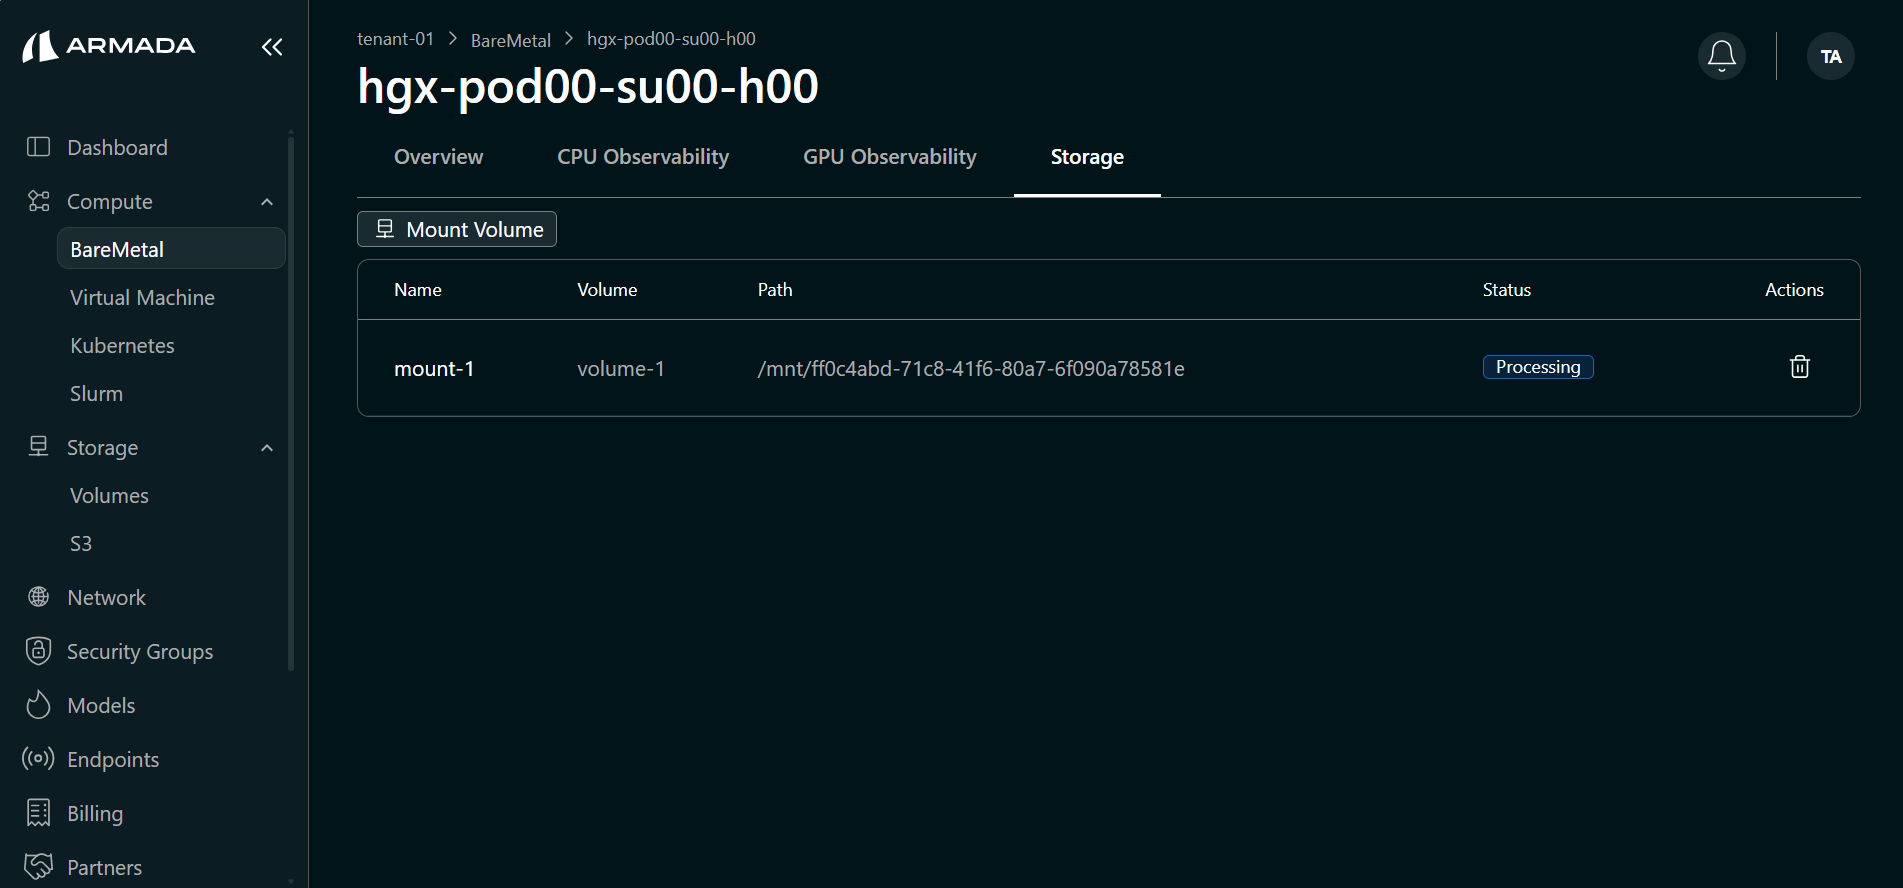
Step 4: Verify the Mount
- The mount appears in the table with a Processing state.
- Wait for the mount to reach the Success state. Mount time depends on the volume size.
- After success, the table shows the mount Name, Volume, and mount Path.

Next Steps
- Cluster Templates Overview — Choose a cluster template and create a Kubernetes cluster on your allocated bare metal resources.
- Slurm Cluster Overview — Learn about Slurm workload management and create clusters for HPC workloads.