Deletion & Cleanup Operations
Overview
Proper resource cleanup ensures efficient quota utilization and cost management. This guide covers deletion procedures for various resources.
Delete JupyterHub Server
Prerequisites
- Back up data from JupyterHub server
Delete Process
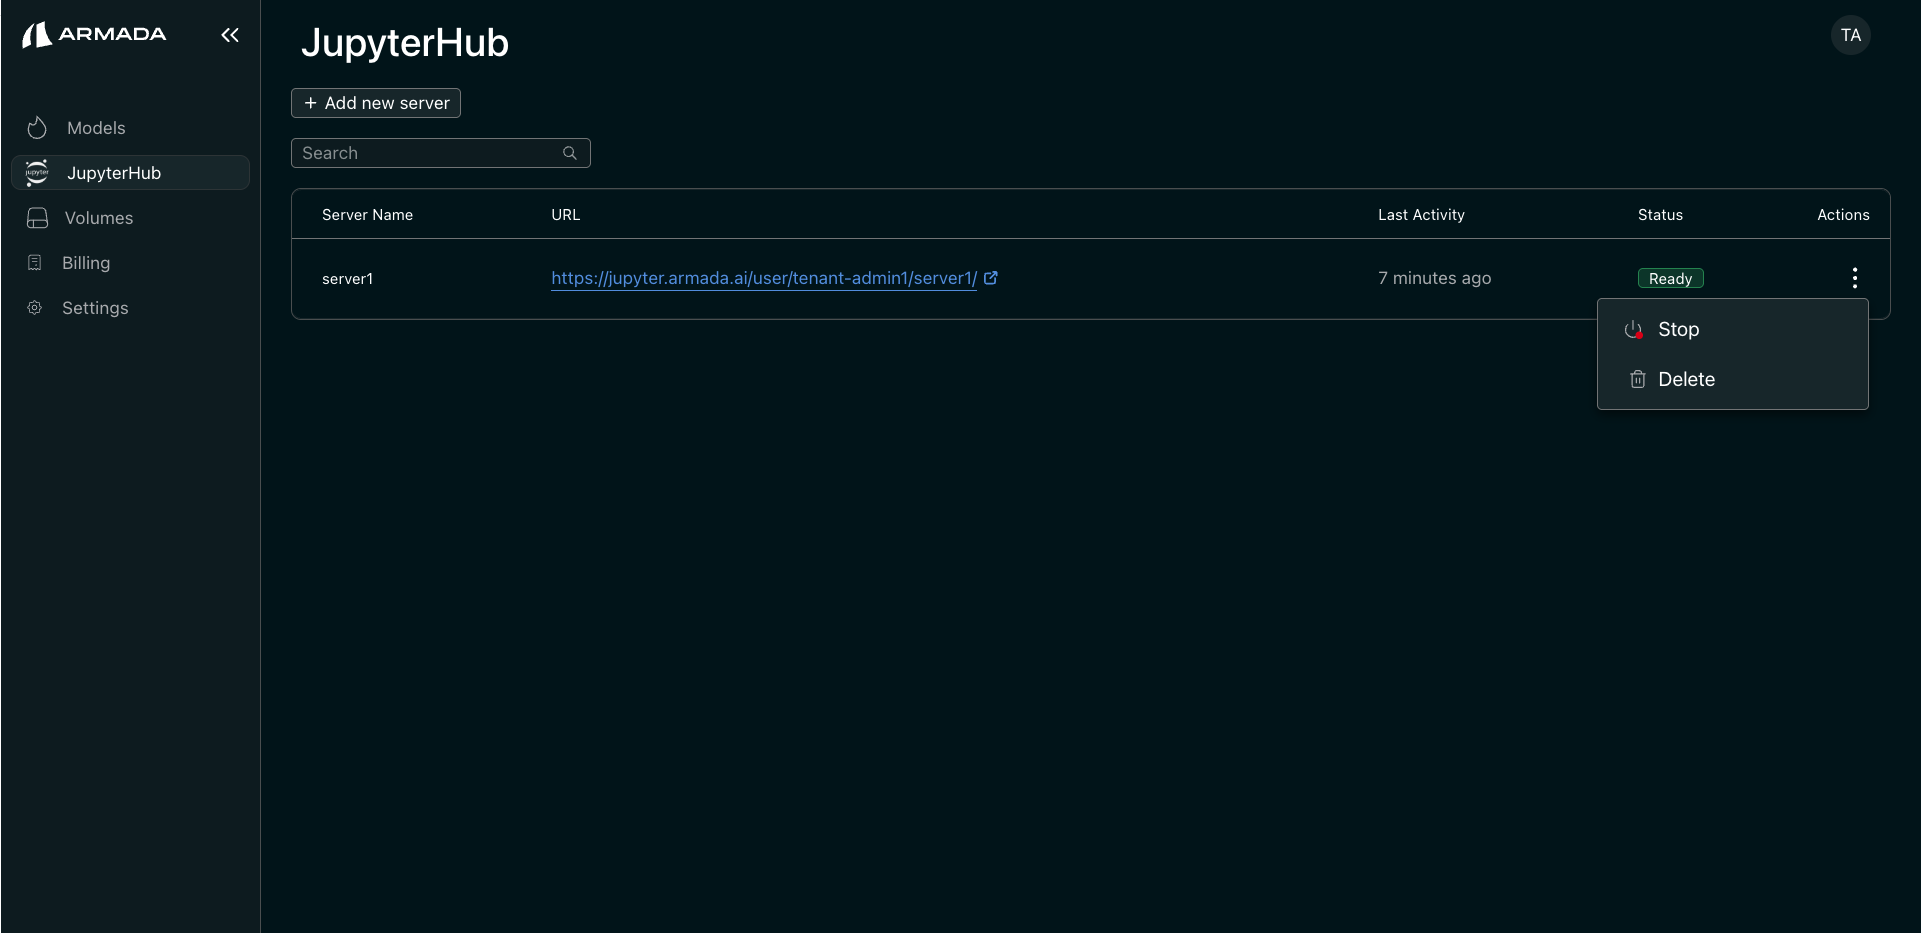
Step 1: Open JupyterHub and Start Deletion
- Log in as a Tenant User.
- In the left sidebar, click AI Studio. In the new tab that opens, click JupyterHub in the sidebar.
- Locate the server to delete, click the three-dot menu, then click Delete.
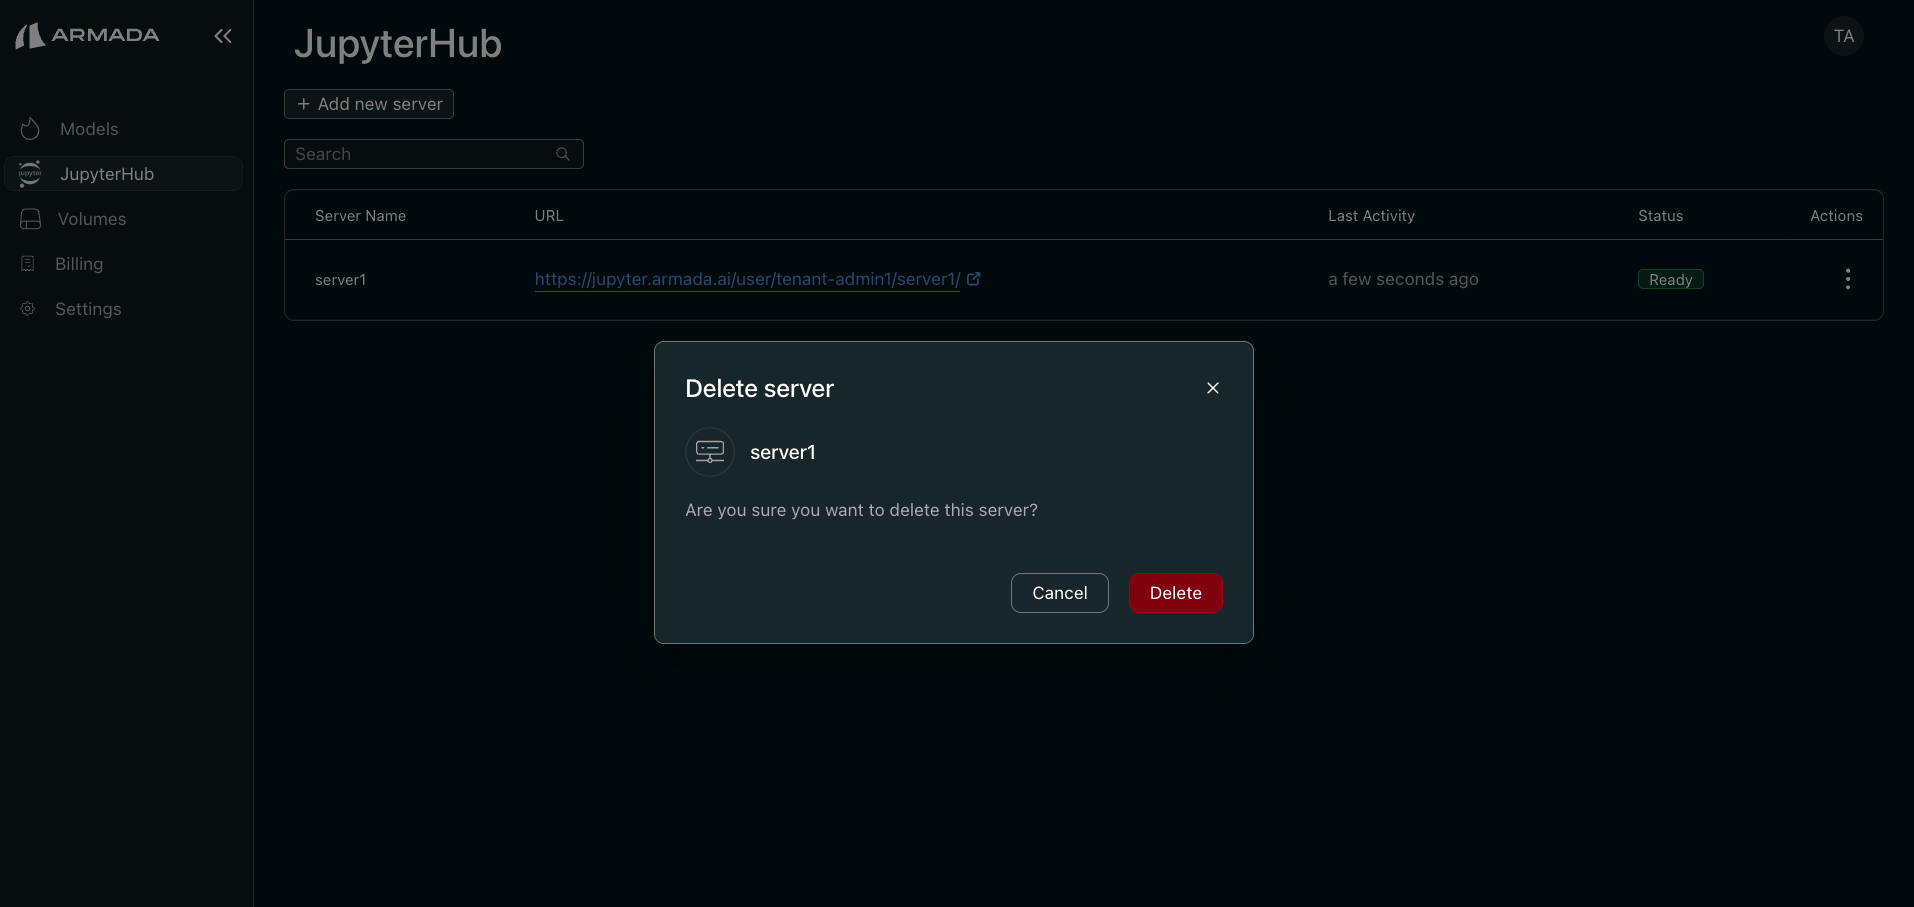
Step 2: Confirm Deletion
- In the confirmation popup, click Delete.
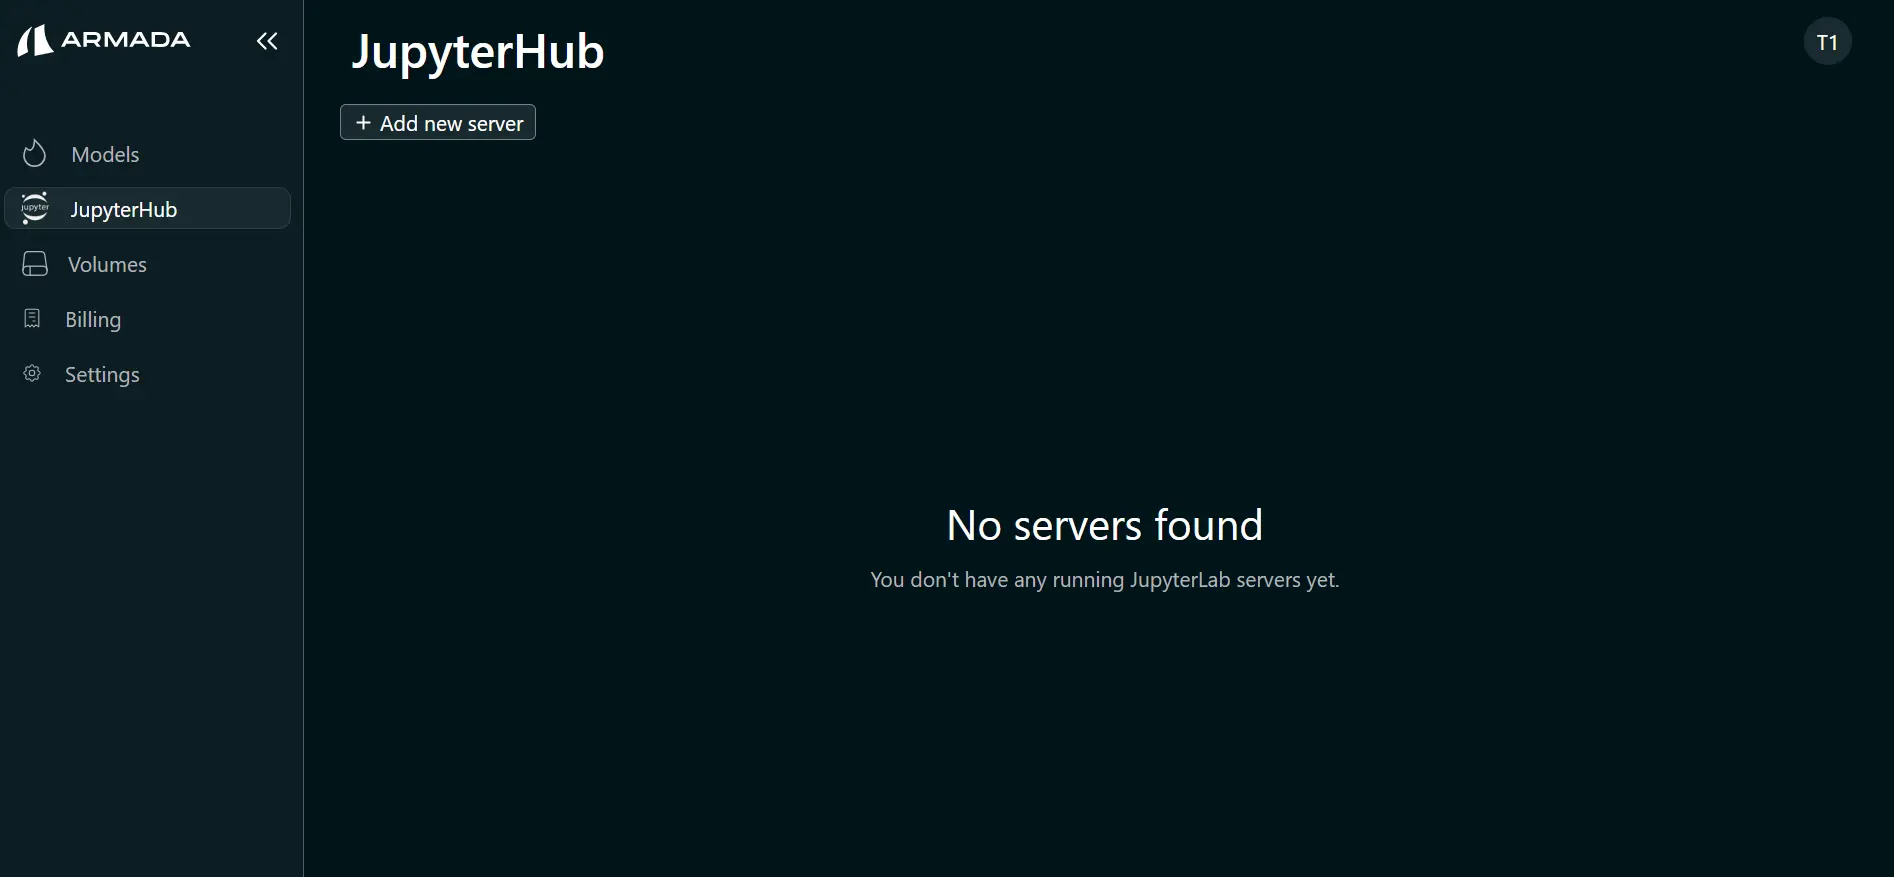
Step 3: Verify Deletion
- Confirm the JupyterHub server no longer appears in the JupyterHub list.
Delete Volumes
Prerequisites
- Back up volume data you want to keep
- Delete all JupyterHub servers that are using the volume before you delete the Volume
Delete Process
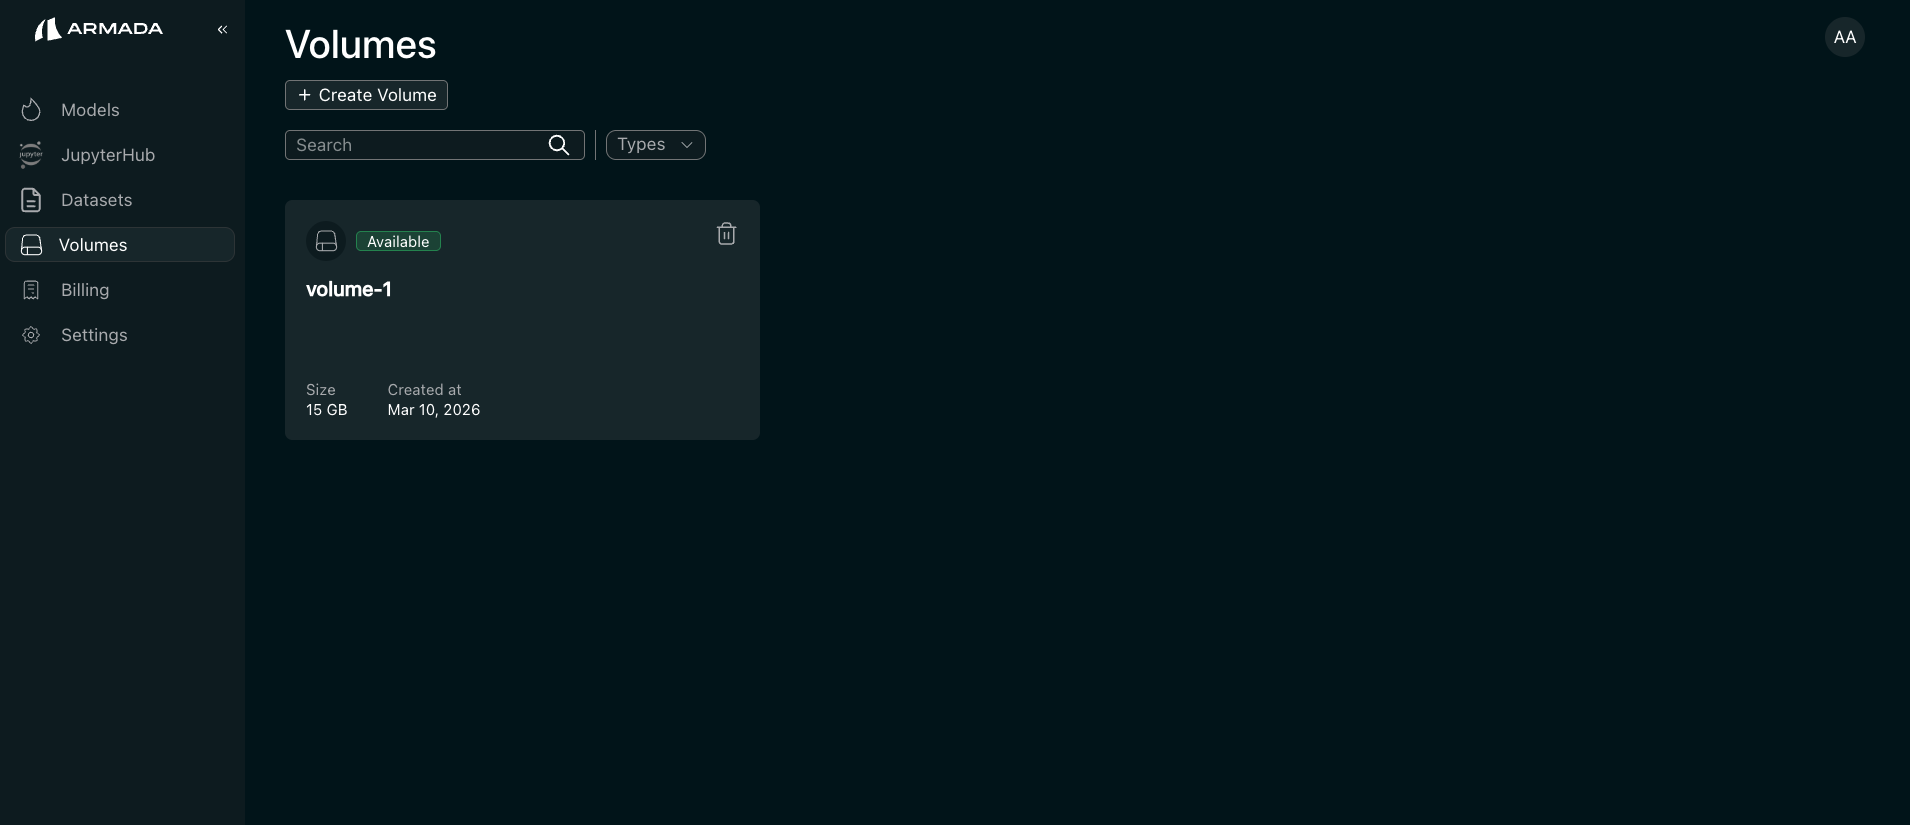
Step 1: Open Volumes and Start Deletion
- Log in as a Tenant User.
- In the left sidebar, click AI Studio. In the new tab that opens, click Volumes in the sidebar.
- Locate the volume to delete and click the Delete icon.
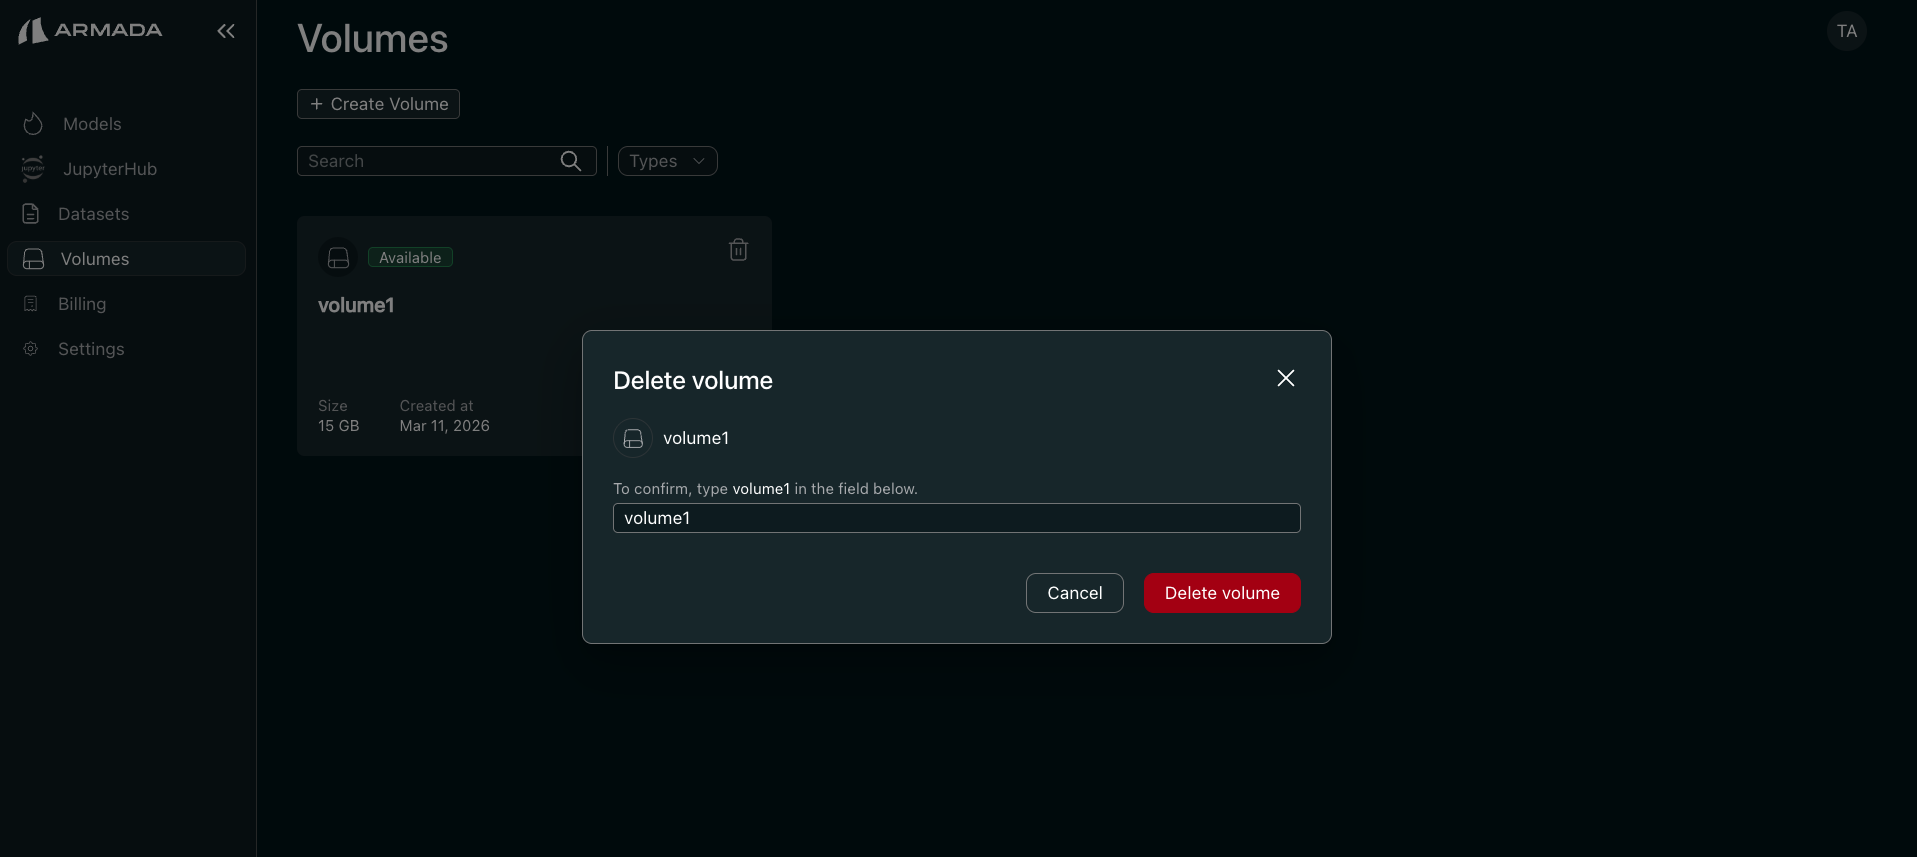
Step 2: Confirm Deletion
- In the confirmation popup, enter the volume name exactly as shown.
- Click Delete volume.
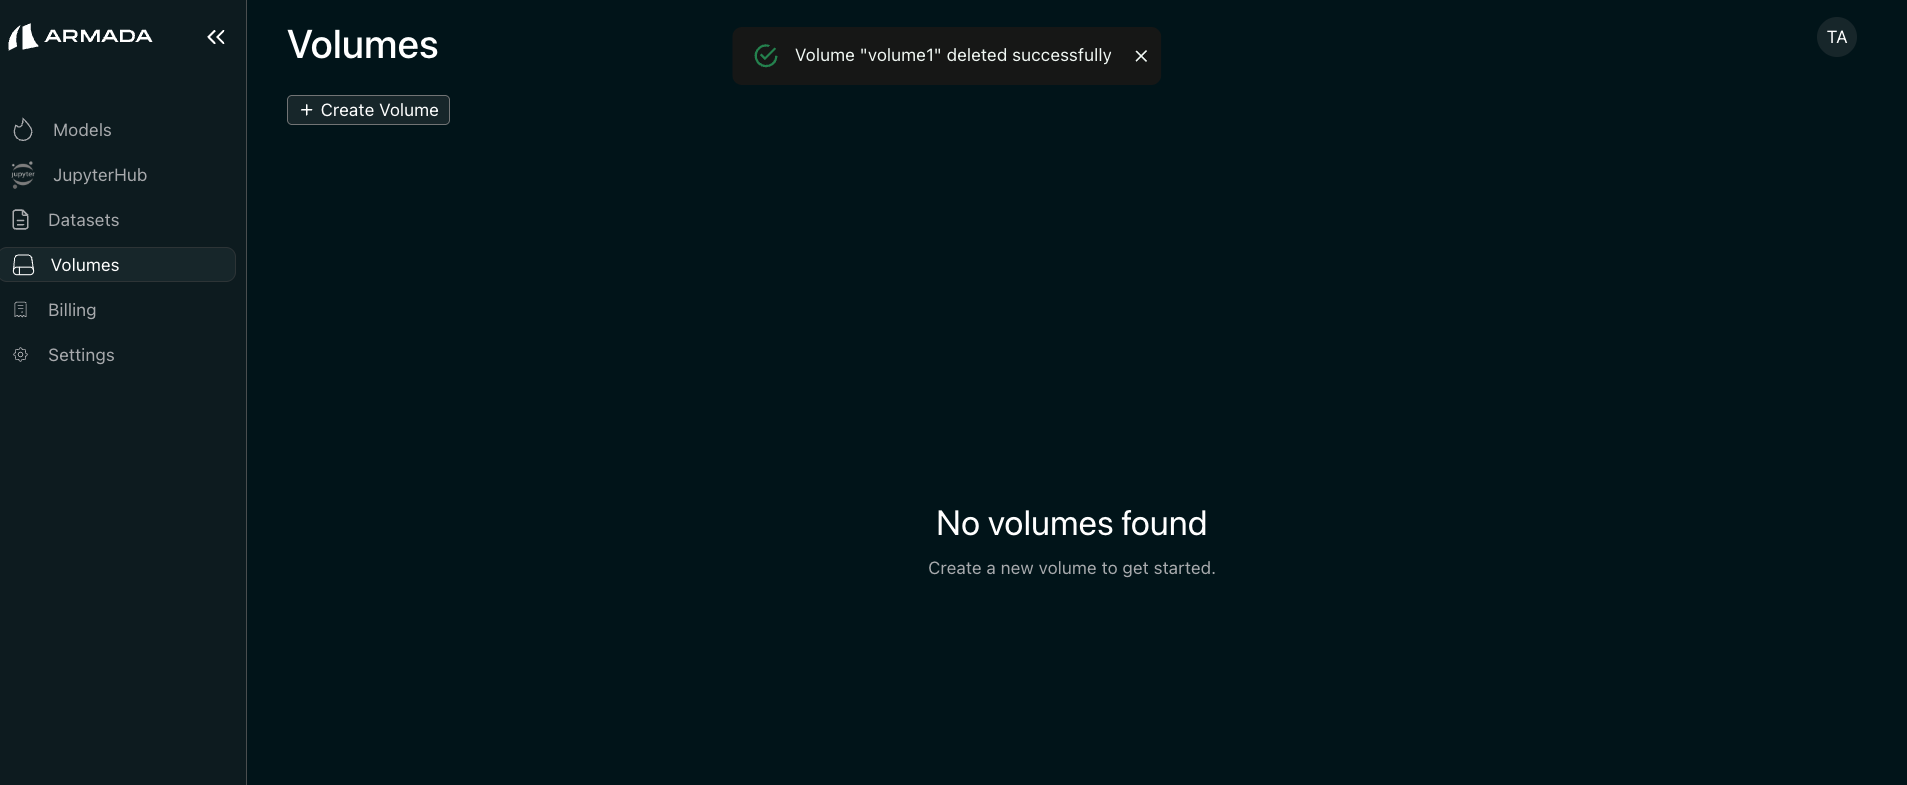
Step 3: Verify Deletion
- Confirm the volume no longer appears in the Volumes list.
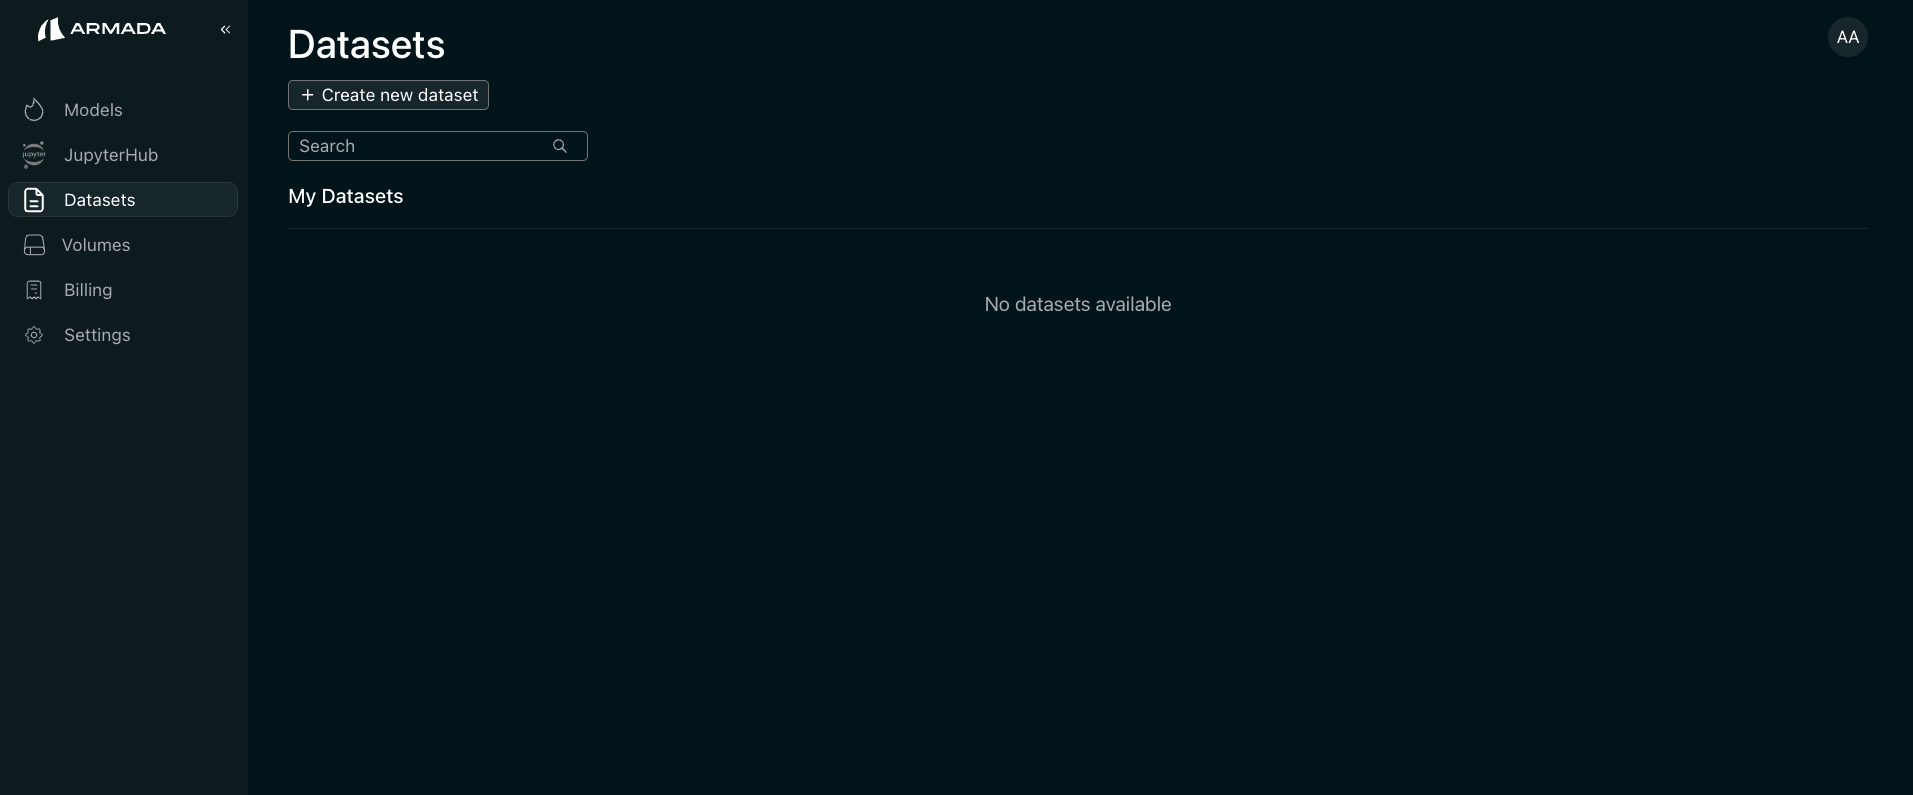
Delete Datasets
Prerequisites
- Delete all JupyterHub servers that are using the datasets before you delete the Datasets
Delete Process
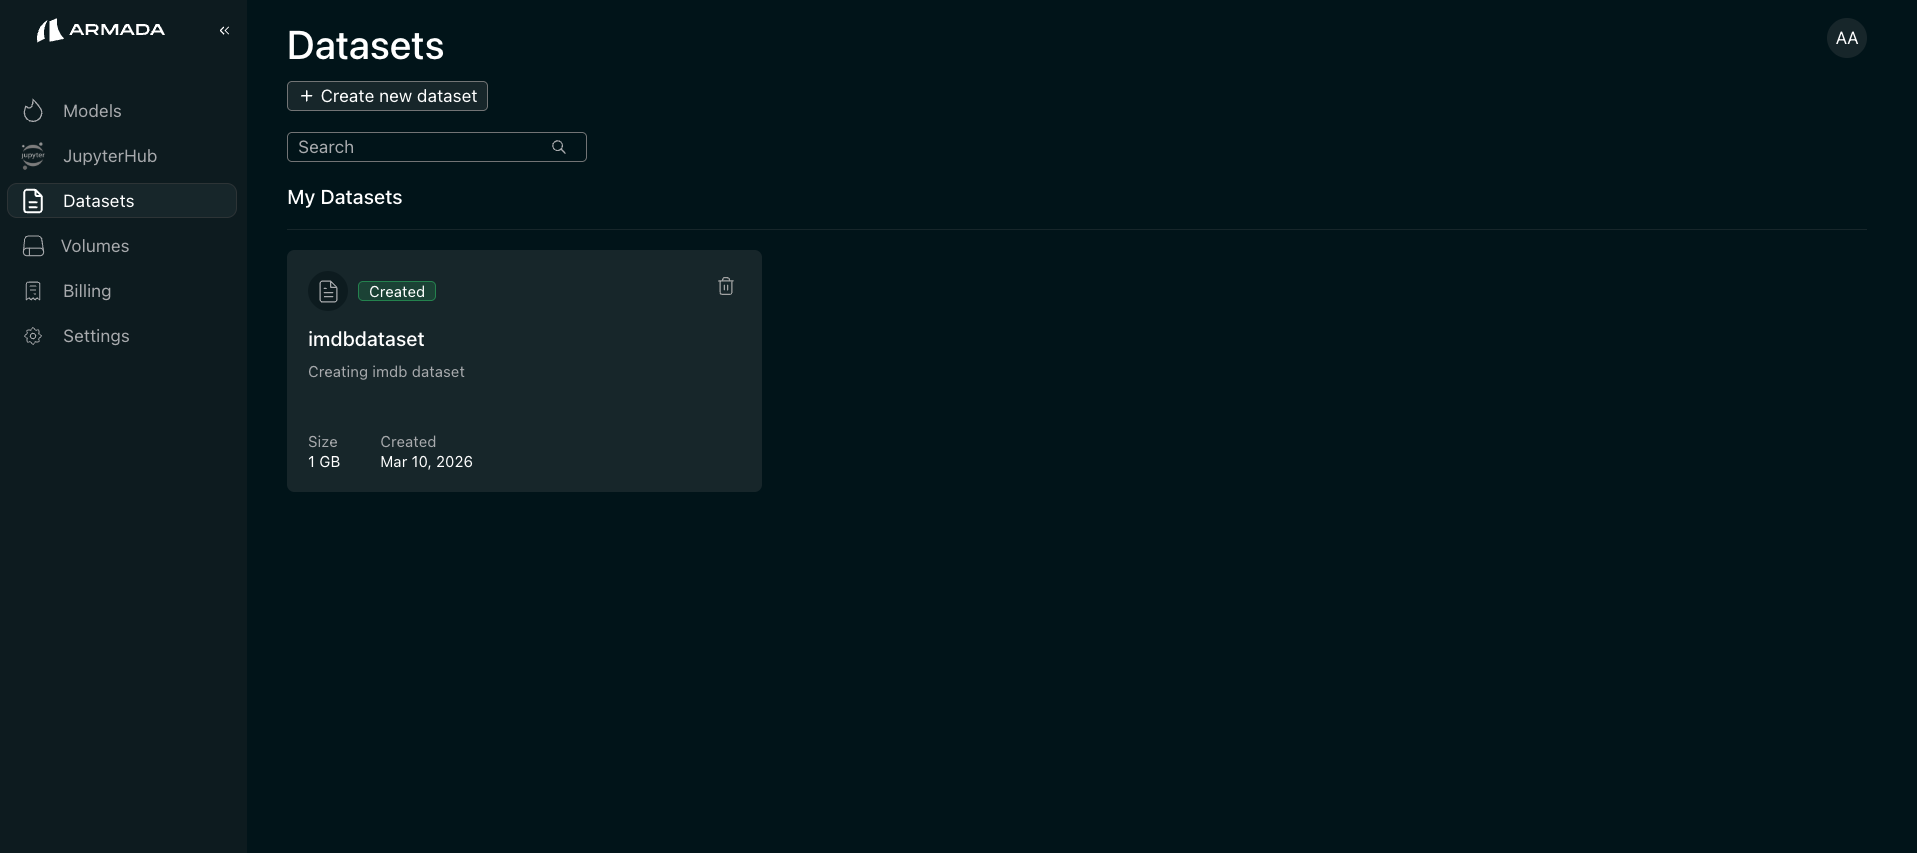
Step 1: Open Datasets and Start Deletion
- Log in as a Tenant User.
- In the left sidebar, click AI Studio. In the new tab that opens, click Datasets in the sidebar.
- Locate the Datasets to delete and click the Delete icon.
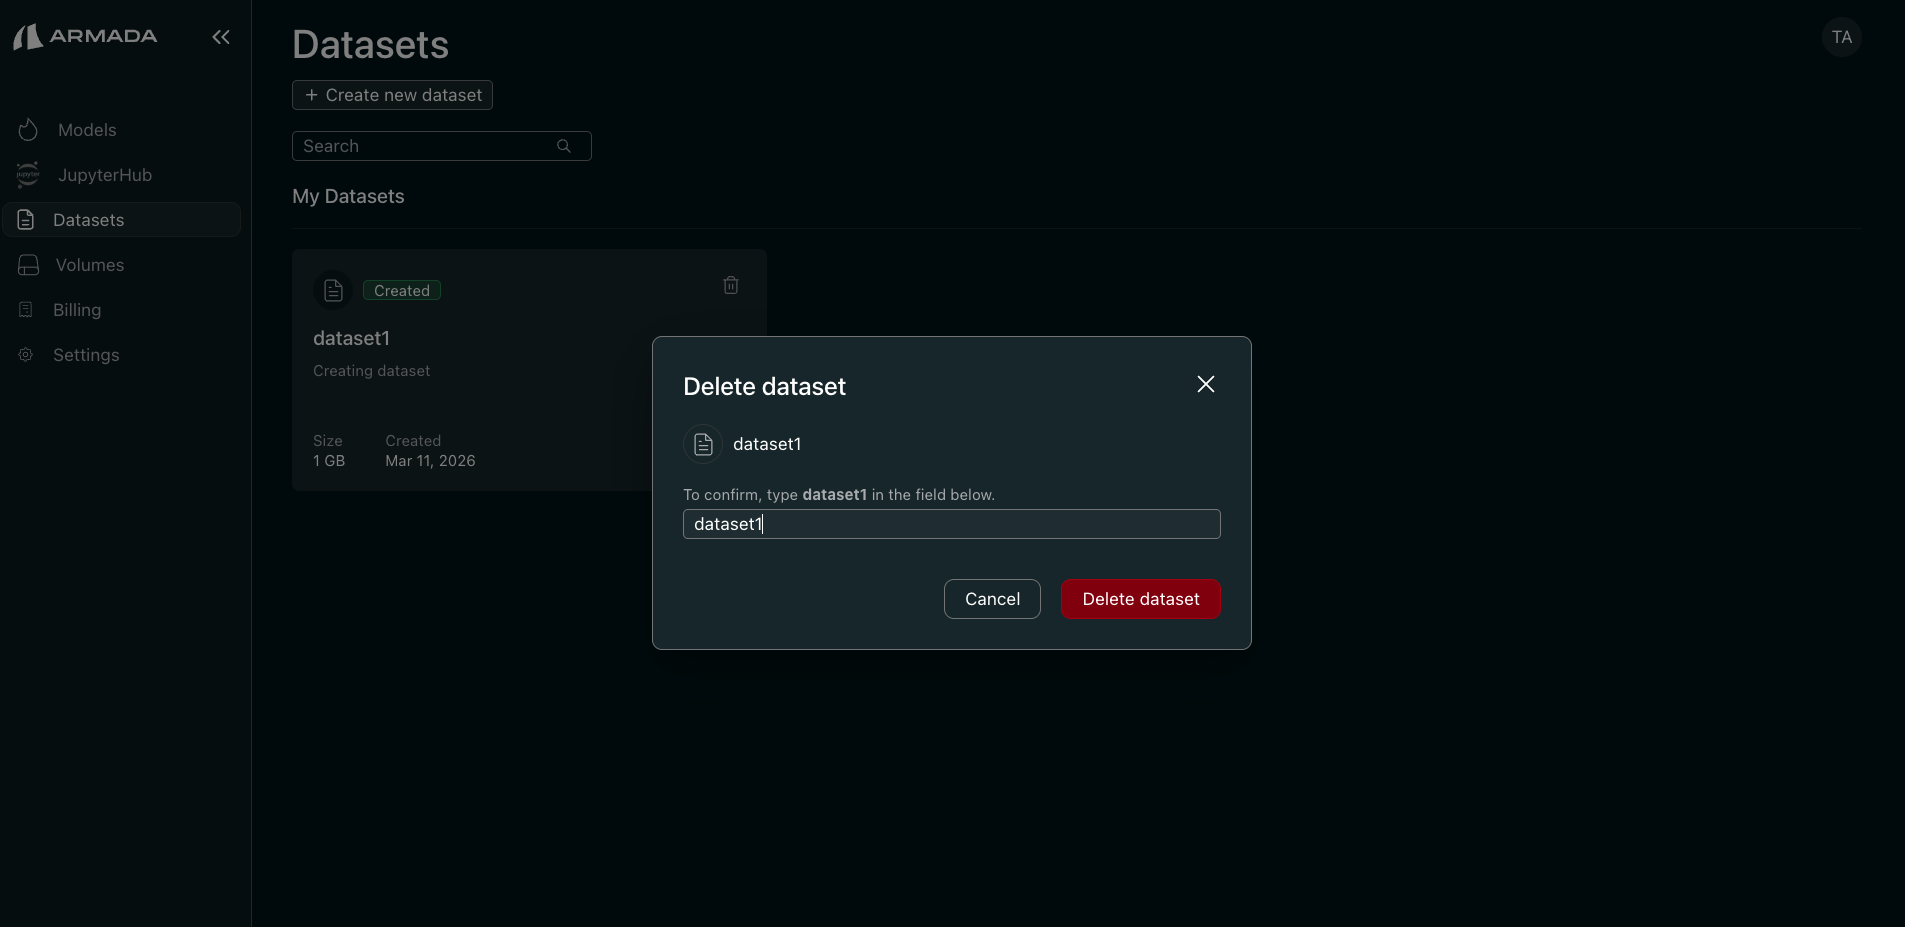
Step 2: Confirm Deletion
- In the confirmation popup, enter the Datasets name exactly as shown.
- Click Delete dataset.
Step 3: Verify Deletion
- Confirm the Datasets no longer appears in the Datasets list.
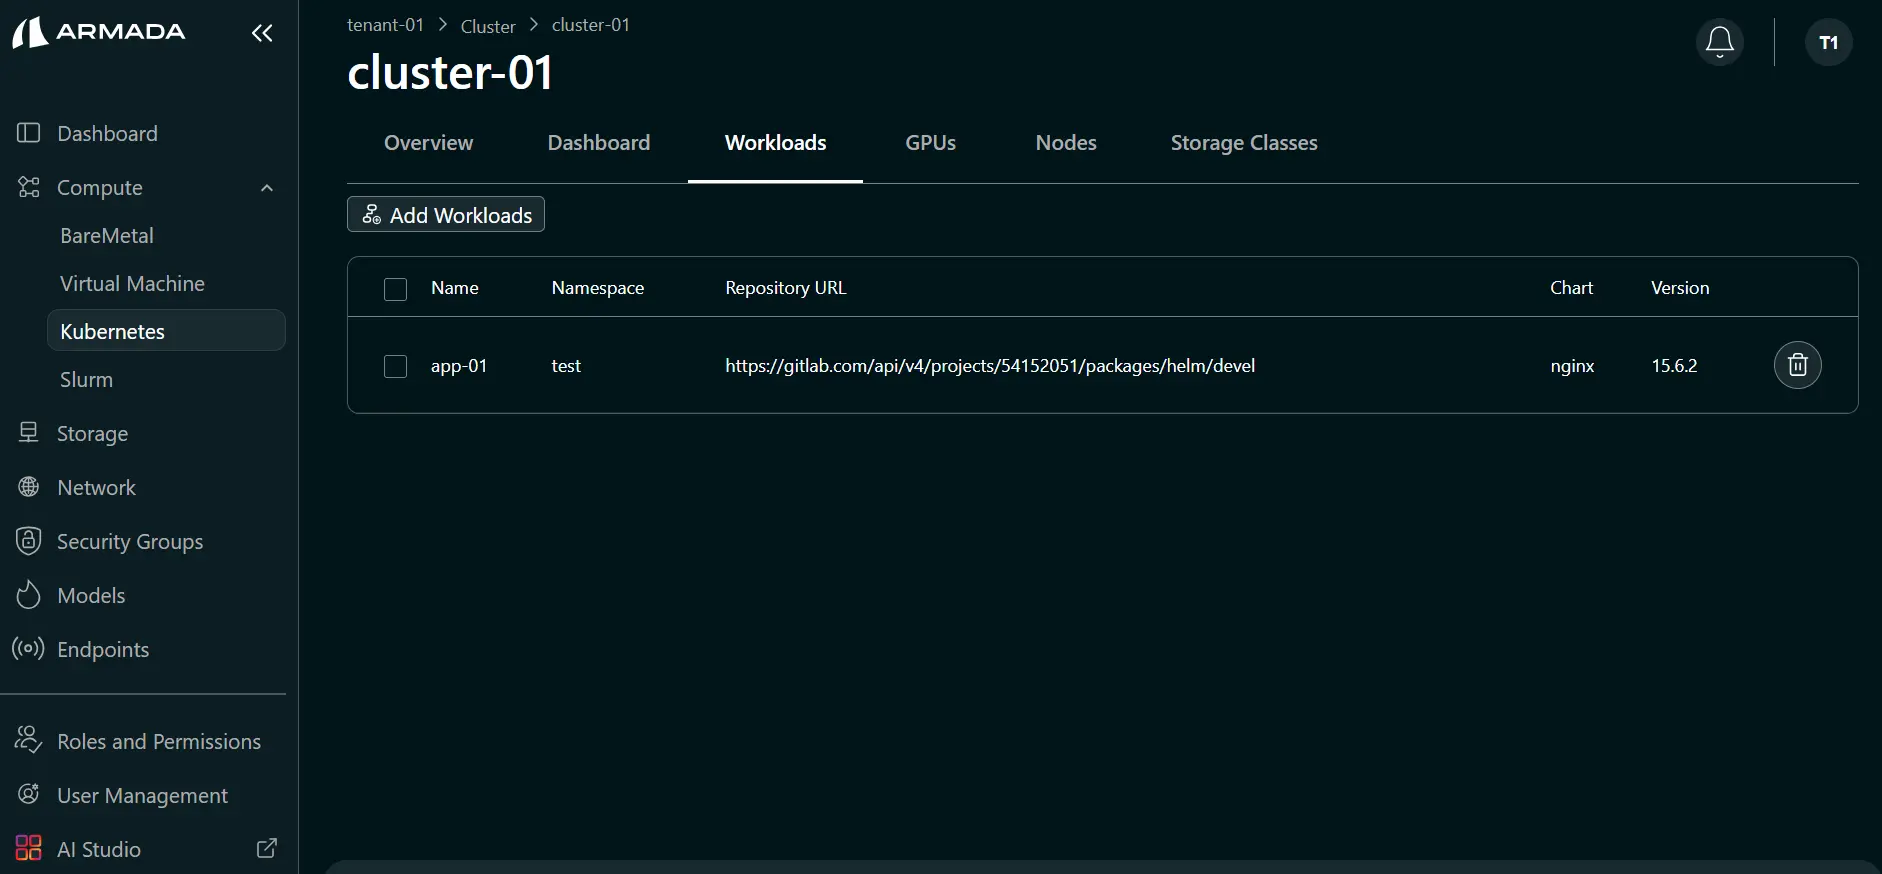
Delete Applications
Prerequisites
- Stop all running workloads
- Back up application data
- Remove associated endpoints
Delete Process
Step 1: Open Cluster Workloads
- Log in as Tenant Admin or NCP Admin.
- Go to Cluster and open the required cluster.
- Open the Workloads tab.
Step 2: Delete the Application
- Click the delete icon for the workload.
- In the confirmation popup, click Delete.
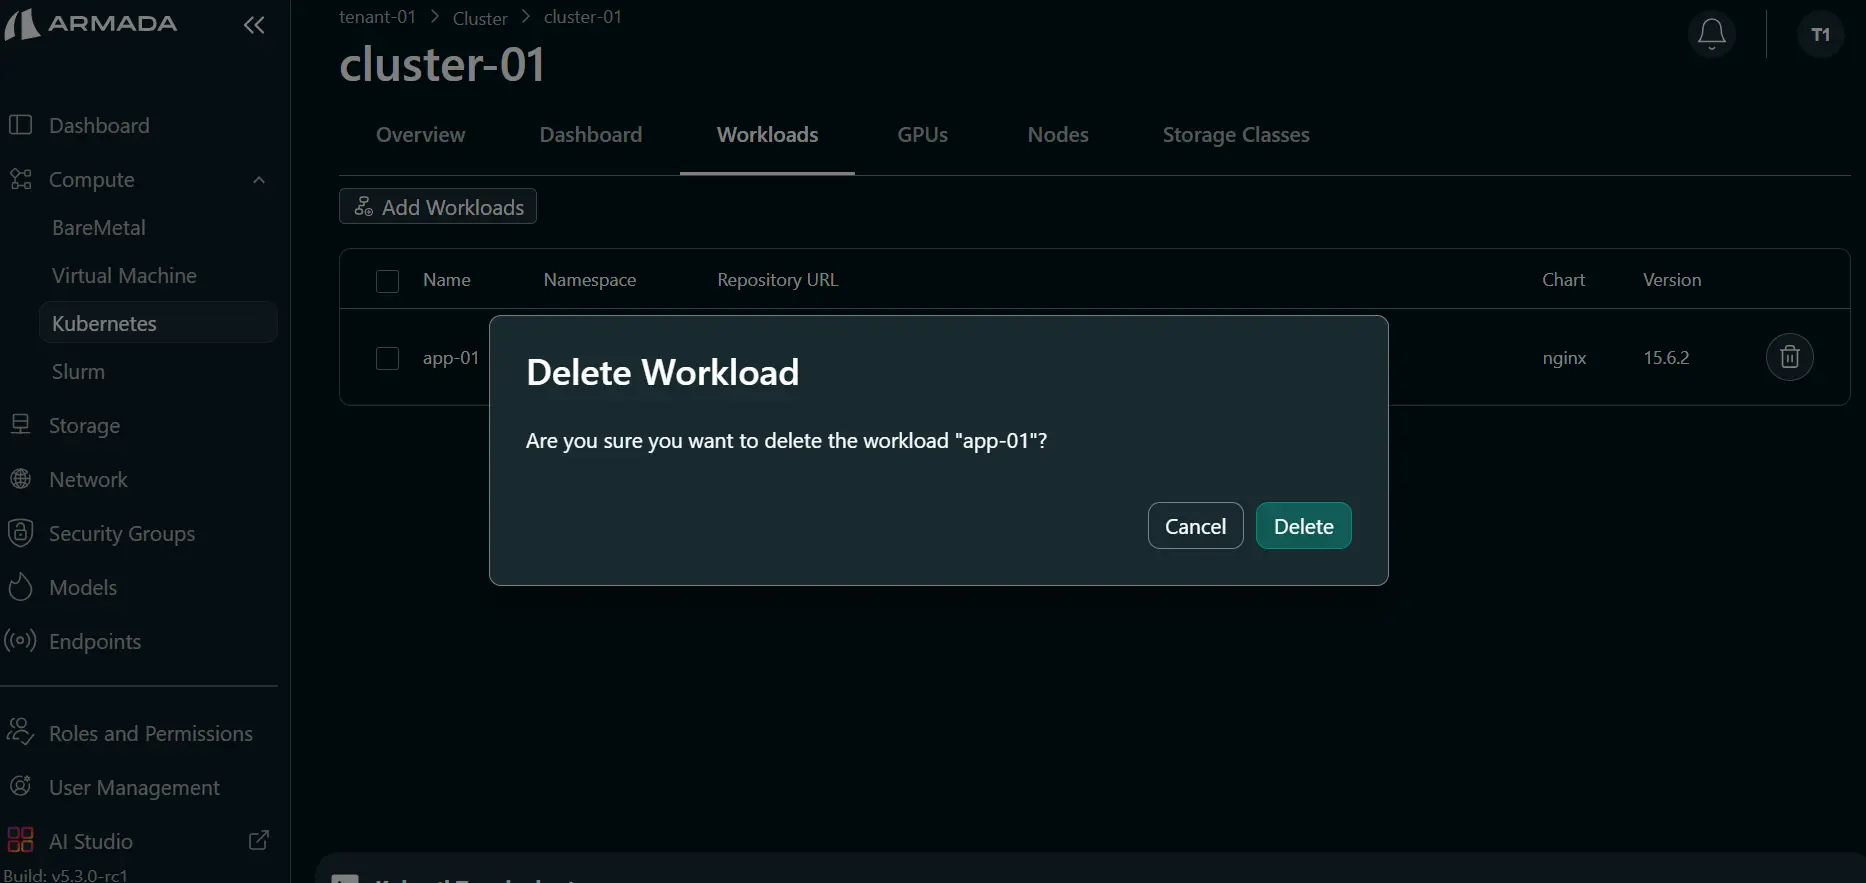
Step 3: Verify Deletion
- Confirm the application is removed from the cluster workload list.

Delete Storage Classes
Prerequisites
- Delete all volumes that use the storage class
- Delete all datasets that use the storage class
Delete Process
Step 1: Open Storage Classes
- Log in as Tenant Admin or NCP Admin.
- Go to Cluster and open the required cluster.
- Open the Storage Classes tab.
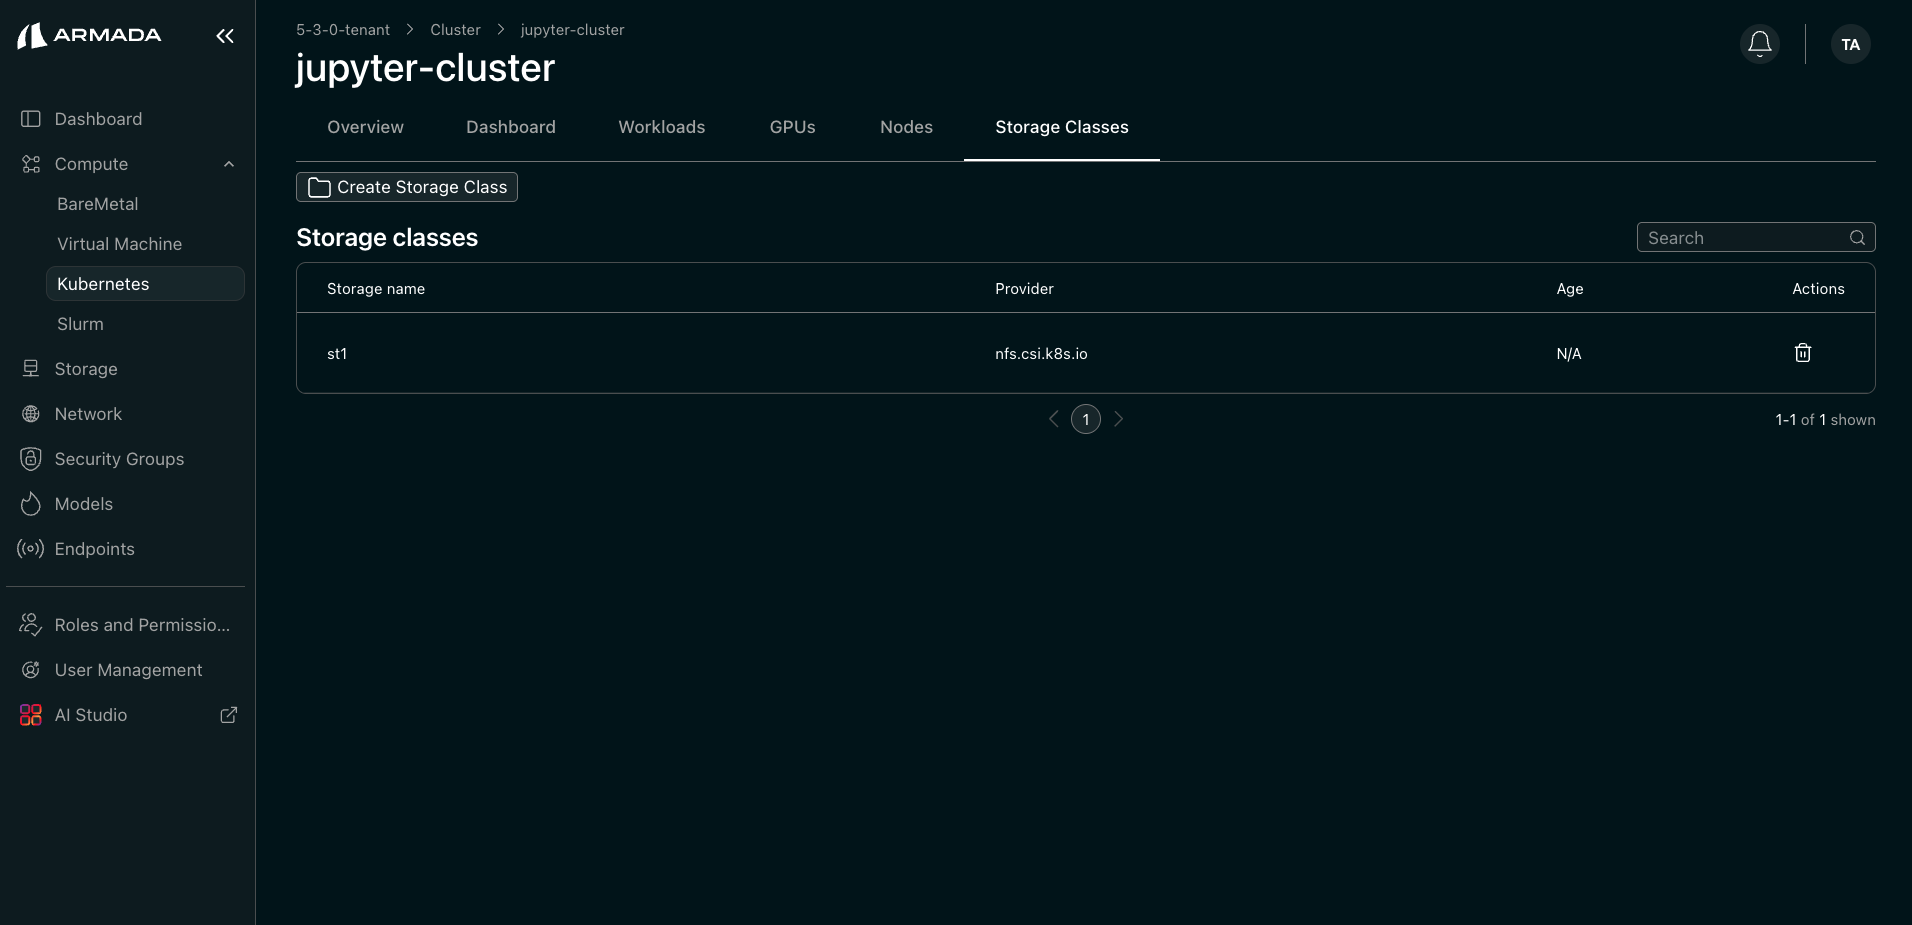
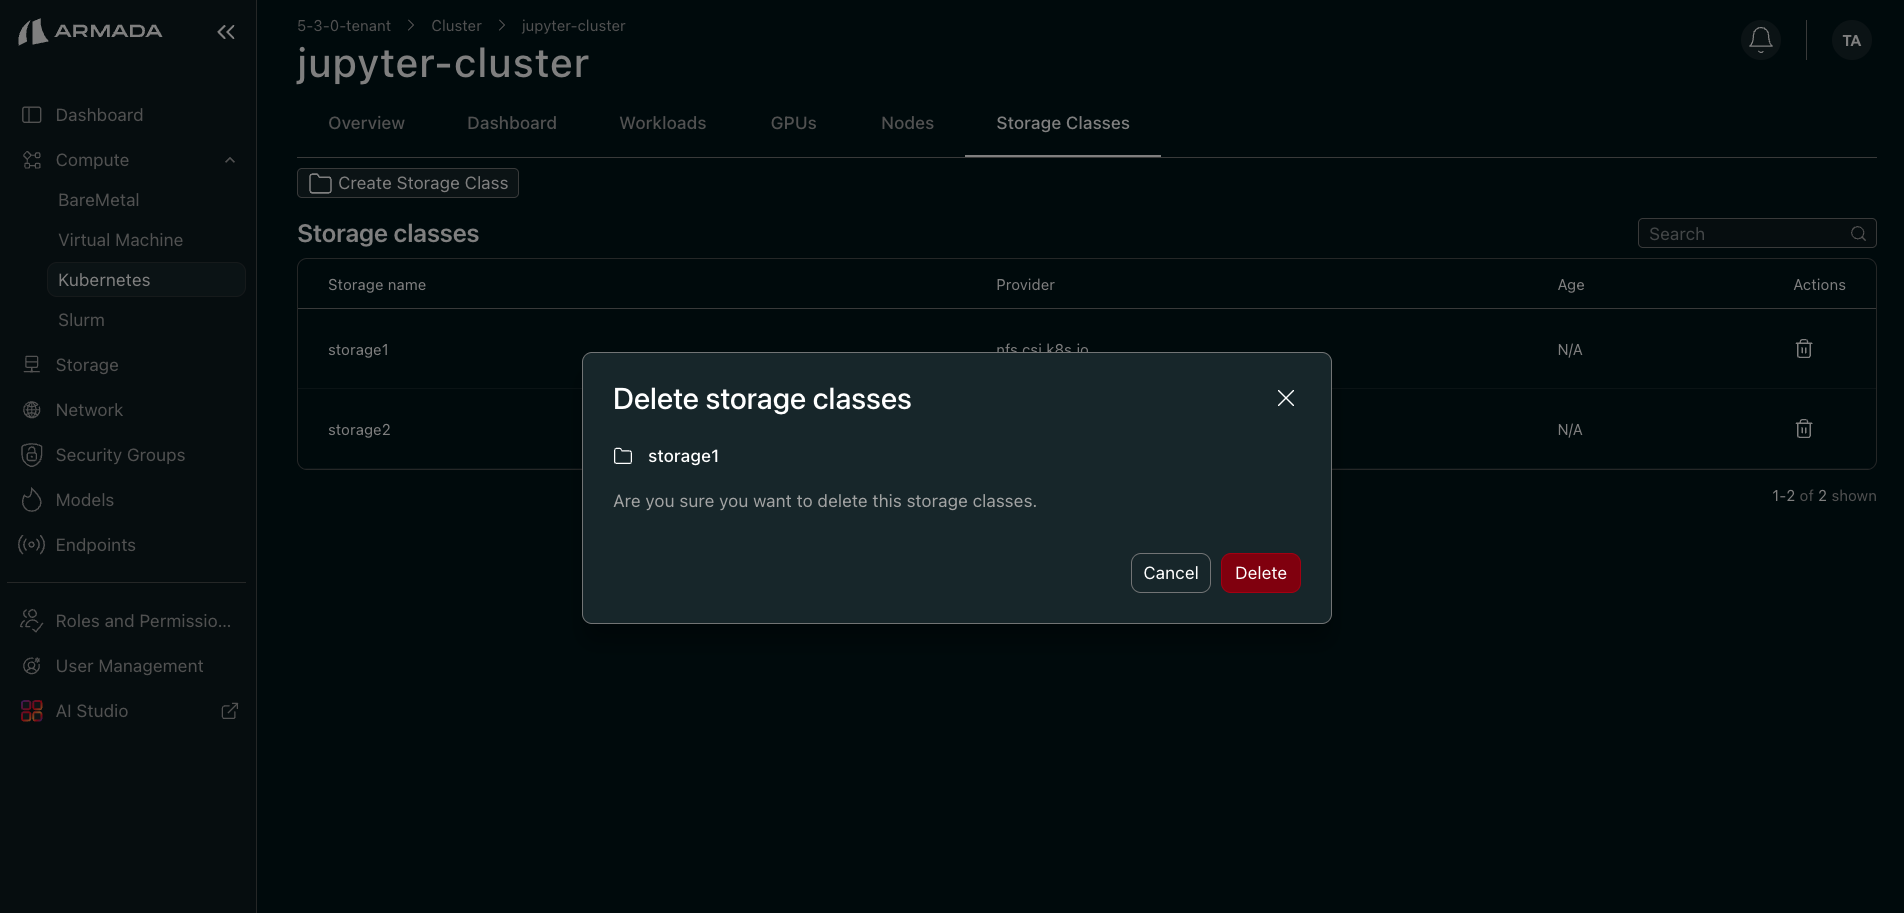
Step 2: Delete Storage Class
- Click the Delete icon for the storage class to remove.
- In the confirmation popup, confirm and click Delete button.
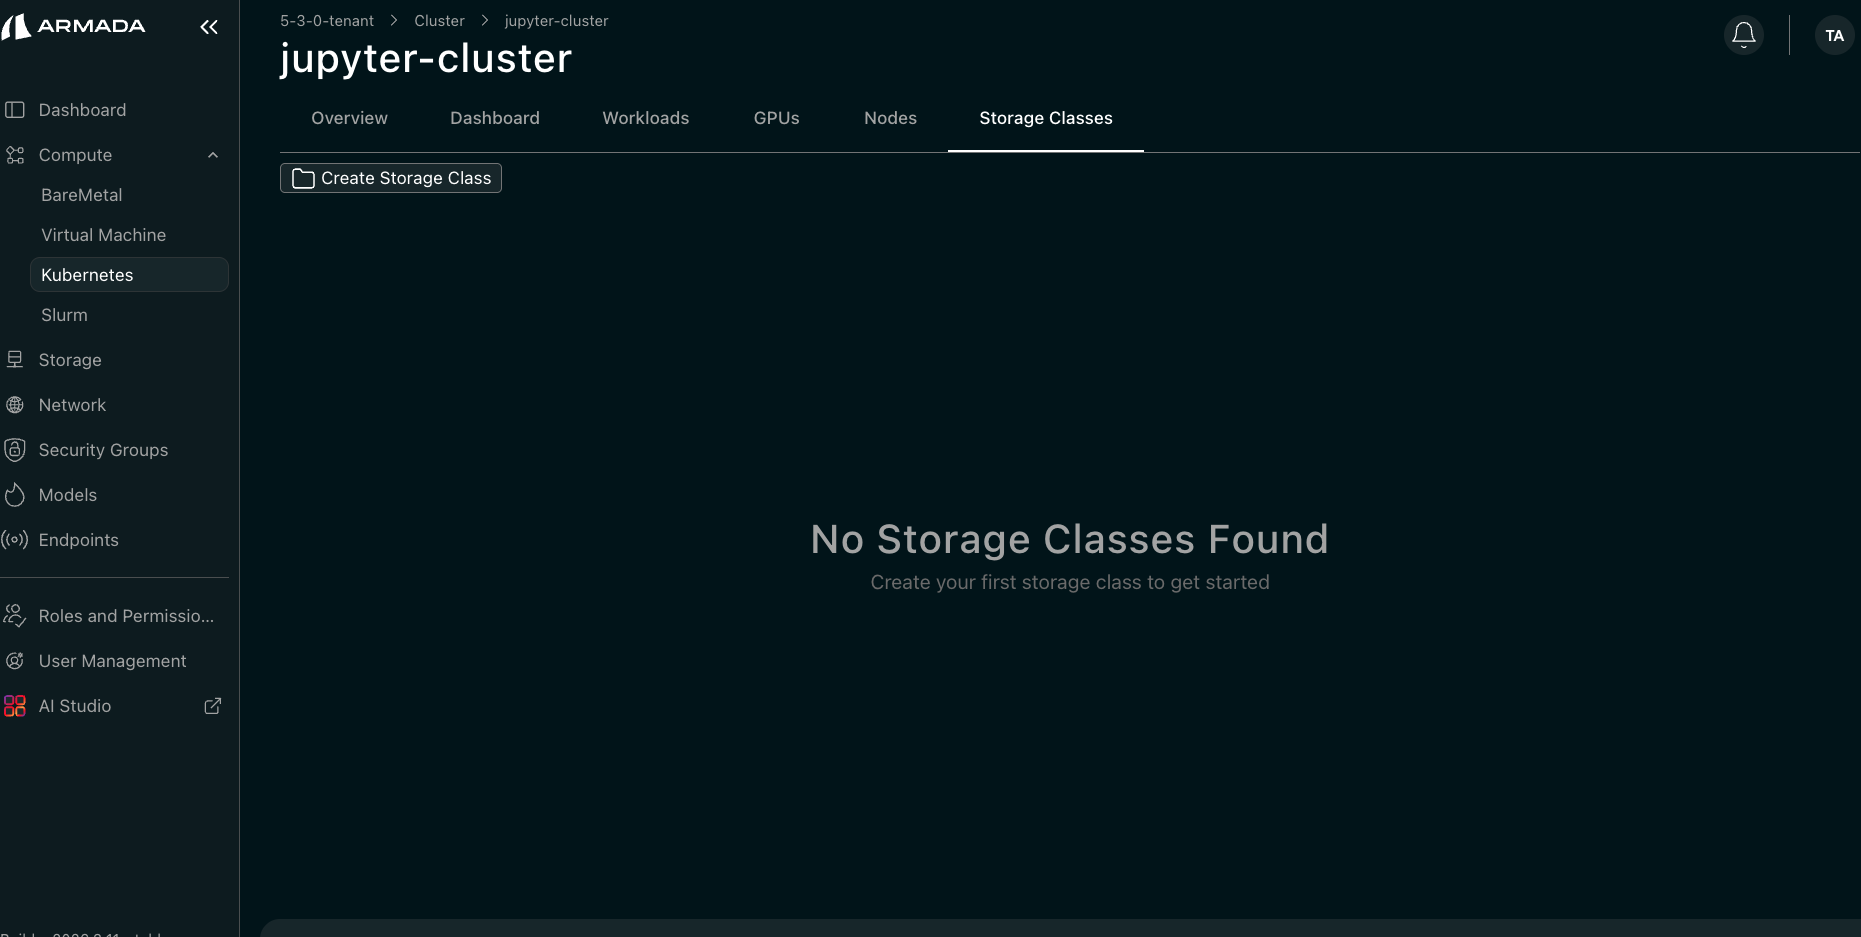
Step 3: Verify Deletion
- Confirm the storage class no longer appears in the Storage Classes list.
Delete CSI Drivers
Delete Process
Step 1: Open Uninstall Dialog
- Log in as Tenant Admin or NCP Admin.
- Navigate to BareMetal → Kubernetes, click the three-dot menu on the cluster, and select View.
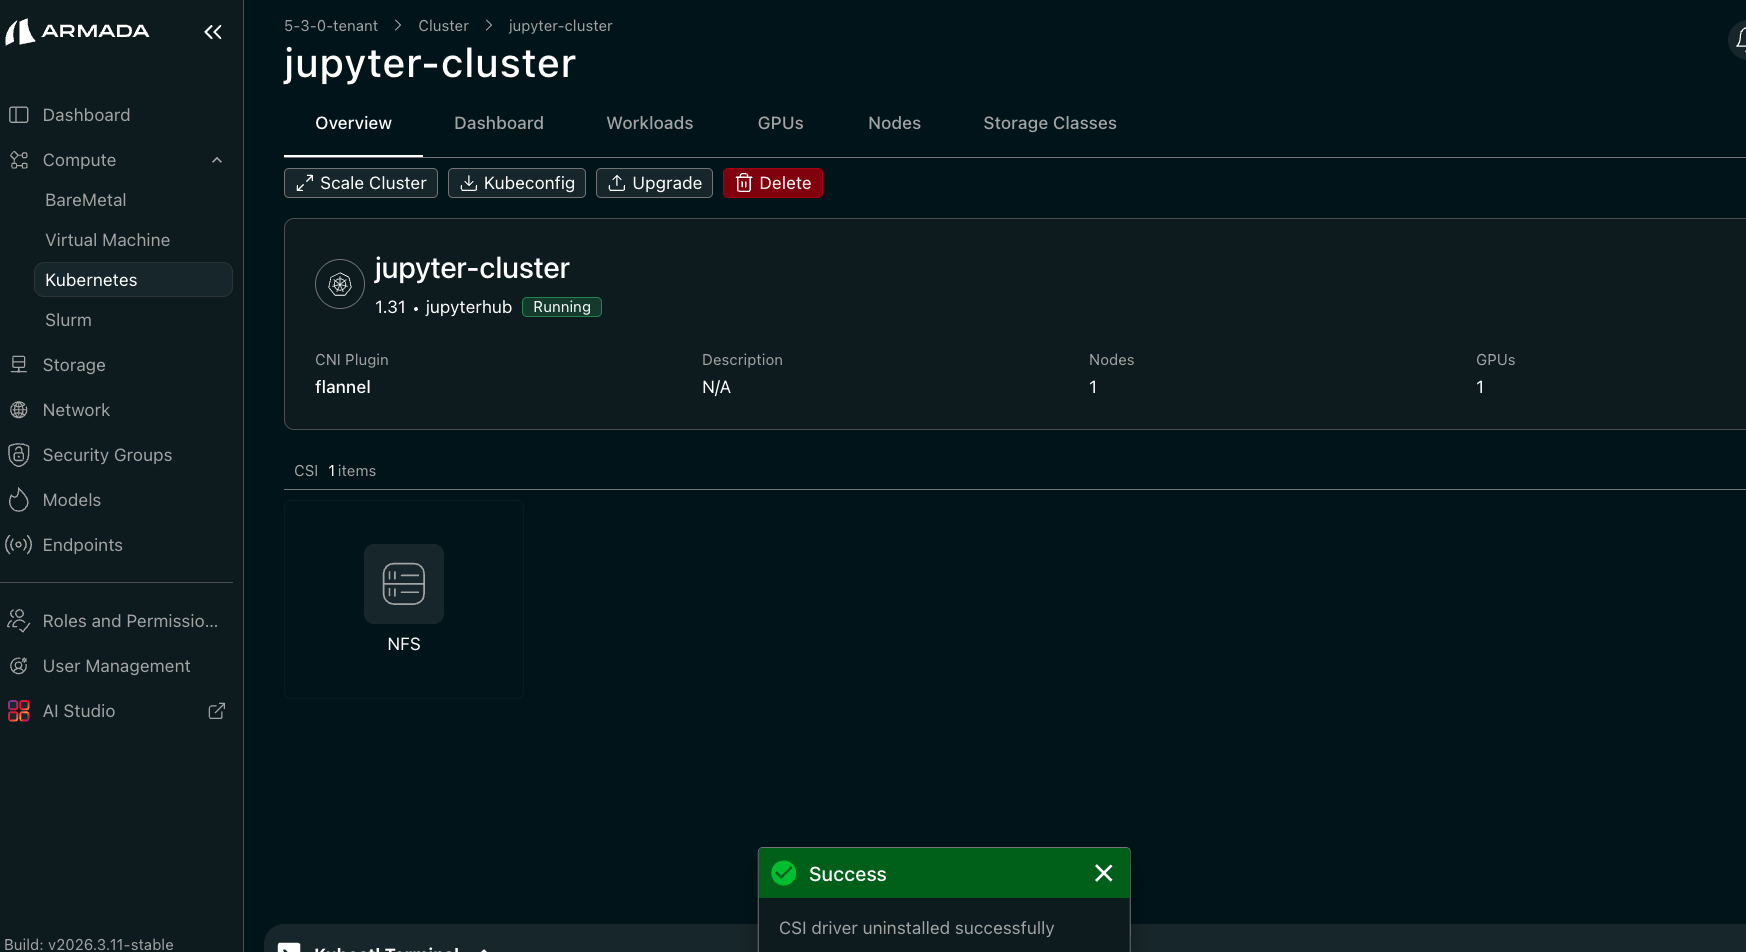
- Click the NFS icon. The uninstall CSI driver dialog opens.

Step 2: Confirm Uninstall
- In the confirmation popup, click Uninstall driver.
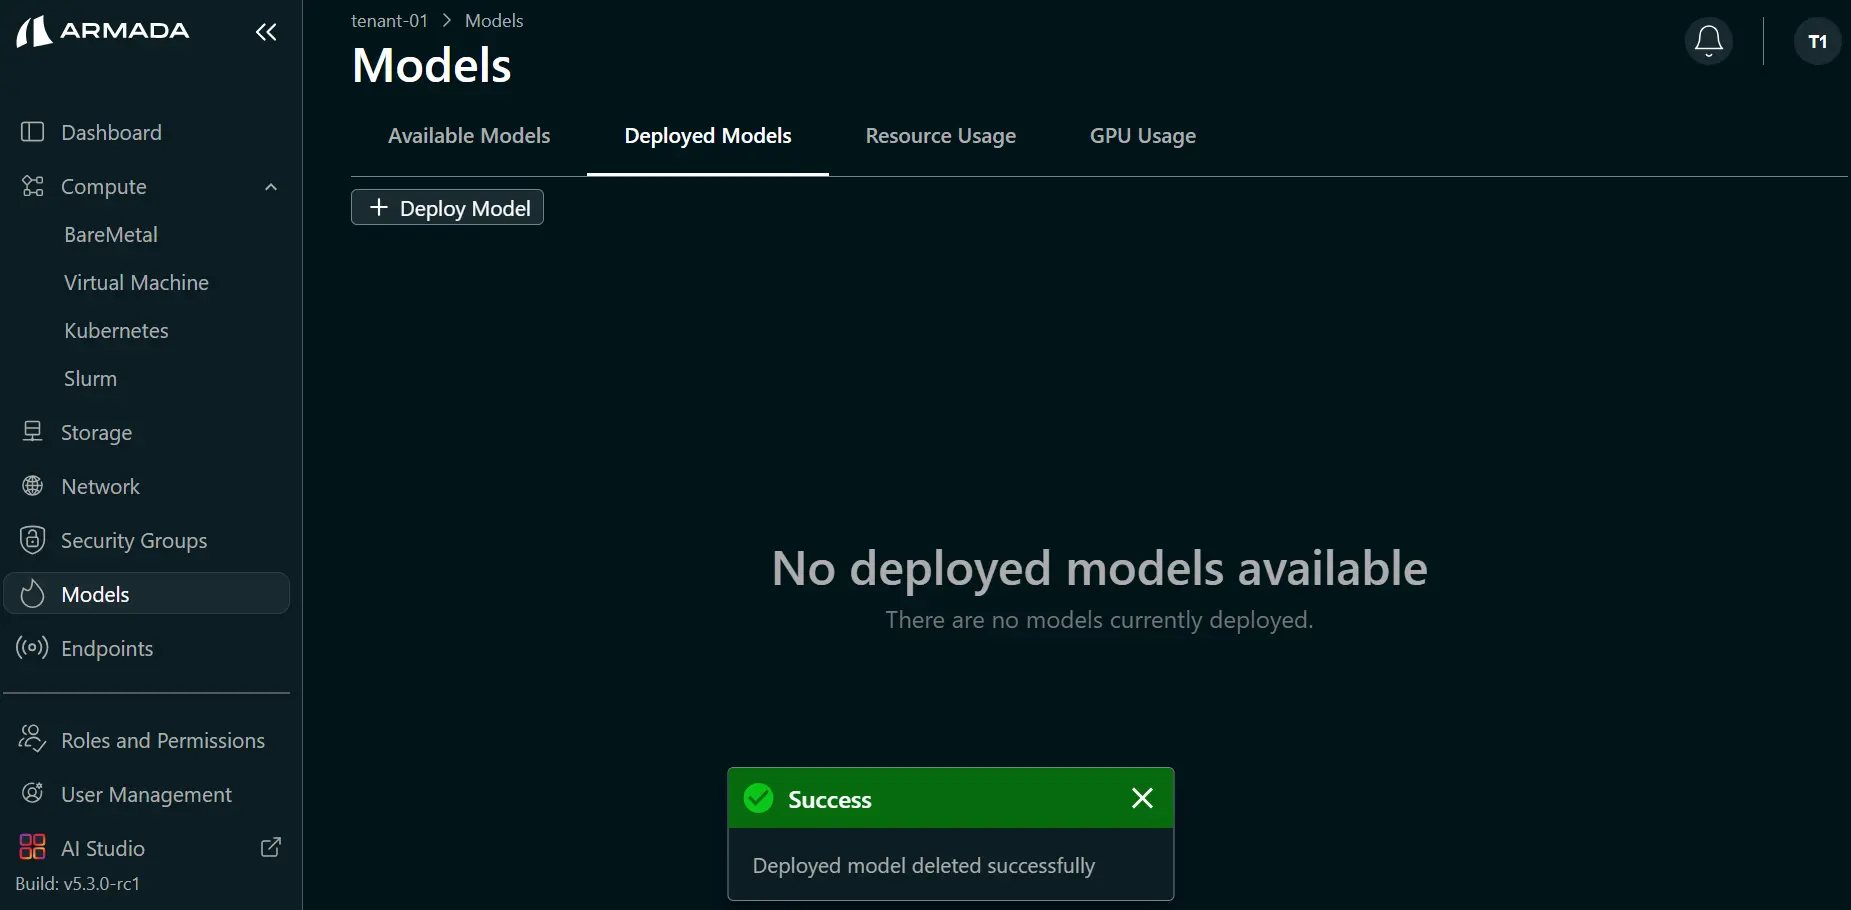
Delete Models
Prerequisites
- Remove model endpoints
- Complete inference requests
- Archive model files if needed
Delete Process
Step 1: Open Deployed Models
- Log in as Tenant Admin.
- Go to Models → Deployed Models.
- Click the delete icon for the target model.
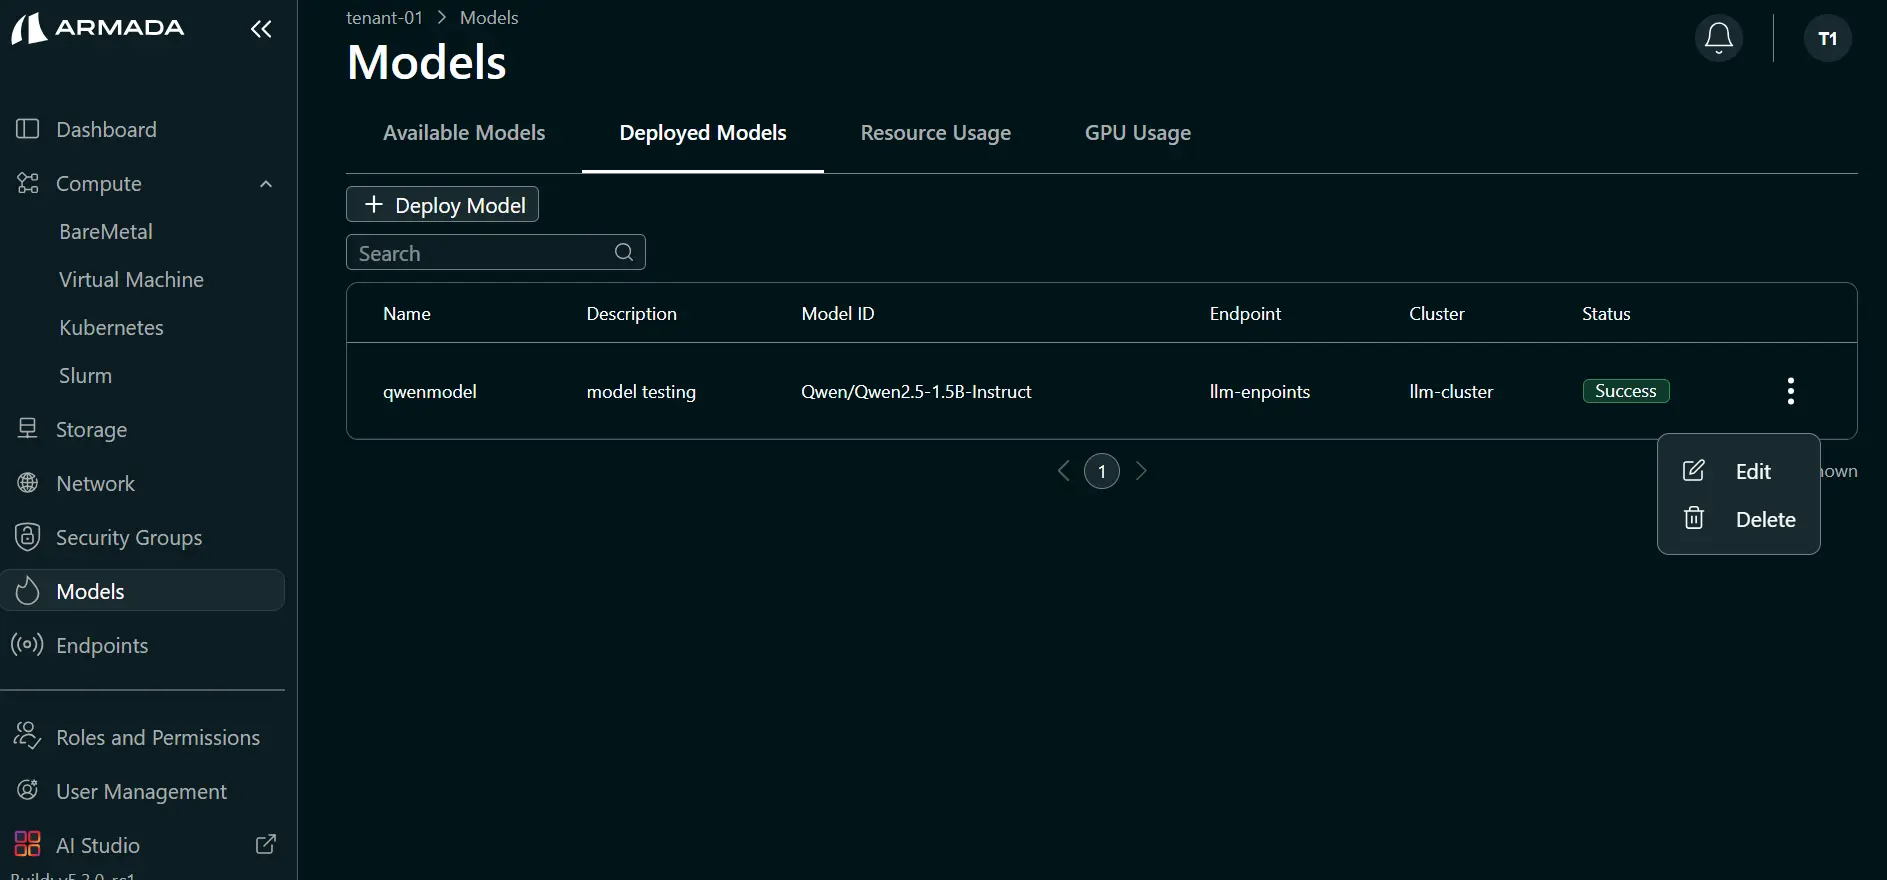
Step 2: Confirm Deletion
- Enter the deployed model name in the confirmation popup.
- Click Delete.

Step 3: Verify Deletion
- Confirm the model entry is removed from the UI.
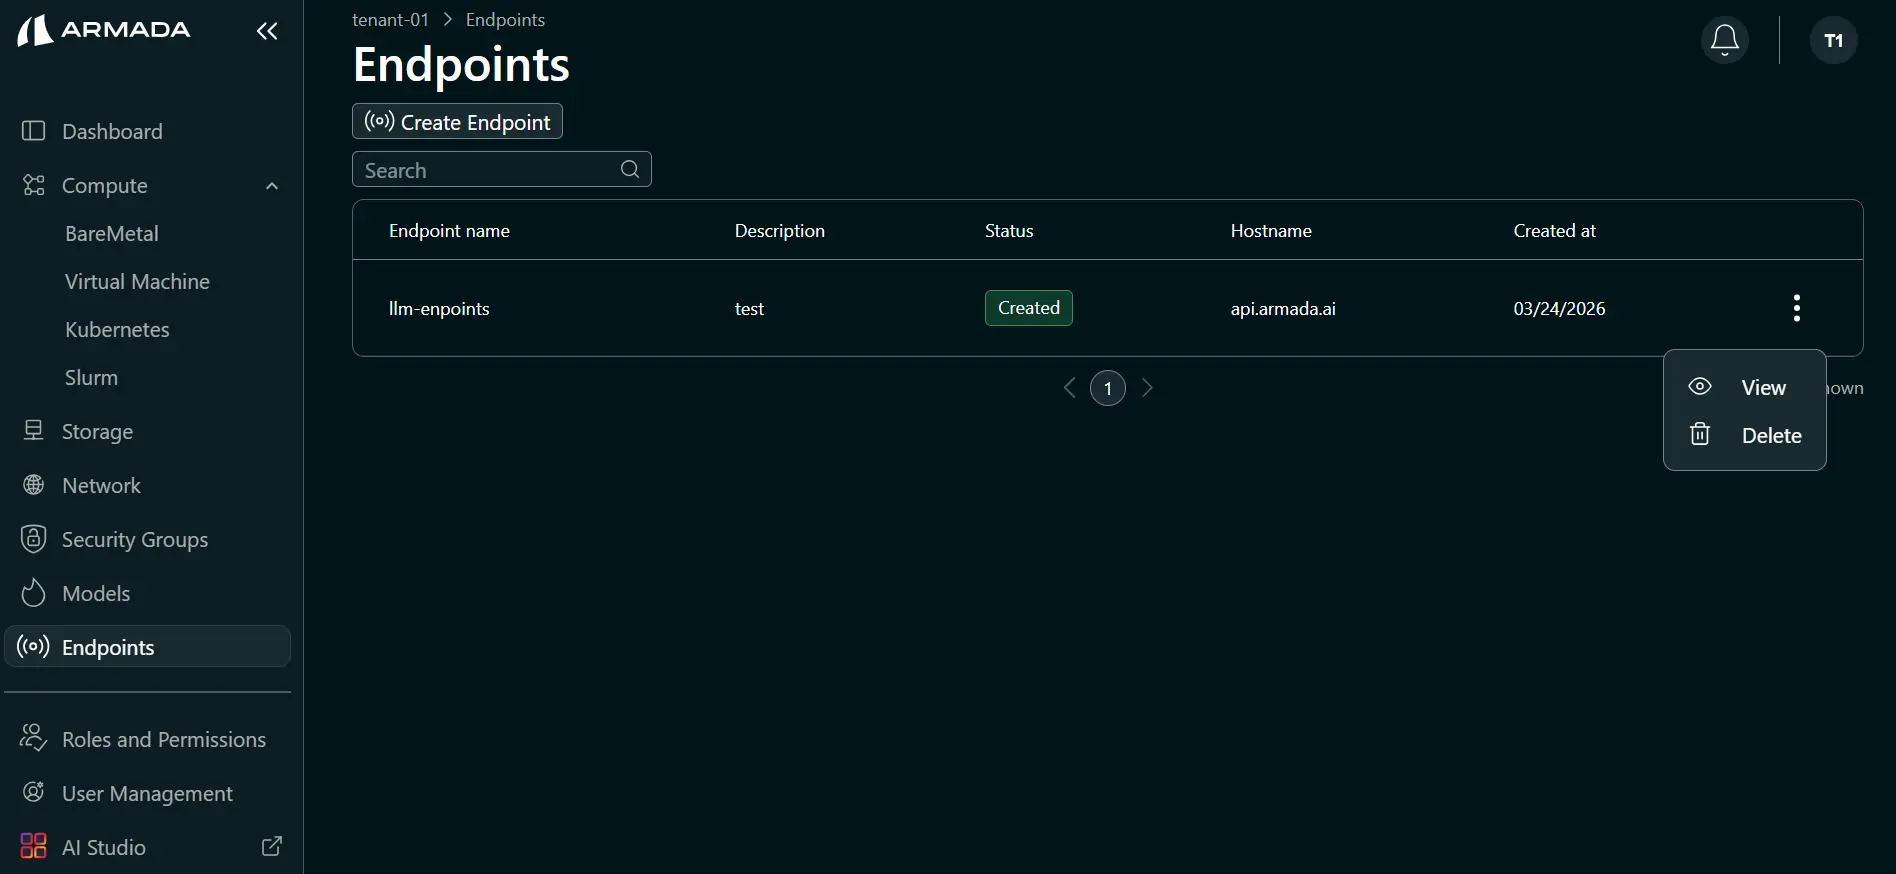
Delete Endpoints
Prerequisites
- Update client applications to use new endpoints
- Redirect traffic if applicable
- Complete pending requests
Delete Process
Step 1: Open Endpoint Delete Action
- Log in as Tenant Admin.
- In Endpoints, open the target endpoint menu (three dots).
- Click Delete.
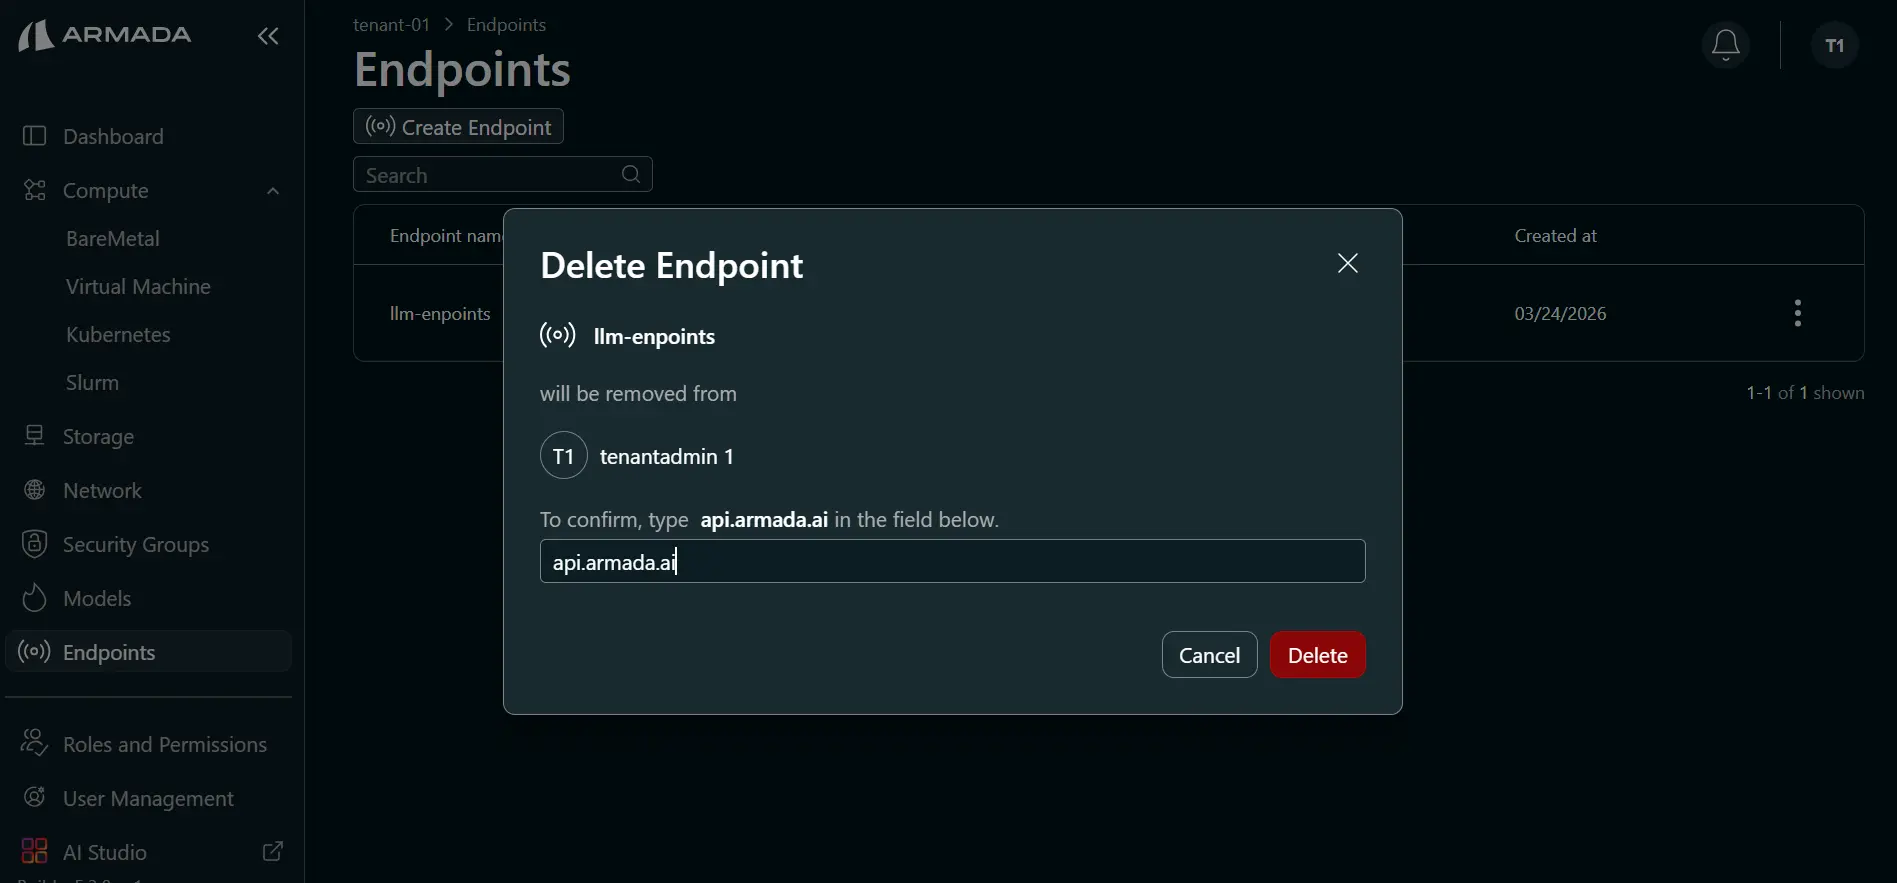
Step 2: Confirm Deletion
- Enter the endpoint name in the confirmation popup.
- Click Delete.
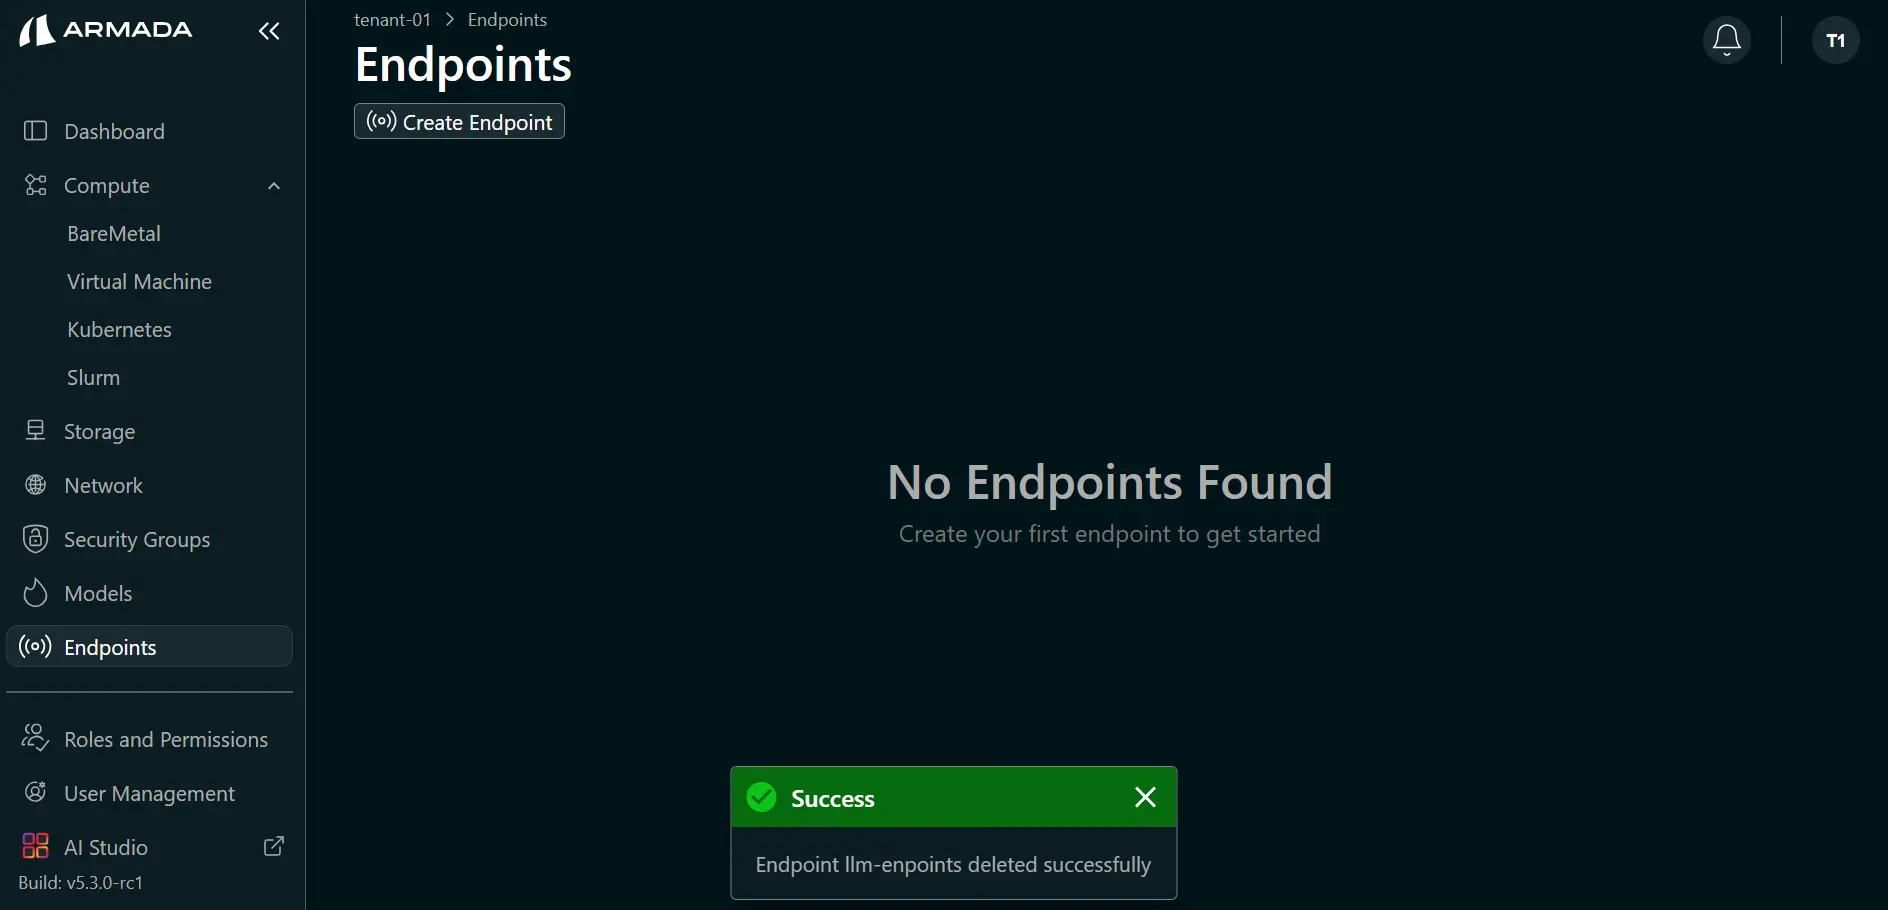
Step 3: Verify Deletion
- Confirm the endpoint entry is removed from the UI.
Delete Clusters
Prerequisites for Deletion
- Remove all workloads from cluster
- Delete deployed models
- Stop all services
- Back up configuration if needed
Pre-Deletion Checklist
- All pods evicted
- Persistent data backed up
- Configuration exported
- Network policies recorded
- Monitoring data archived
Delete Process
Step 1: Drain Workloads
Gracefully stop all workloads:
kubectl drain <node-name>
Or for all nodes:
kubectl get nodes
kubectl drain <node1> <node2> <node3>
Step 2: Delete Workloads
Delete remaining workloads:
kubectl delete deployment --all
kubectl delete statefulset --all
kubectl delete pod --all
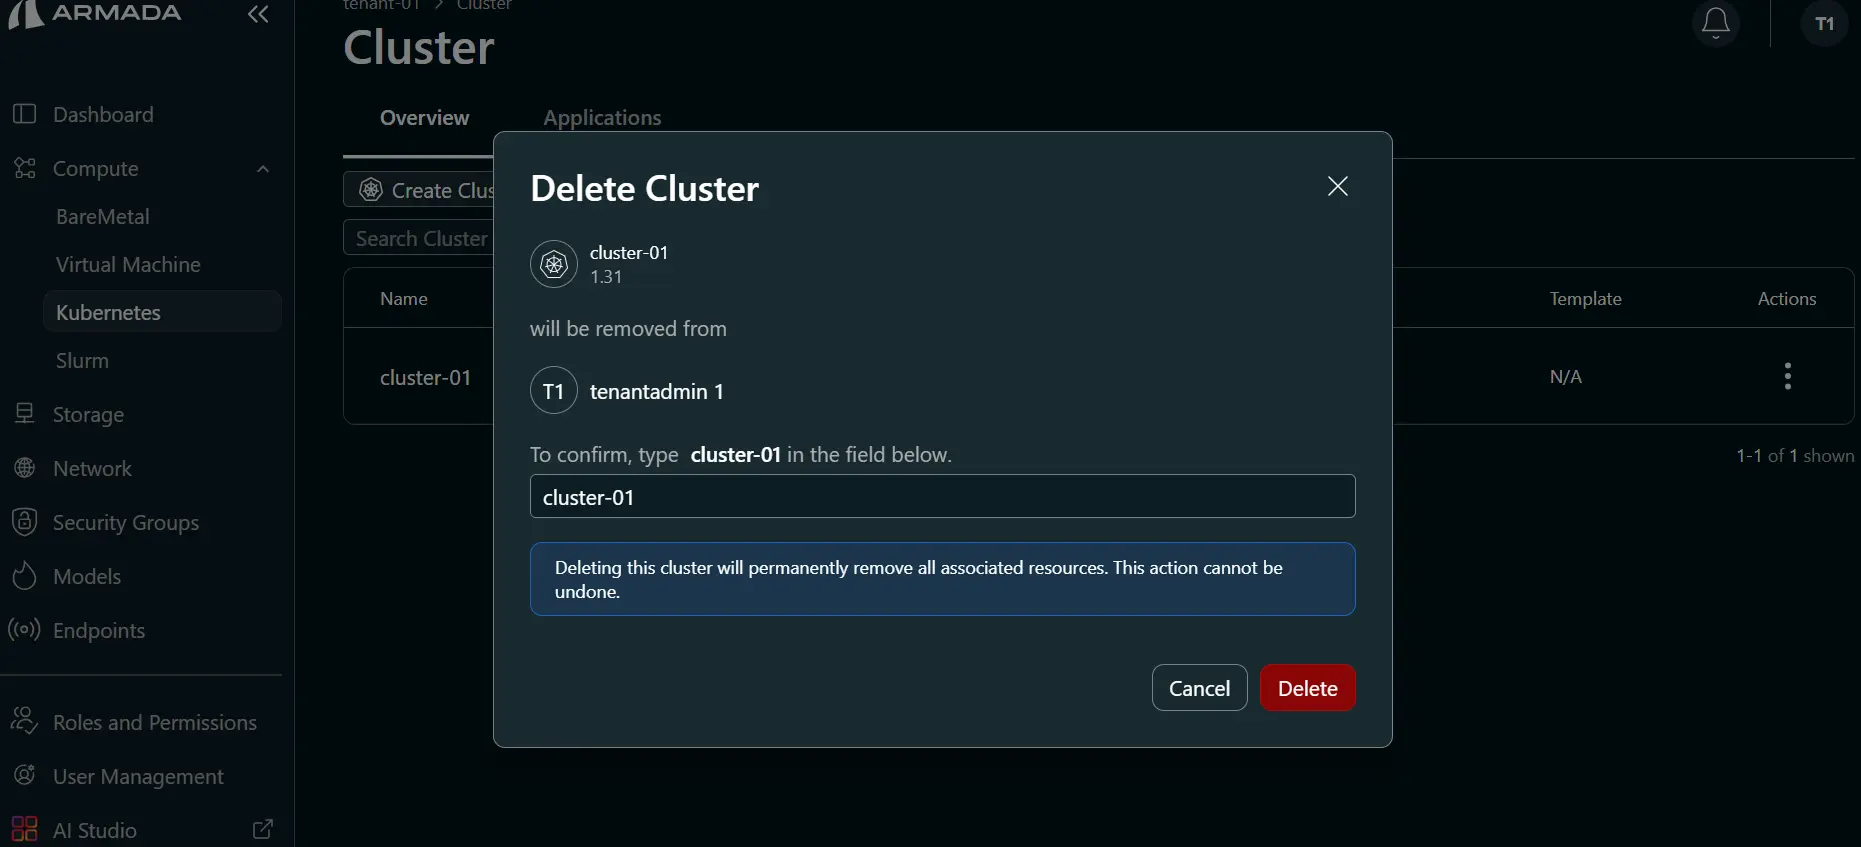
Step 3: Delete Cluster
- Log in as Tenant Admin and go to Compute → Cluster.
- Open the cluster menu (three dots), click Delete, enter the cluster name, then click Delete.

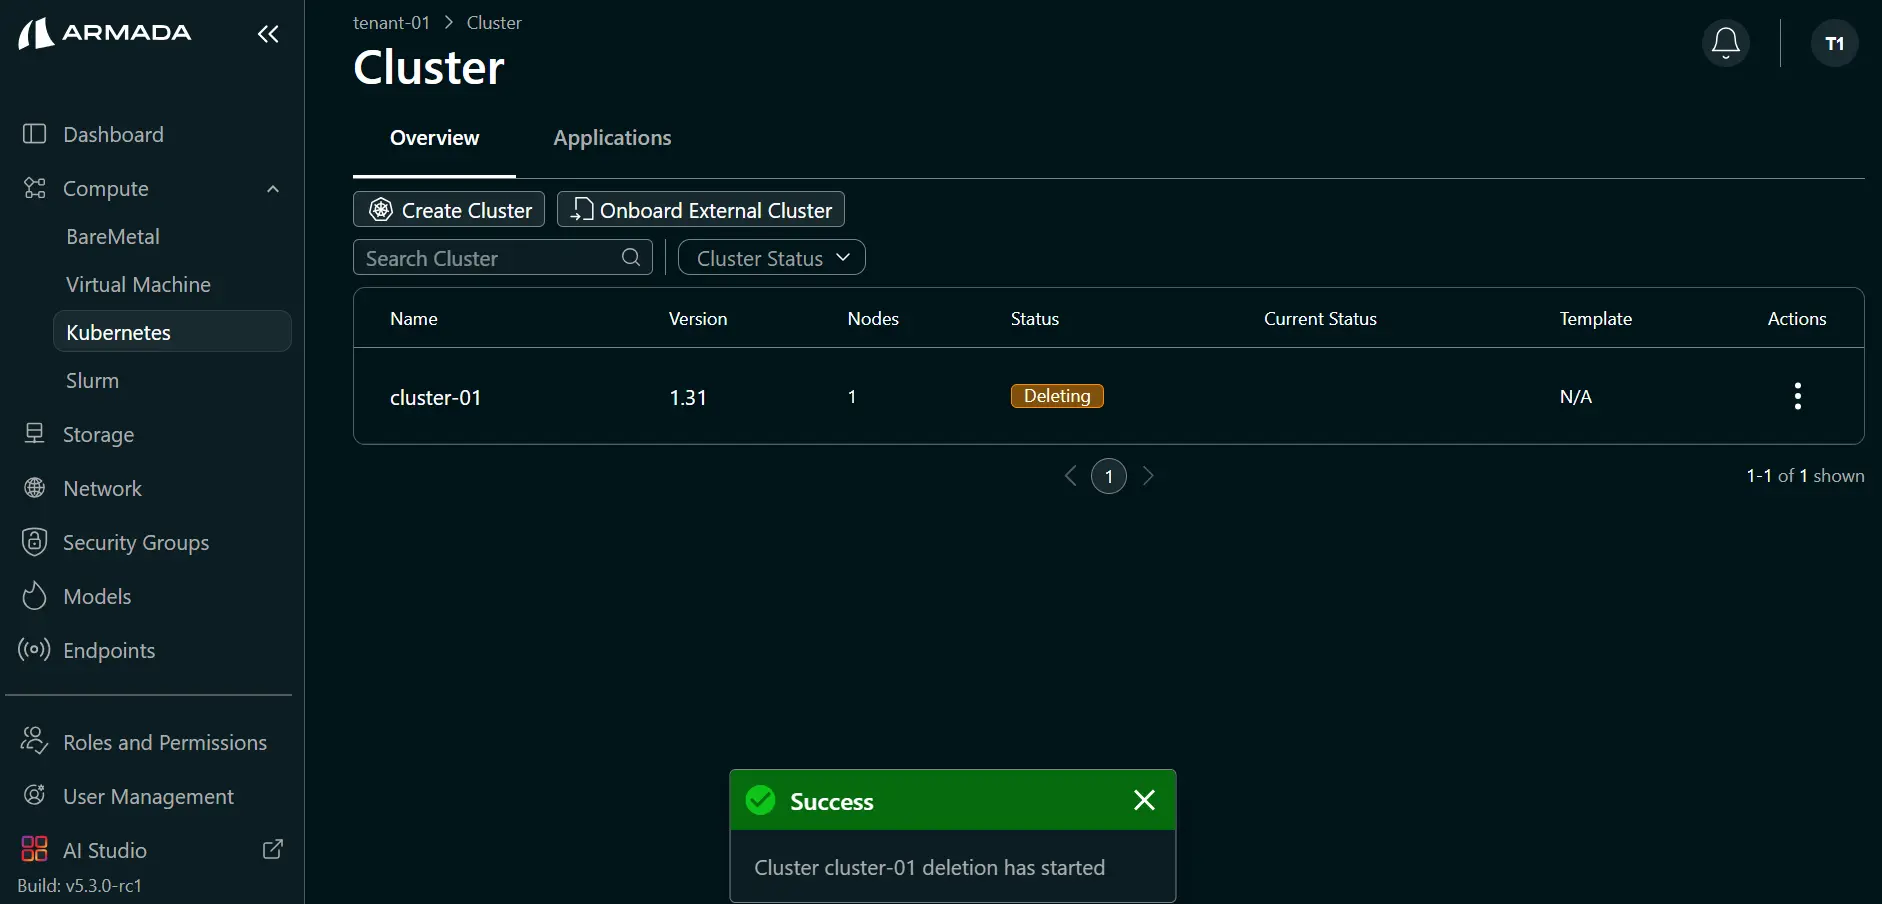
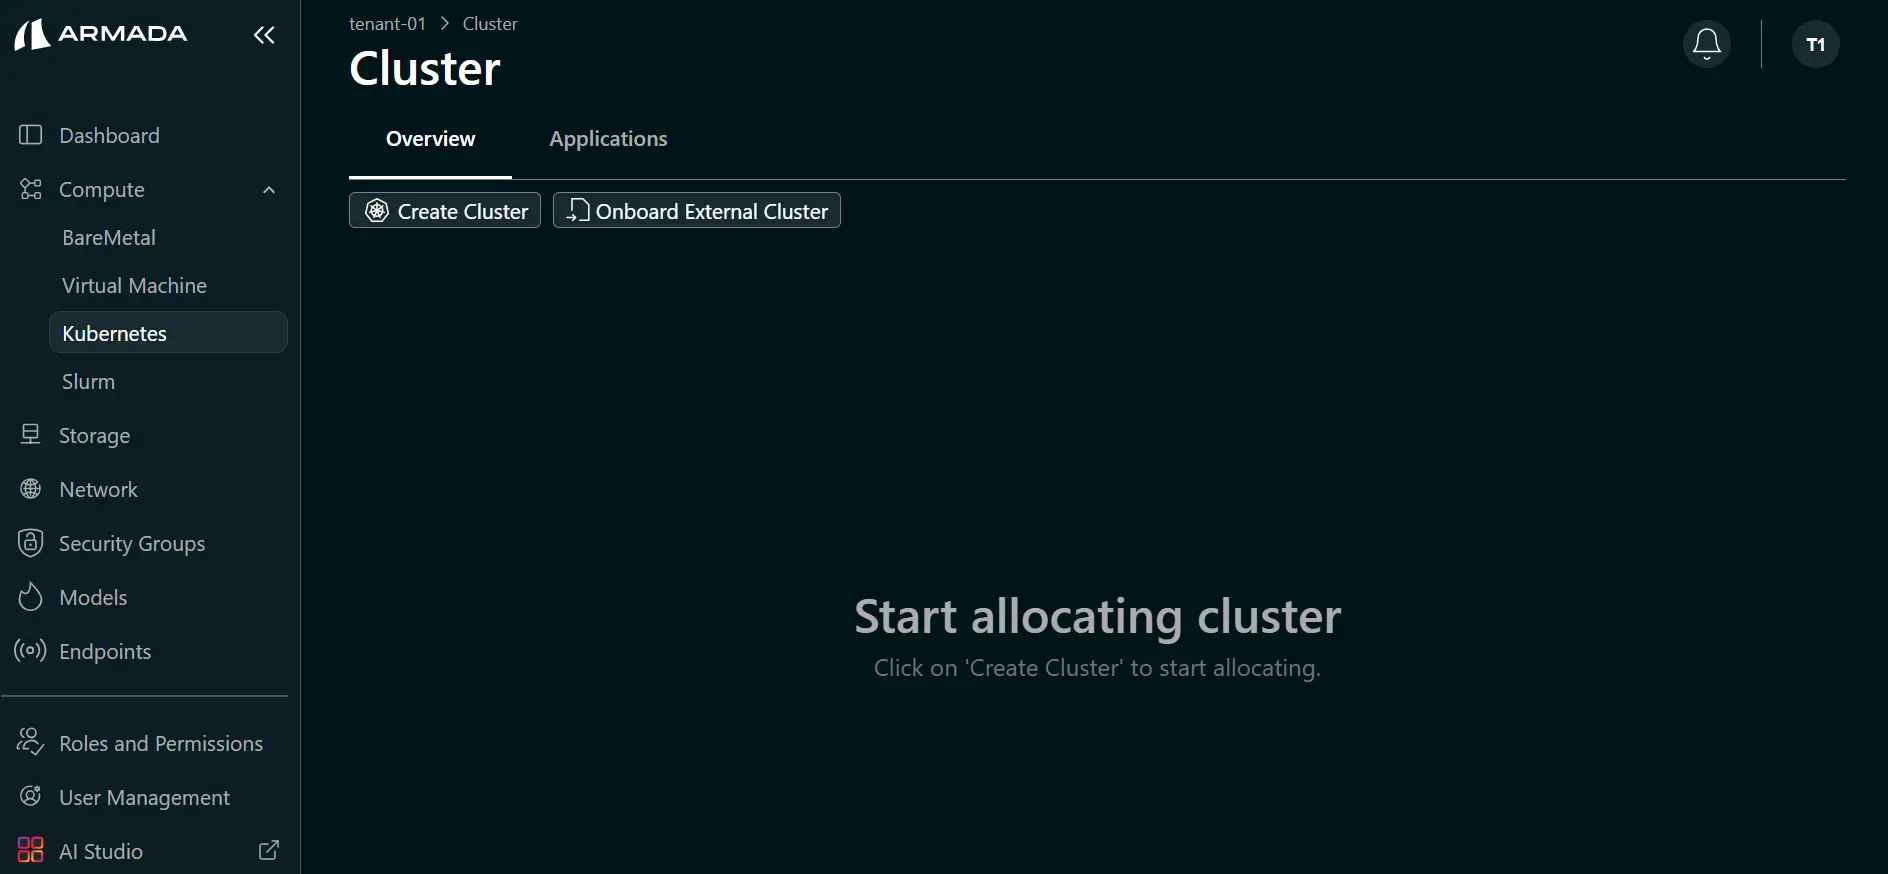
Step 4: Monitor and Verify Cluster Deletion
- Monitor cluster status until it shows Deleting.
- Verify the cluster is removed from the UI after deletion completes.
Delete Slurm Cluster
Prerequisites for Deletion
- Stop all running jobs
- Ensure no active workloads
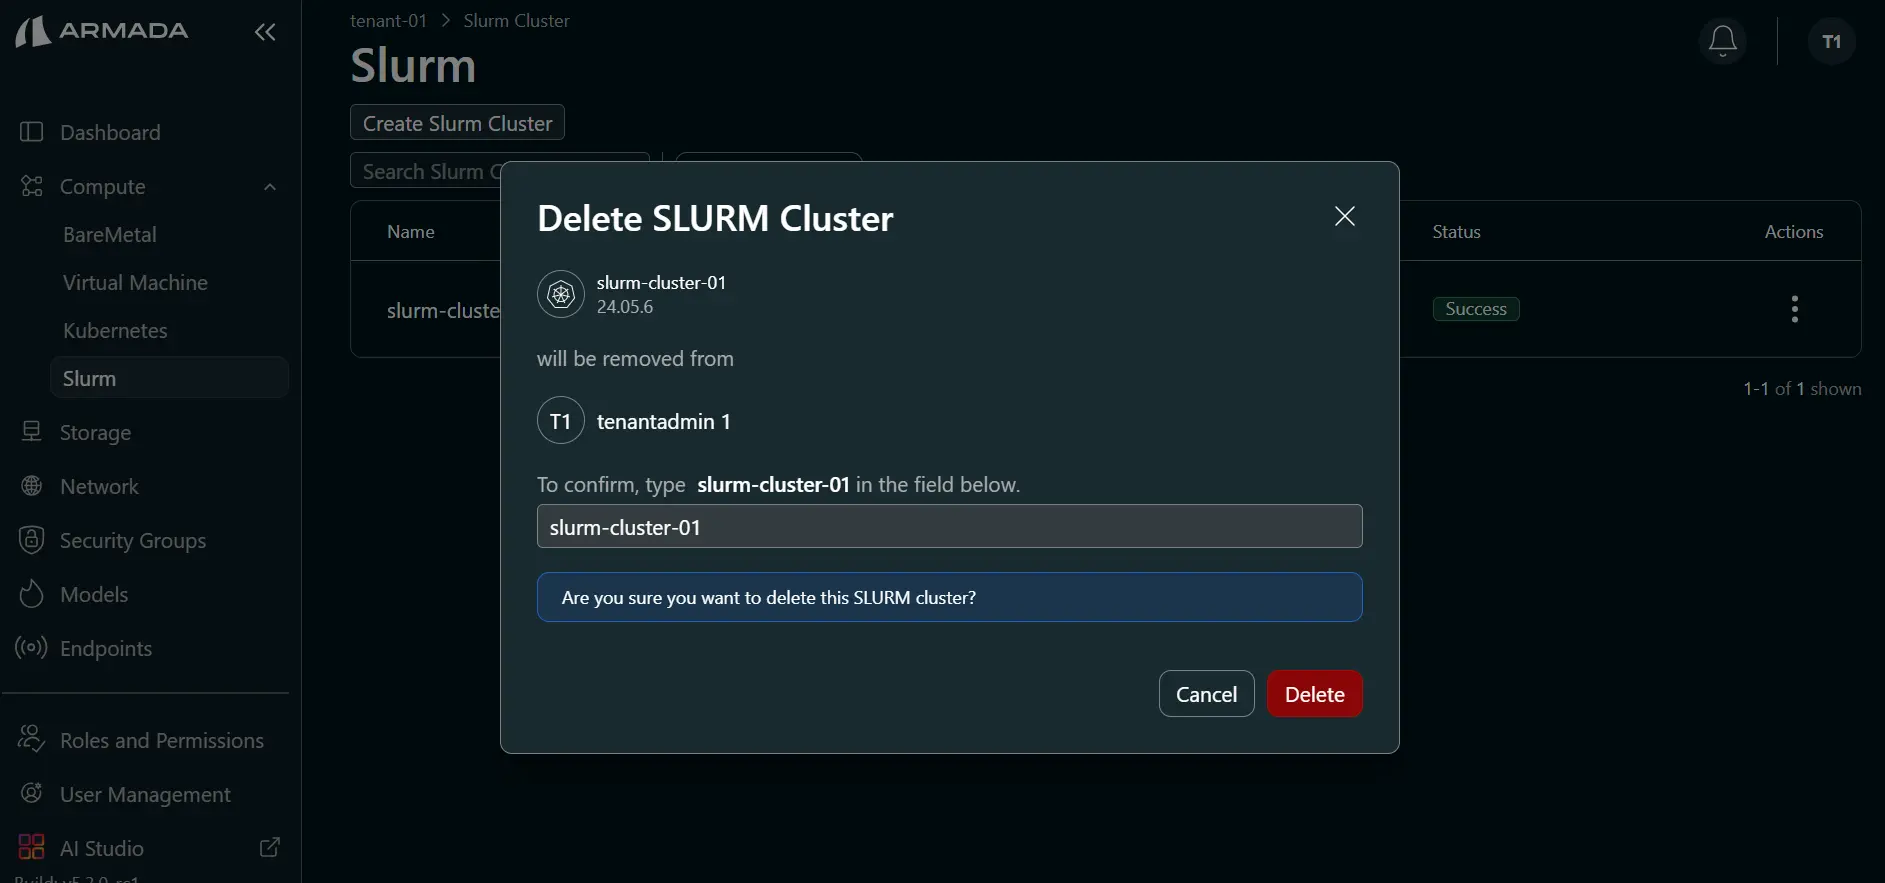
Step 1: Delete Slurm Cluster
- Open the cluster menu (three dots).
- Click Delete for the Slurm cluster.
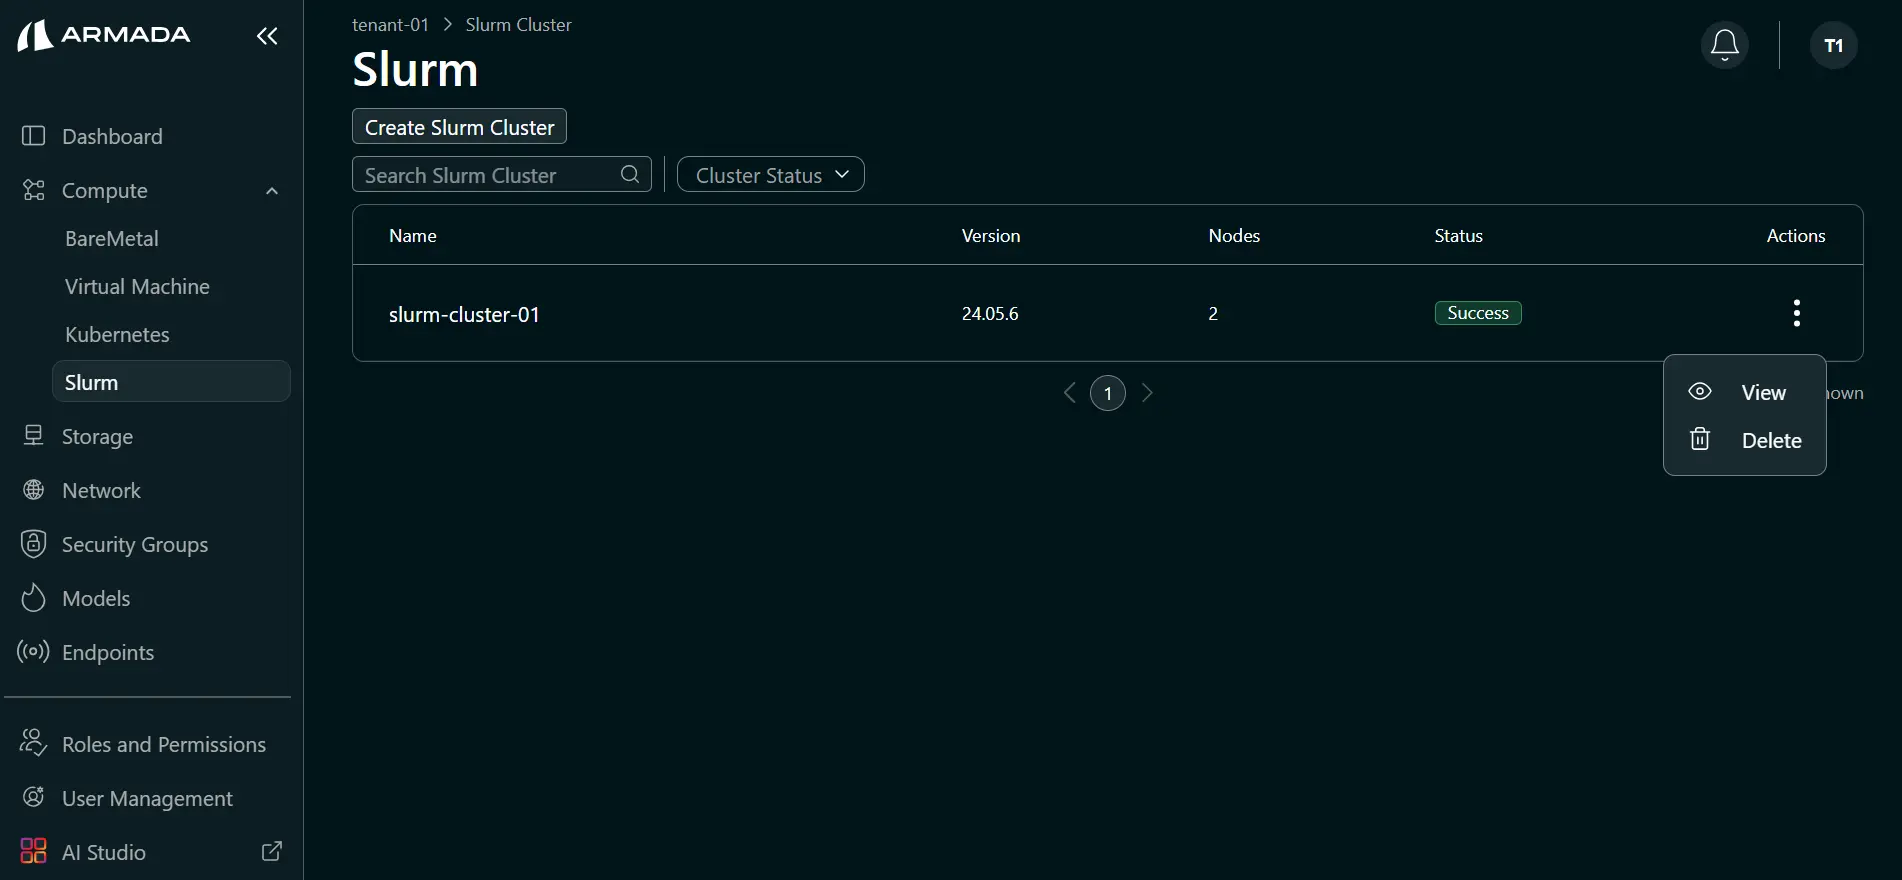
- Enter the cluster name in the confirmation popup.
- Click Delete.
Step 2: Monitor Slurm Cluster Status
- After deletion starts, status changes to Deleting.
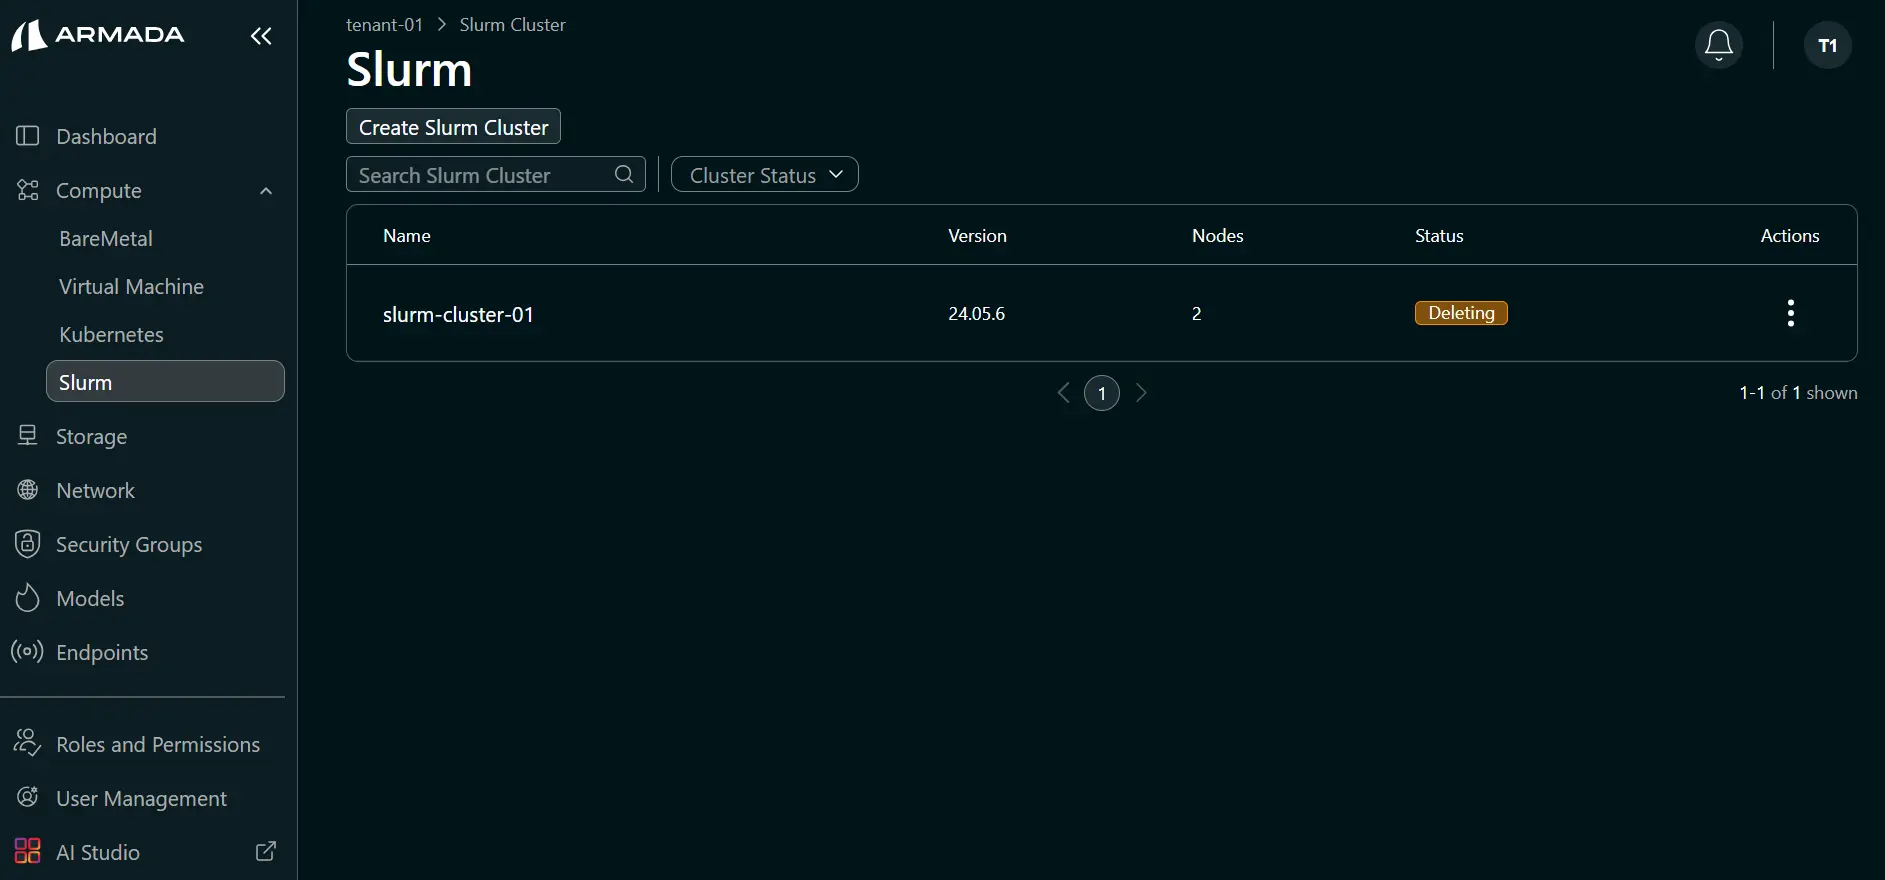
- Wait for UI status refresh (typically 1–2 minutes).
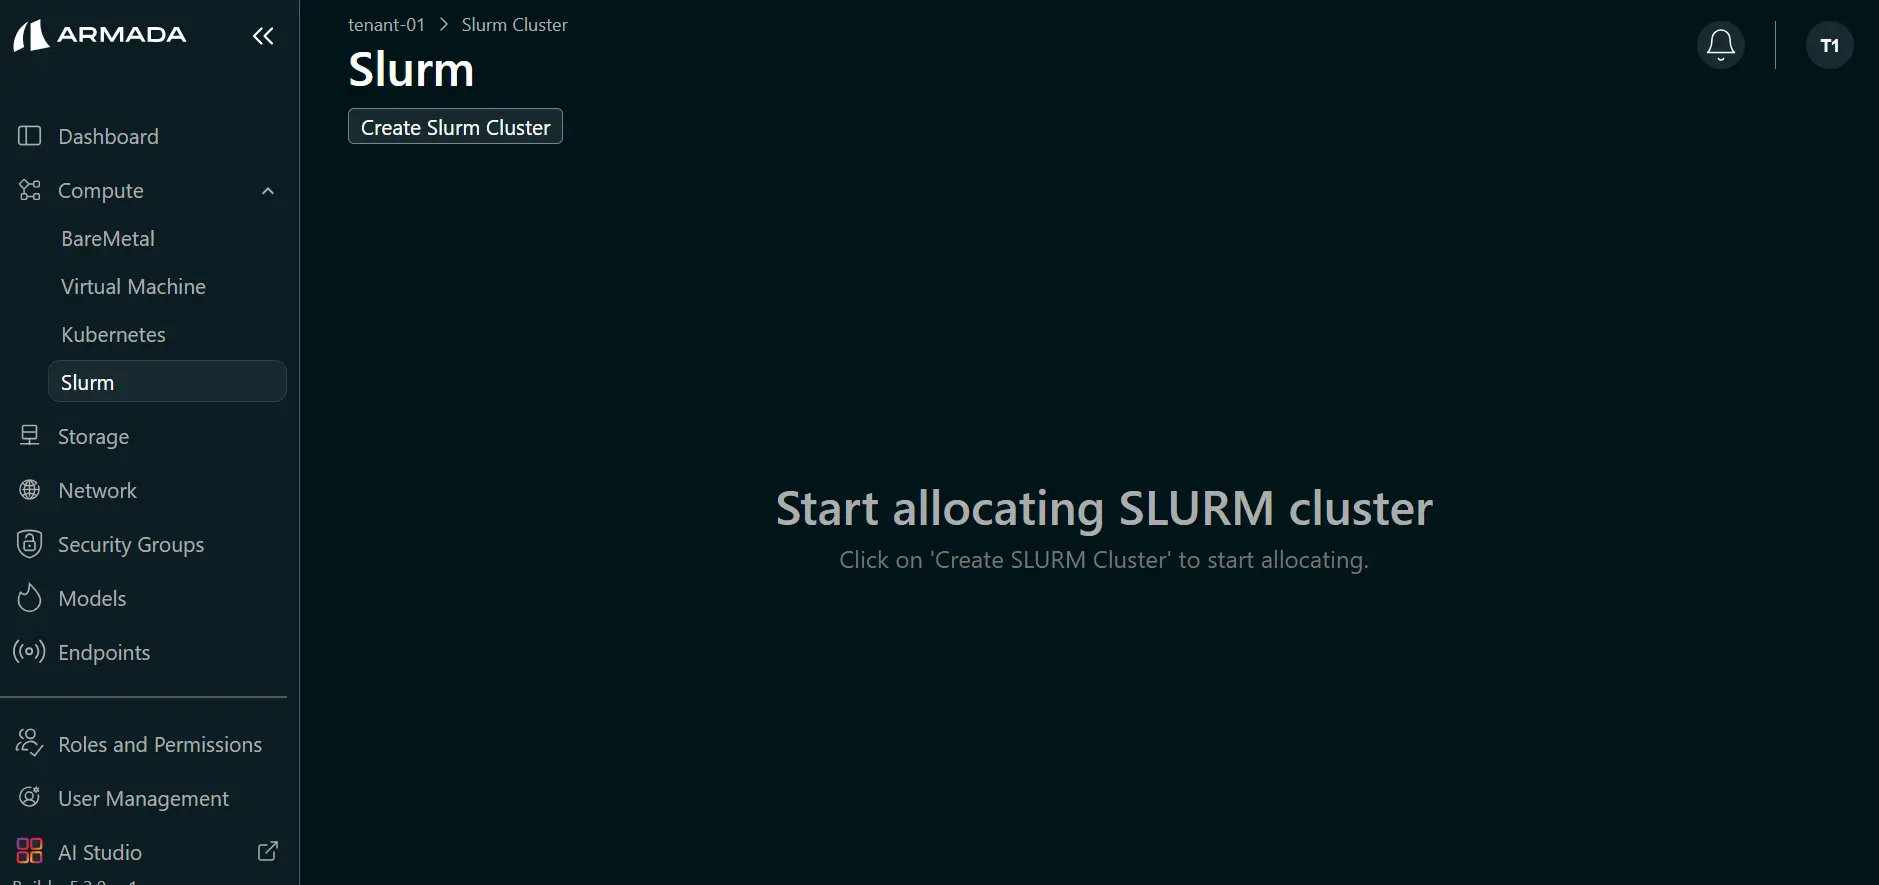
- Verify the Slurm cluster is removed from the UI after successful deletion.
Delete Volume Mount
Prerequisites
- Tenant Admin access — Log in as a Tenant Admin to delete volume mounts.
- Data backup — Back up any data on the mount that you want to keep before deletion.
note
Delete all volume mounts from bare metal servers before deleting the storage volume.
Delete Process
Step 1: Open Bare Metal Storage Tab
- Log in as Tenant Admin.
- In the sidebar, go to Compute → BareMetal.
- Click the Actions menu (⋮) for the target server and select View.
- Open the Storage tab.
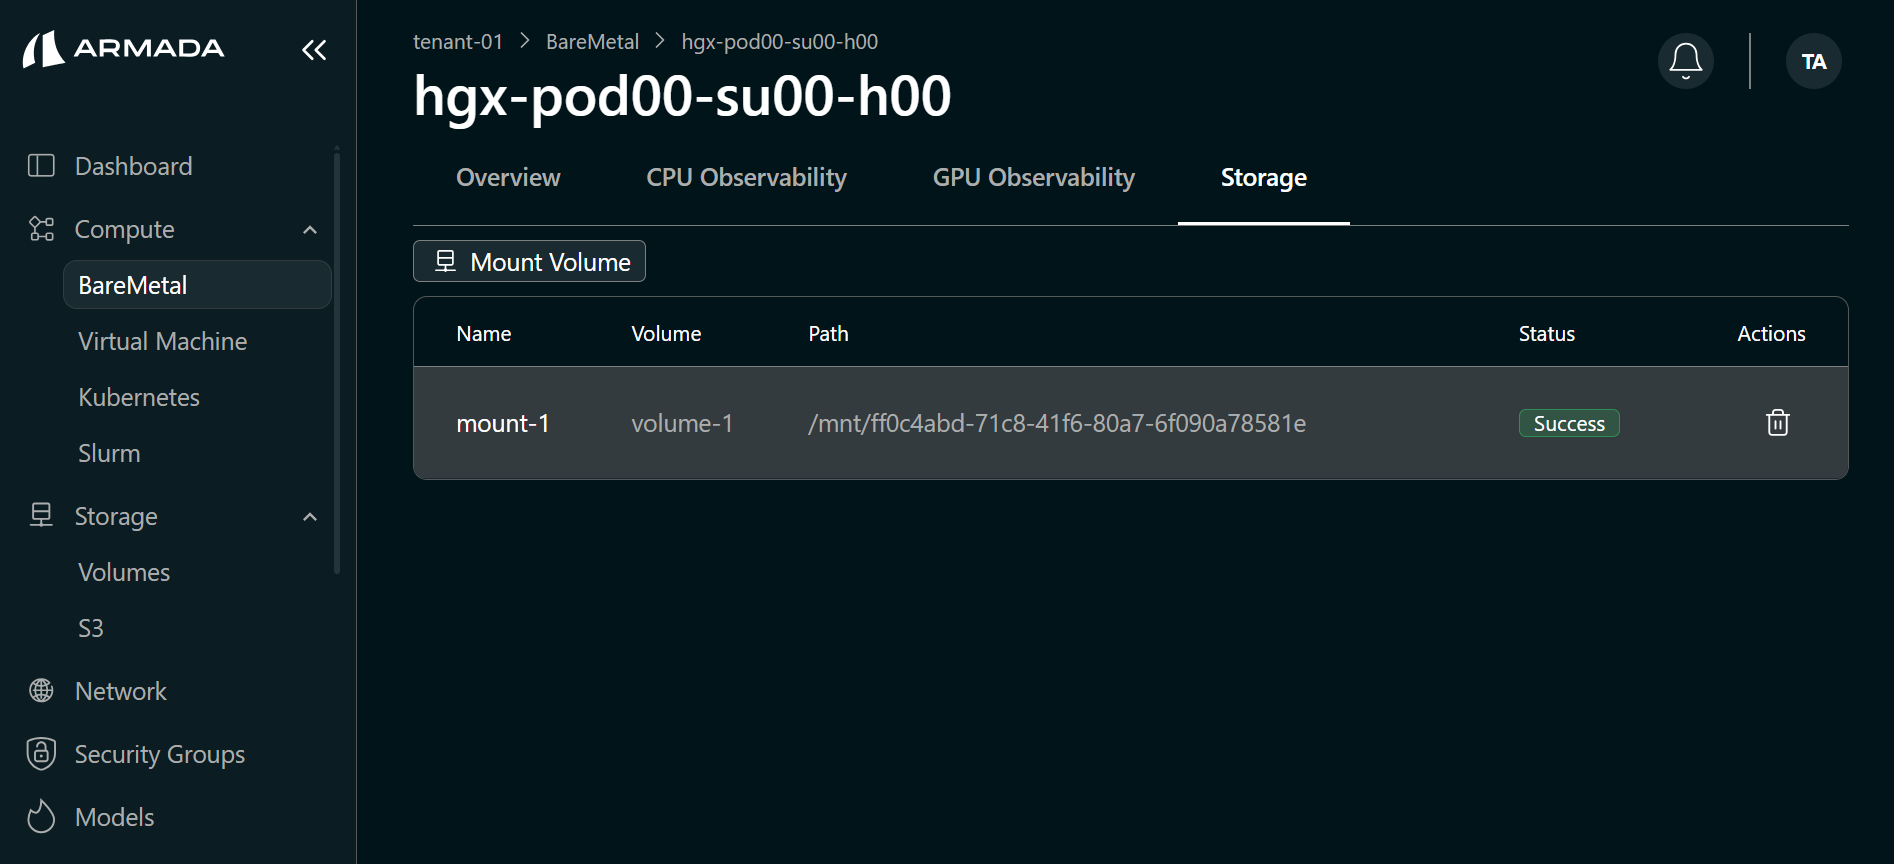
Step 2: Delete the Mount
- In the mounts table, click the Delete icon for the mount to remove.
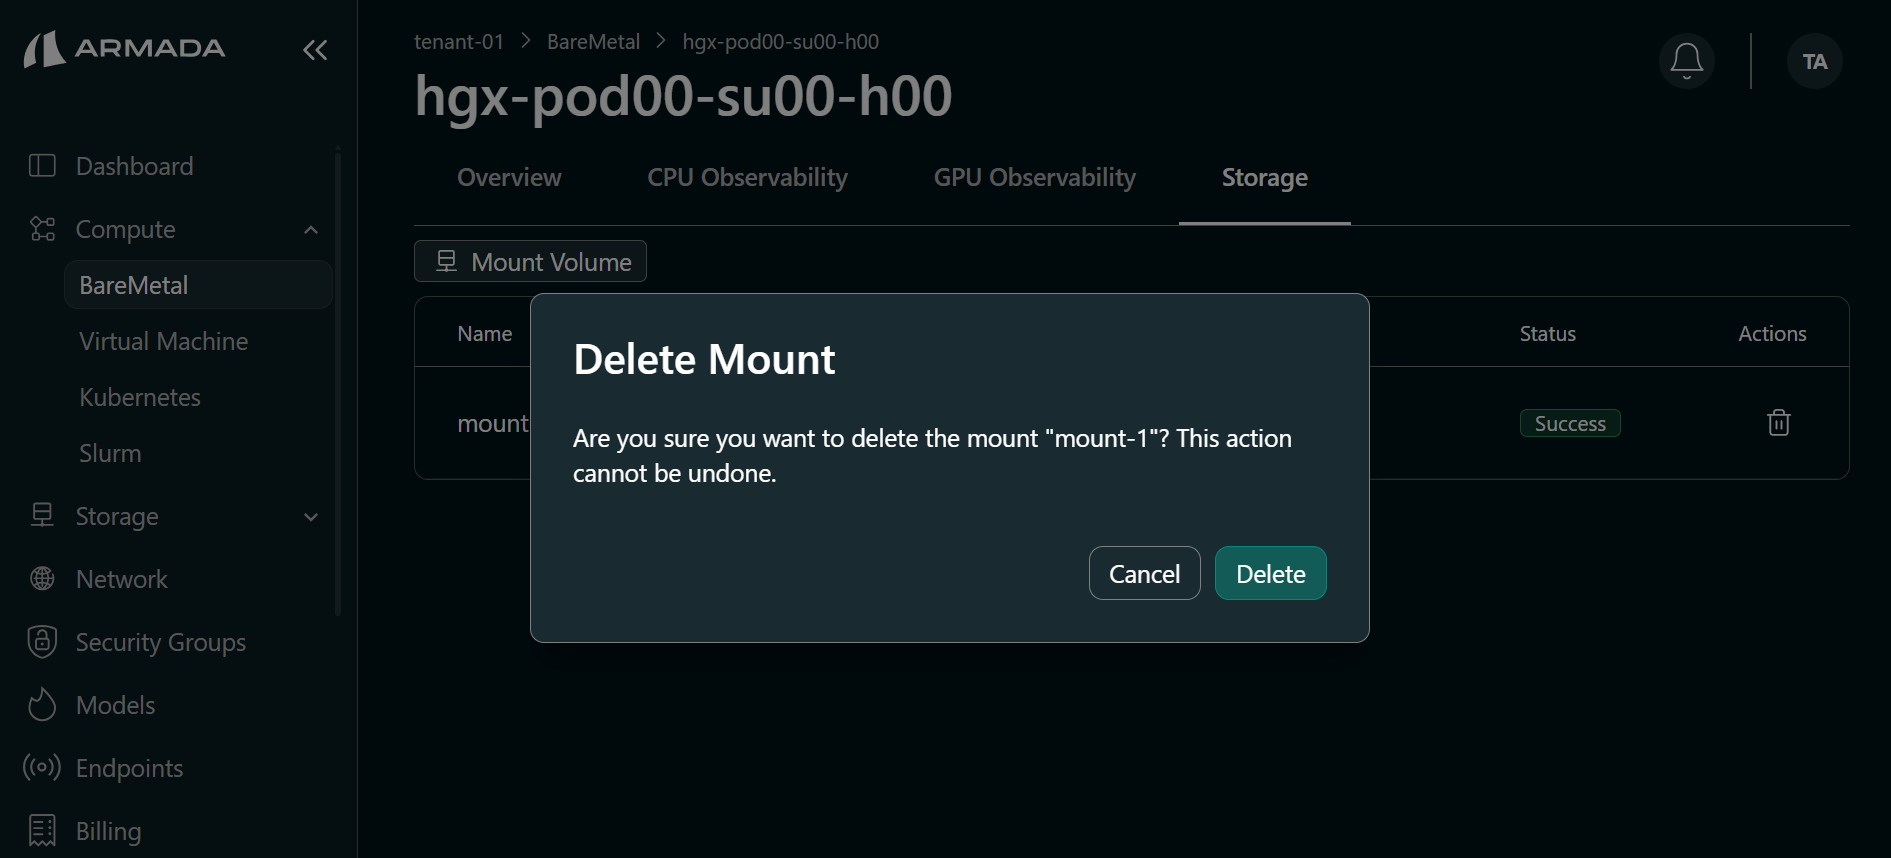
Step 3: Confirm Deletion
- In the confirmation popup, review the mount name.
- Click Delete.
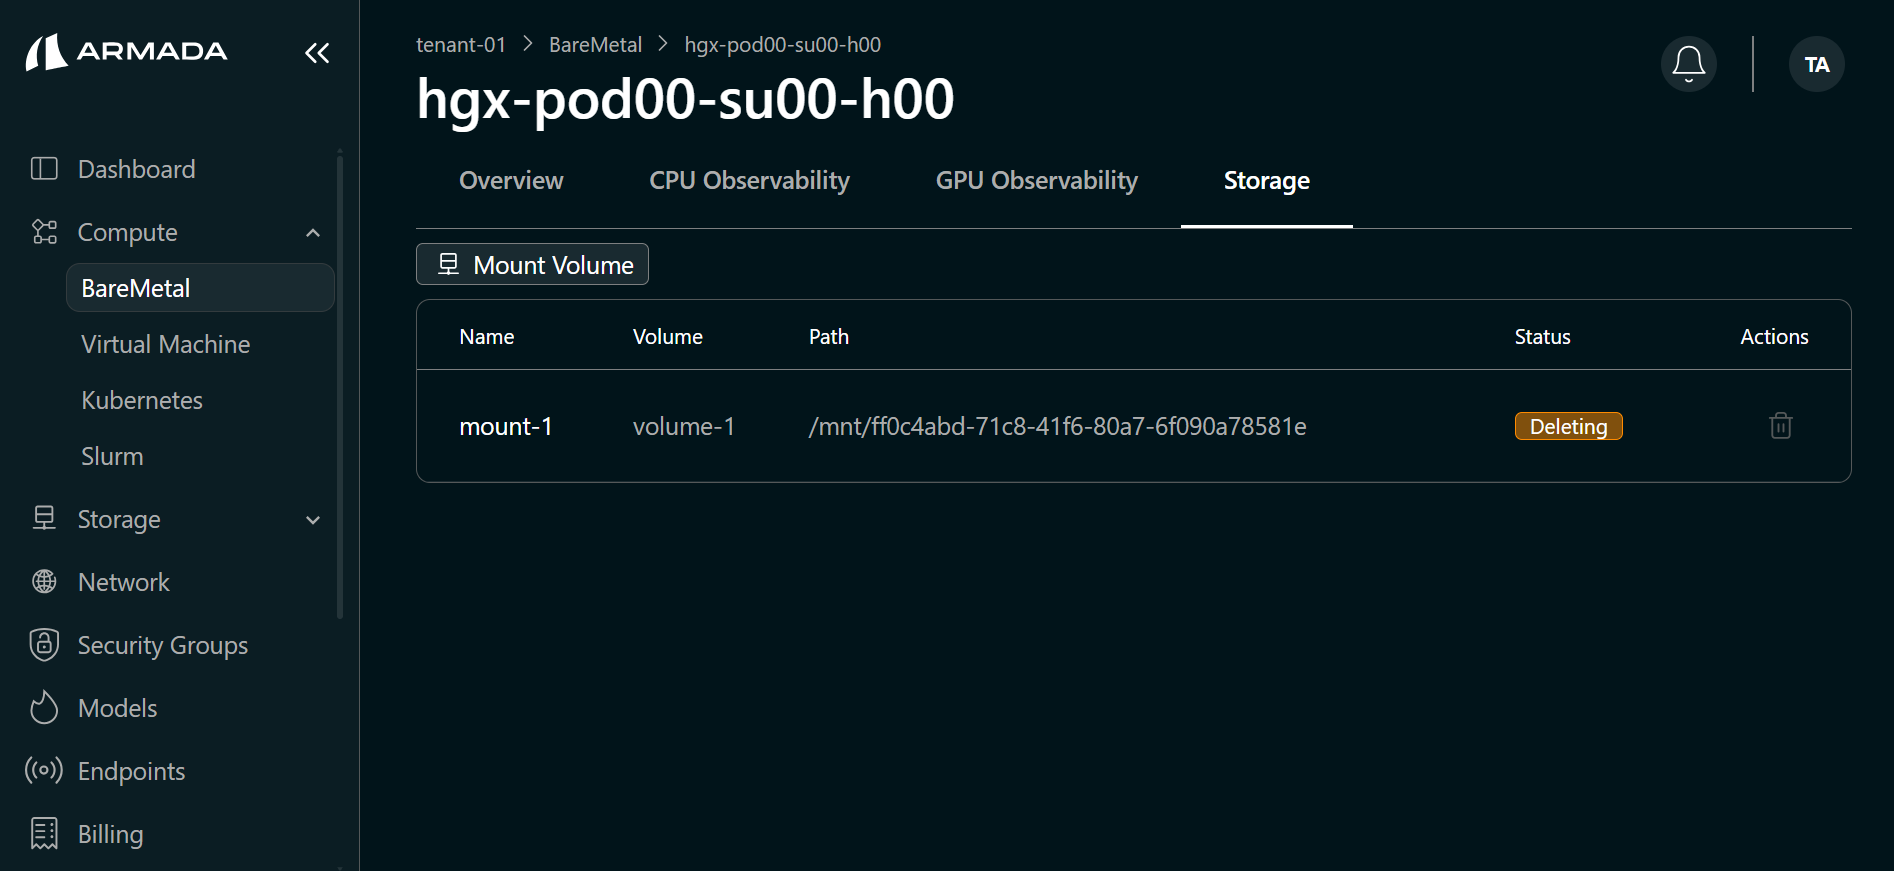
Step 4: Verify Deletion
- The mount status changes to Deleting.
- Wait for deletion to complete. Deletion time depends on the volume size.
- Confirm the mount is removed from the Storage tab.
Delete Storage Volume
Prerequisites
- Tenant Admin access — Log in as a Tenant Admin to delete storage volumes.
- Volume mounts removed — Delete all mounts on bare metal servers that use this volume before deleting the storage volume.
- Data backup — Back up volume data you want to keep.
Delete Process
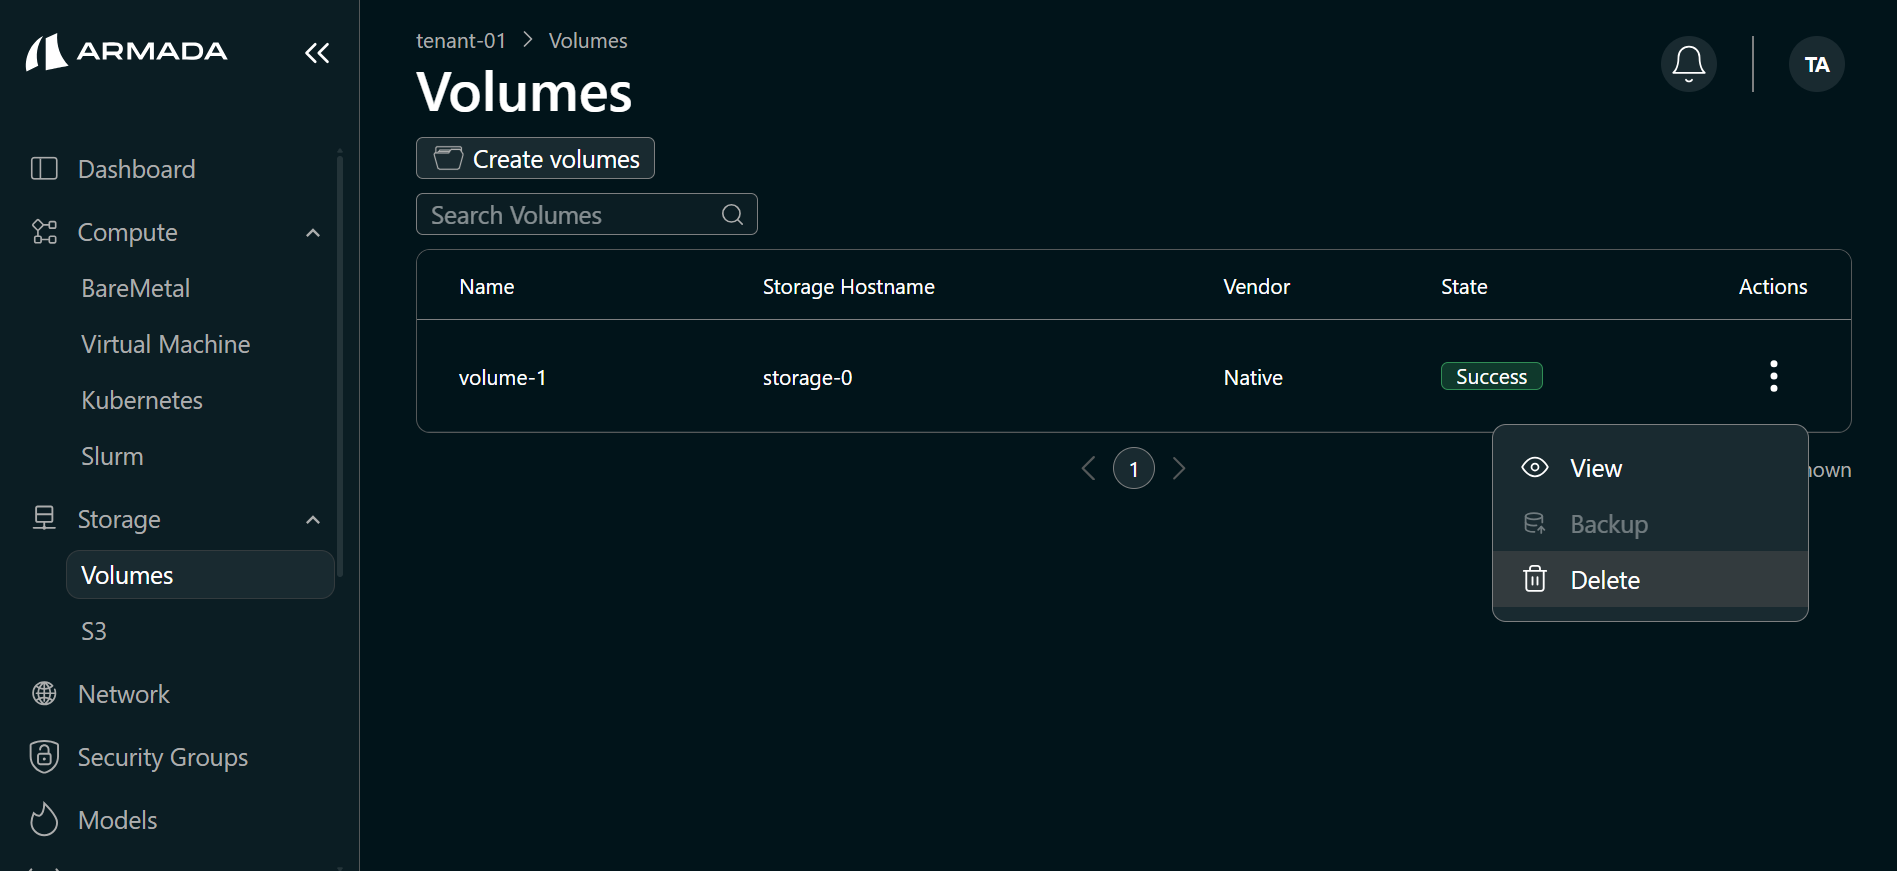
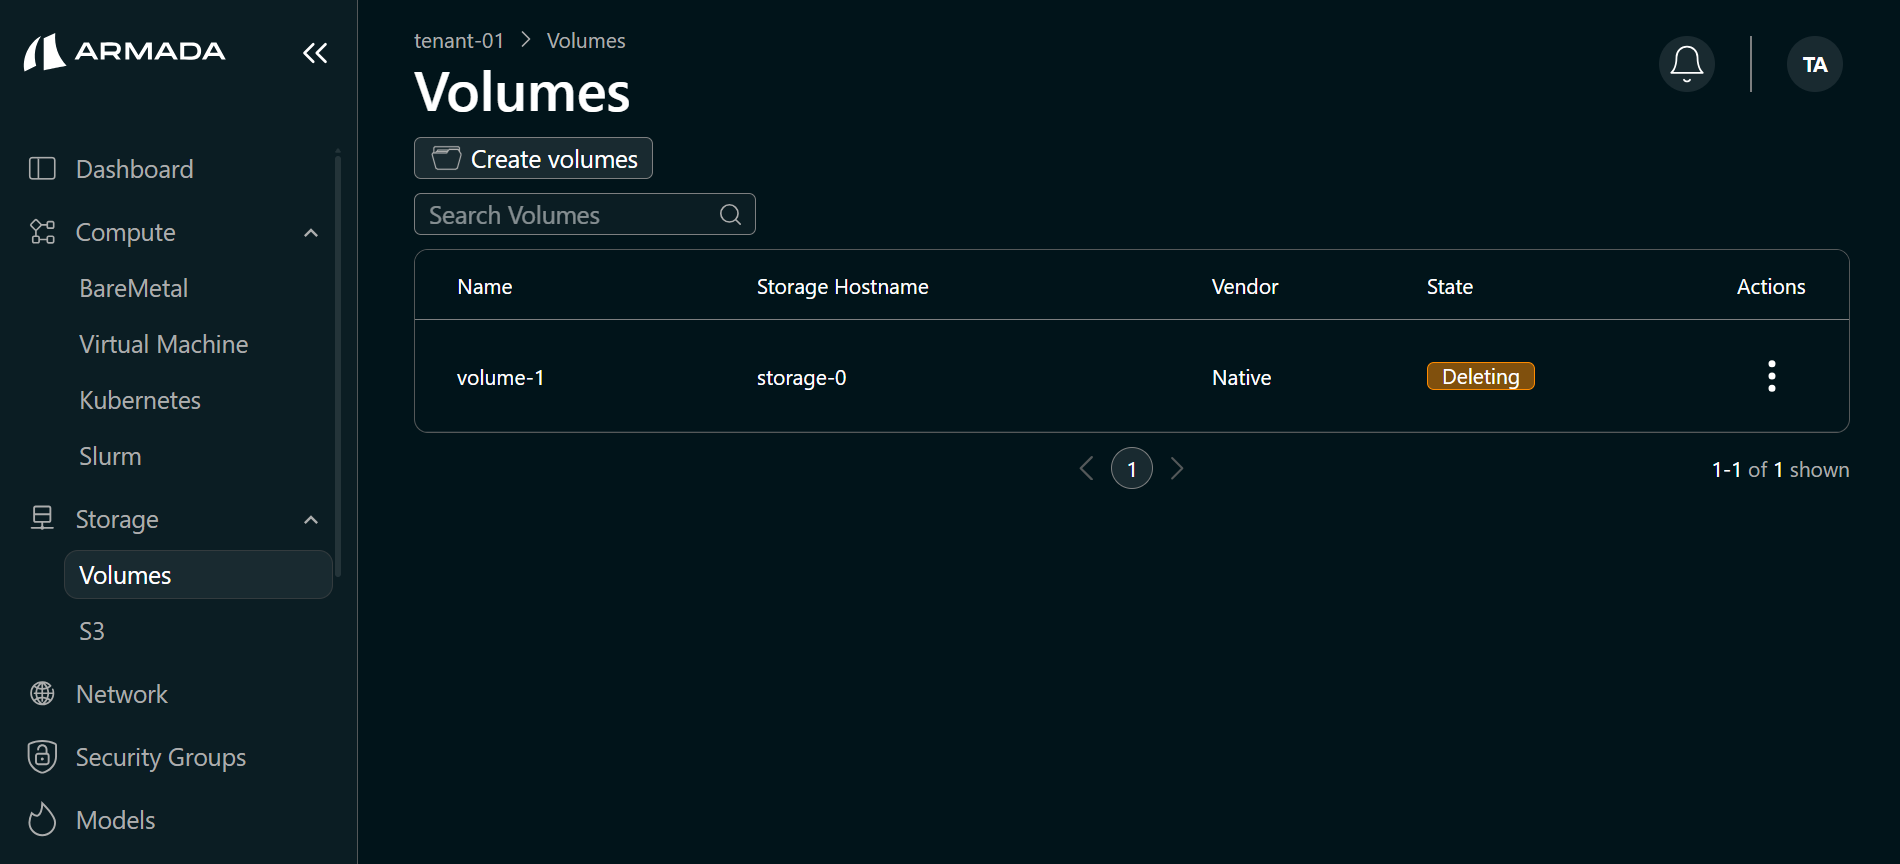
Step 1: Open Volumes and Start Deletion
- Log in as Tenant Admin.
- In the sidebar, go to Storage → Volumes.
- Click the Actions menu (⋮) for the volume to delete and select Delete.
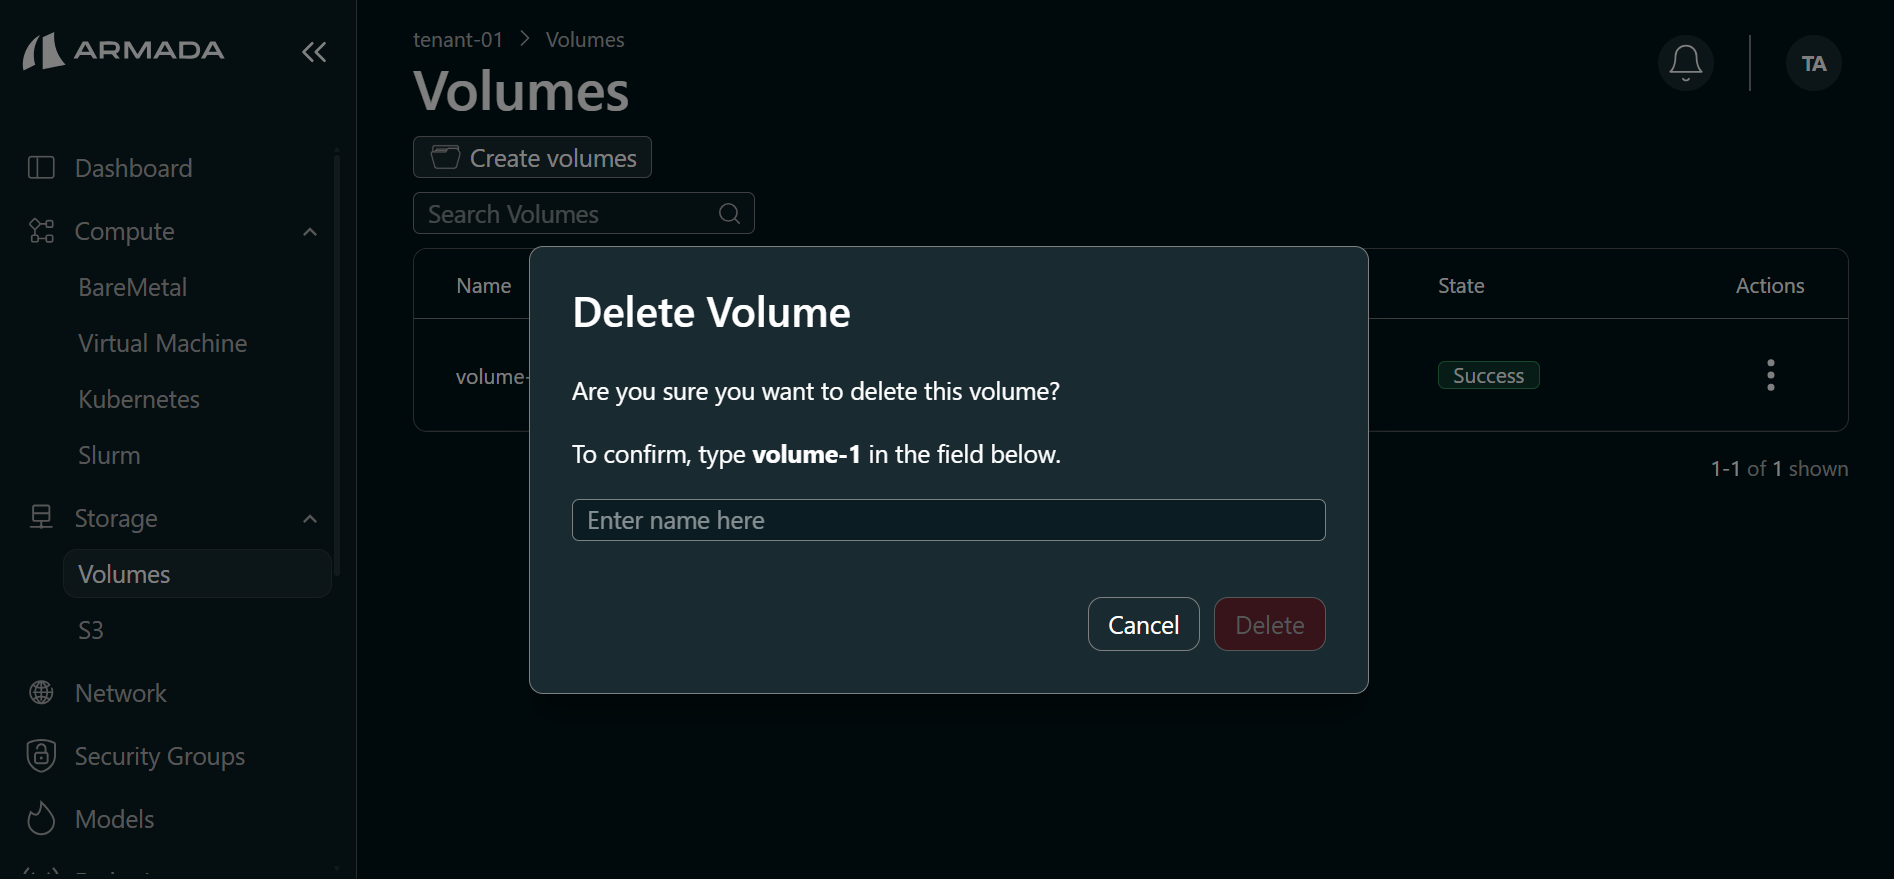
Step 2: Confirm Deletion
- In the confirmation popup, enter the volume name exactly as shown.
- Click Delete.
Step 3: Verify Deletion
- The volume status changes to Deleting.
- Wait for deletion to complete. Deletion time depends on the volume size.
- Confirm the volume is removed from the Volumes list.
Deallocate Virtual Machine
Prerequisites
- Back up any data you need from the VM
- Stop or migrate any running services on the VM
- Delete any clusters or workloads that use this VM
Deallocation Process
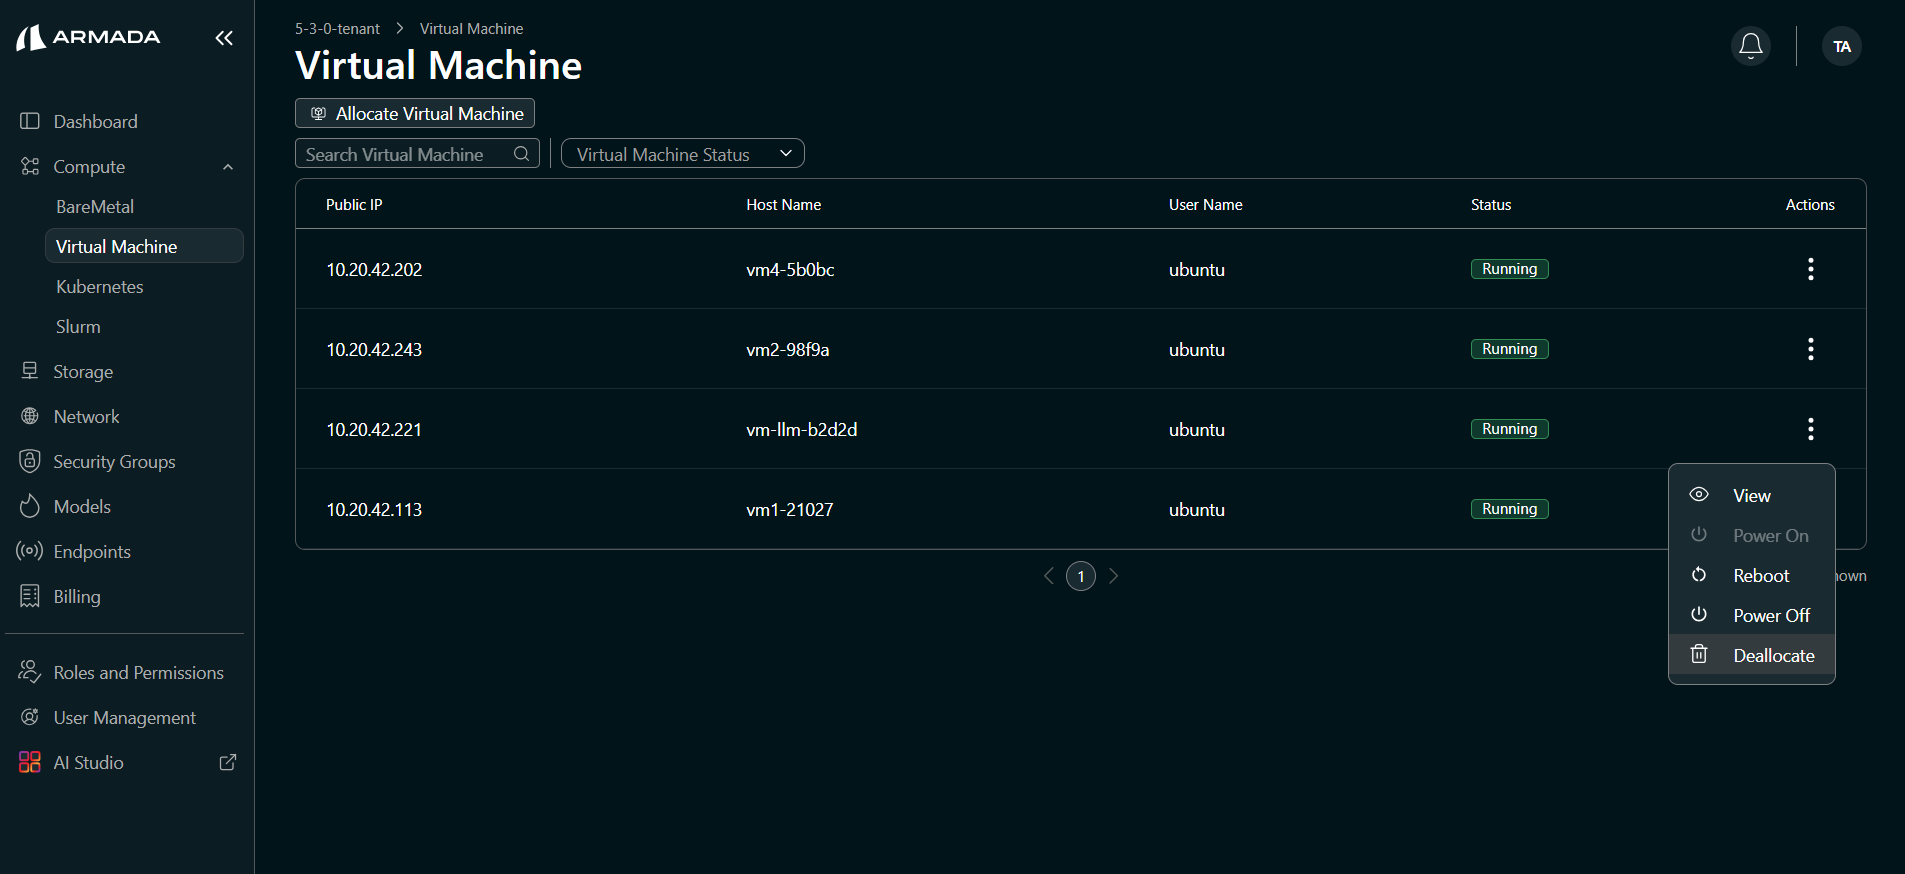
Step 1: Open VM menu and start deallocation
- Log in as Tenant Admin.
- Go to Compute → Virtual Machine.
- Locate the VM to deallocate, click the ellipsis (three-dot) menu on the row, then click Deallocate.
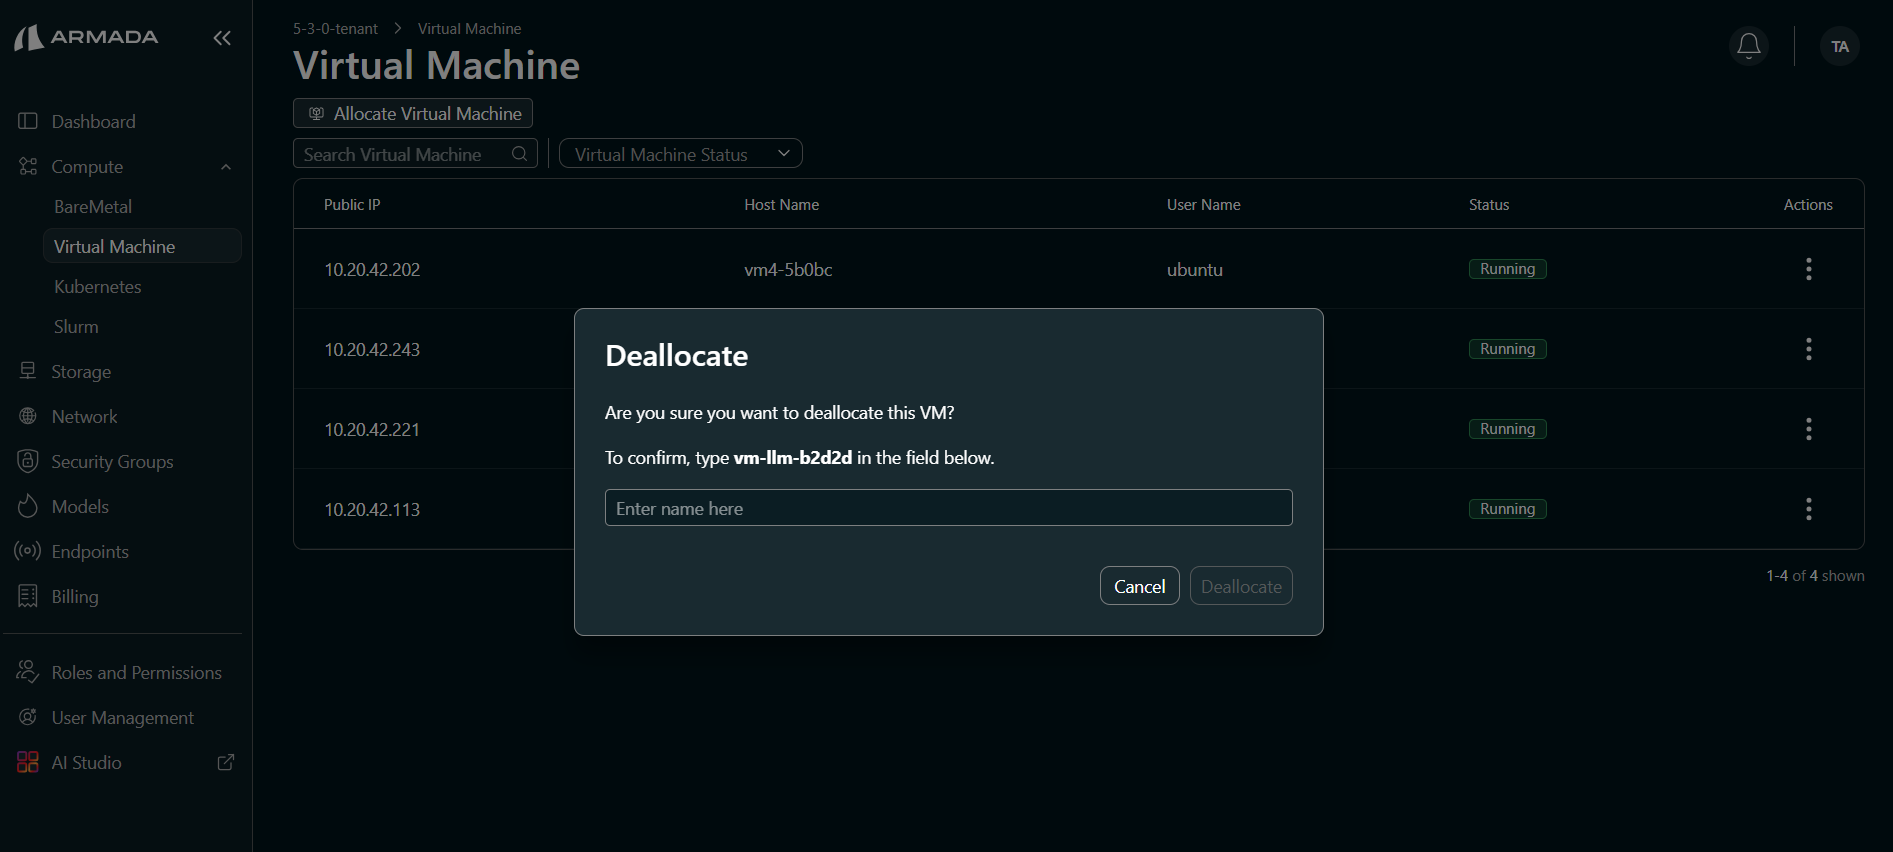
Step 2: Confirm deallocation
- In the confirmation popup, enter the VM name exactly as shown.
- Click Deallocate.
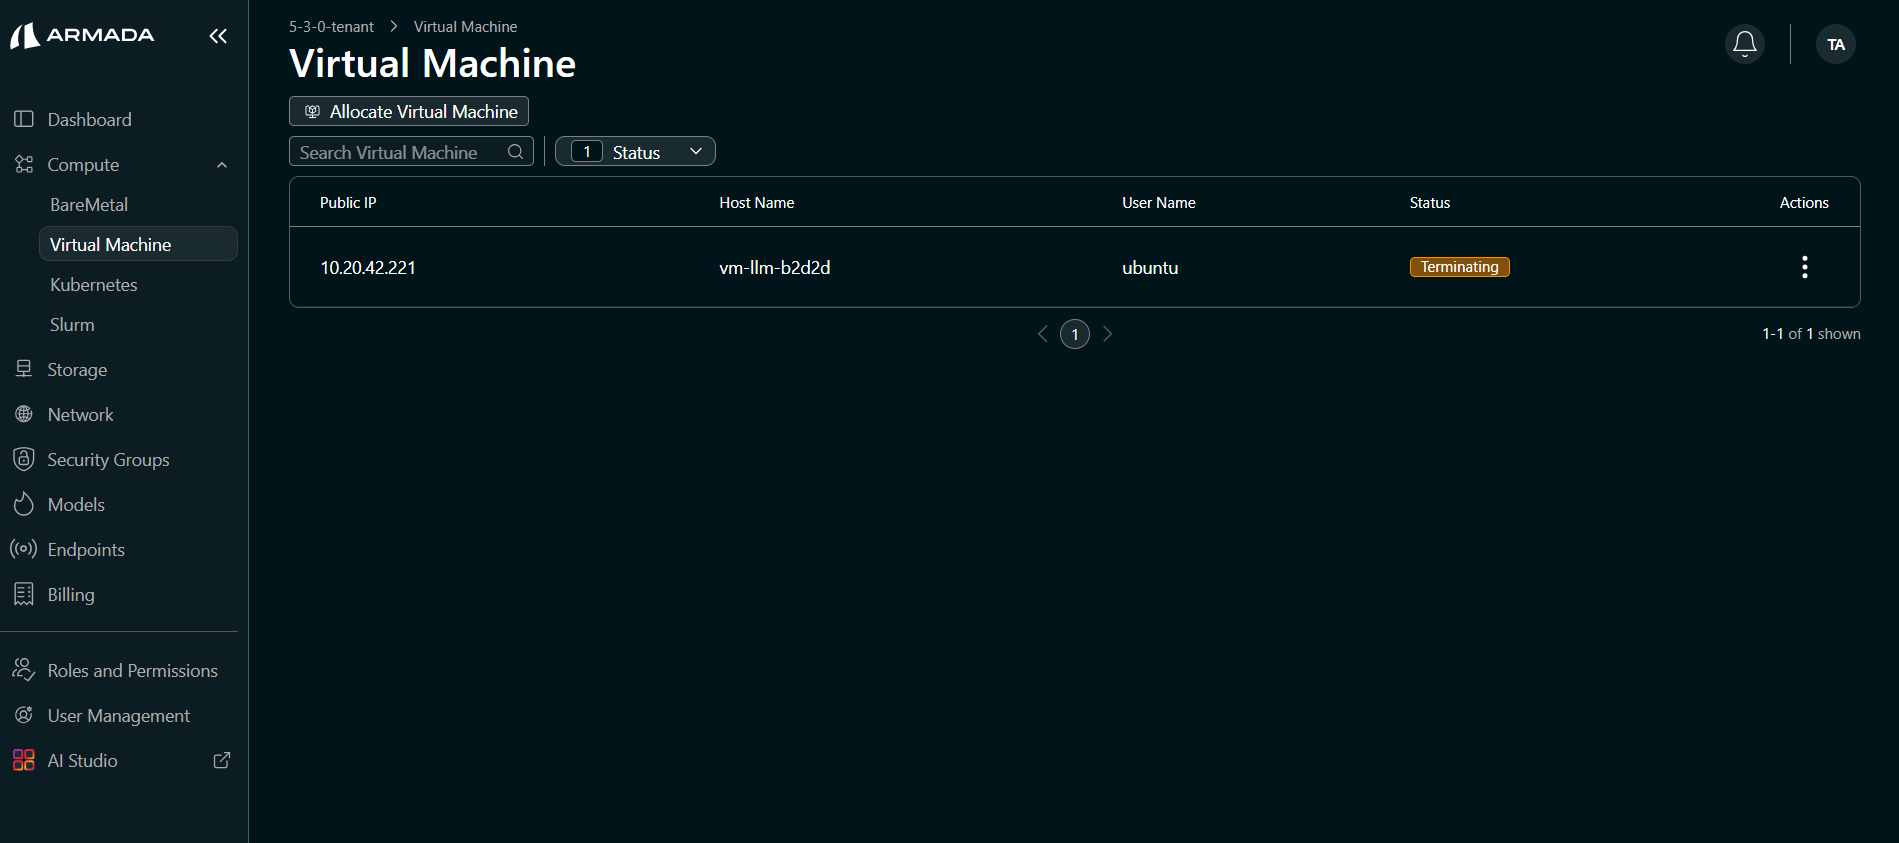
Step 3: Monitor and verify deallocation
- The VM status changes to Terminating. This may take a few minutes.
- Wait for deallocation to complete.
- Verify the VM is removed from the Virtual Machine list.
Deallocate BareMetal
Prerequisites
- All clusters using servers must be deleted
- Ensure no running services
- Back up data from servers
Deallocation Process
Step 1: Open Bare Metal Deallocation
- Log in as Tenant Admin.
- Ensure dependent clusters are already deleted.
- Go to Compute → BareMetal, open the ellipsis menu, and click Deallocate.

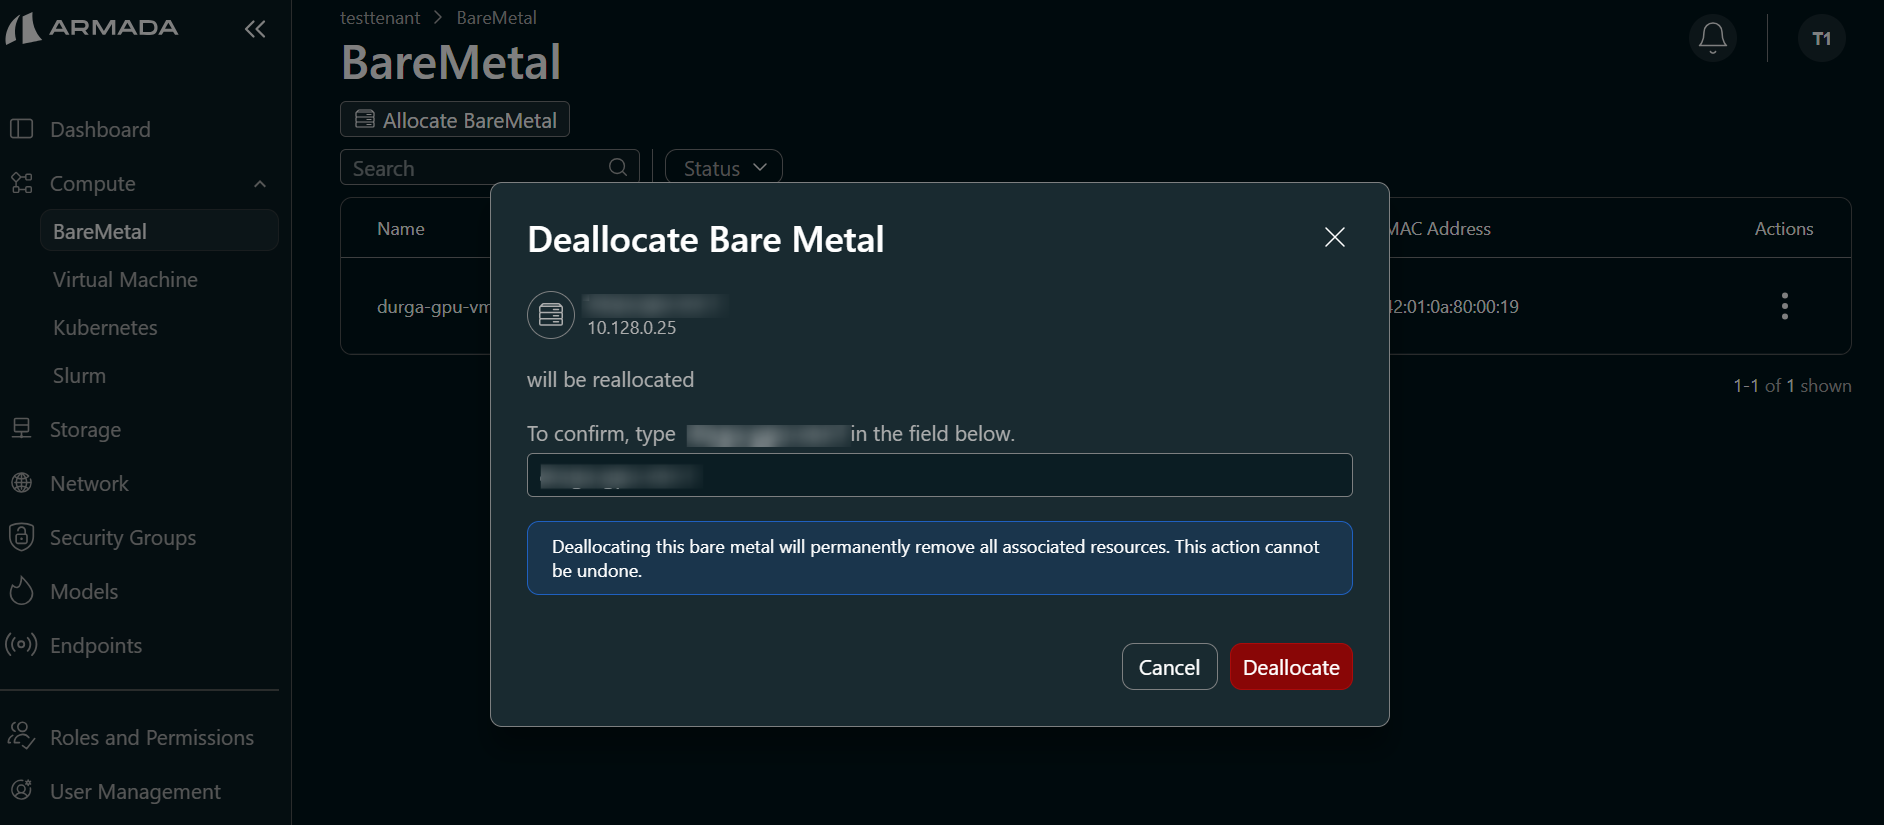
Step 2: Confirm Deallocation
- Enter the compute name in the confirmation popup.
- Click Deallocate.
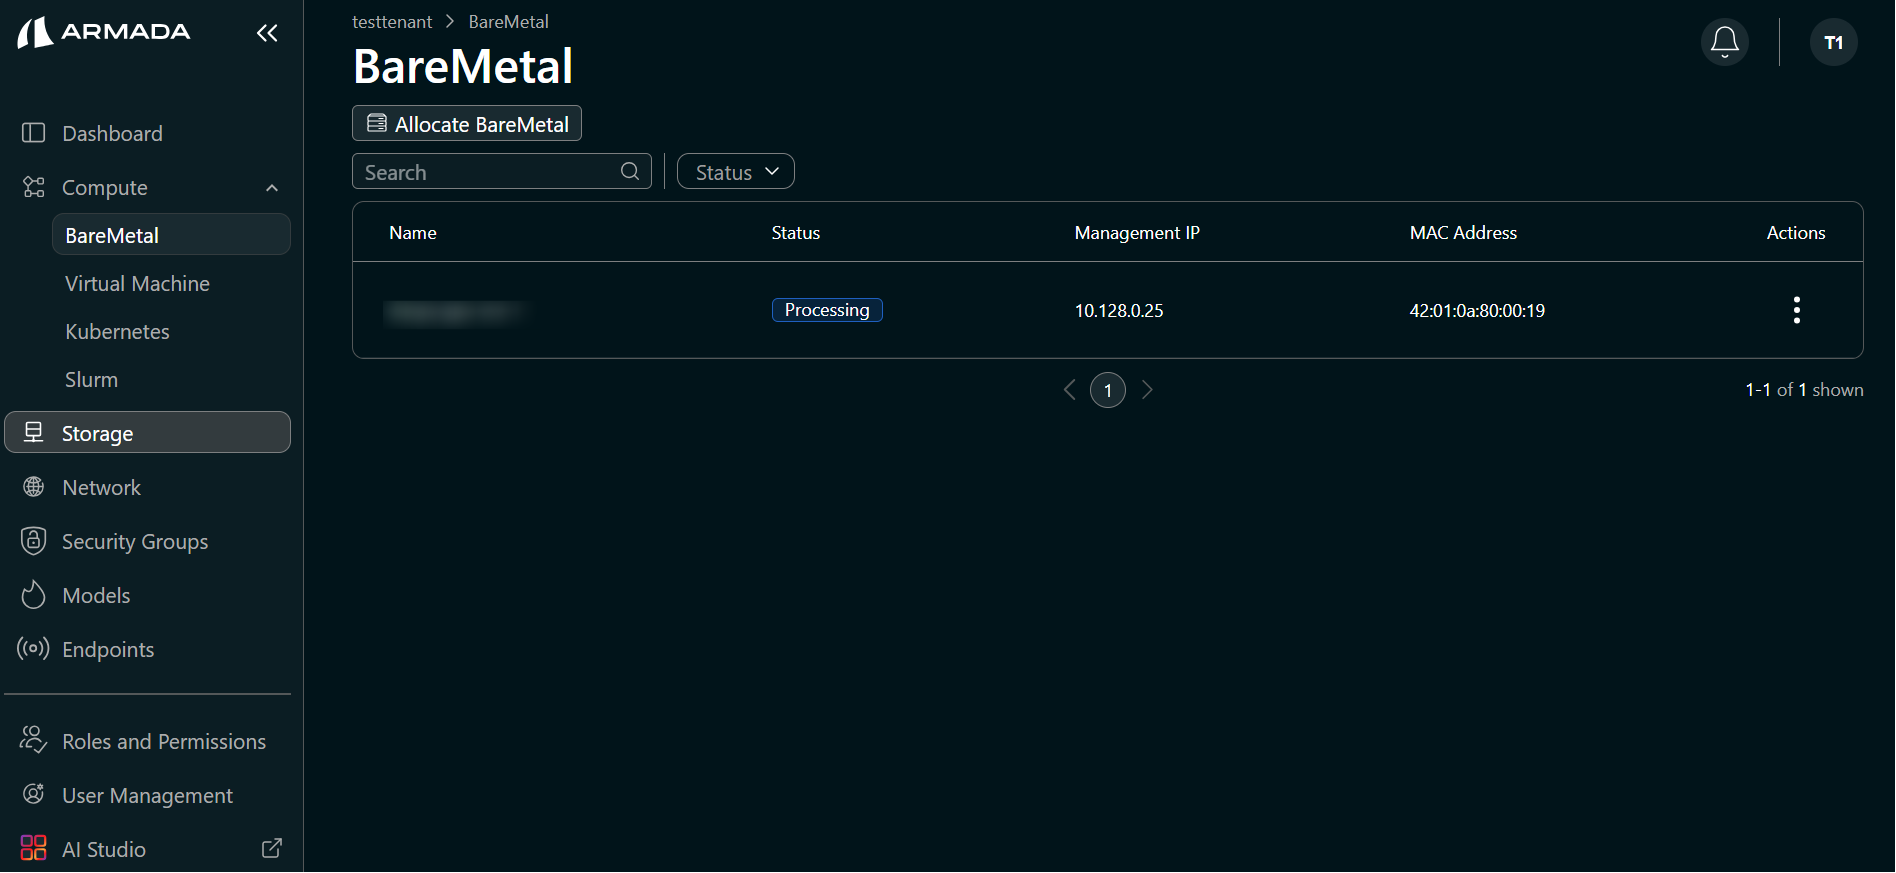
Step 3: Monitor and Verify
- Monitor node status as Processing.
- Refresh the page if status updates are delayed.
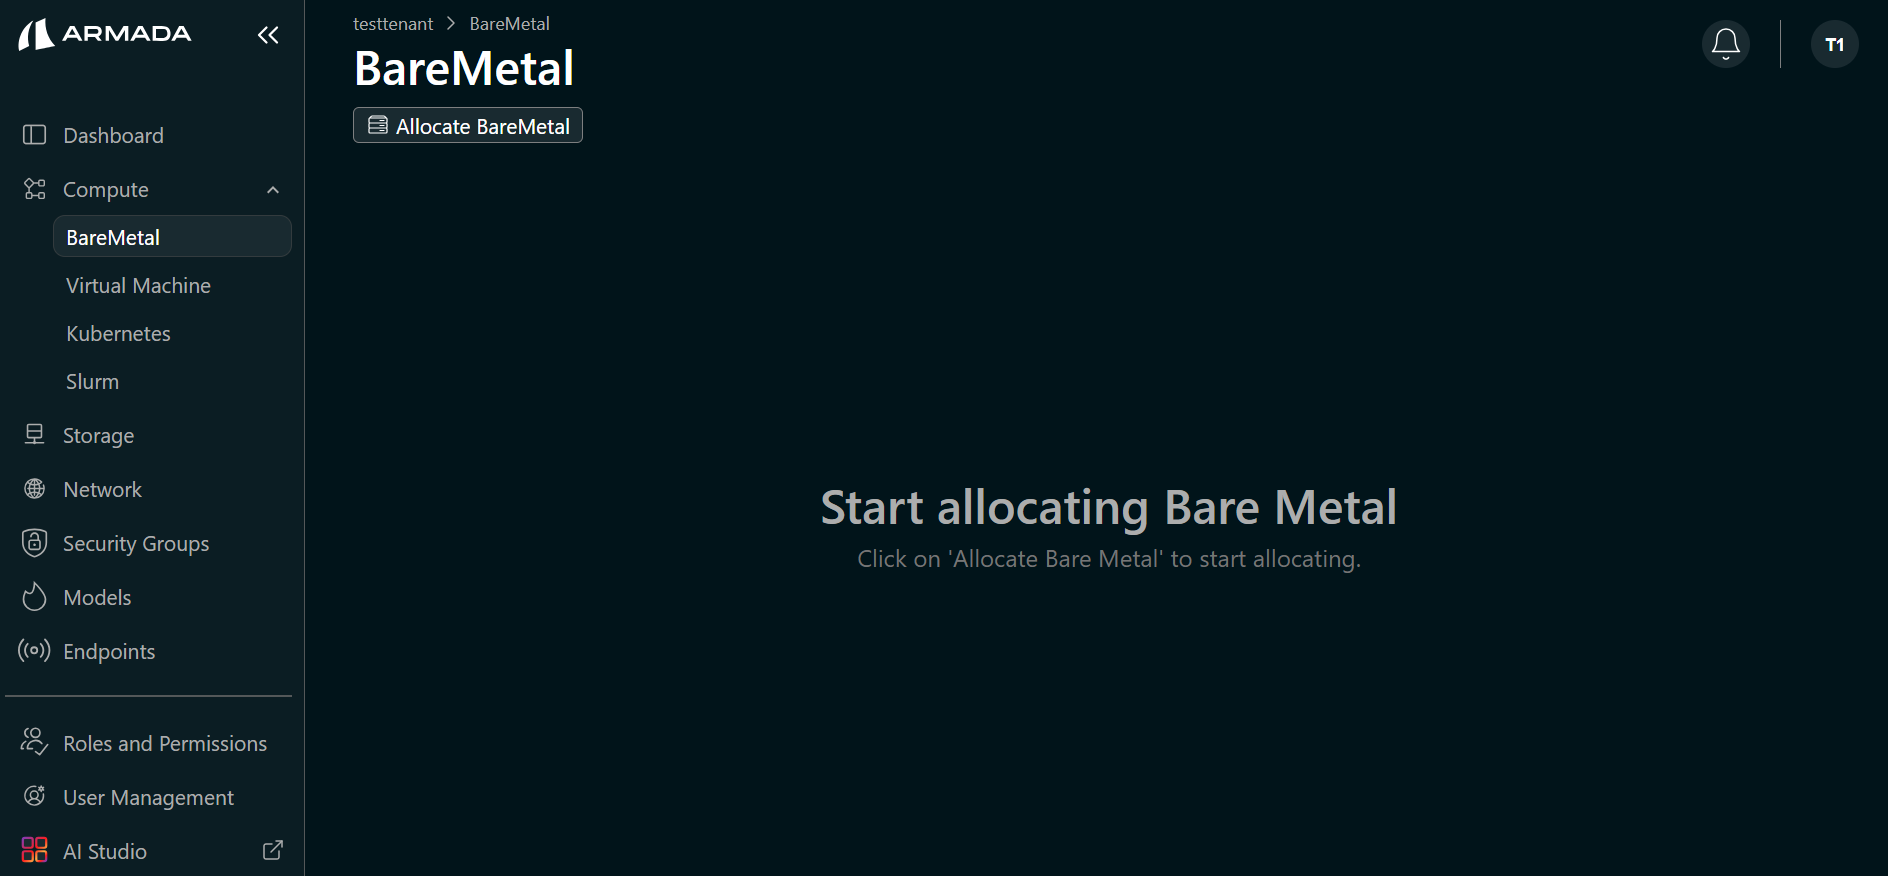
- Verify compute nodes are successfully deallocated.
Delete VPC and Subnet
Delete Process
Step 1: Delete Subnet
- Go to the Network sidebar.
- In the VPC table, locate the VPC. In the Actions column, click on the "⋮" (vertical ellipsis), then select View VPC.
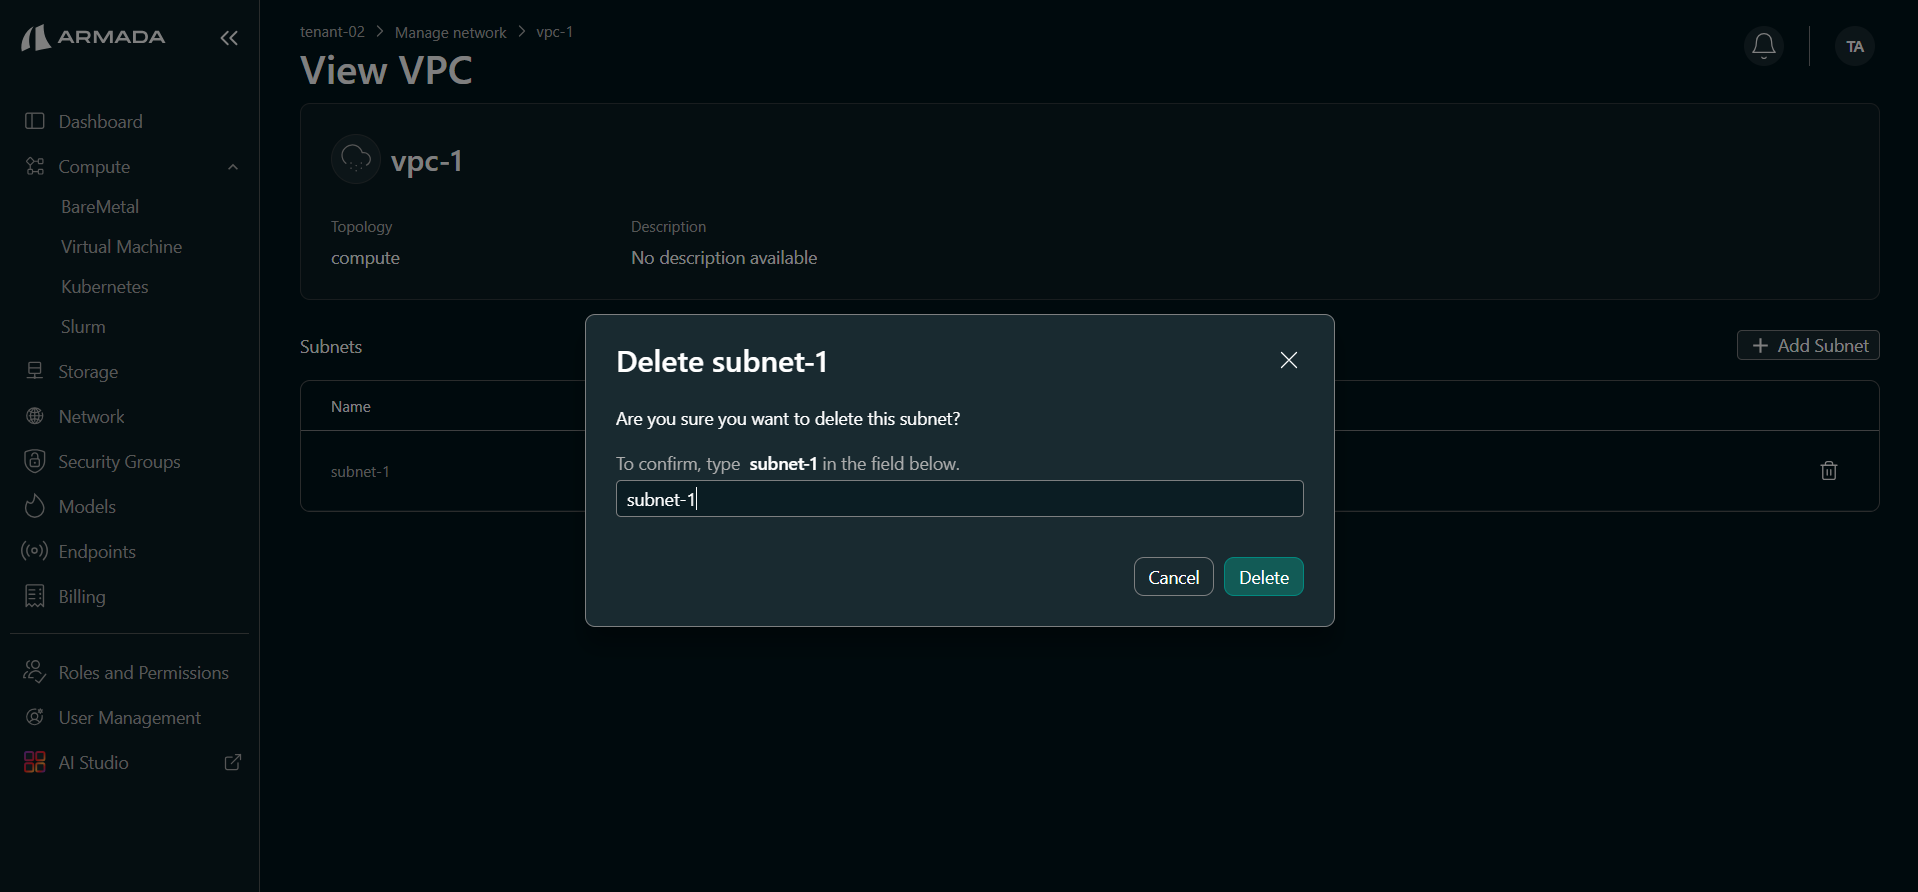
- Click the delete icon.
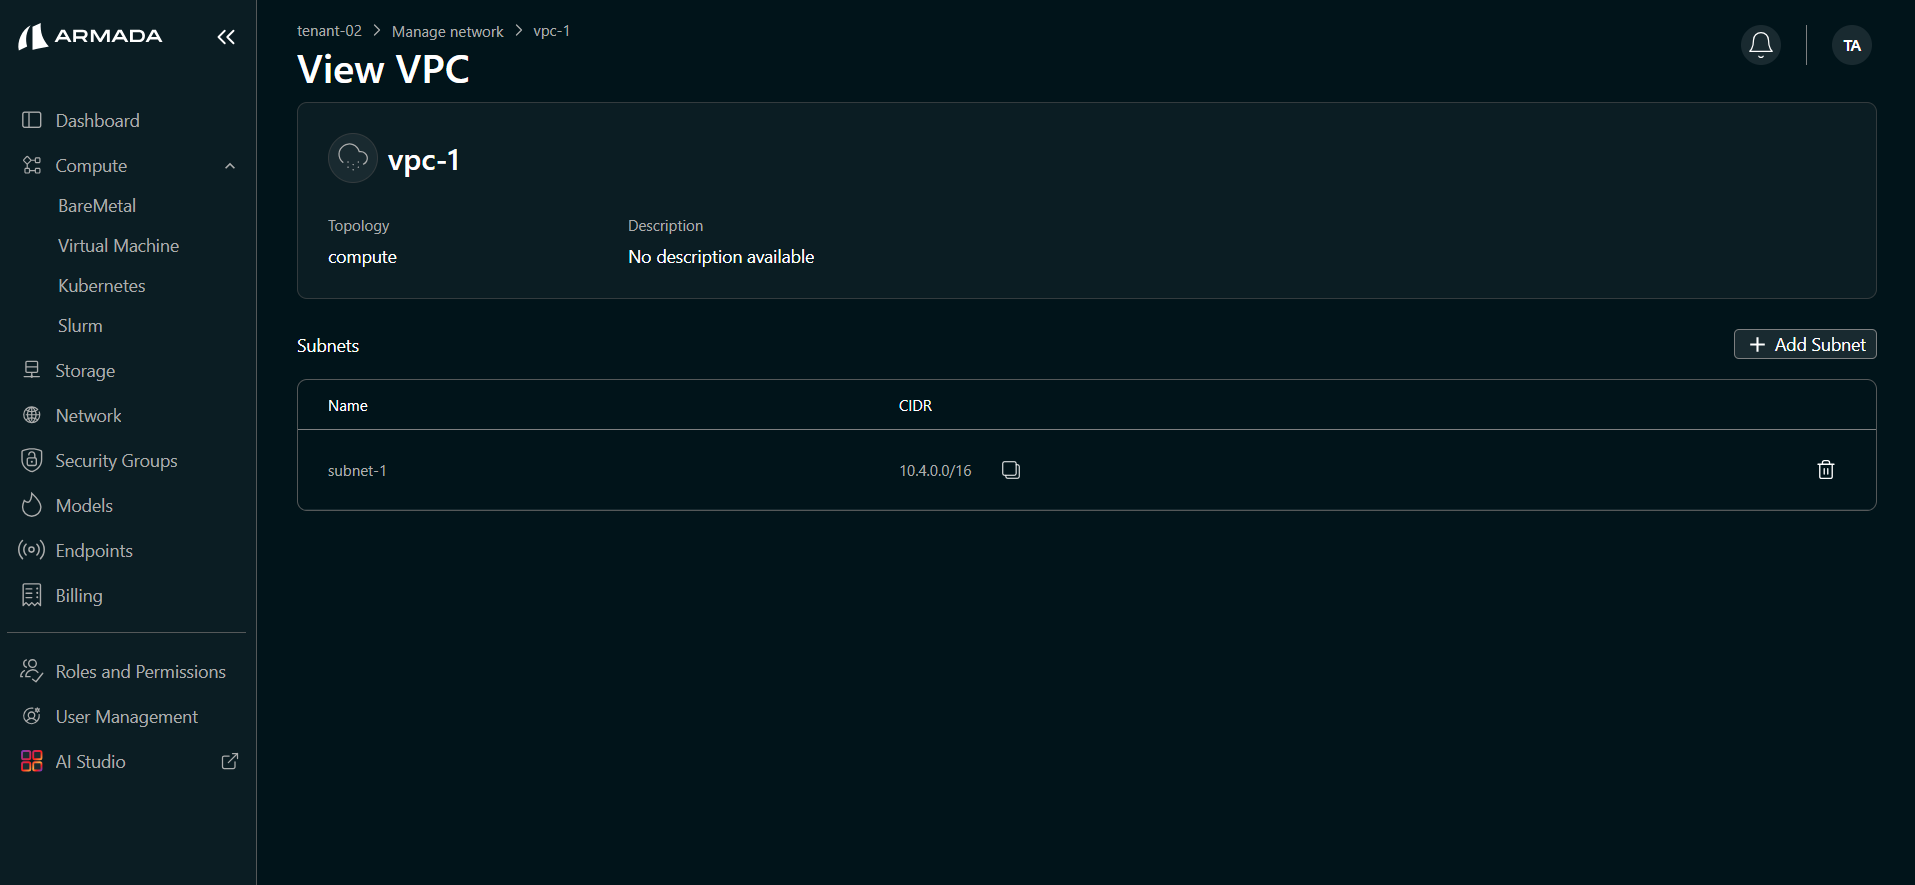
- Enter the subnet name in the confirmation popup and click Delete.
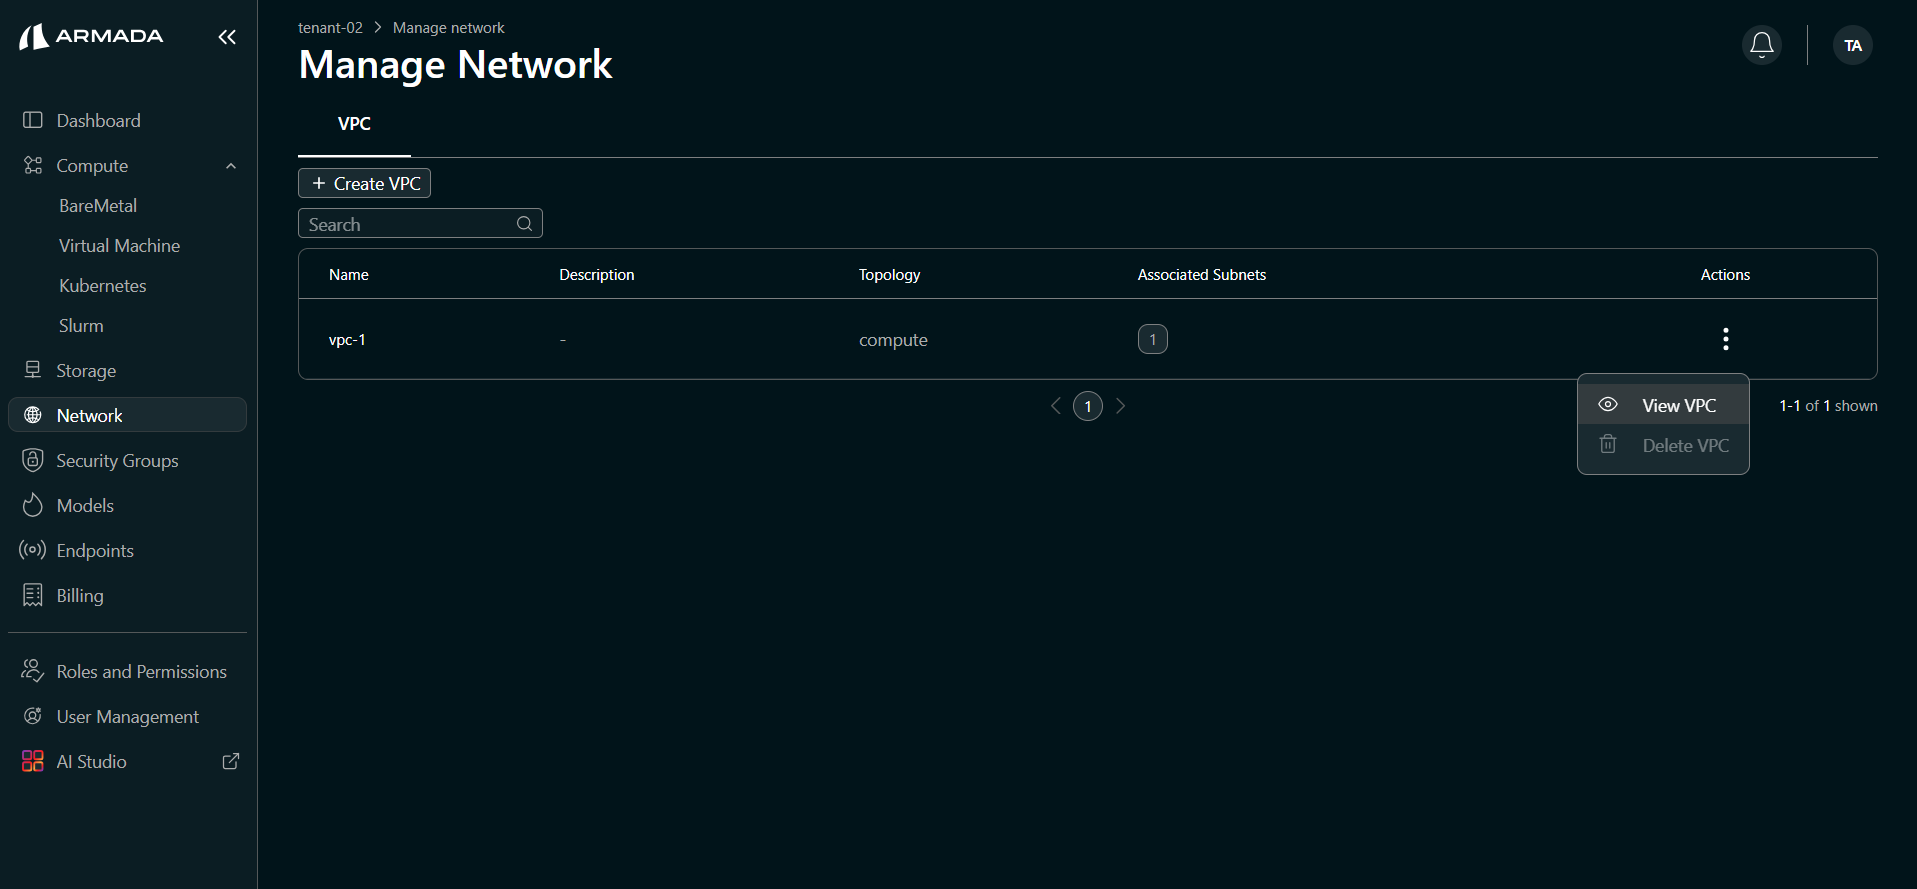
Step 2: Delete VPC
- Go to the Network sidebar.
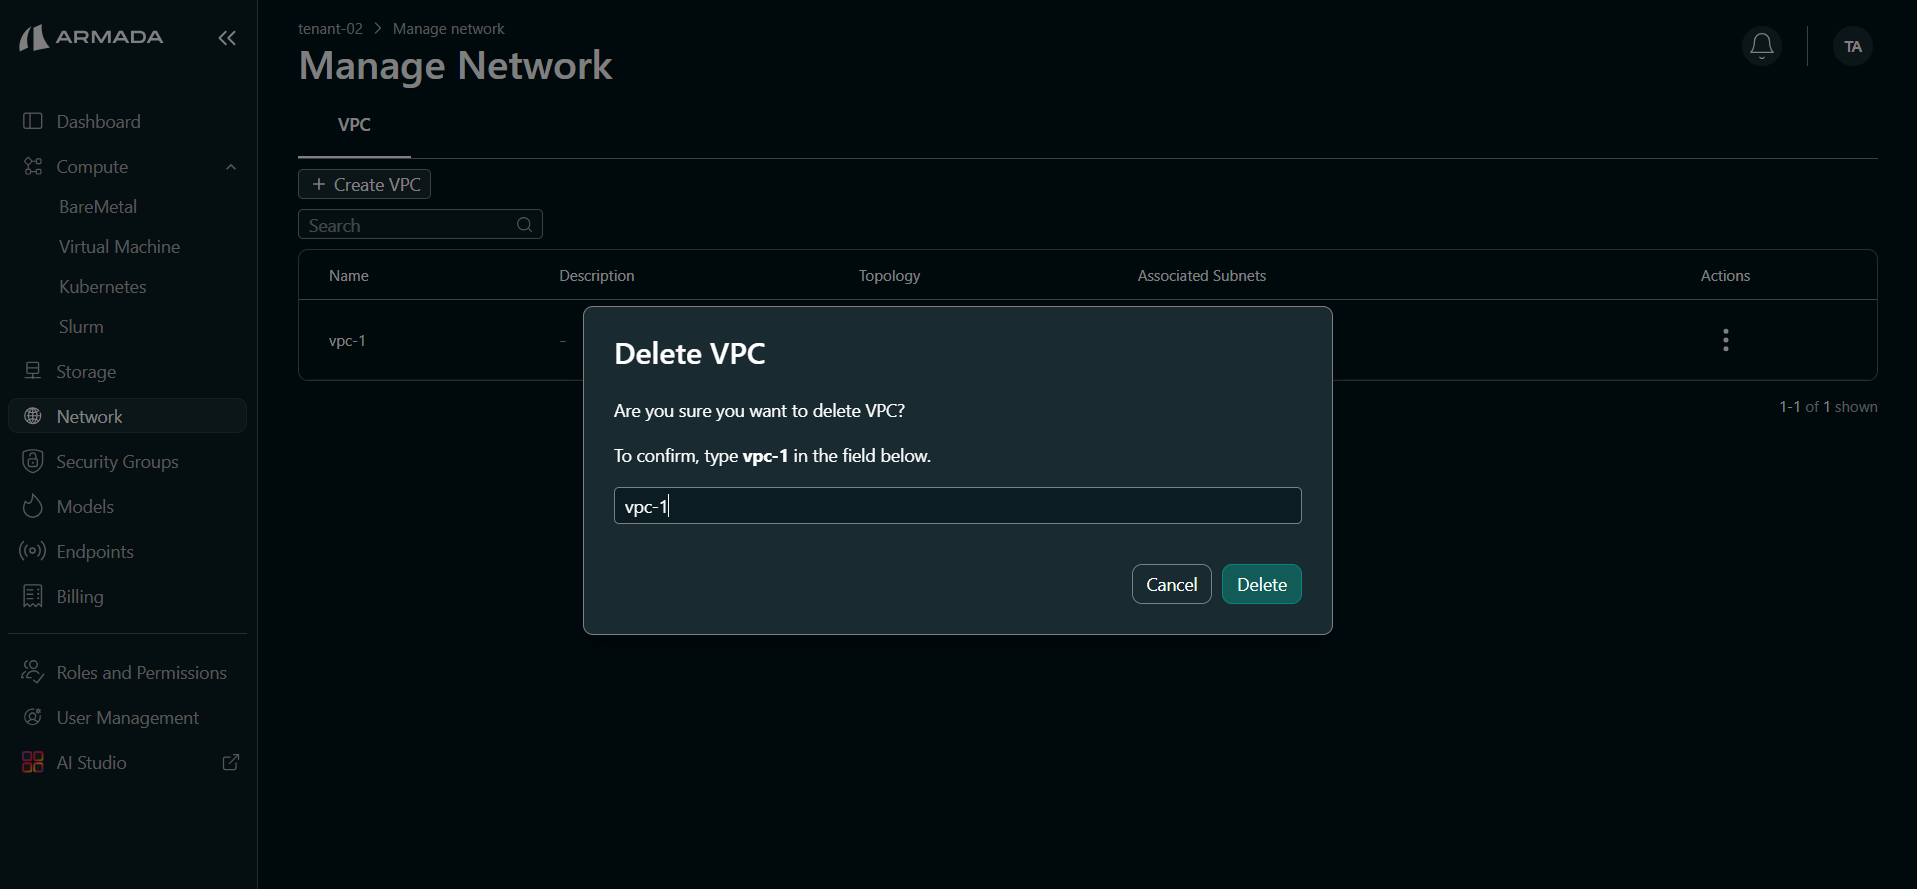
- Click on the VPC "⋮" (vertical ellipsis), then click Delete VPC.
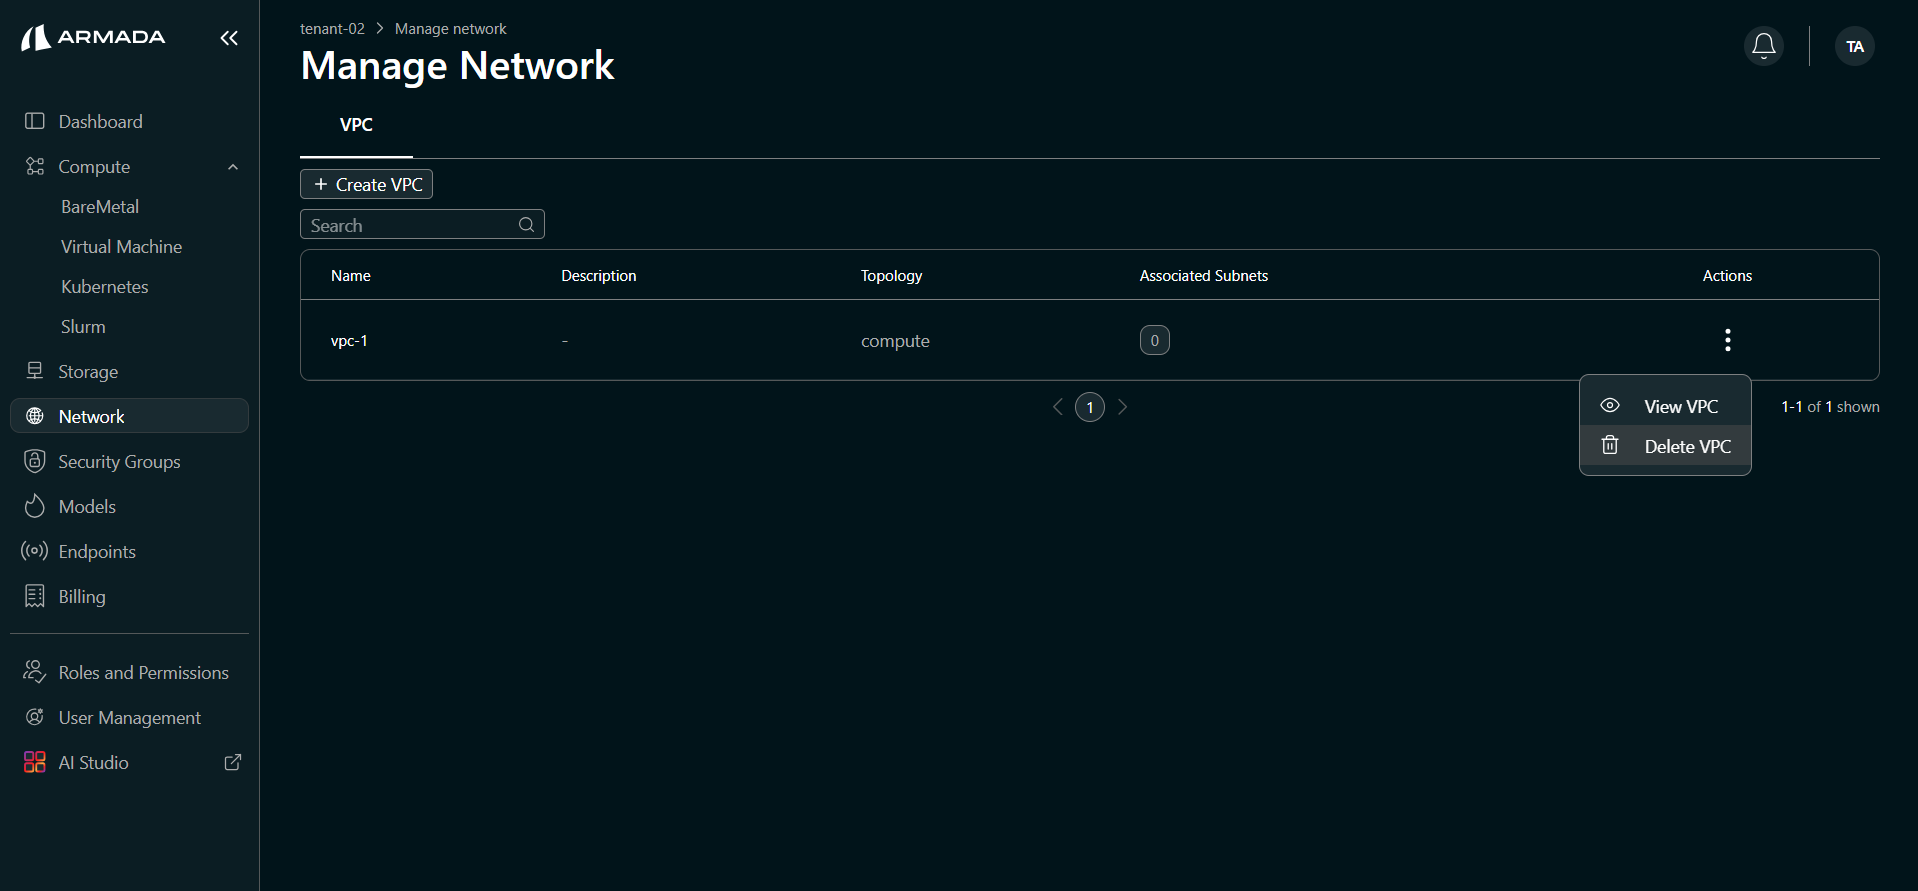
- Enter the VPC name in the confirmation popup and click Delete.
Delete Security Groups
Delete Process
Step 1: Open Delete Action
- Go to the “Security Groups” sidebar.
- Click the security group menu icon (three dots).
- Click Delete.
Step 2: Confirm Deletion
- Enter the security group name in the confirmation popup.
- Click Delete.
Step 3: Verify Deletion
- Confirm the security group is removed from the list.
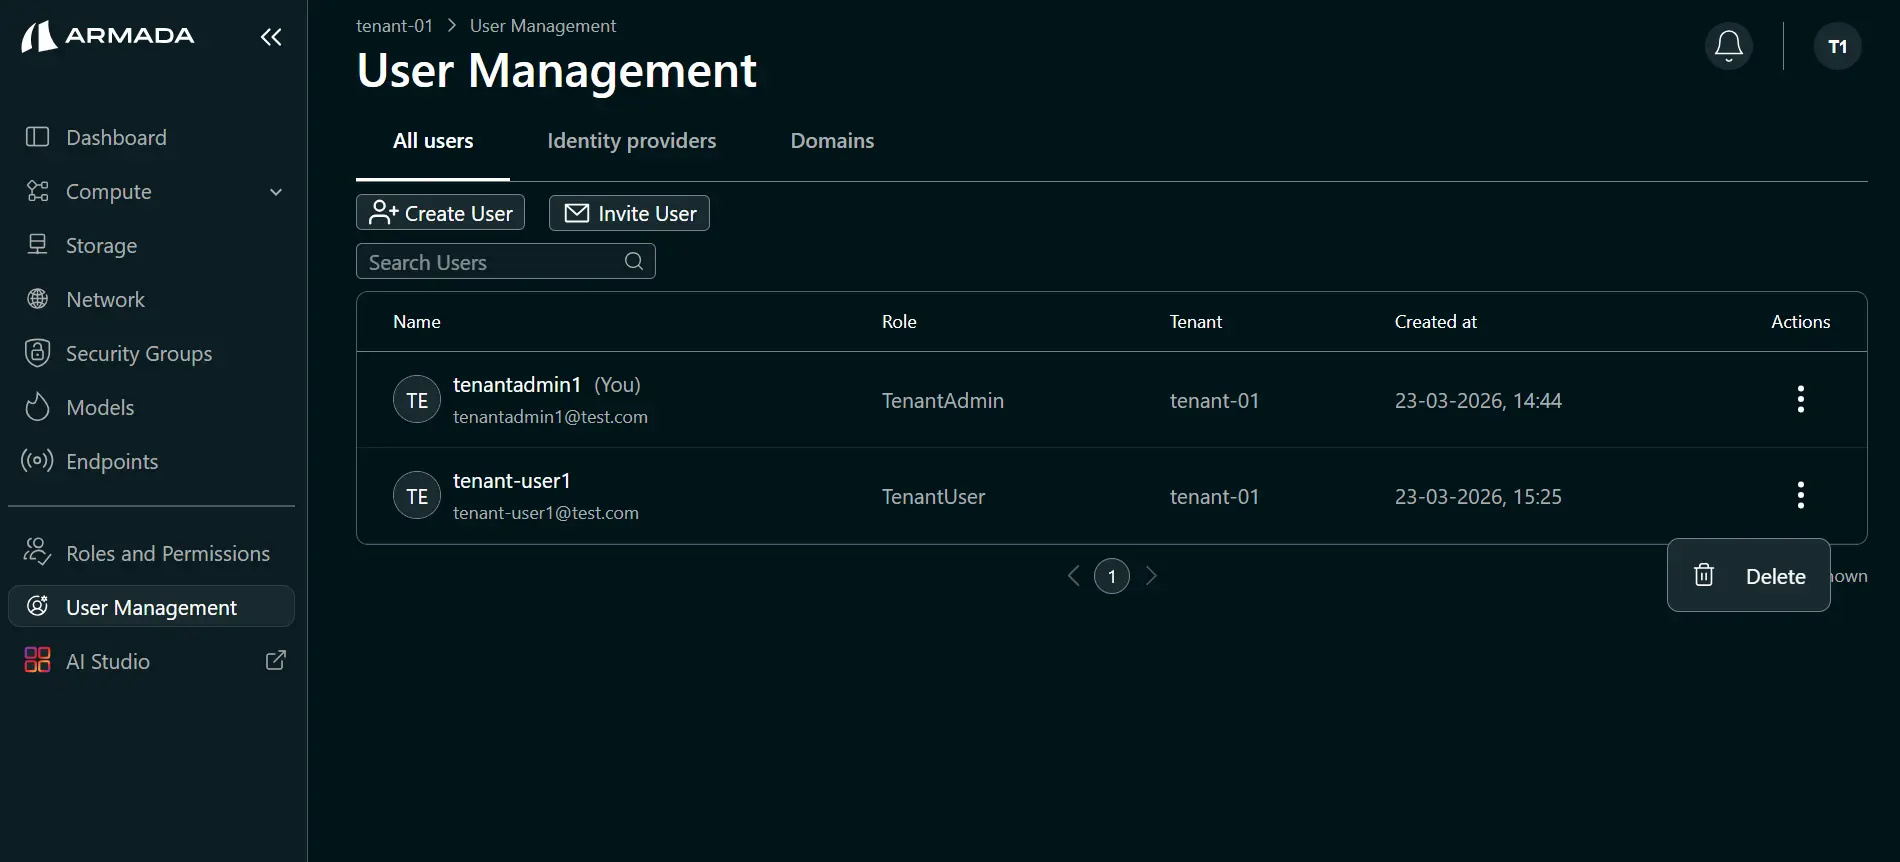
Delete Tenant Users
Before Deletion
- Assign the user’s workloads/resources to another user
- Back up user data if required
- Revoke external integrations or API access
Delete Process
Step 1: Open User Management
- Log in as Tenant Admin.
- Open User Management from the sidebar.
Step 2: Delete the User
- Locate the target user in the list.
- Click the Delete icon.
- Click Confirm in the popup.

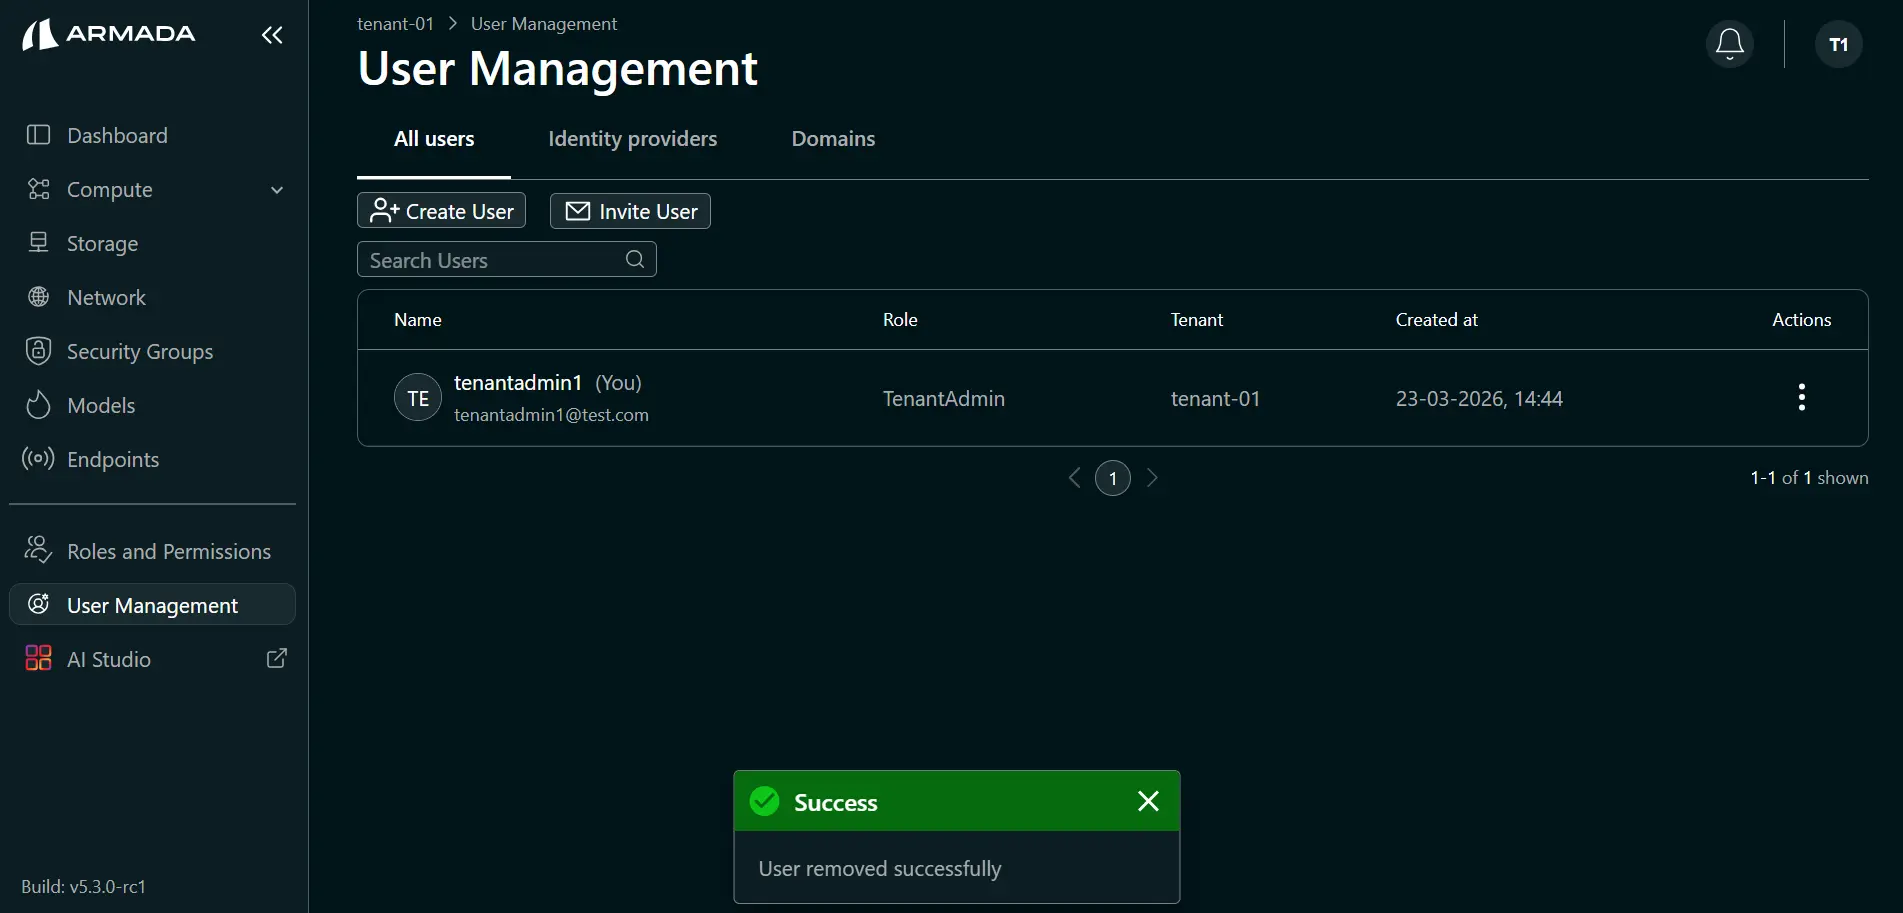
Step 3: Verify Deletion
- Confirm the user is removed from the list.
Cleanup Workflows
Complete Cluster Cleanup
Remove all resources from a cluster:
# Delete all workloads
kubectl delete all --all-namespaces

# Delete persistent volumes
kubectl delete pvc --all-namespaces

# Delete configuration
kubectl delete configmap --all-namespaces
kubectl delete secret --all-namespaces

# Delete cluster
kubectl delete cluster <cluster-name>
Full Tenant Cleanup
Clean up entire tenant environment:
- Delete Applications - Remove all deployments
- Delete Models - Remove all models
- Delete Endpoints - Remove all endpoints
- Delete Clusters - Remove all clusters
- Deallocate Resources - Return BareMetal
- Delete Users - Remove tenant users
Resource Dependencies
Understanding deletion order:
Endpoints → Models
         ↓
      Clusters → Applications/Workloads
         ↓
      BareMetal Resources
Delete in this order:
- Endpoints
- Models
- Applications
- Clusters
- BareMetal
- Users
Data Backup Before Deletion
What to Back Up
- Model files and weights
- Training data
- Configuration files
- Logs and metrics
- Application code
Backup Commands
# Download models
kubectl cp <pod>:/models ./local/models

# Export configurations
kubectl get all -o yaml > cluster-config.yaml

# Backup persistent data
kubectl exec <pod> -- tar czf - /data > data-backup.tar.gz
Verification After Deletion
Verify Resource Removal
Check resources are deleted:
# List remaining resources
kubectl get all --all-namespaces

# Check persistent volumes
kubectl get pv,pvc

# Verify cluster status
kubectl cluster-info
Recovery Options
Deleted Resource Recovery
- Endpoints - Recreate by redeploying models
- Models - Redeploy from backup
- Applications - Redeploy from image
- Clusters - Create new cluster
- BareMetal - Request reallocation from admin
- Users - Create new user account
Data Recovery
If accidentally deleted:
- Contact Tenant Admin immediately
- Request backup restoration
- Provide deletion timestamp
- Restore from available backups
Note: Deleted resources cannot be recovered if no backups exist.
Best Practices
Before Deletion
- Always backup critical data
- Document configurations
- Export metrics and logs
- Verify no dependencies
- Notify team members
Deletion Strategy
- Delete in proper order (dependencies first)
- Verify deletion success
- Monitor quota recovery
- Document deletion reasons
- Archive deletion records
Preventive Measures
- Use version control for code
- Backup critical models regularly
- Document architecture
- Tag important resources
- Set up alerts for quota usage
Next Steps
- Manage Resources
- Create New Clusters
- Deploy Hugging Face Model — Deploy open-source models from Hugging Face Hub.
- Deploy NIM Model — Deploy GPU-optimized NVIDIA NIM inference containers.
- Deploy Azure ML Model — Deploy models from your Azure ML model registry.