Create and Access Workspace
Overview
Workspaces in Bridge provide interactive notebook environments where tenant users can write code, analyze data, and develop machine learning models with access to GPU, CPU, or MIG (Multi-Instance GPU) resources.
Each workspace server runs in an isolated environment. You can create multiple servers with different profiles depending on your workload.
Prerequisites
- JupyterHub cluster — A Tenant Admin must have created a cluster using the JupyterHub with KAI Scheduler cluster template.
- Tenant User access — You must log in as a Tenant User to create and access workspaces.
- MIG profile configured (optional) — Required only if you plan to use the Environment with MIG GPU access profile. See MIG Configuration for details.
Create and Access Workspace
Step 1: Open AI Studio
- Log in to Bridge as a Tenant User.
- In the left sidebar, click AI Studio. This opens a new tab.
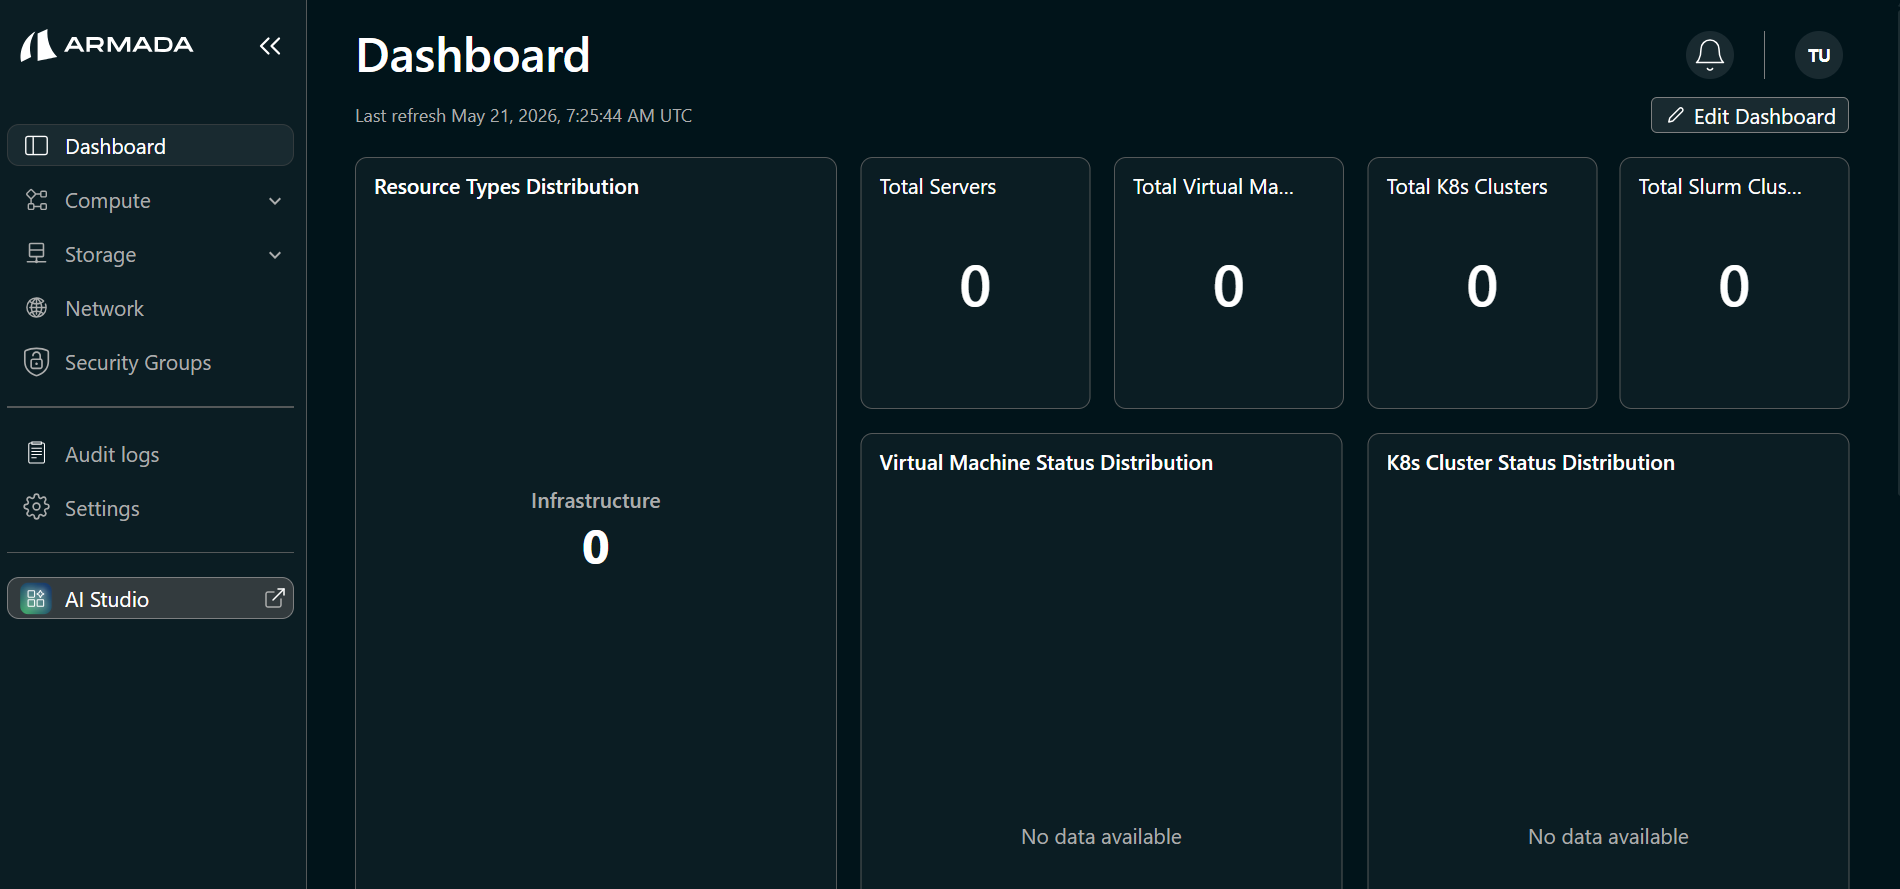
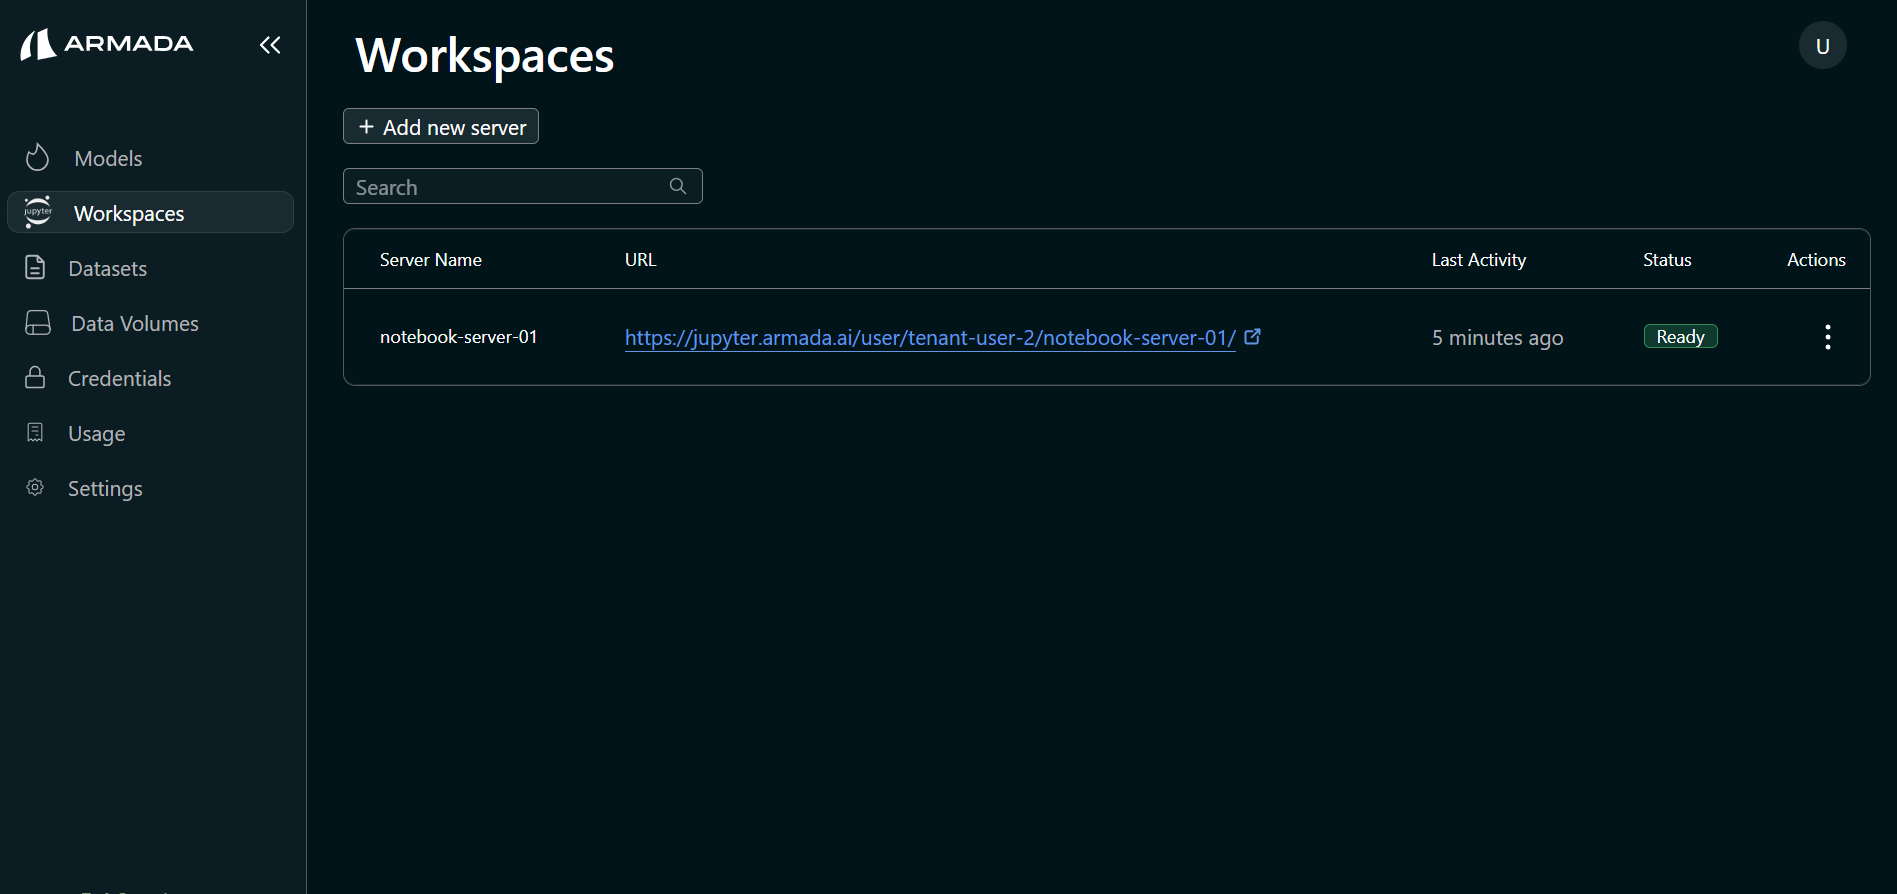
- In the AI Studio tab, click Workspaces.
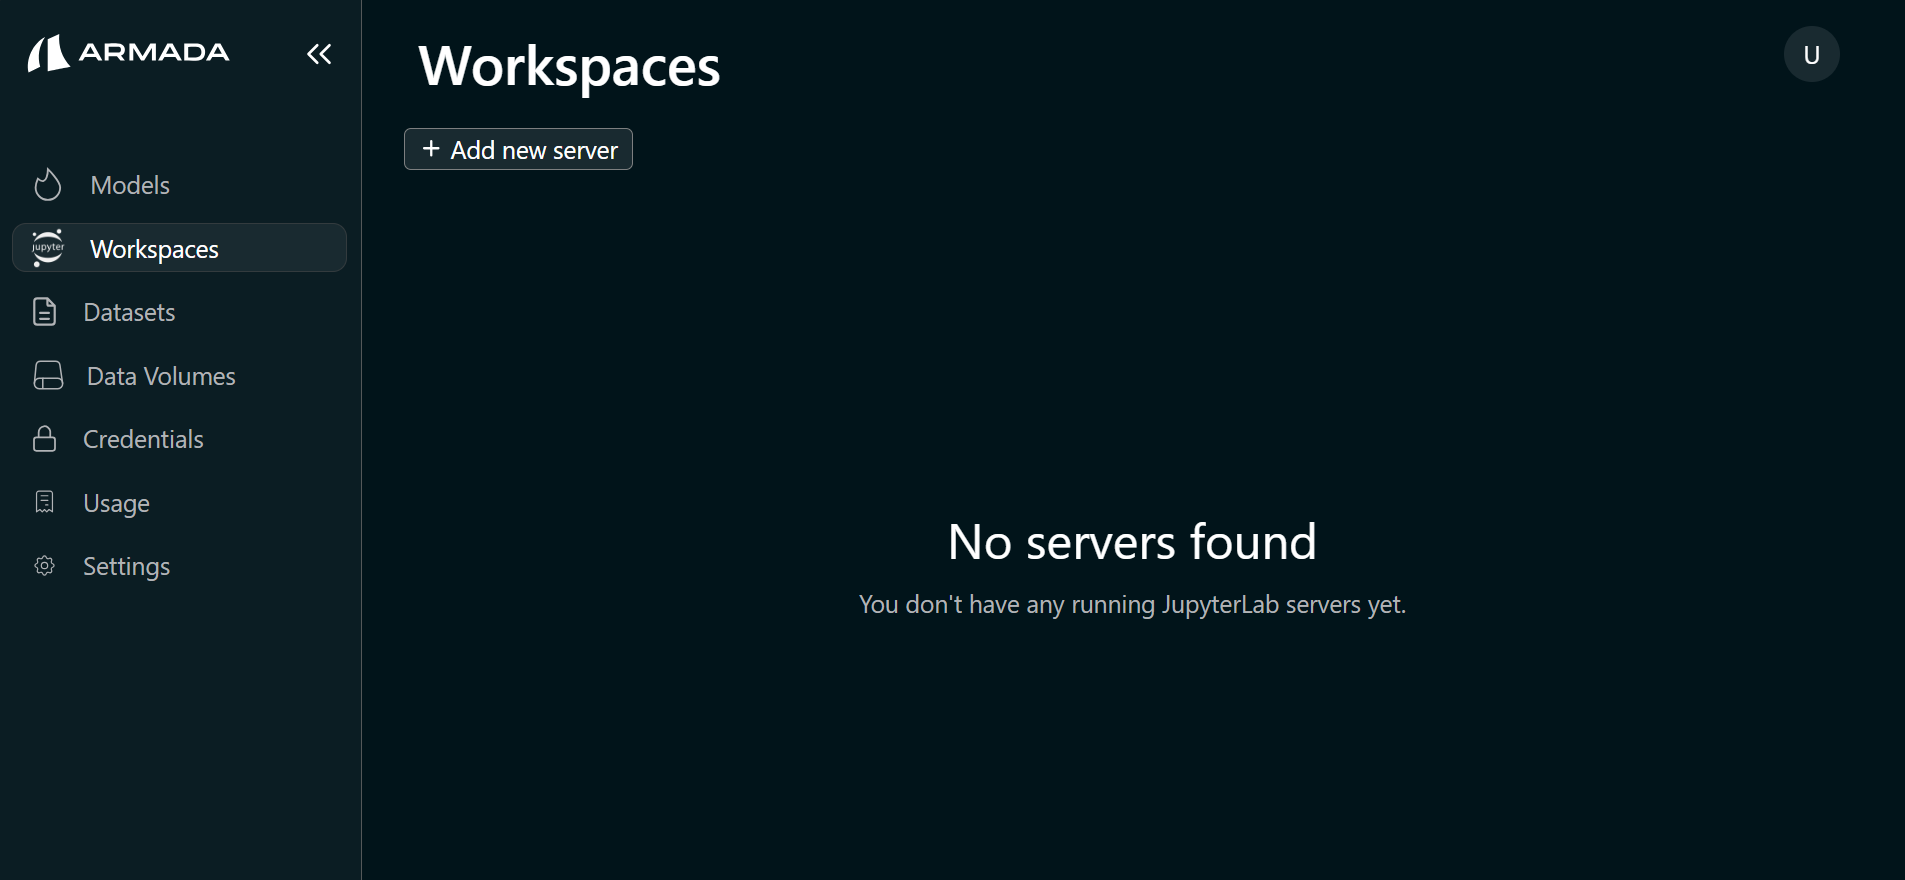
Step 2: Create a Workspace
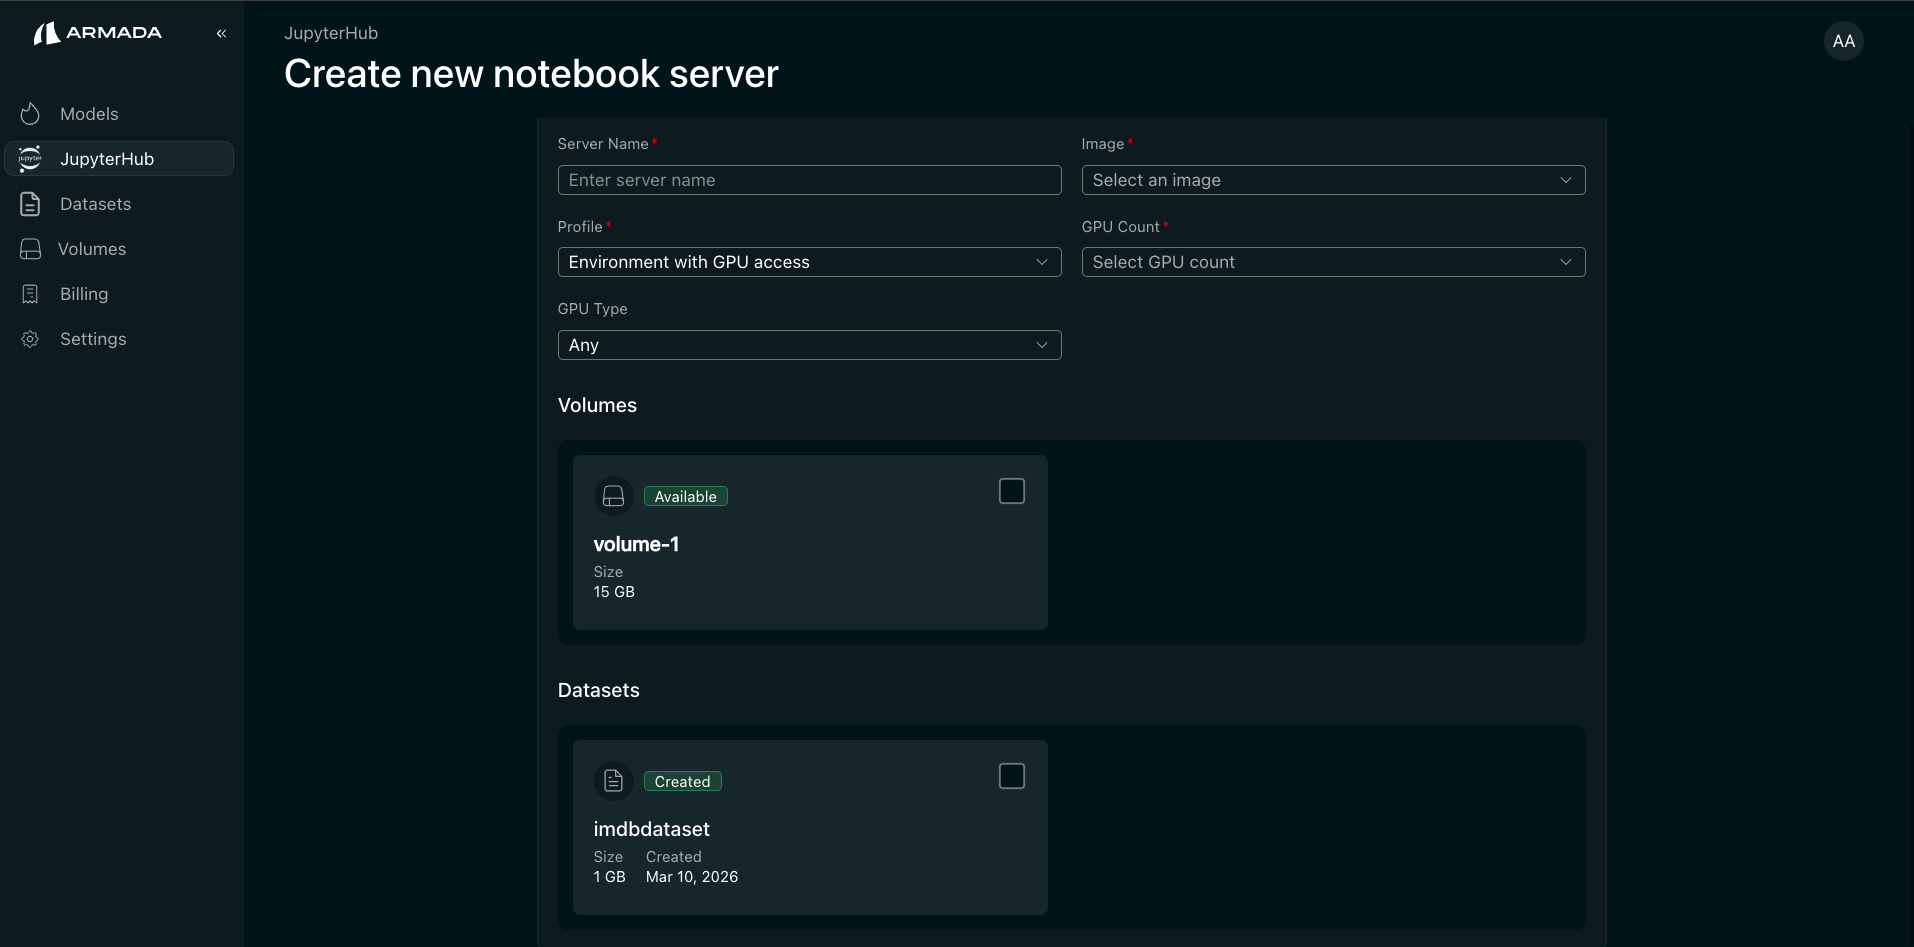
- Click Add new server.
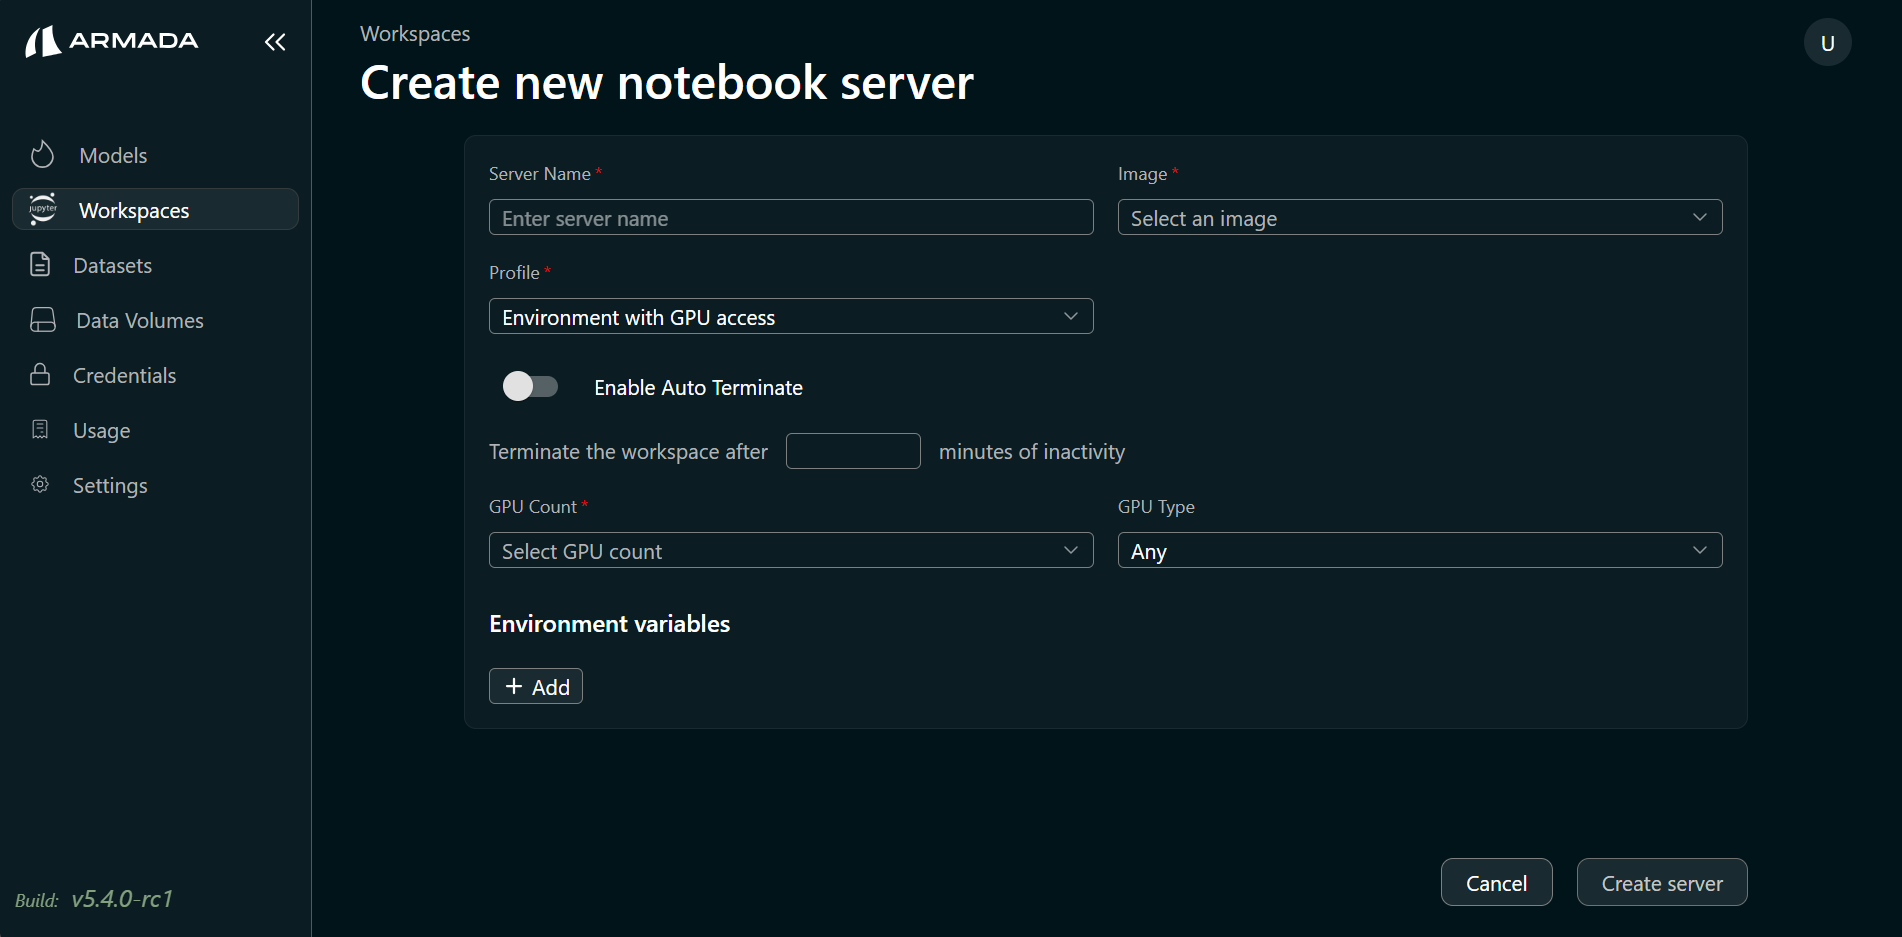
- Enter a Server name and select an Image from the dropdown.
- Choose a Profile that matches your workload:
| Profile | Resources | Use case |
|---|---|---|
| Environment with GPU access | Full GPU | ML training, CUDA, deep learning |
| Environment with CPU | CPU only | Data analysis, scripting, light computation |
| Environment with MIG GPU access | GPU partition | Workloads needing a fraction of a GPU |
- If you selected Environment with GPU access, select the GPU count as needed.
- If you selected Environment with MIG GPU access, select the desired MIG Profile.
- (Optional) Enable Auto Terminate and enter the duration in minutes. The server will be automatically terminated after the specified time.
- Click Create Server.
- Wait until the server status shows Ready.
If the Admin has imported the NFS server, you can create volumes and datasets in AI Studio and attach them when creating a workspace server. The server is then created with access to the chosen datasets and volumes so you can train and run inference on your model and data. Volume data is persisted and can be reused when you create new workspace servers.
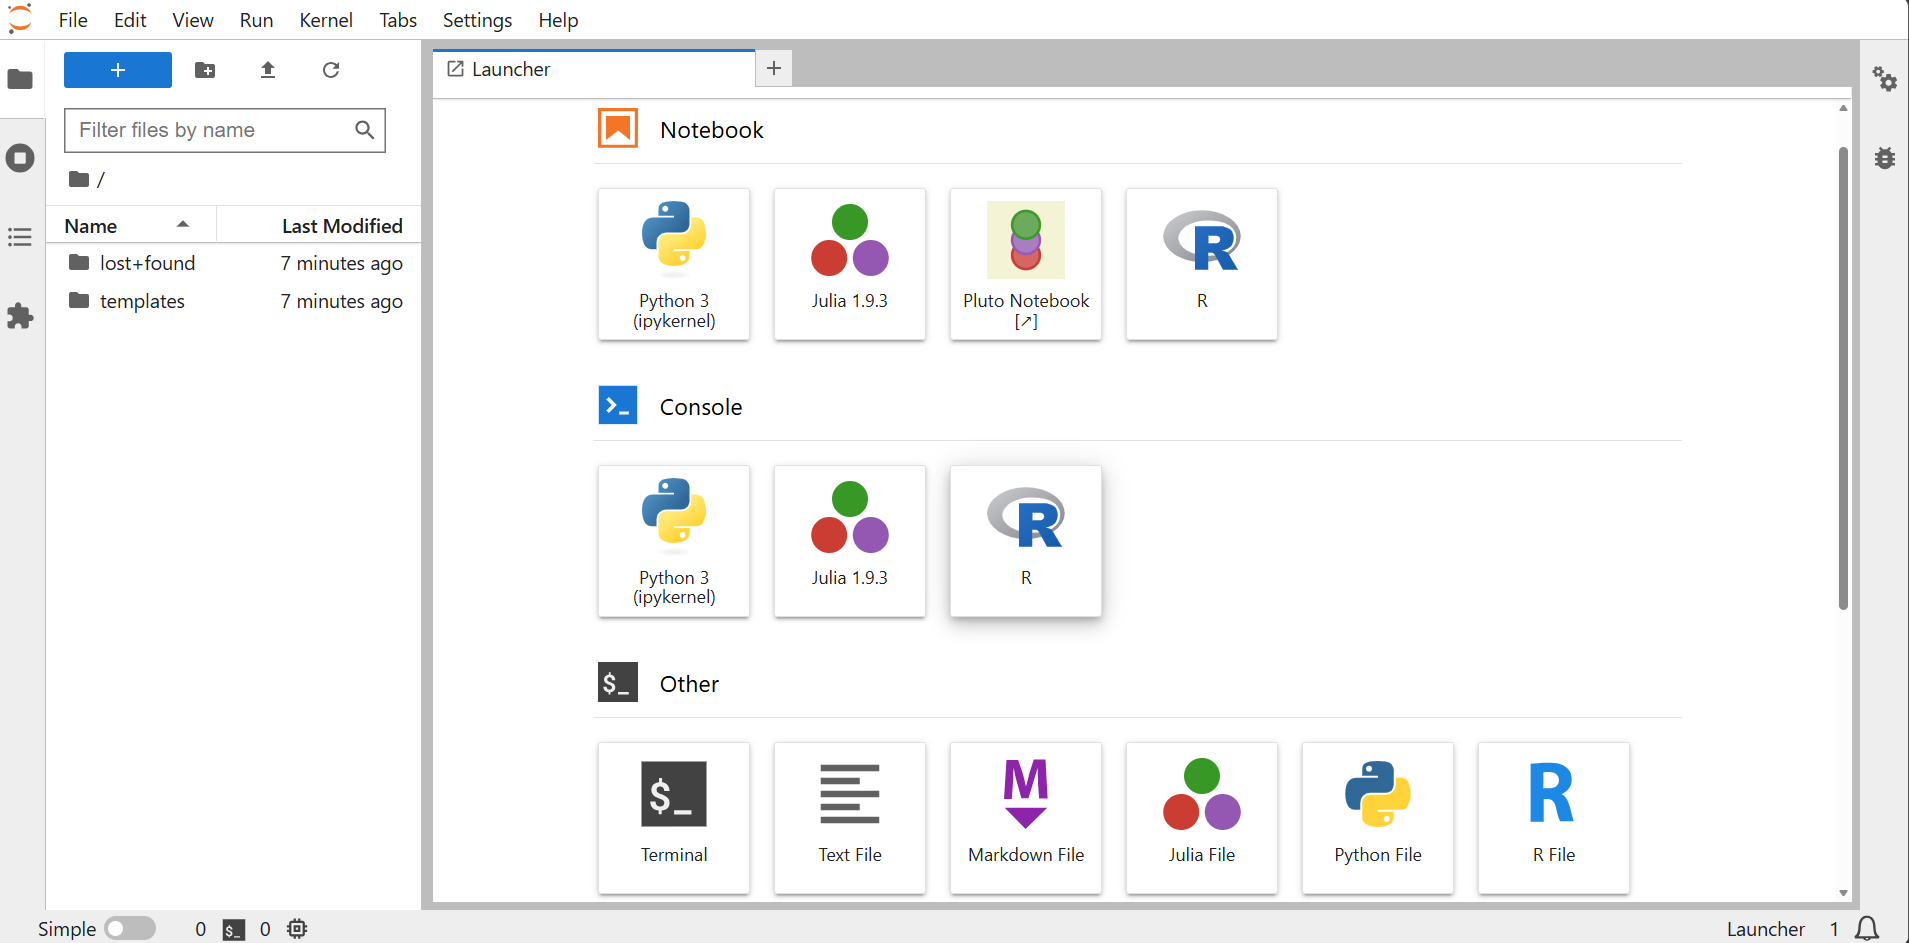
Step 3: Open Workspace Notebook and Verify GPU Access
- Click the URL shown for your server. The notebook opens in a new tab.
- Accept the browser security warning if the endpoint does not have an authorized certificate.
- Open a notebook (e.g., click Python 3 (ipykernel)).
- In a cell, run
!nvidia-smito confirm that the GPU is accessible.
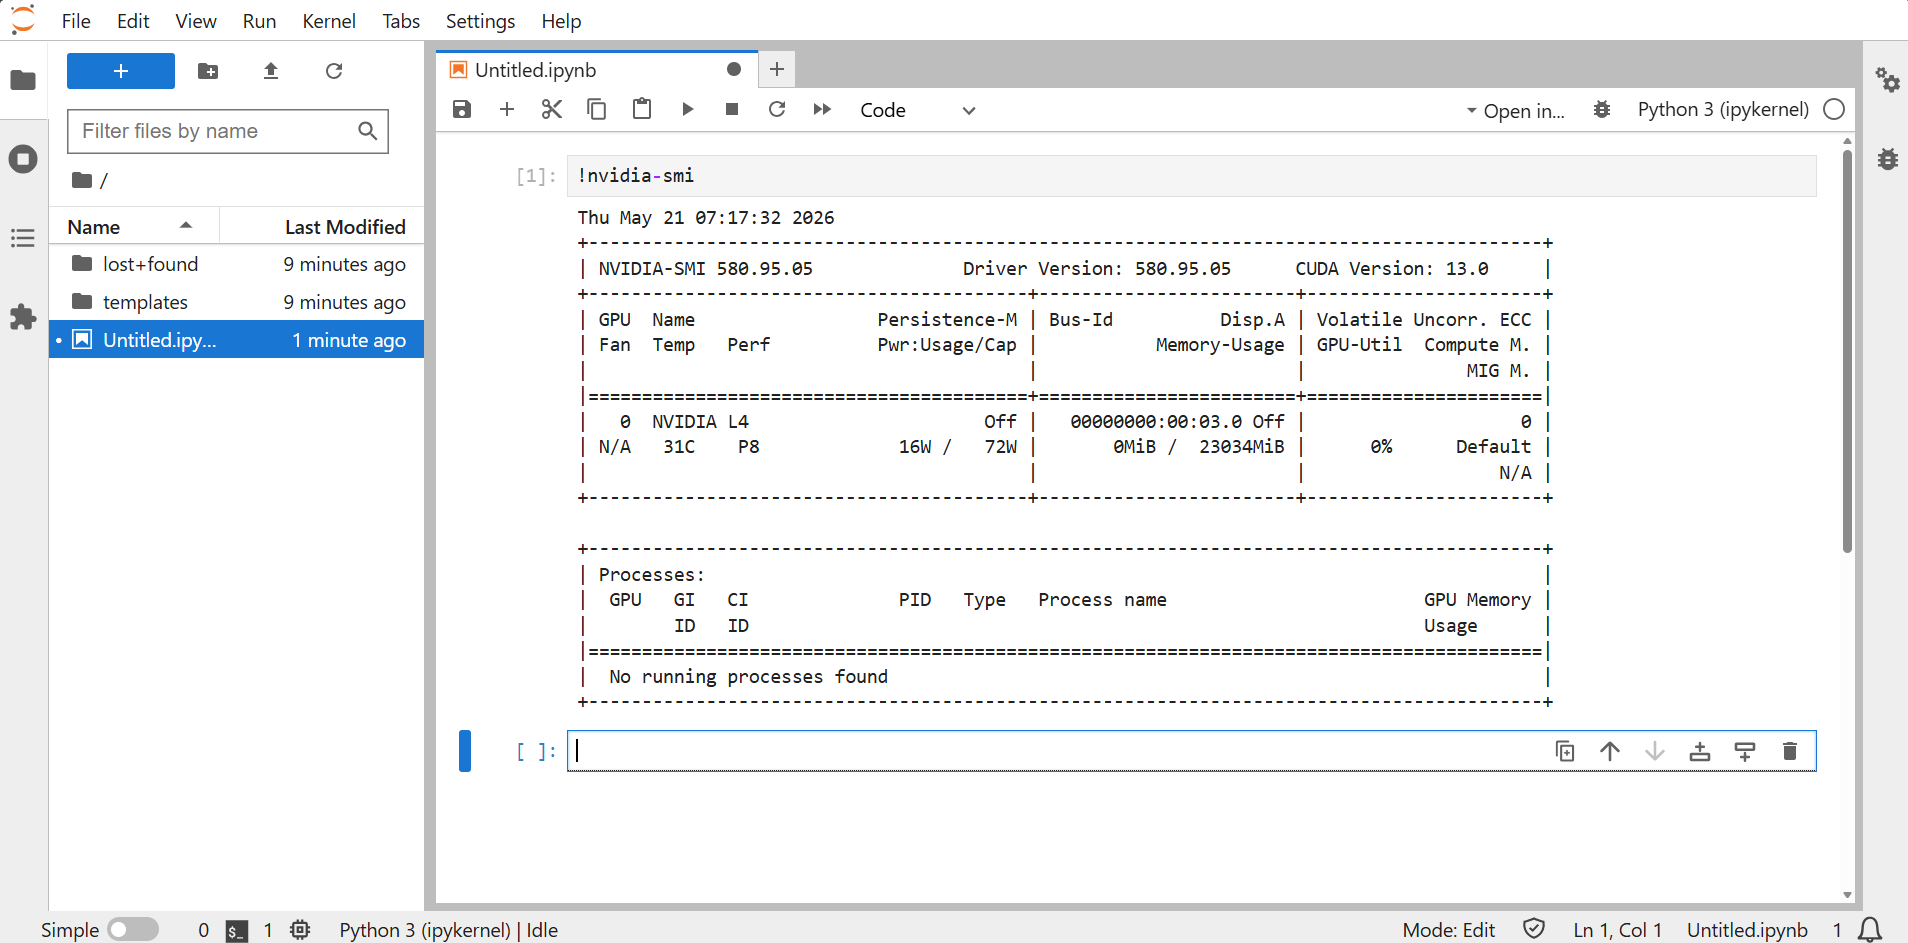
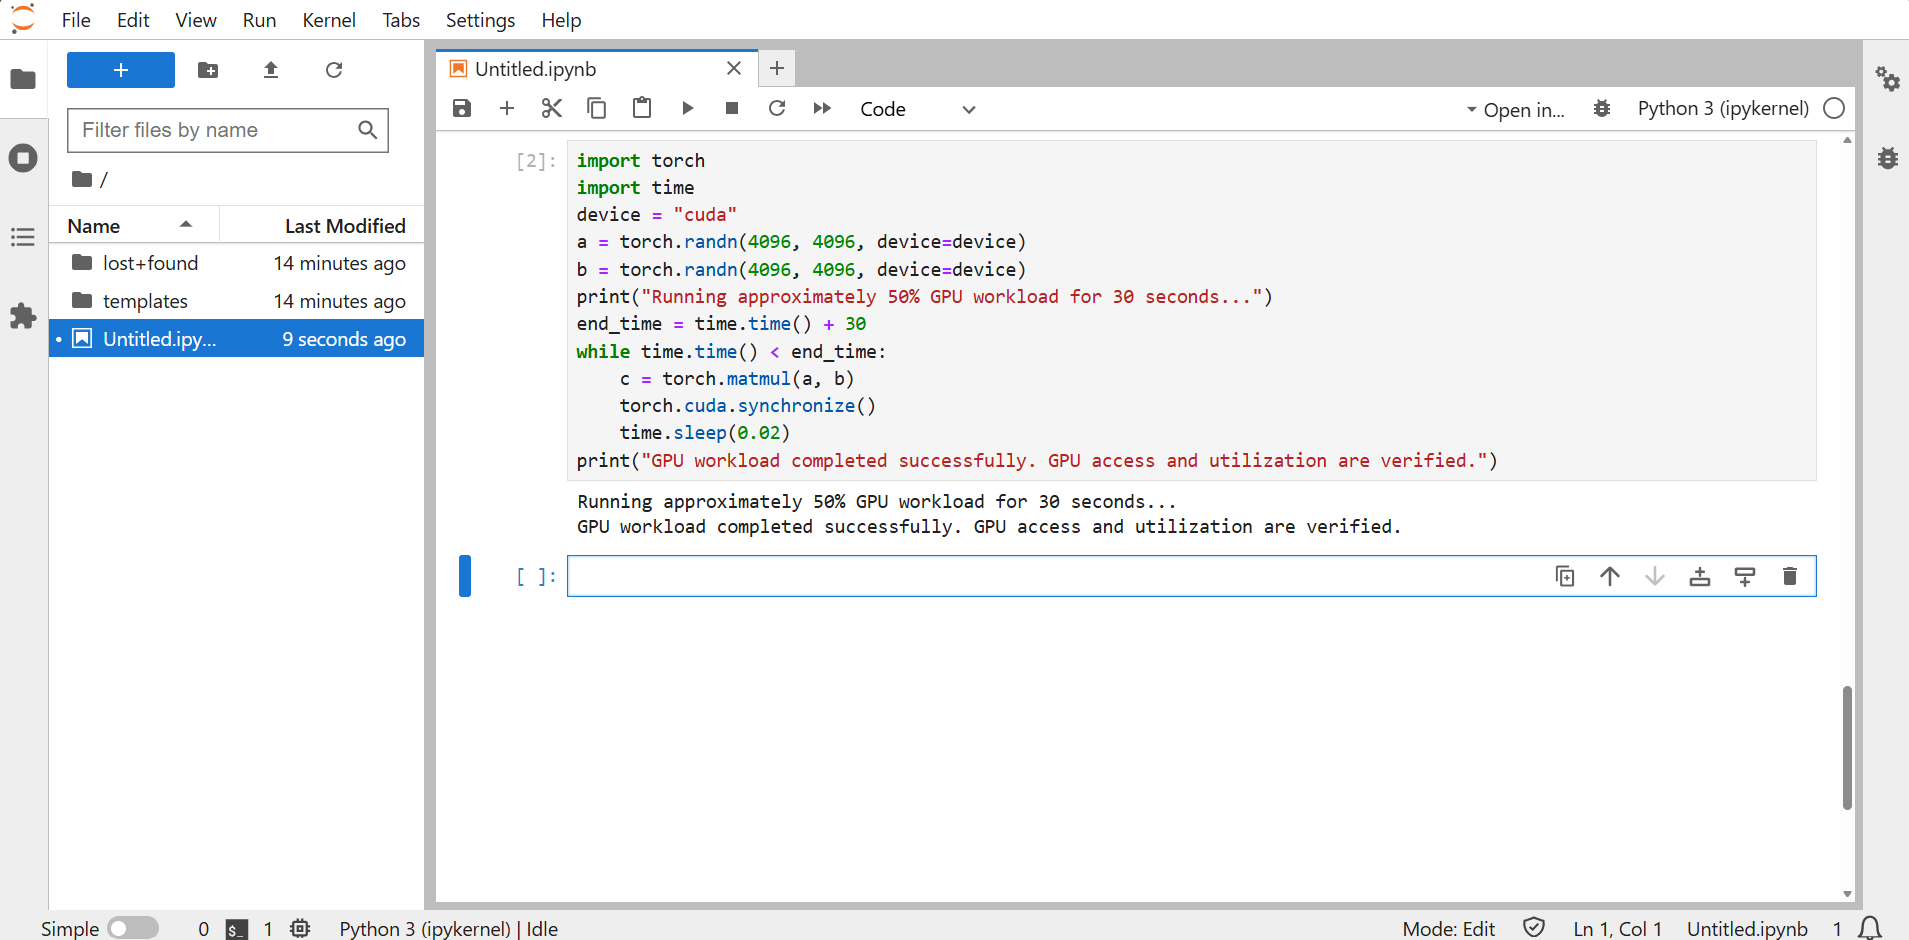
- (Optional) To verify GPU utilization, install PyTorch and NumPy, then run the script below.
pip install torch numpy
Run this in a notebook cell:
import torch
import time
device = "cuda"
a = torch.randn(4096, 4096, device=device)
b = torch.randn(4096, 4096, device=device)
print("Running approximately 50% GPU workload for 30 seconds...")
end_time = time.time() + 30
while time.time() < end_time:
    c = torch.matmul(a, b)
    torch.cuda.synchronize()
    time.sleep(0.02)
print("GPU workload completed successfully. GPU access and utilization are verified.")
On success, you should see the completion message in the cell output.