Import Infrastructure
Importing infrastructure is the recommended approach for small to medium deployments. The Super Admin uploads a CSV file containing server details, and Bridge registers those resources under management.
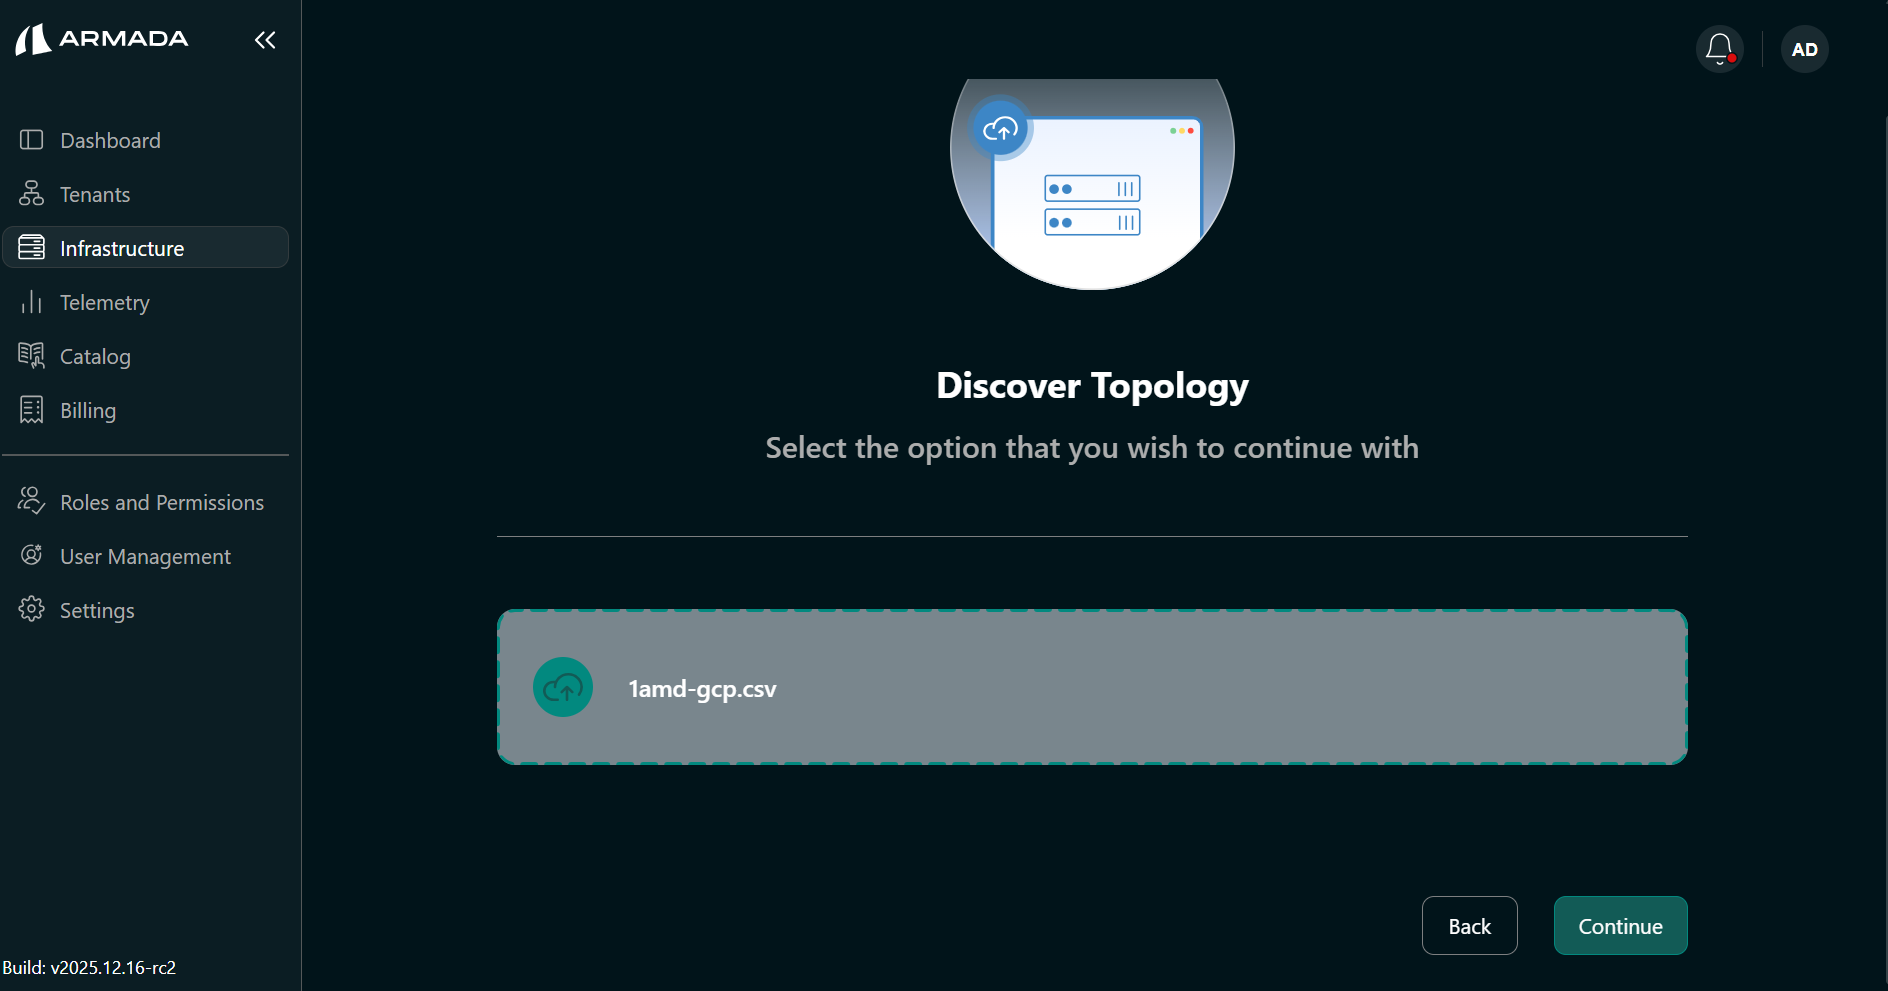
For large deployments with many switches and servers, use Discovery instead.
Prerequisites
Before importing, ensure the following:
- CSV must contain both Bridge node details and server details
- Both Bridge node and GPU servers must have Password Authentication enabled
- Password authentication users must be able to run
sudocommands
CSV File Requirements
Download the sample CSV template and update it with your infrastructure details.
The CSV file is for reference only — all details in the template are dummy values. Update it with your actual infrastructure information.
CSV Column Requirements
- Use
eth0/ens*private IP for theInternalIpandInbandIpcolumns - Update
InBandMACfor all nodes, including Bridge node (amcop) - Ensure
HostnameandNamefields match for every row
Import Process
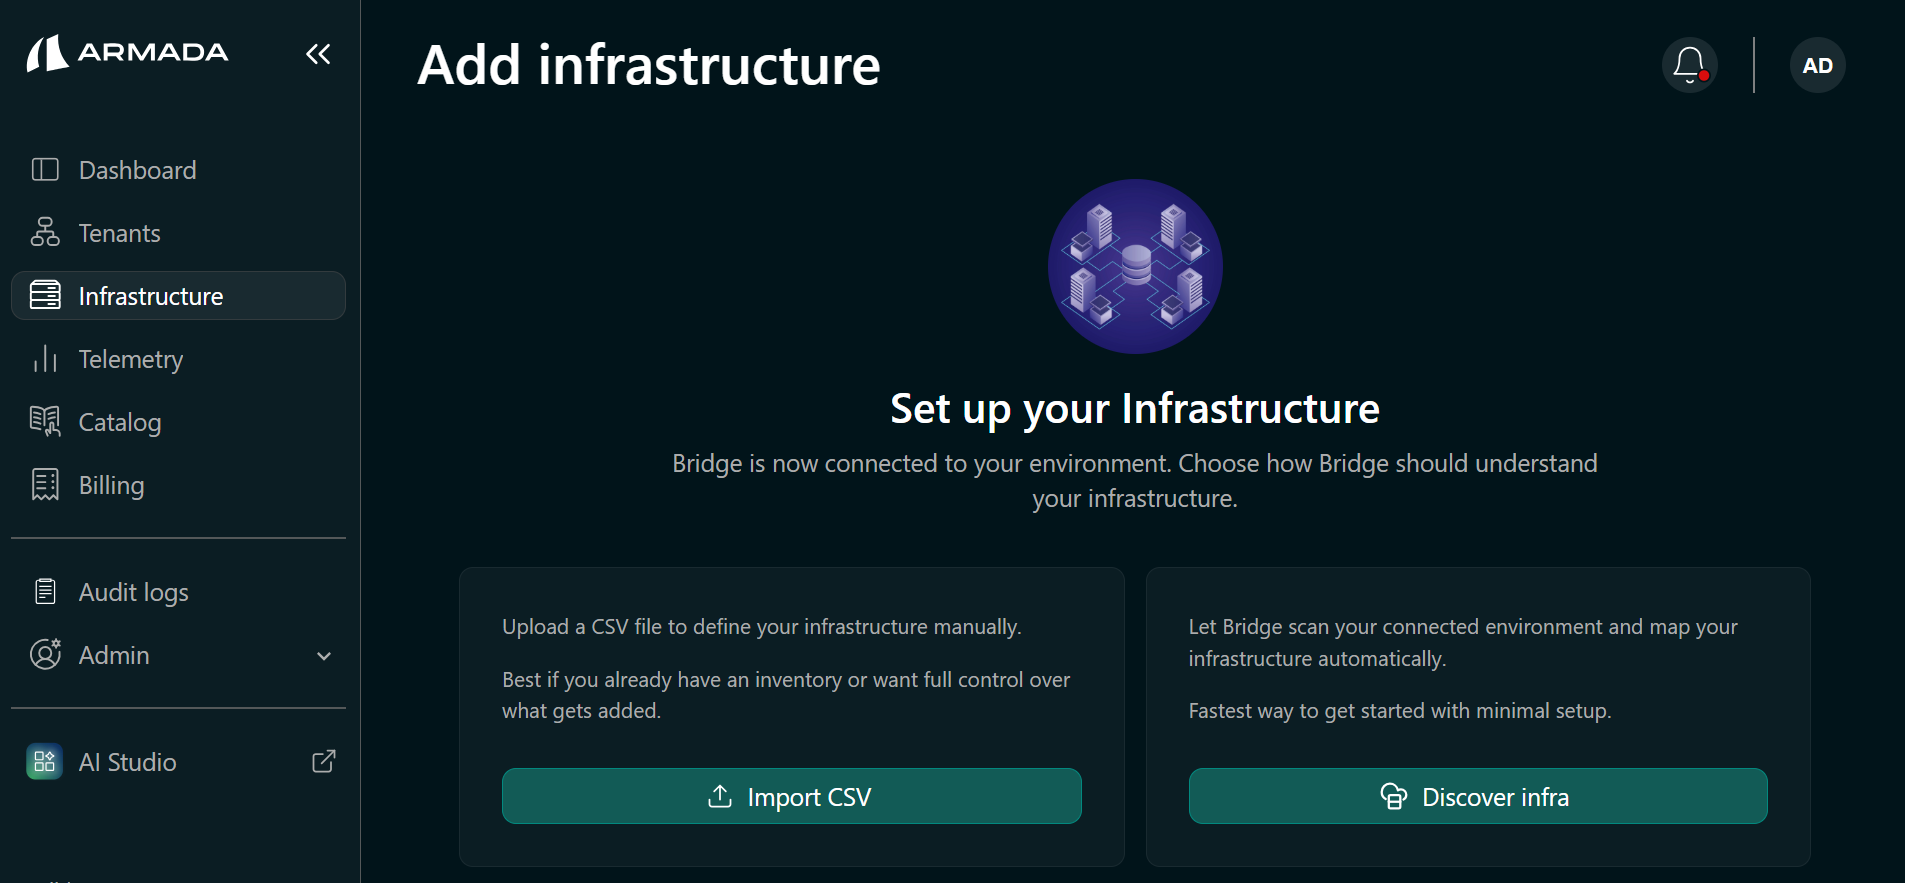
Step 1: Navigate to Infrastructure
Go to Infrastructure from the sidebar and click Import Infra.
Step 2: Upload and Review CSV File
Upload your prepared CSV file, review the imported server details, update any values as needed, and click Import.
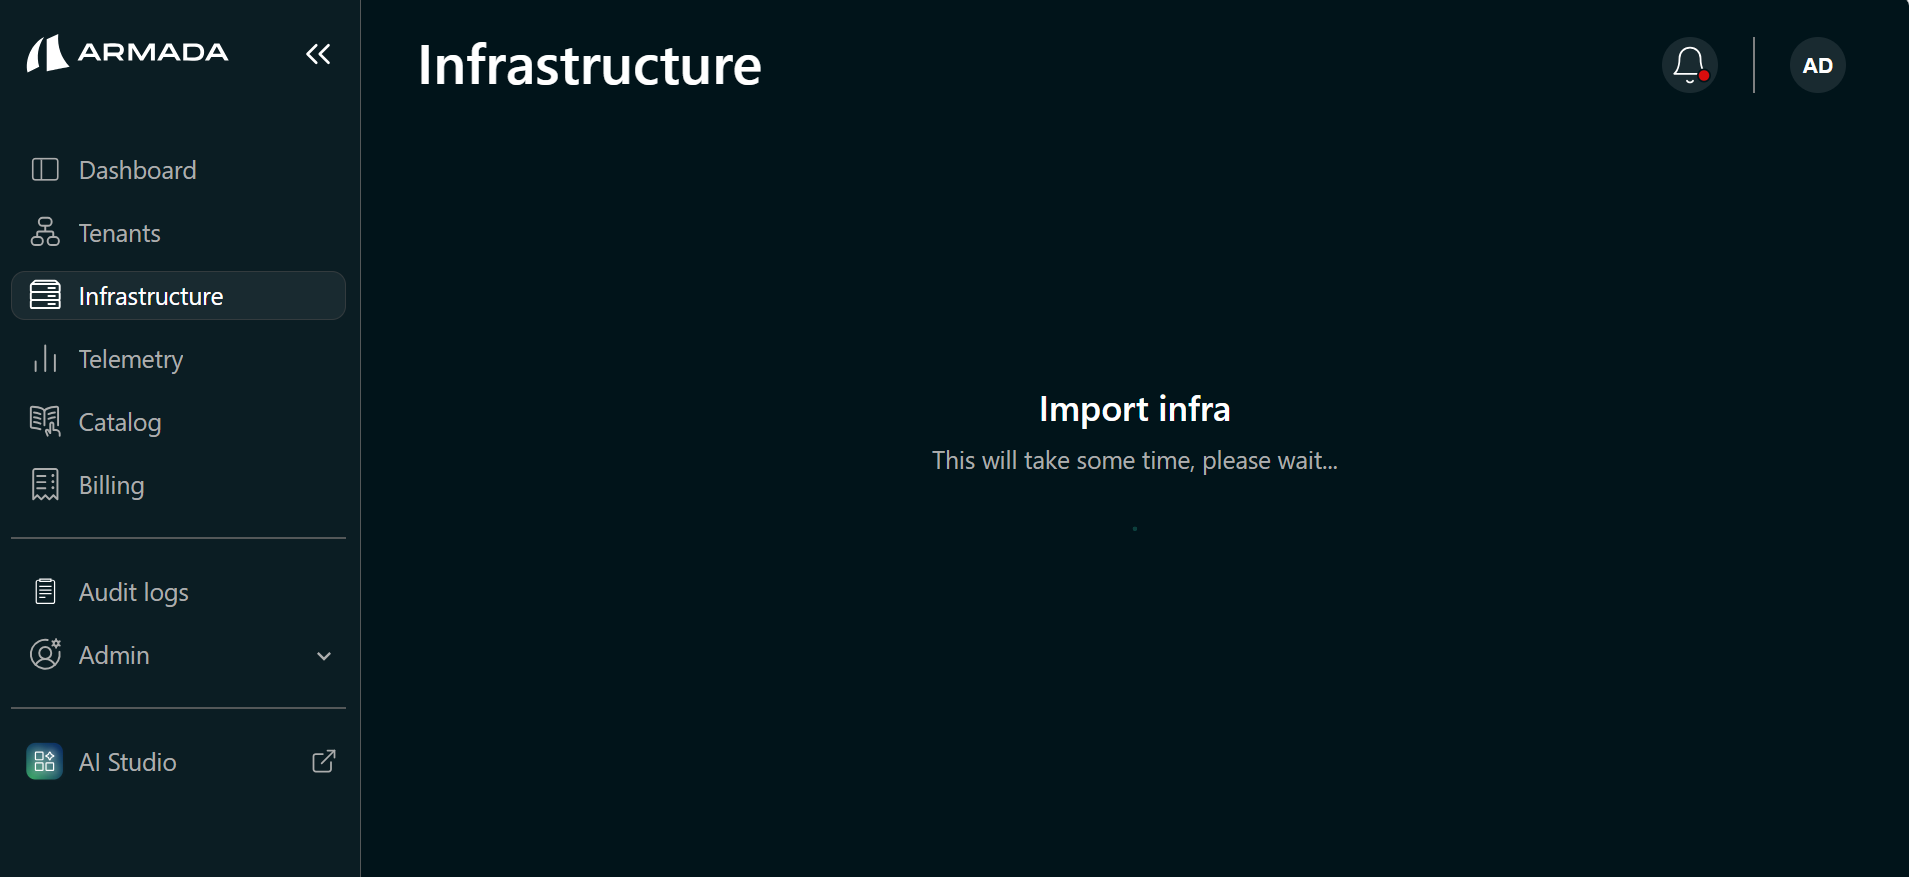
Step 3: Wait for Completion
Wait while Bridge imports your infrastructure. The duration depends on the number of servers in your CSV file.
Step 4: Verify Import
After import completes, verify that your infrastructure appears in Bridge.
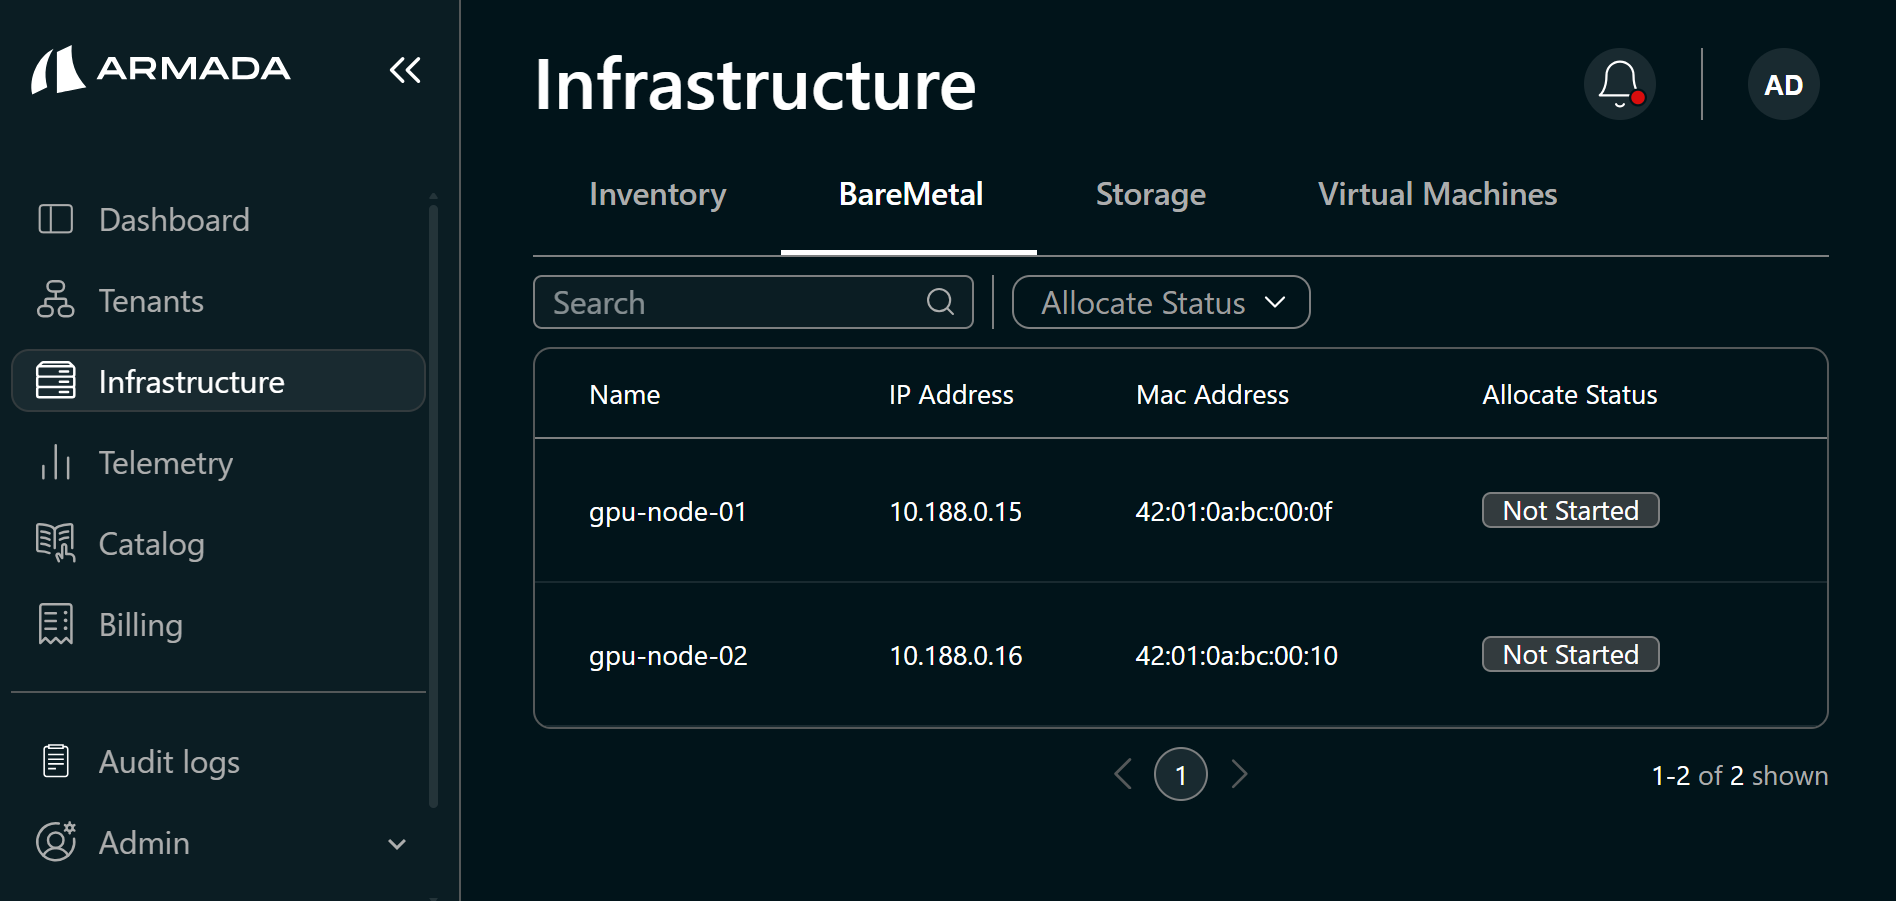
The Inventory tab lists all imported servers and storage nodes in Not Started state.
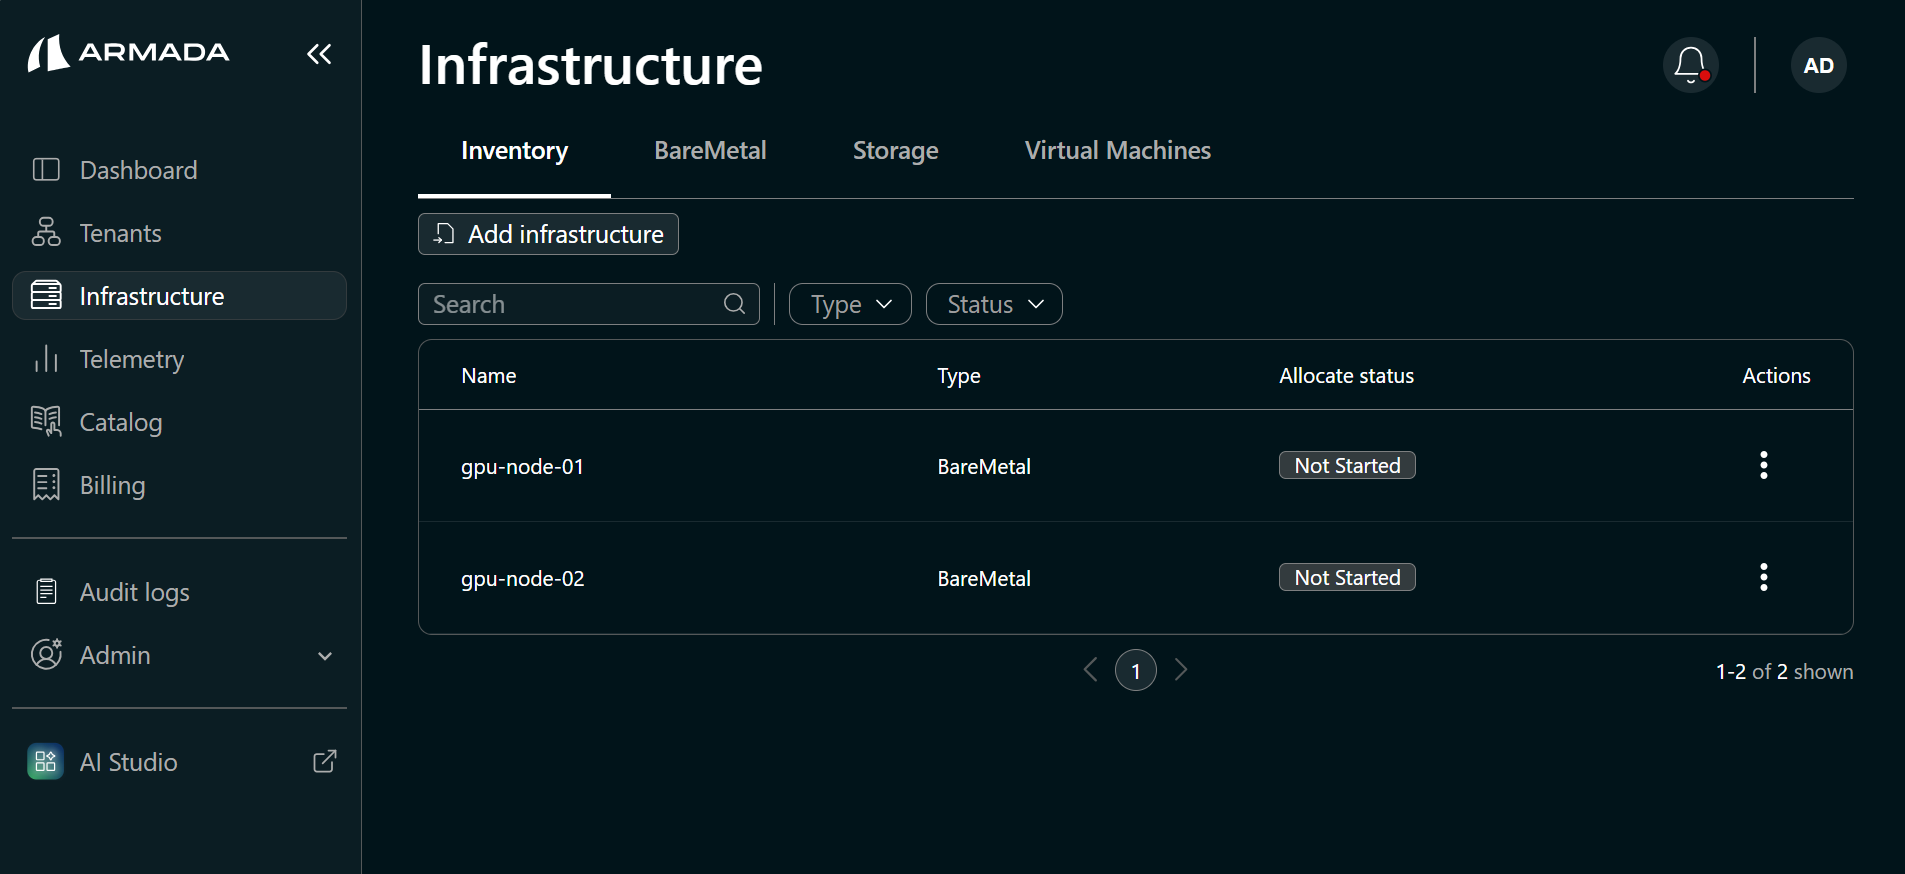
The BareMetal page shows only the imported servers.
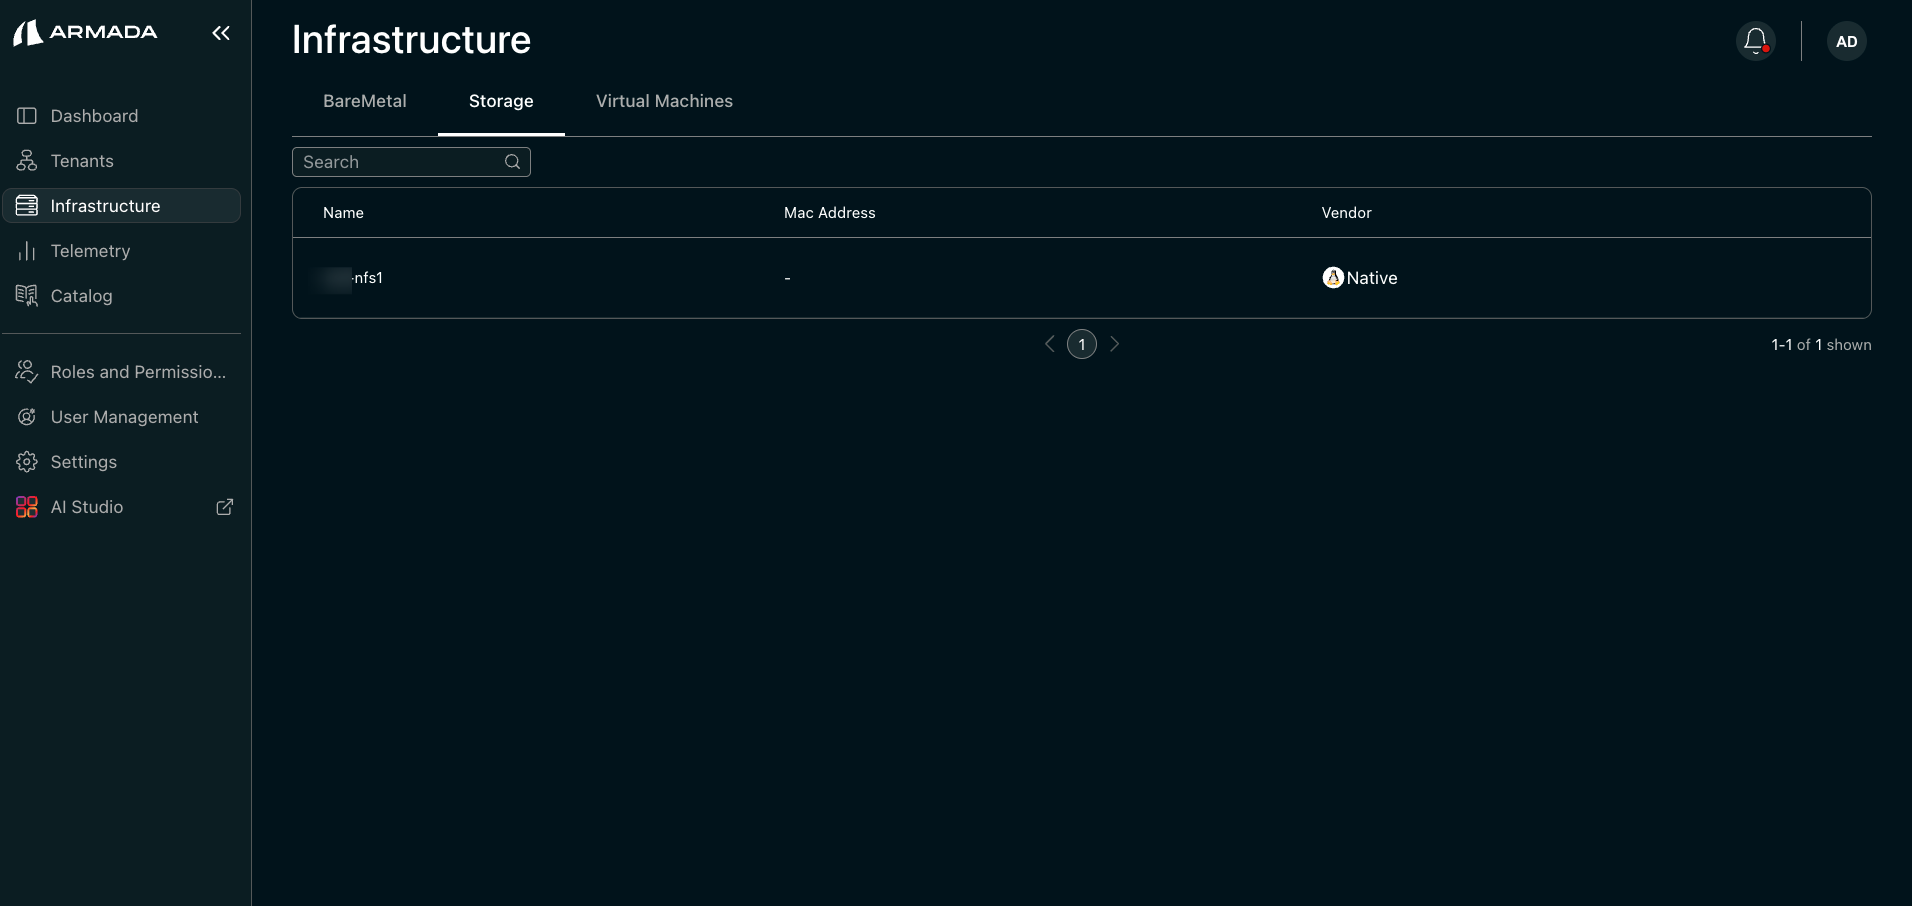
If the Admin imports the NFS server as well, after the import completes you can view the imported NFS server and its details in the Storage tab.
Sample CSV for NFS server import: Sample import server CSV file (NFS)
Next Steps
- Day-N Management — Configure tenants and perform ongoing administrative operations after infrastructure import.