Converged Topology
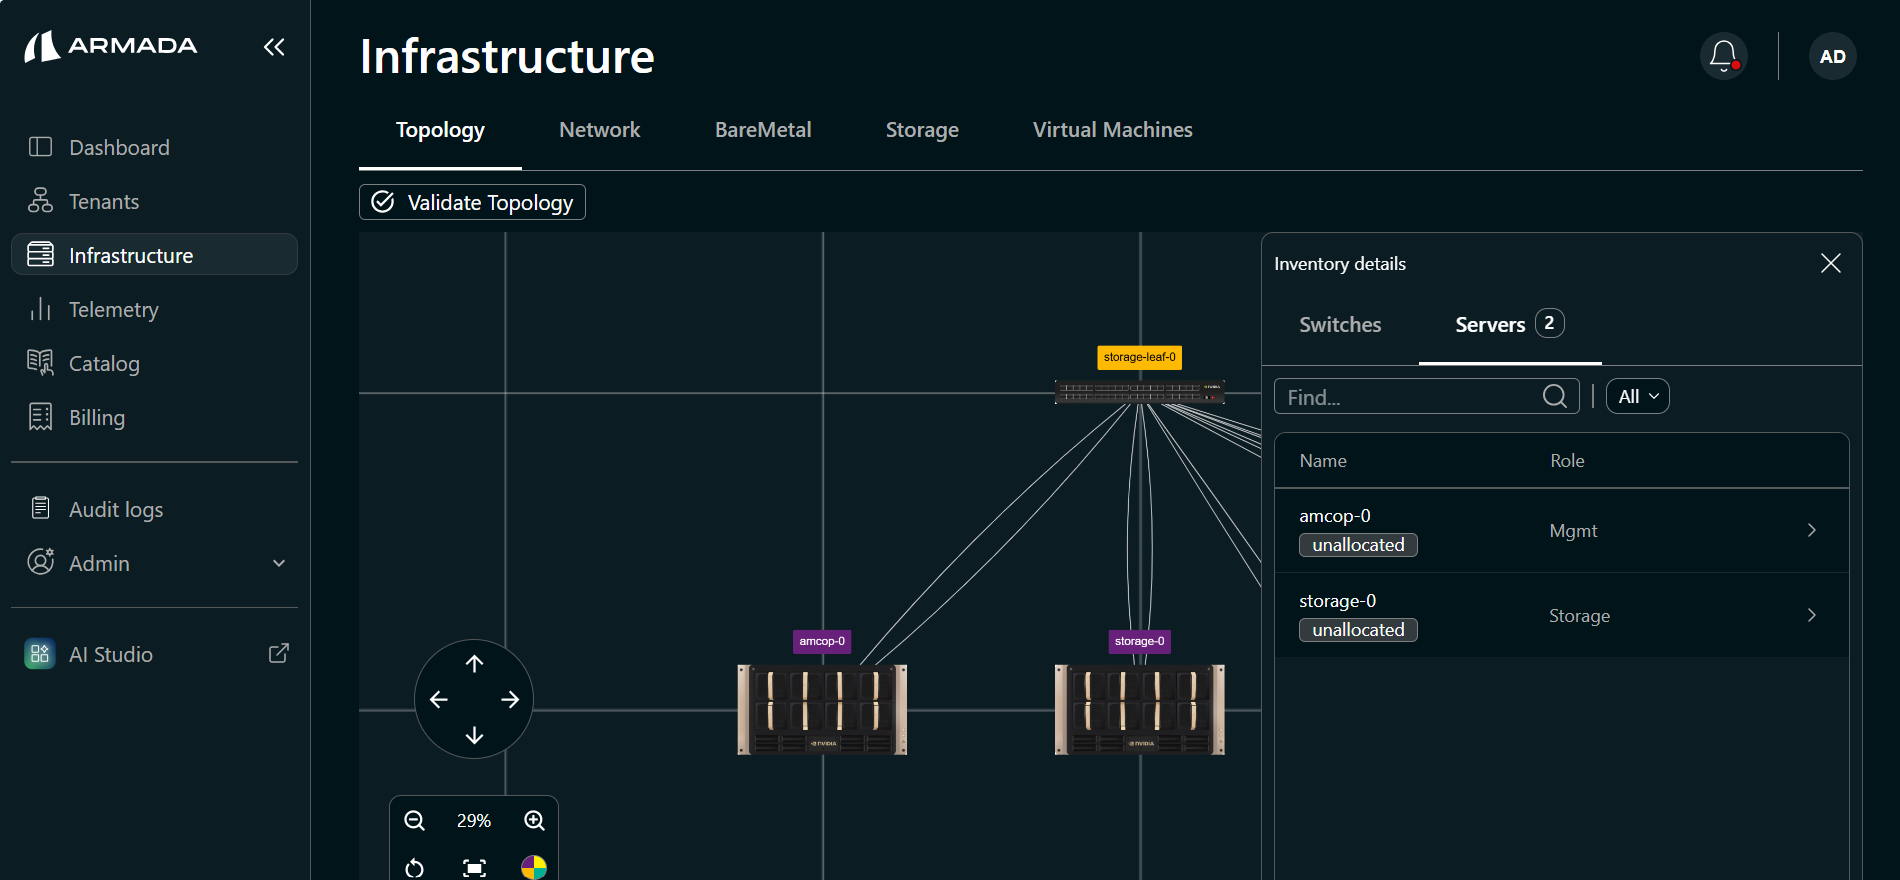
A converged topology in Bridge contains only storage nodes and the storage-leaf switch. No compute nodes or compute network elements (spine, leaf, or core switches) are part of this topology.
What Converged Topology Means
- Storage and storage-leaf switch only — The discovered infrastructure consists of storage nodes and the storage-leaf switch that connects them. There are no compute servers or compute-tier switches.
- Visibility after discovery — After discovery completes, only storage nodes and the storage-leaf switch are visible in the topology view and in Inventory Details. Only the Storage tab and storage devices are relevant; no compute tabs, BareMetal nodes, or compute devices.
This is useful when you want to discover and manage storage infrastructure independently, or when your environment uses a dedicated storage fabric without compute in the same discovery scope.
How It Differs from Compute Topology
| Aspect | Compute Topology | Converged Topology |
|---|---|---|
| Contents | Compute nodes, storage nodes, switches (core/spine/leaf) | Storage nodes and storage-leaf switch only |
| Visible after discovery | Compute, Storage, Switches, Servers | Storage and storage-leaf switch only |
| Use case | Full data center or rack with compute + storage | Storage-only discovery and management |
Discovery Process
Step 1: Start discovery
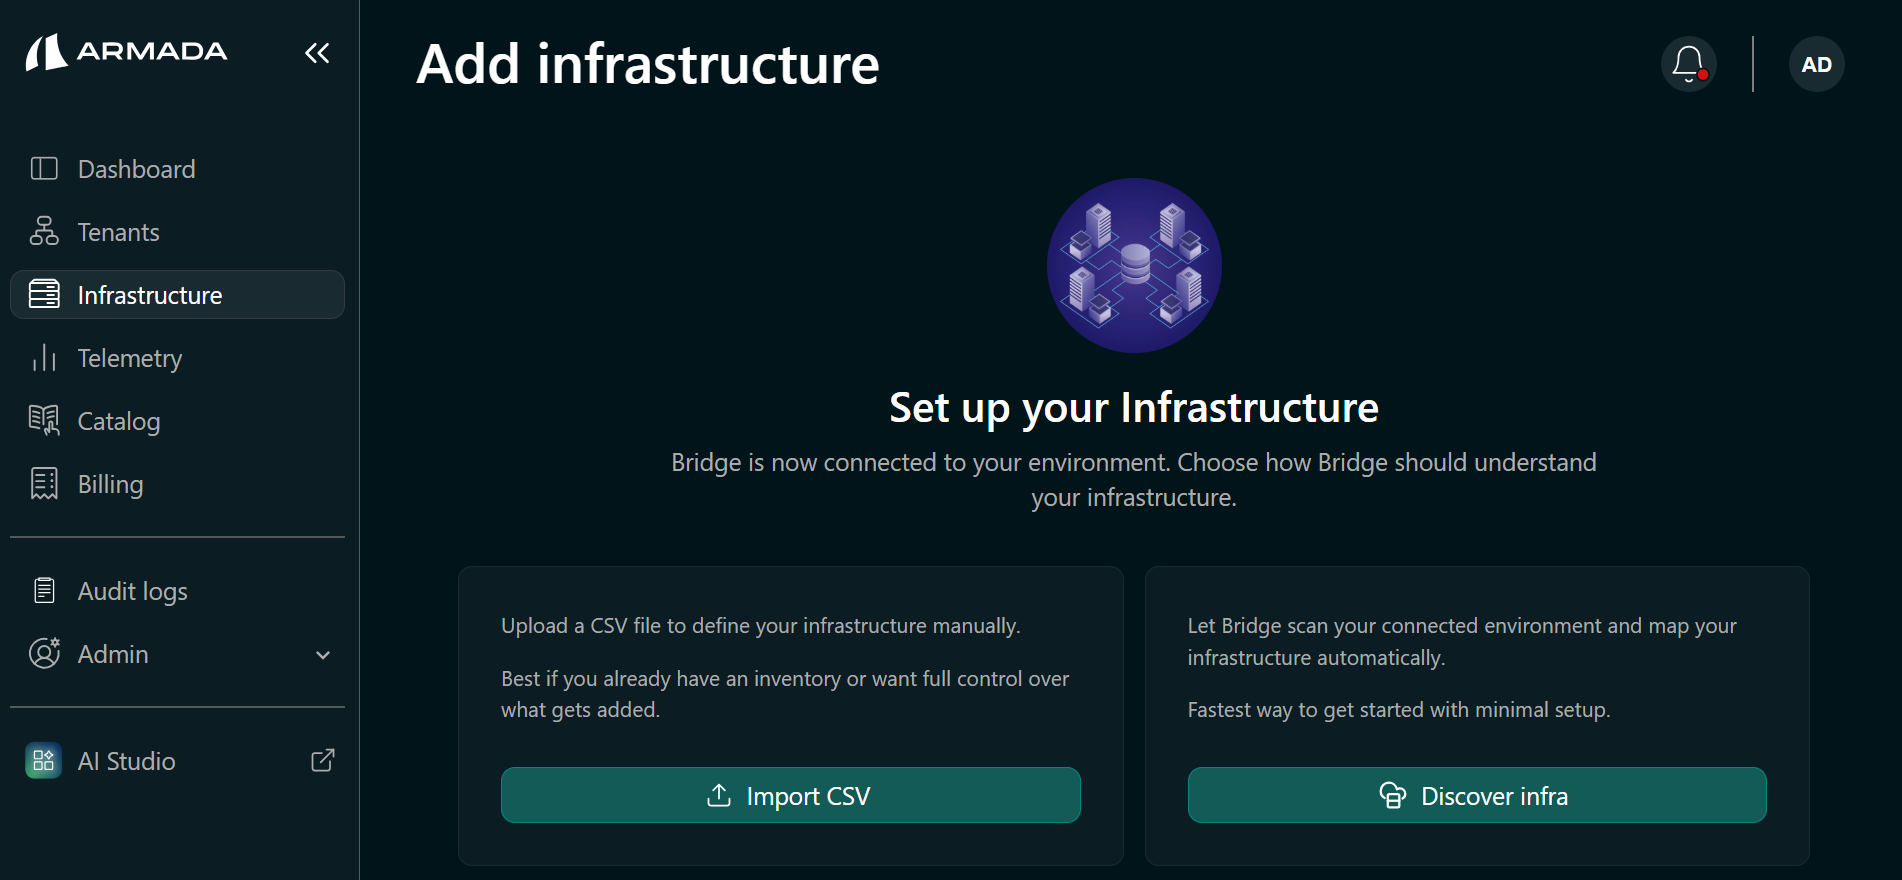
Go to Infrastructure → click Discover Infra.
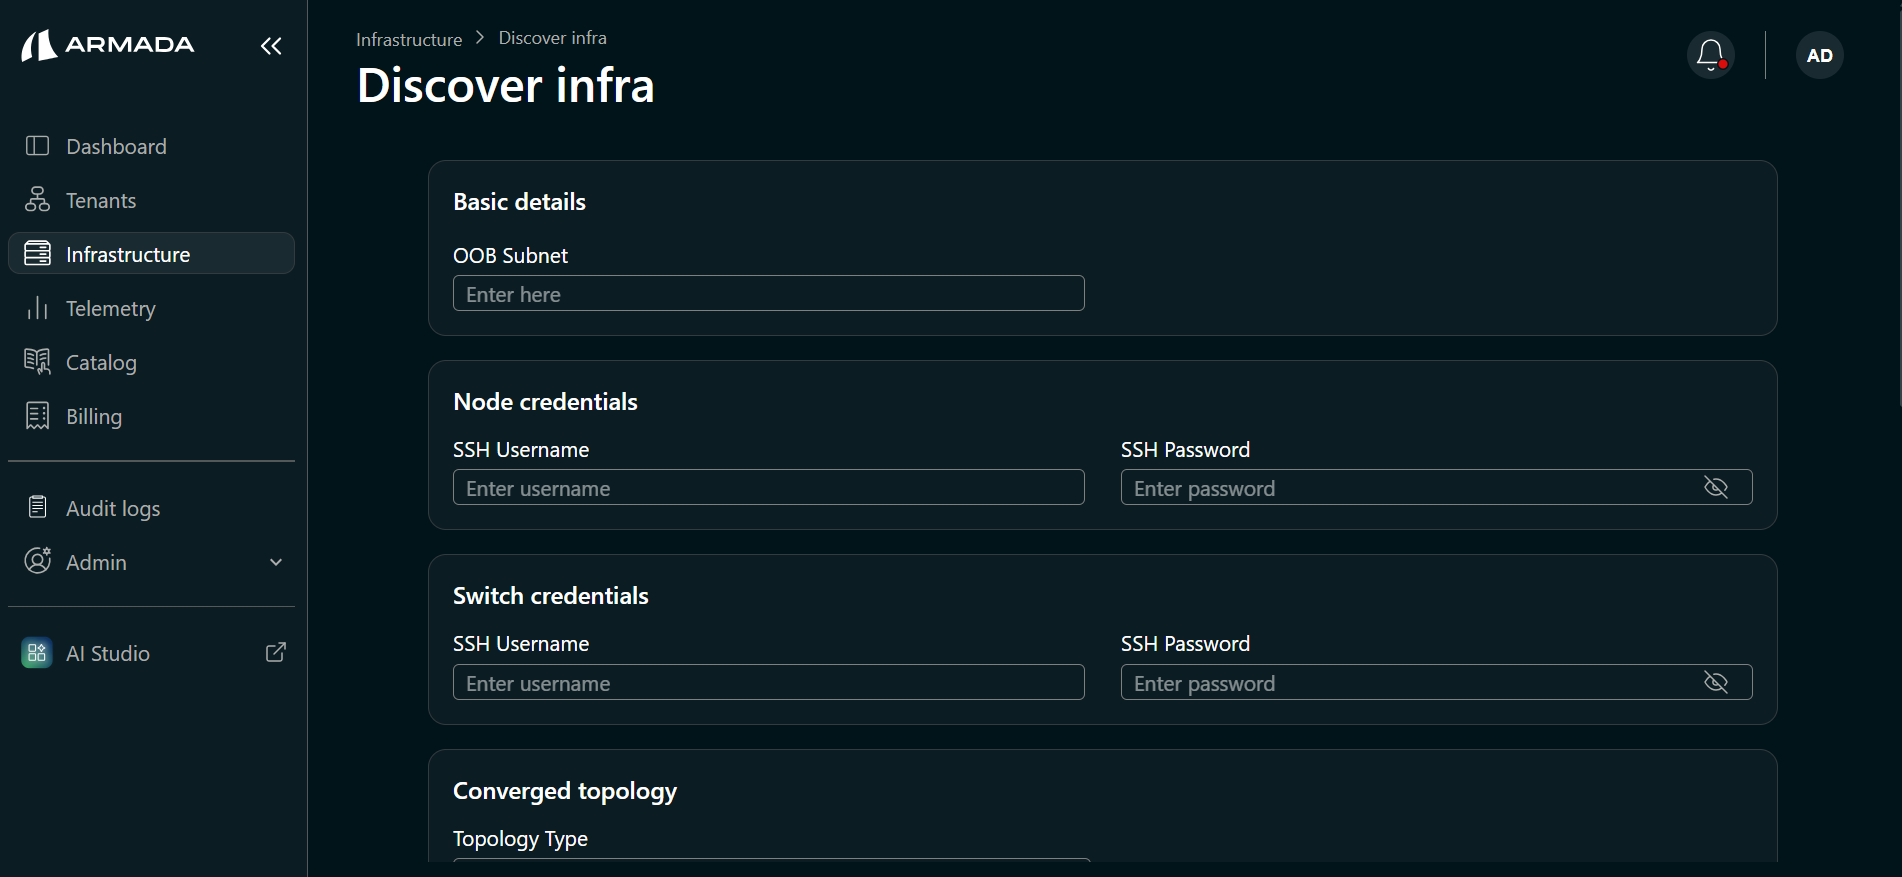
Step 2: Enter OOB and credentials
In the pop-up, enter OOB Subnet and Node and Switch Credentials as required, then proceed.
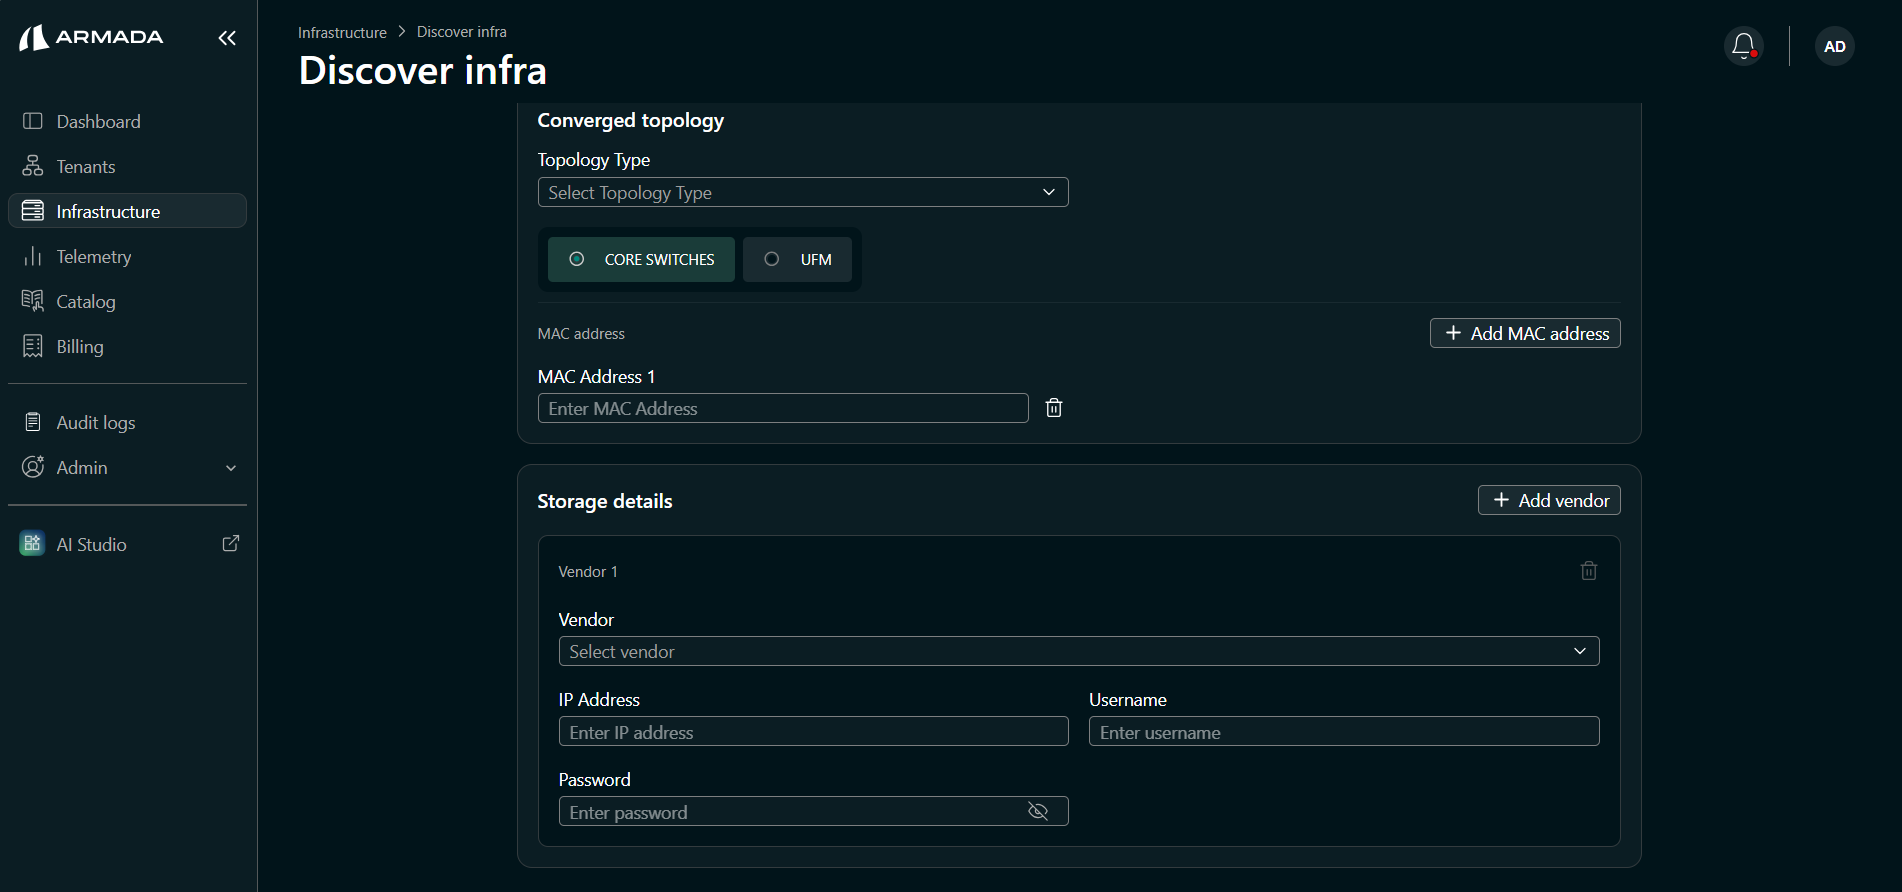
Step 3: Configure Storage Topology only
Set the storage topology as follows:
| Field | Value |
|---|---|
| Topology Type | Tier 1 |
| Vendor | native |
| IP | Storage node |
| Storage Leaf Switch MAC Address | Enter the MAC address of the storage leaf switch |
Do not configure compute topology.
Click Done.
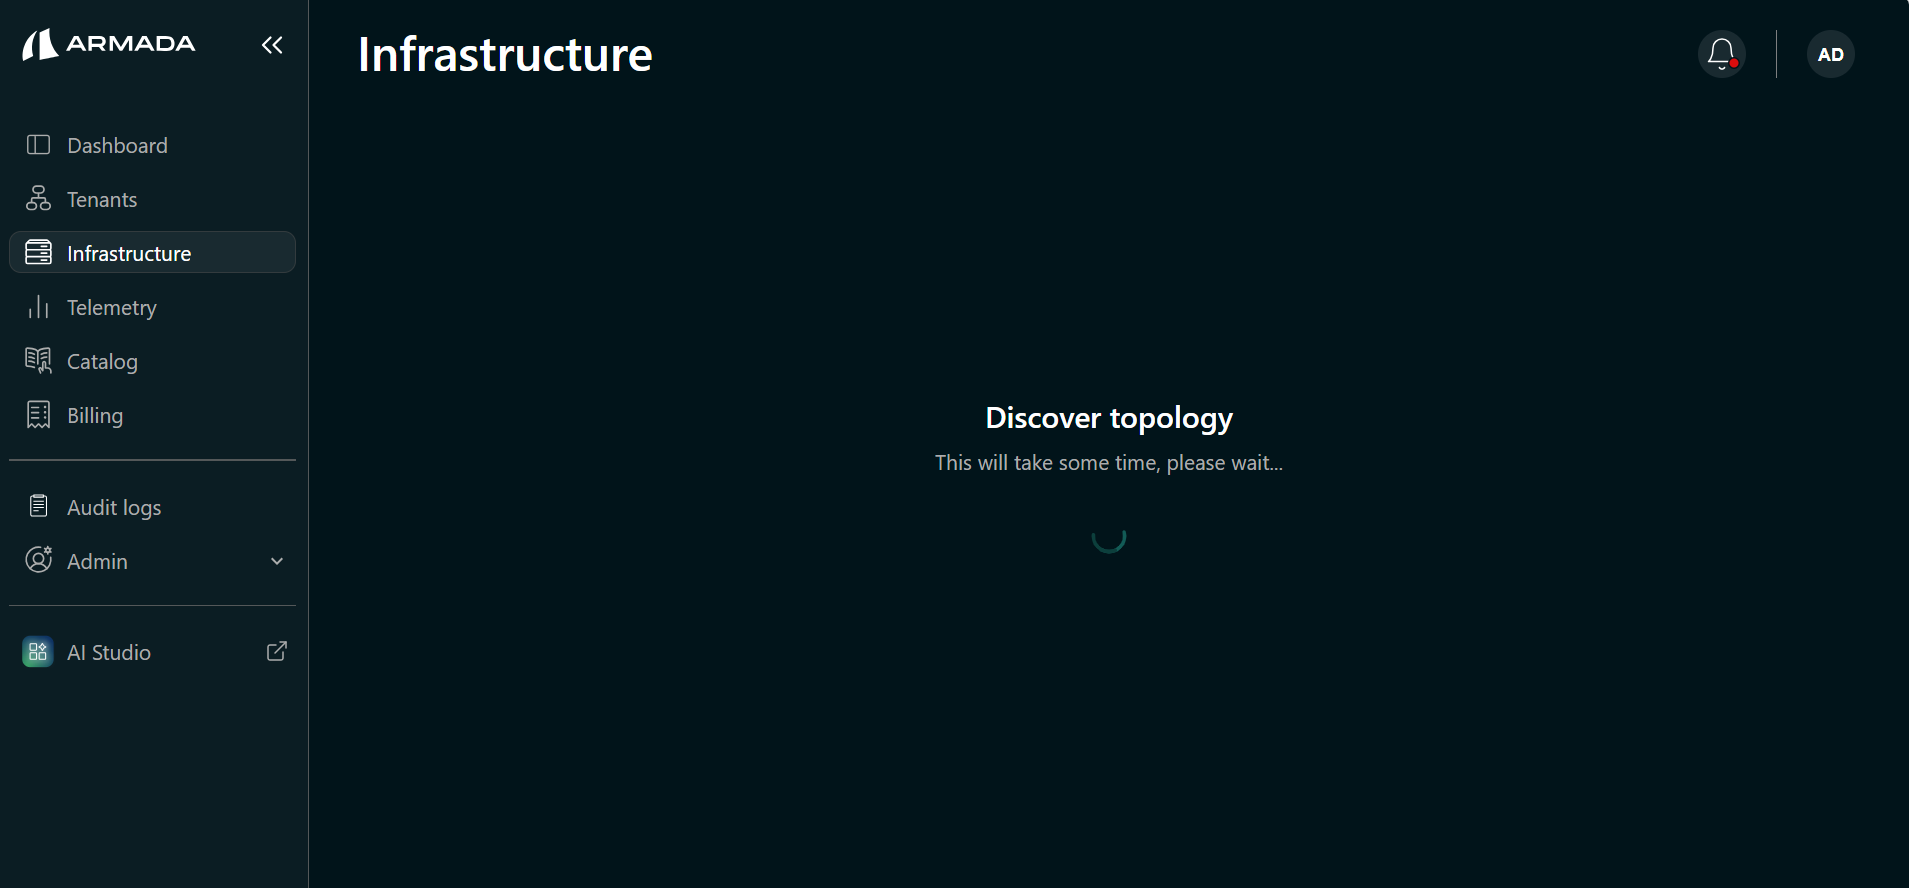
Step 4: Monitor discovery
On the Infrastructure view, wait for discovery to complete. The topology view then shows only storage nodes and the storage-leaf switch.
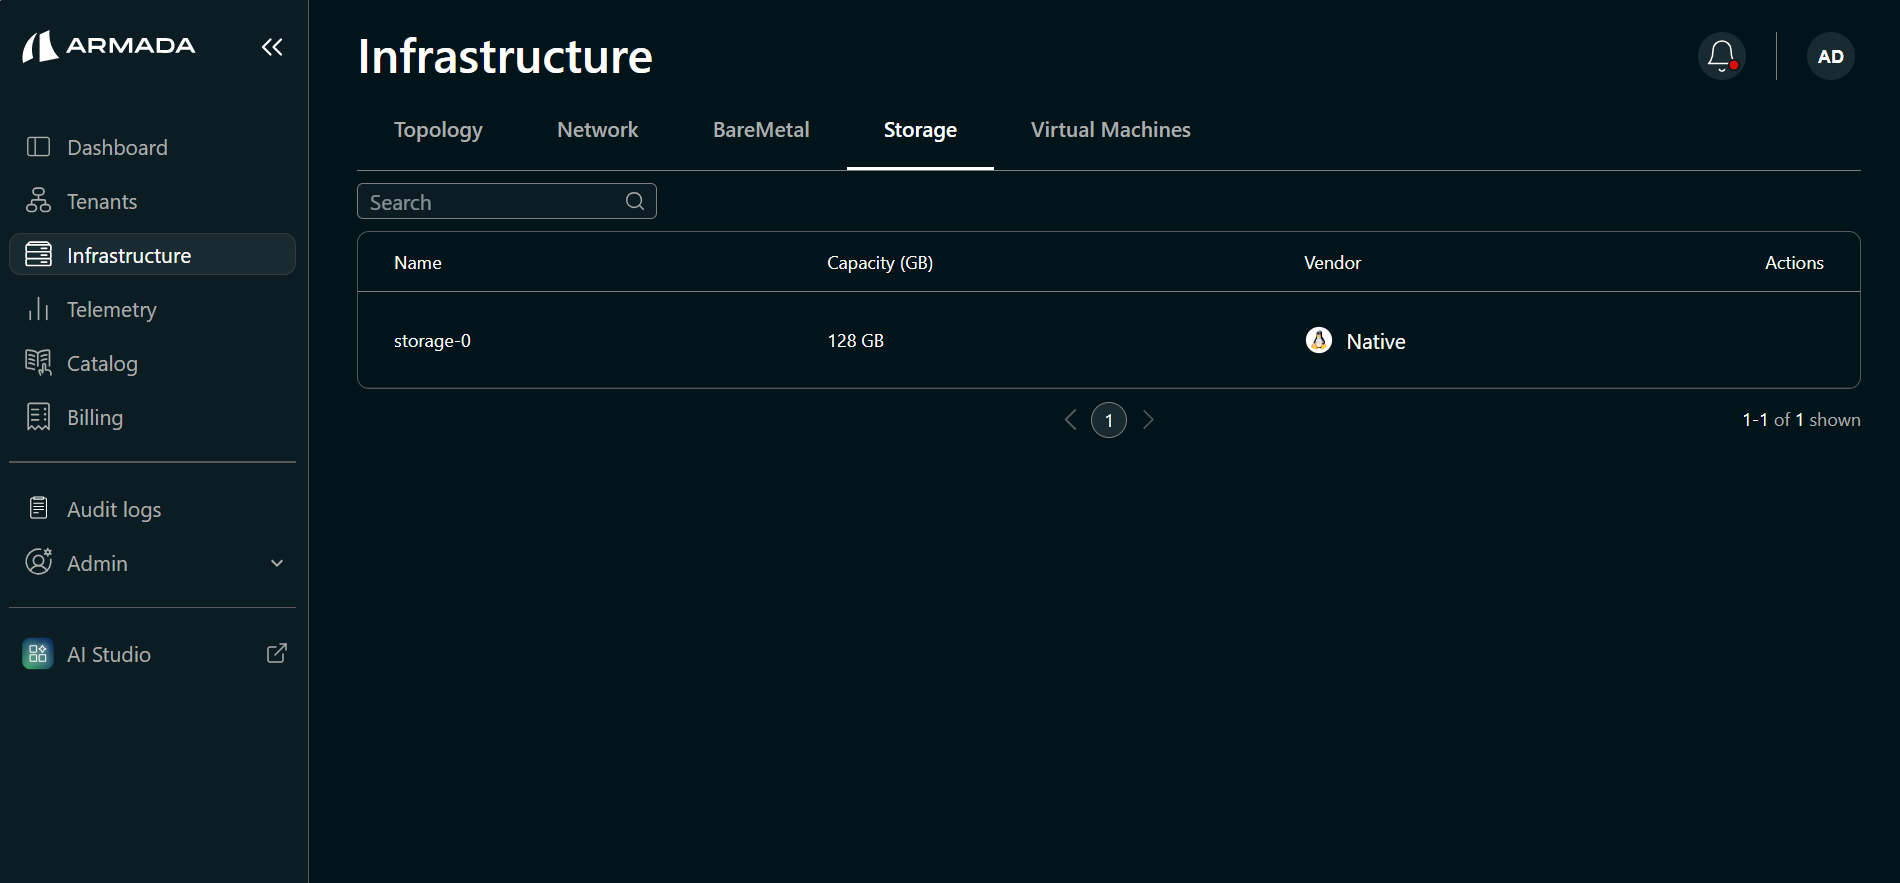
Step 5: Open Storage tab after topology completion
Click the Infrastructure → Storage tab to view the list of available storage devices.
Next Steps
- Configure Underlay Network — Configure the underlay network for the discovered topology.