RBAC (Roles and Permissions)
Bridge provides role-based access control (RBAC) with three built-in roles. The NCP Admin can create custom roles derived from these base roles to grant precisely scoped permissions to users.
Built-in Roles
| Role | Scope | Description |
|---|---|---|
| NCP Admin | Platform | Full administrative access to the platform |
| Tenant Admin | Tenant | Administrative access within a specific tenant |
| Tenant User | Tenant | Resource utilization access within a specific tenant |
Custom Roles
Custom roles allow the NCP Admin to restrict or extend the permissions of a base role to meet organizational requirements. Once created, a custom role can be assigned to users during account creation.
If a custom NCP Admin role includes the User Create permission, users assigned to that role can create other custom roles.
Create a Custom NCP Admin Role
-
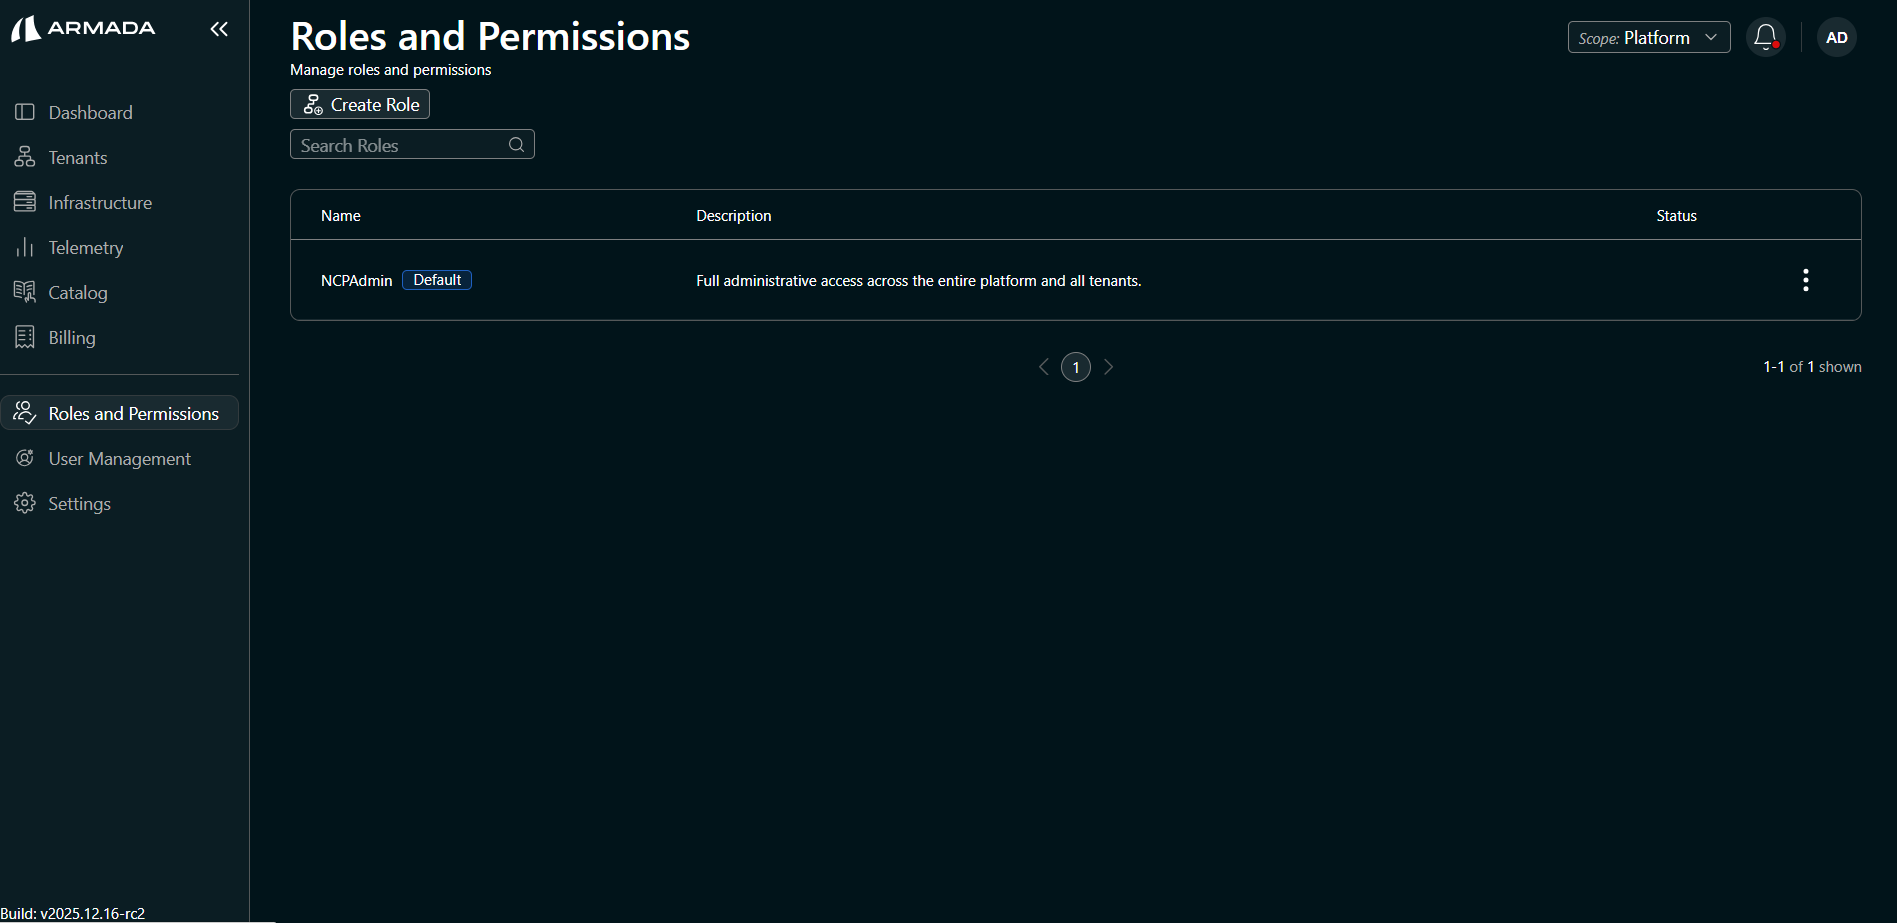
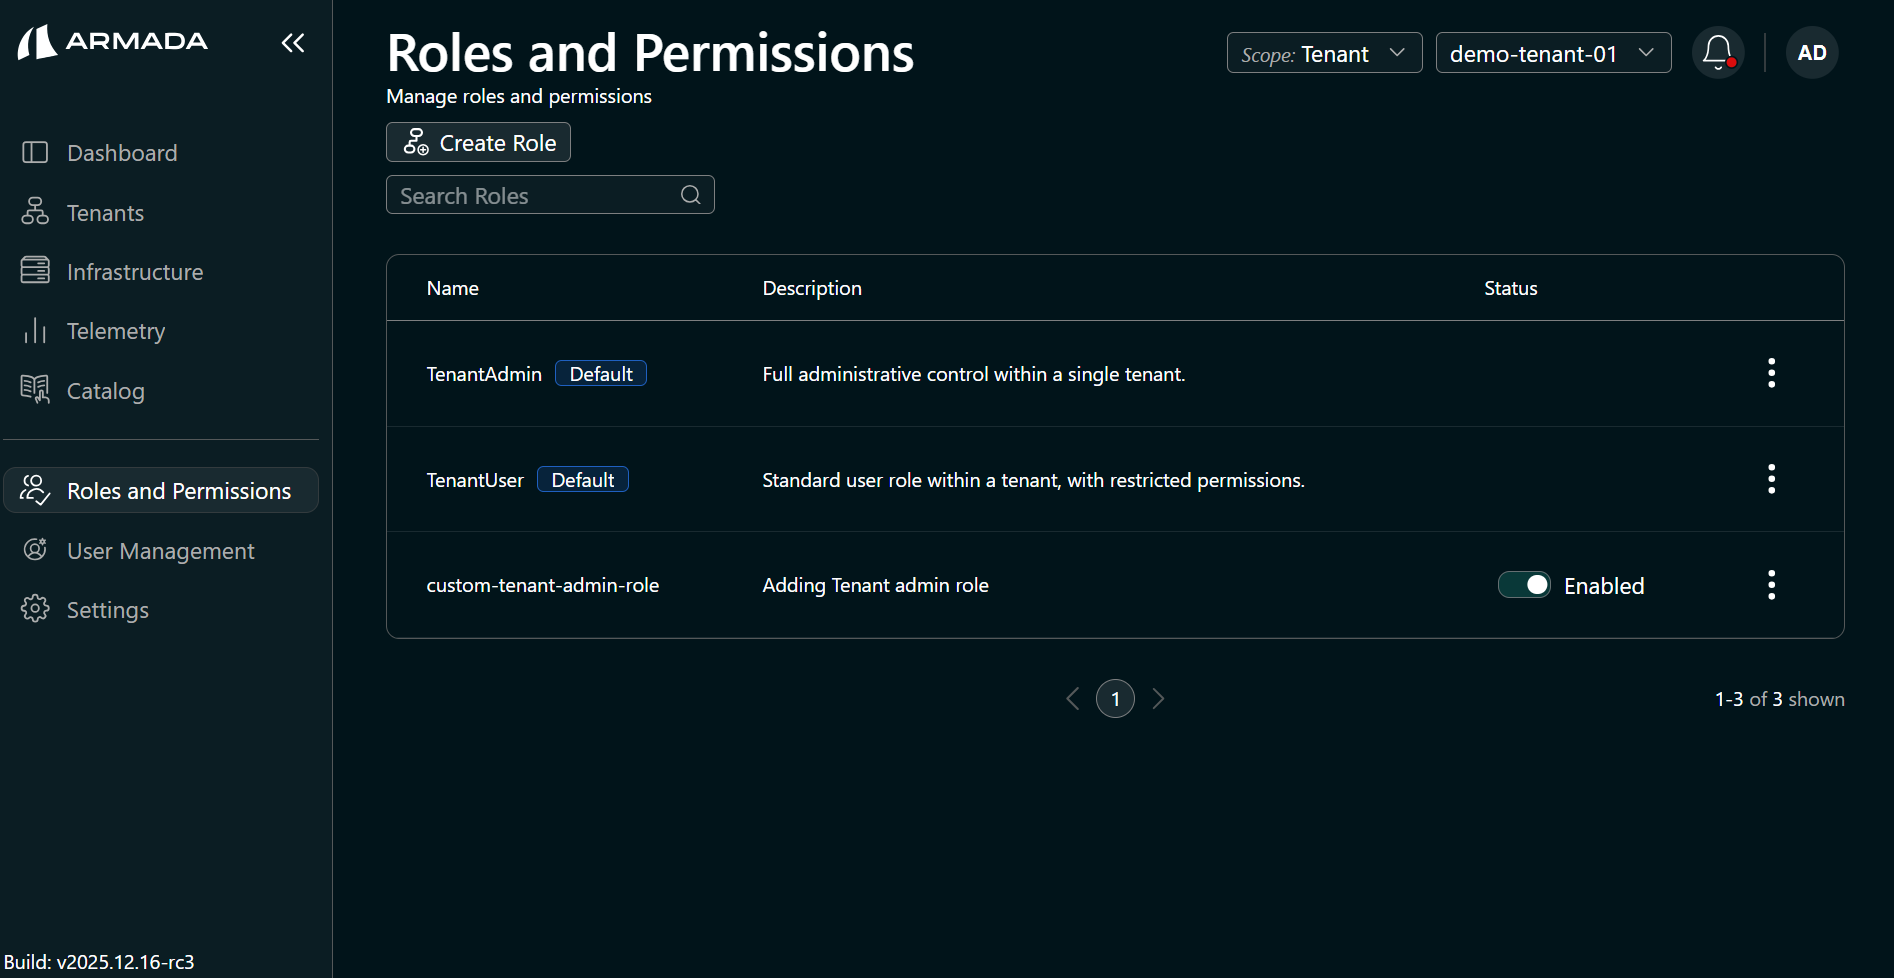
In the sidebar, click Roles and Permissions.
-
Ensure the scope is set to Platform.
-
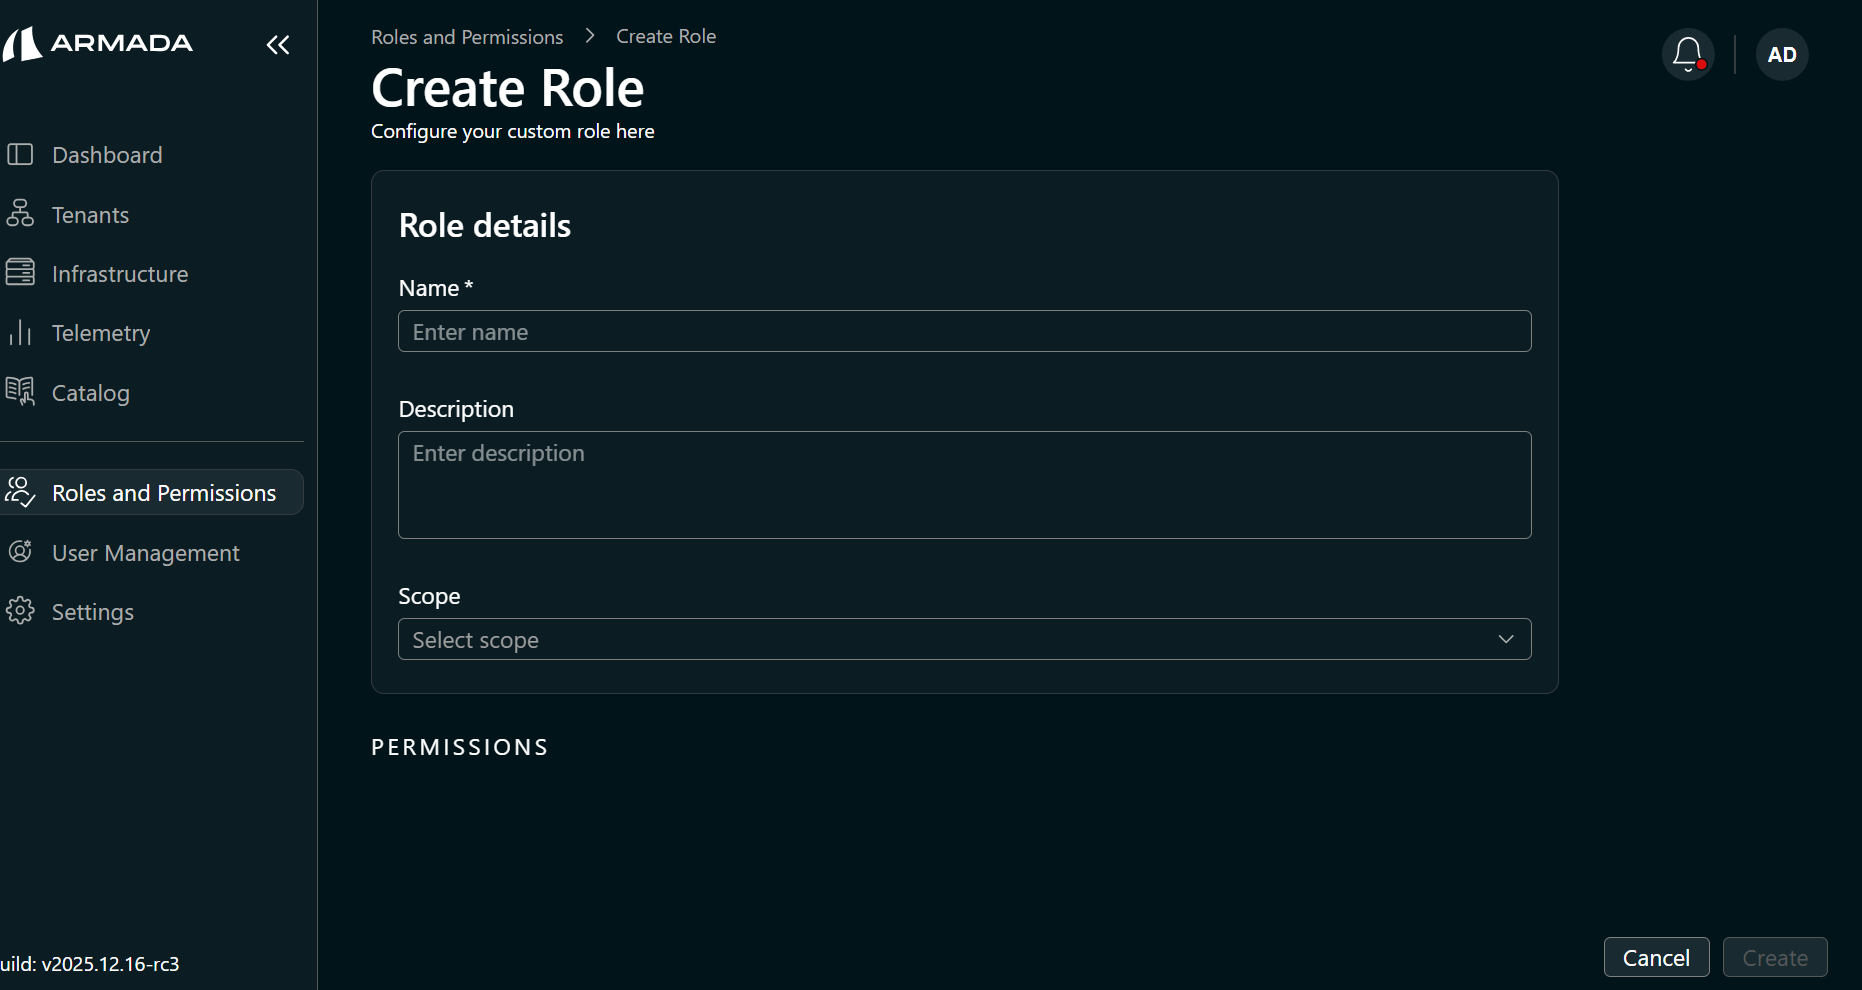
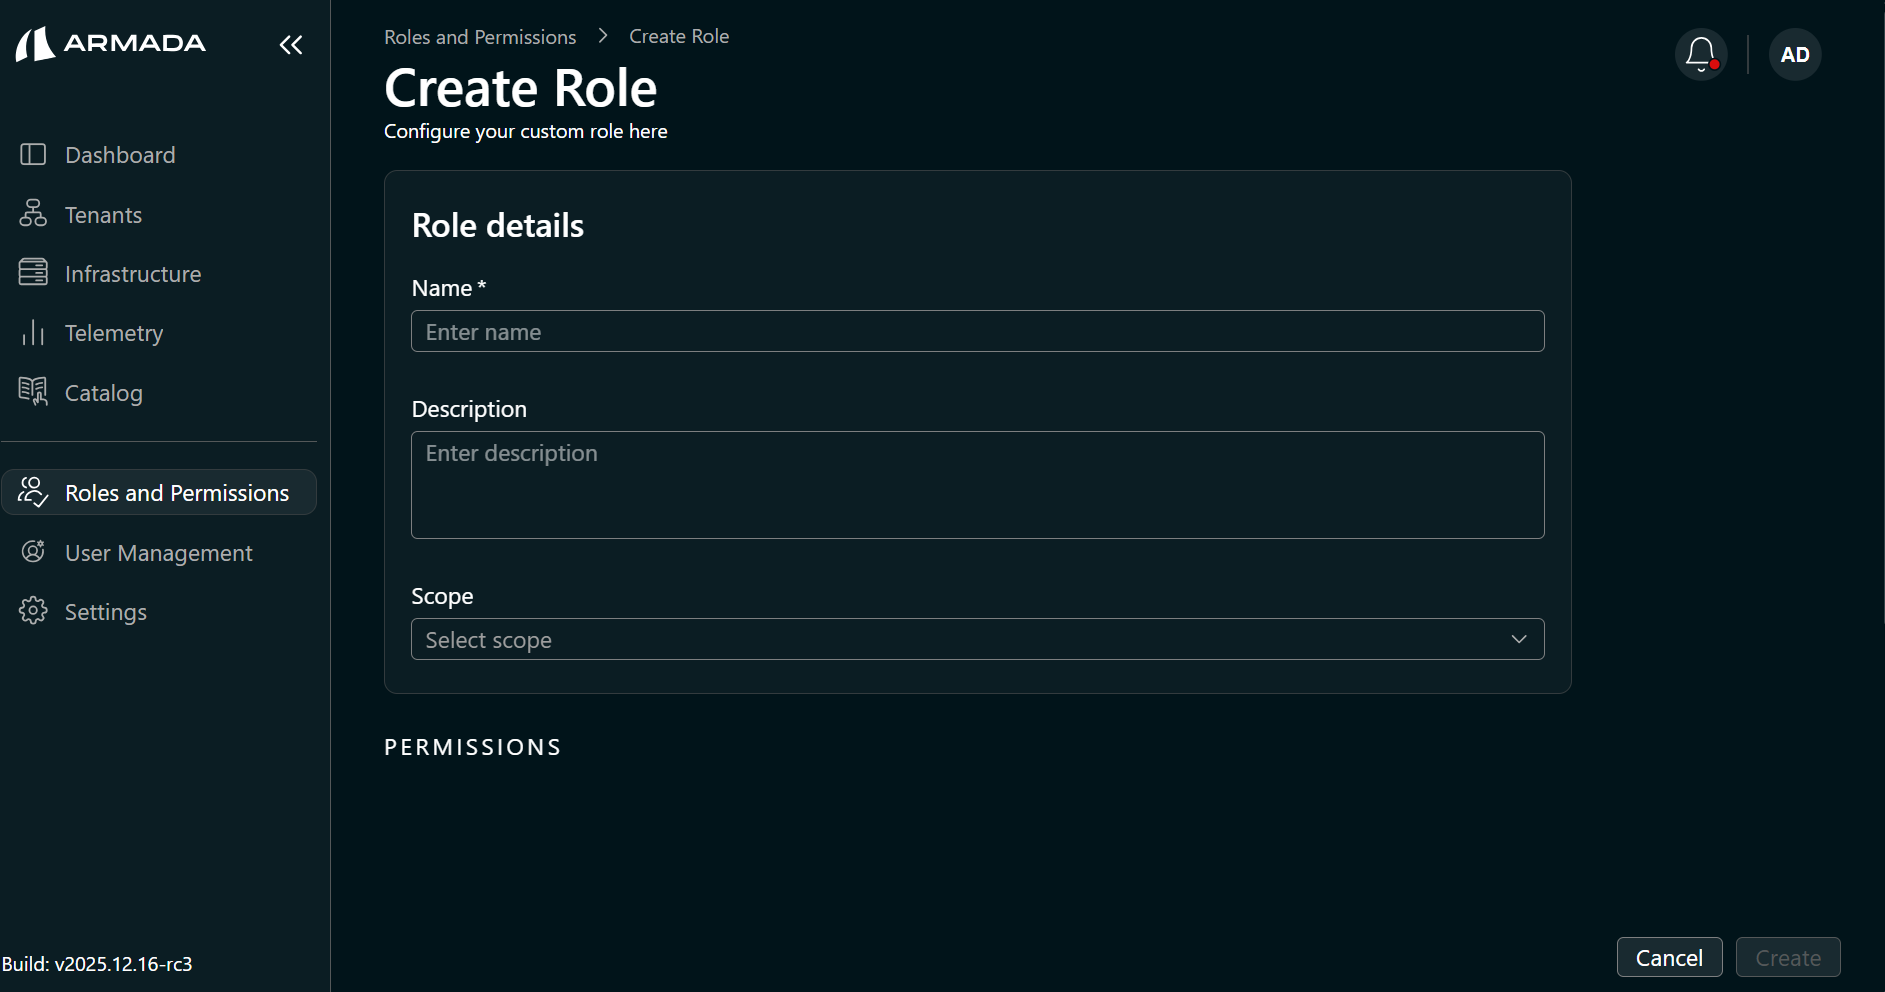
Click Create Role.
-
Enter a Role Name (for example,
ncp-admin-custom-role), a Description, and set the Scope to Platform.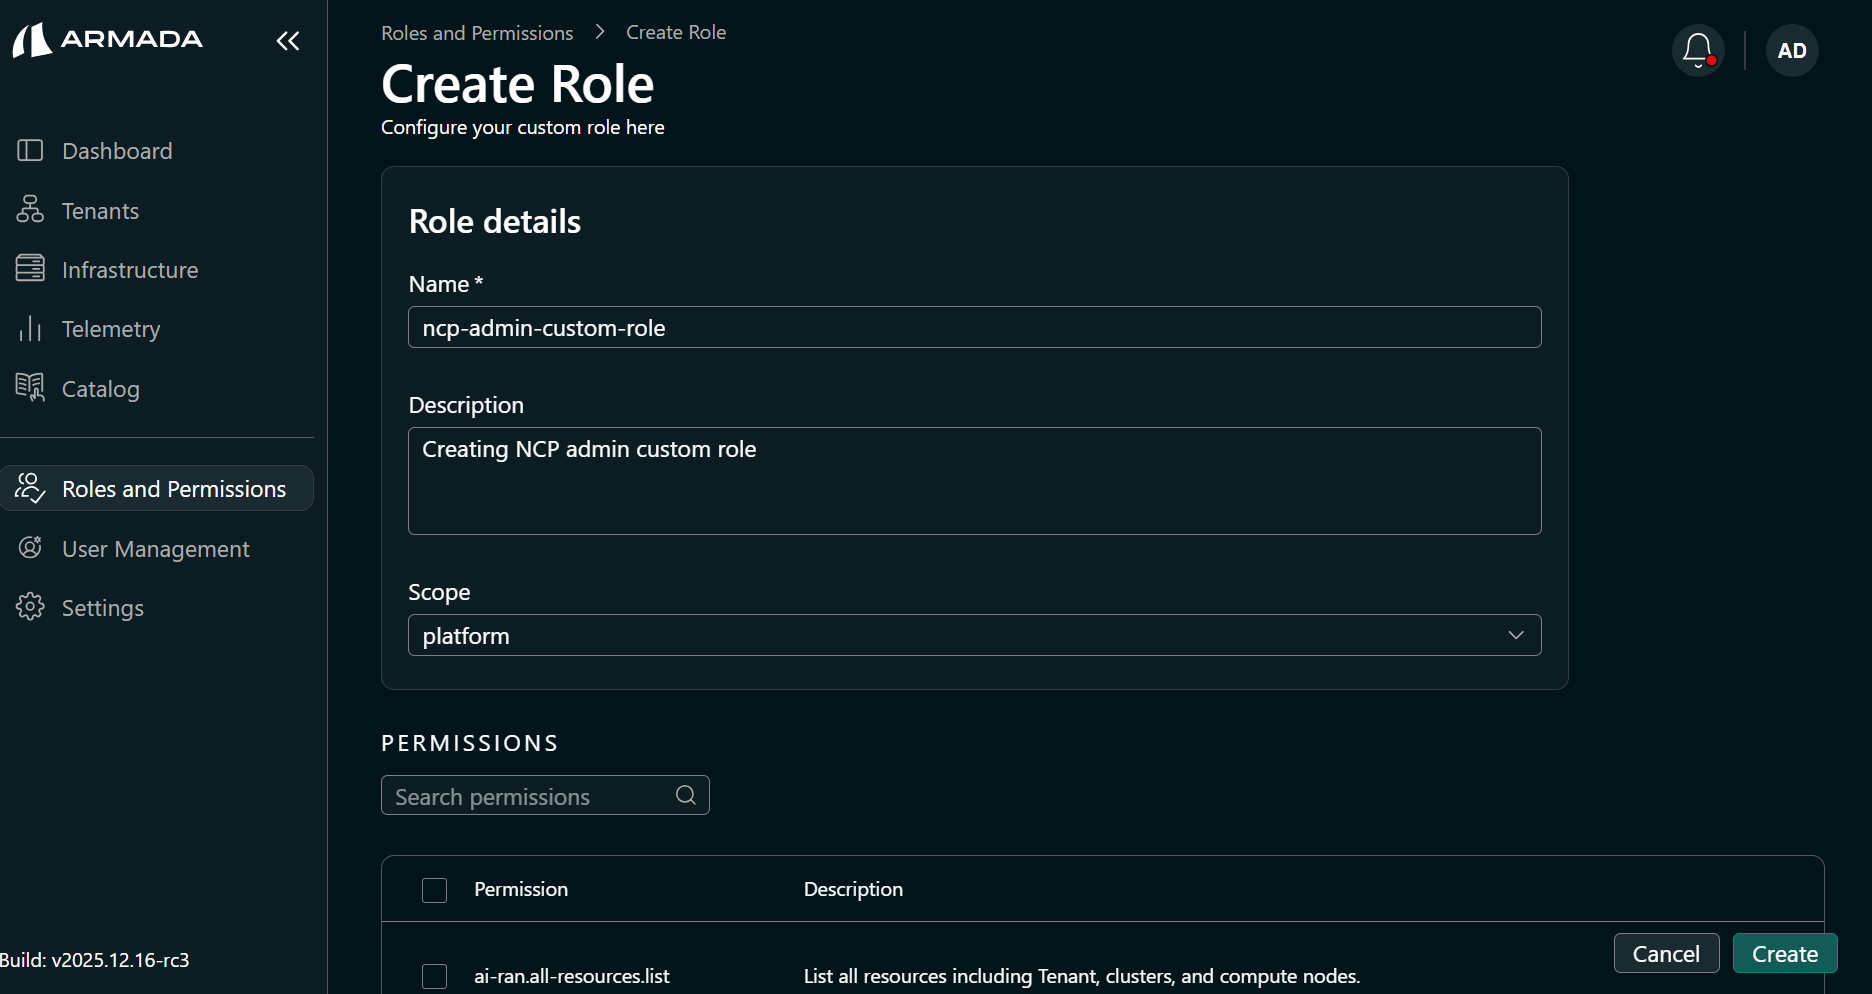
-
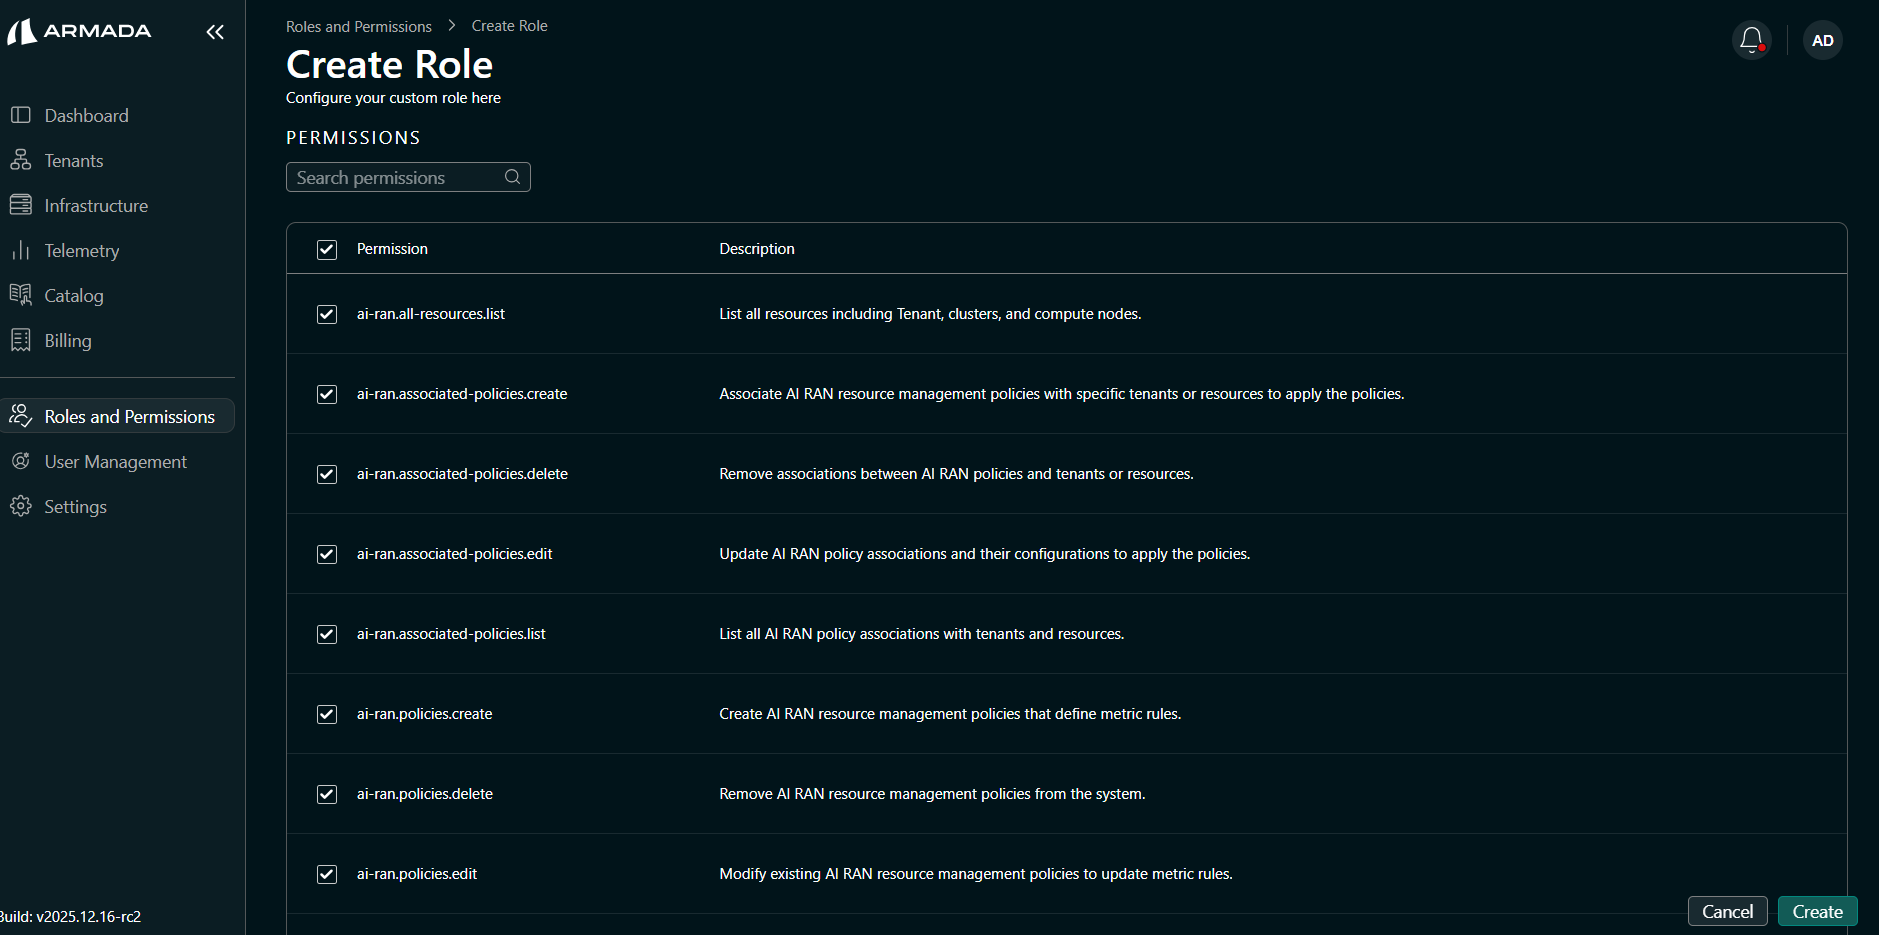
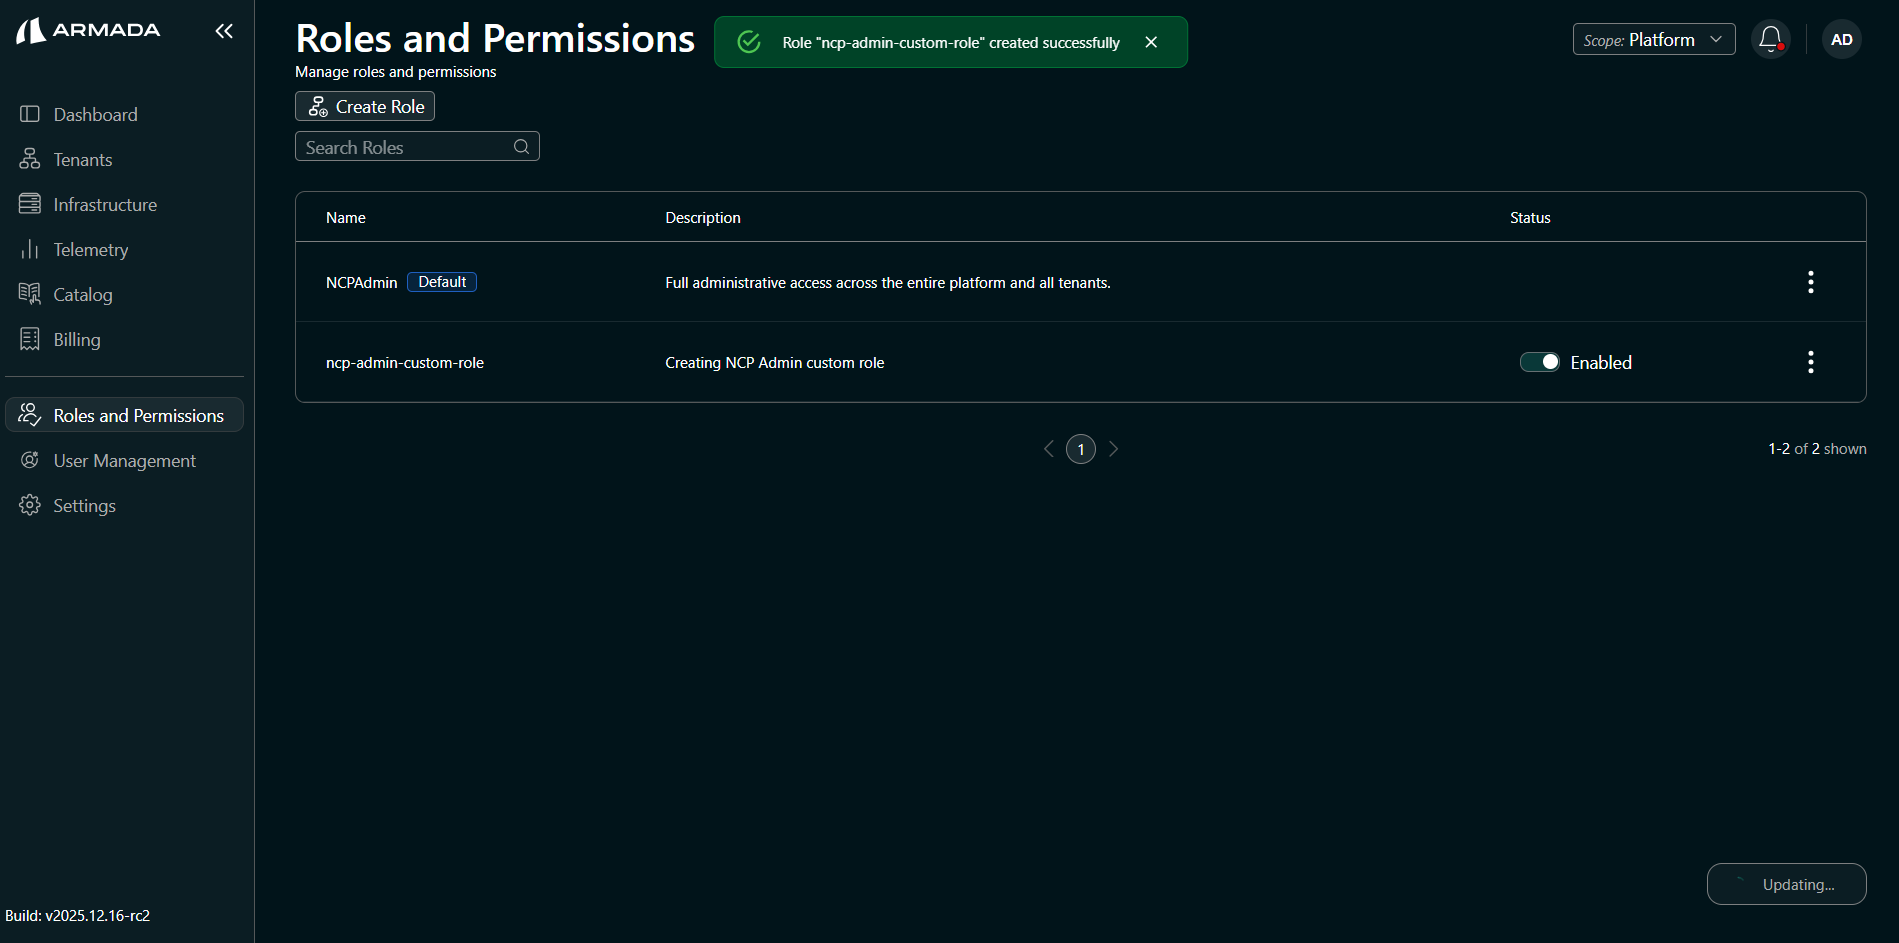
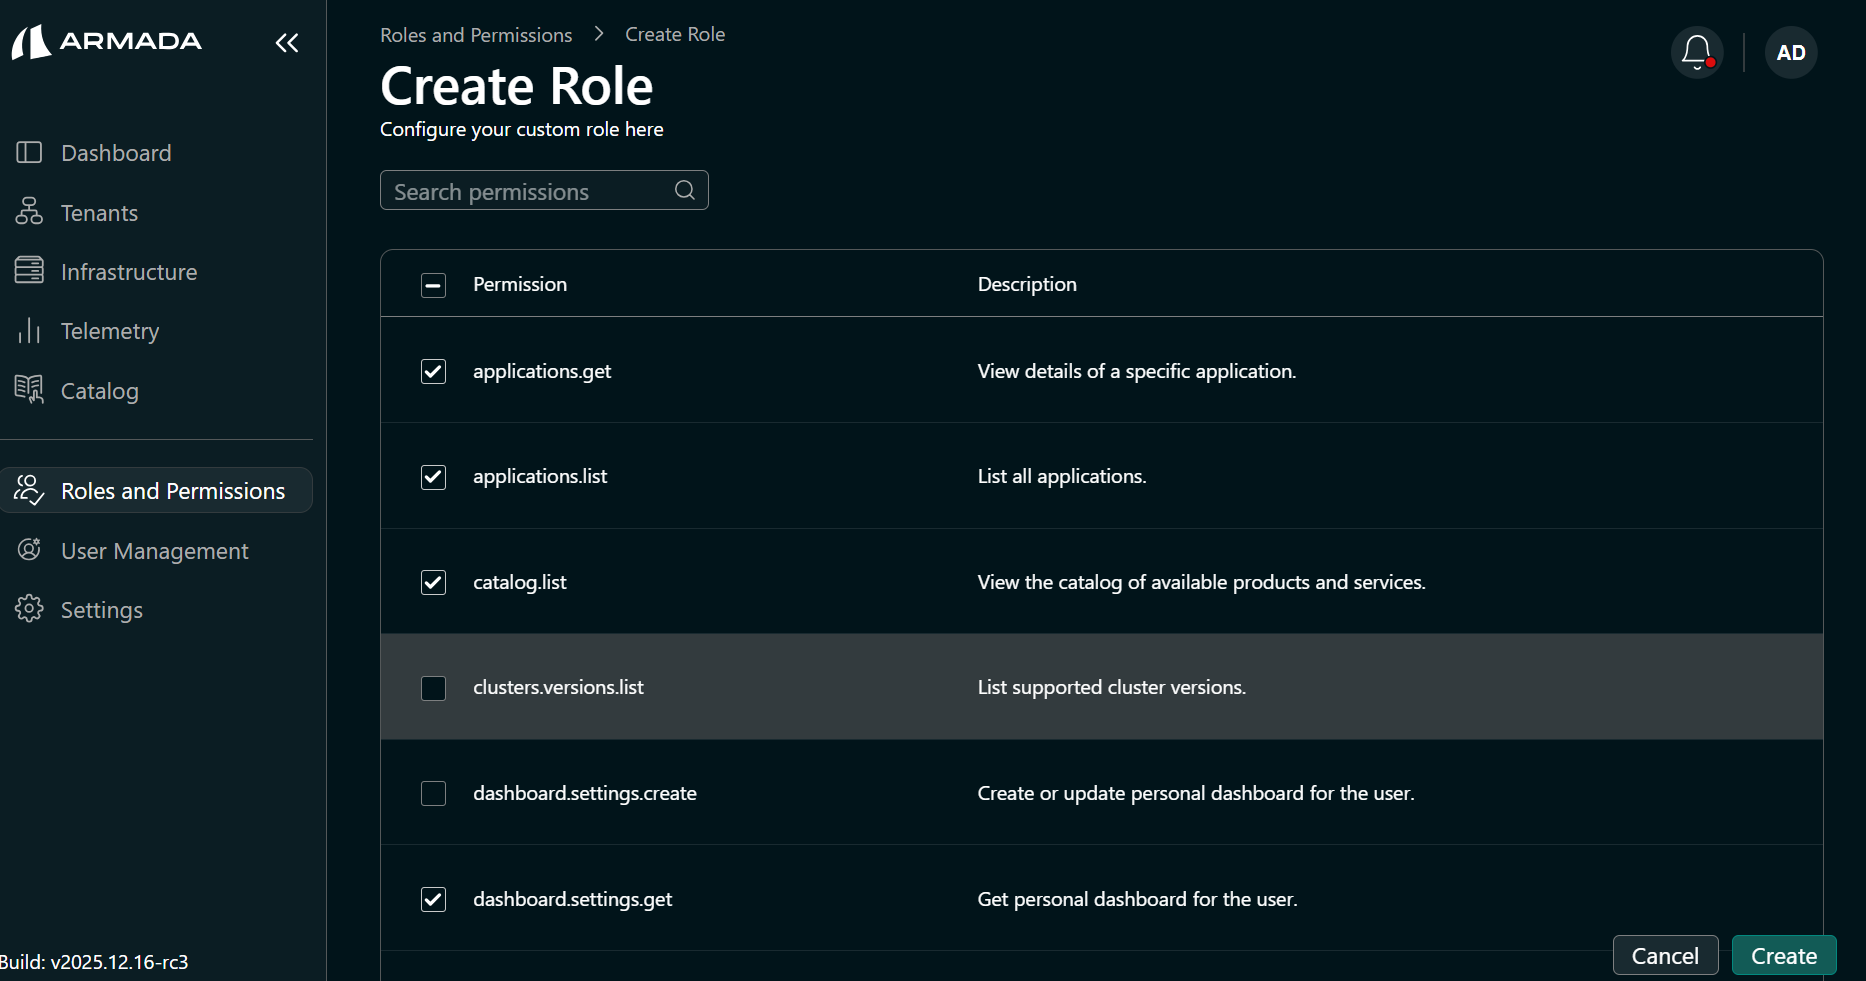
Select the required permissions and click Create.
-
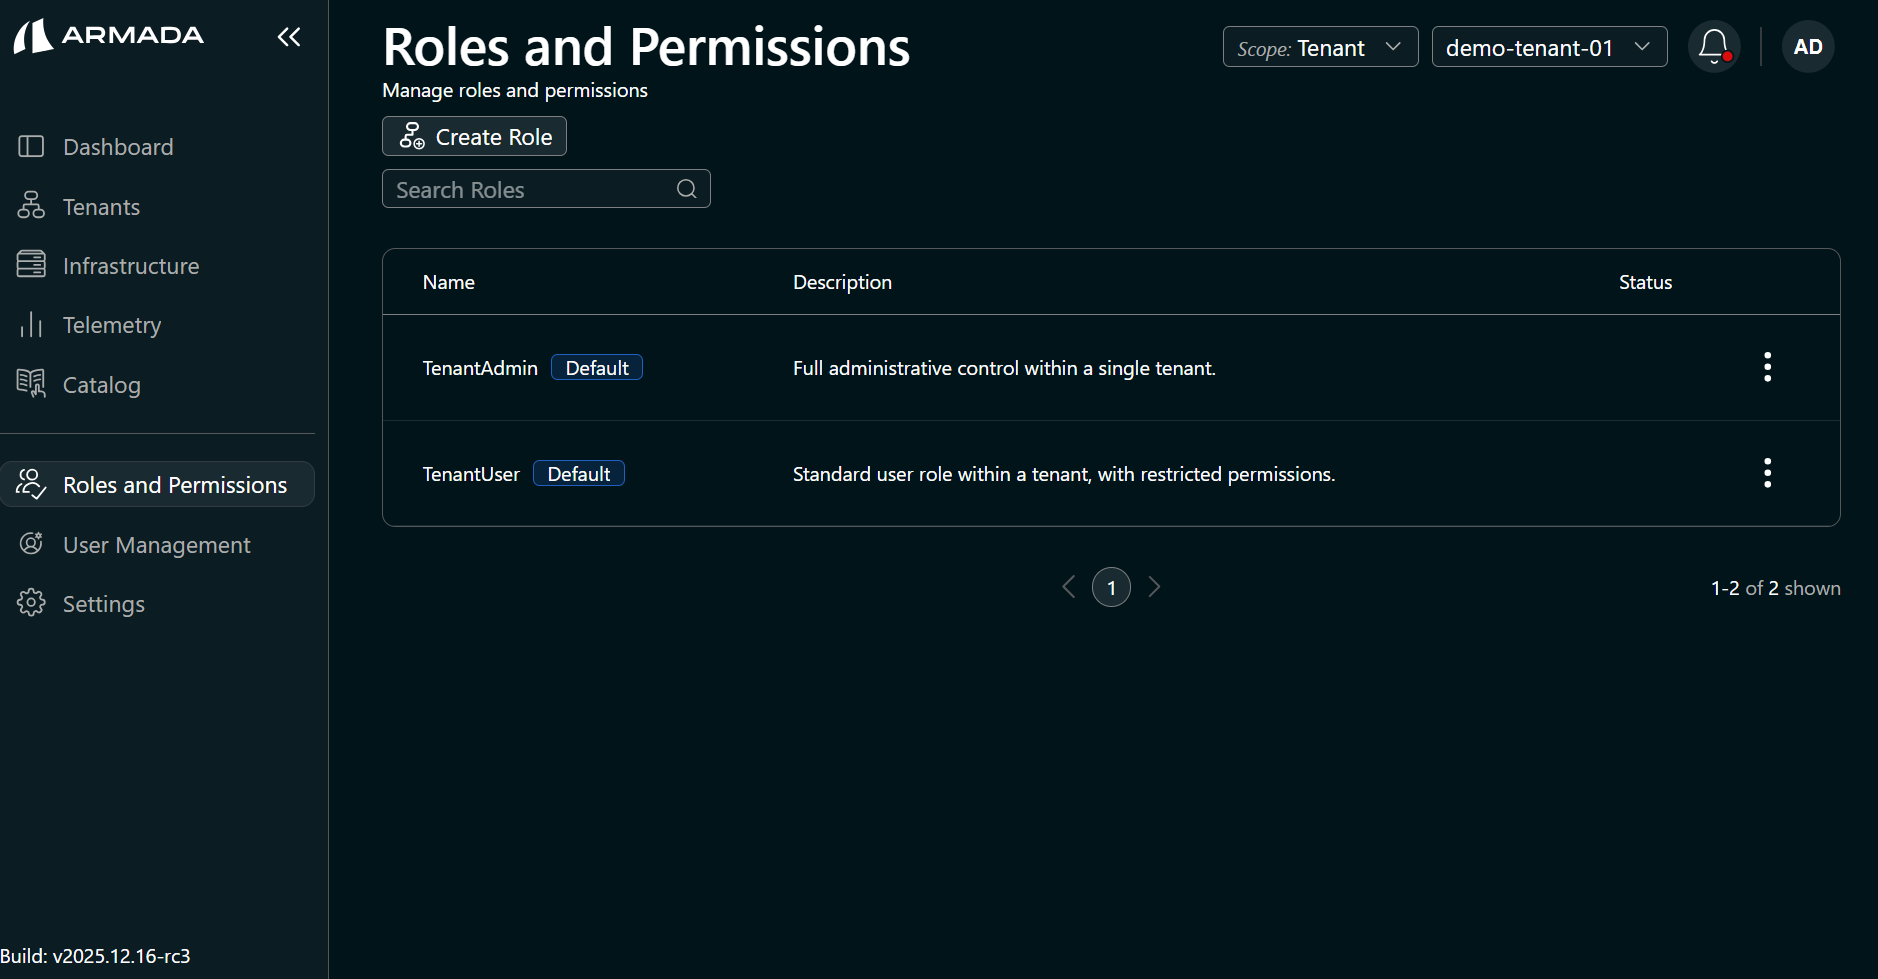
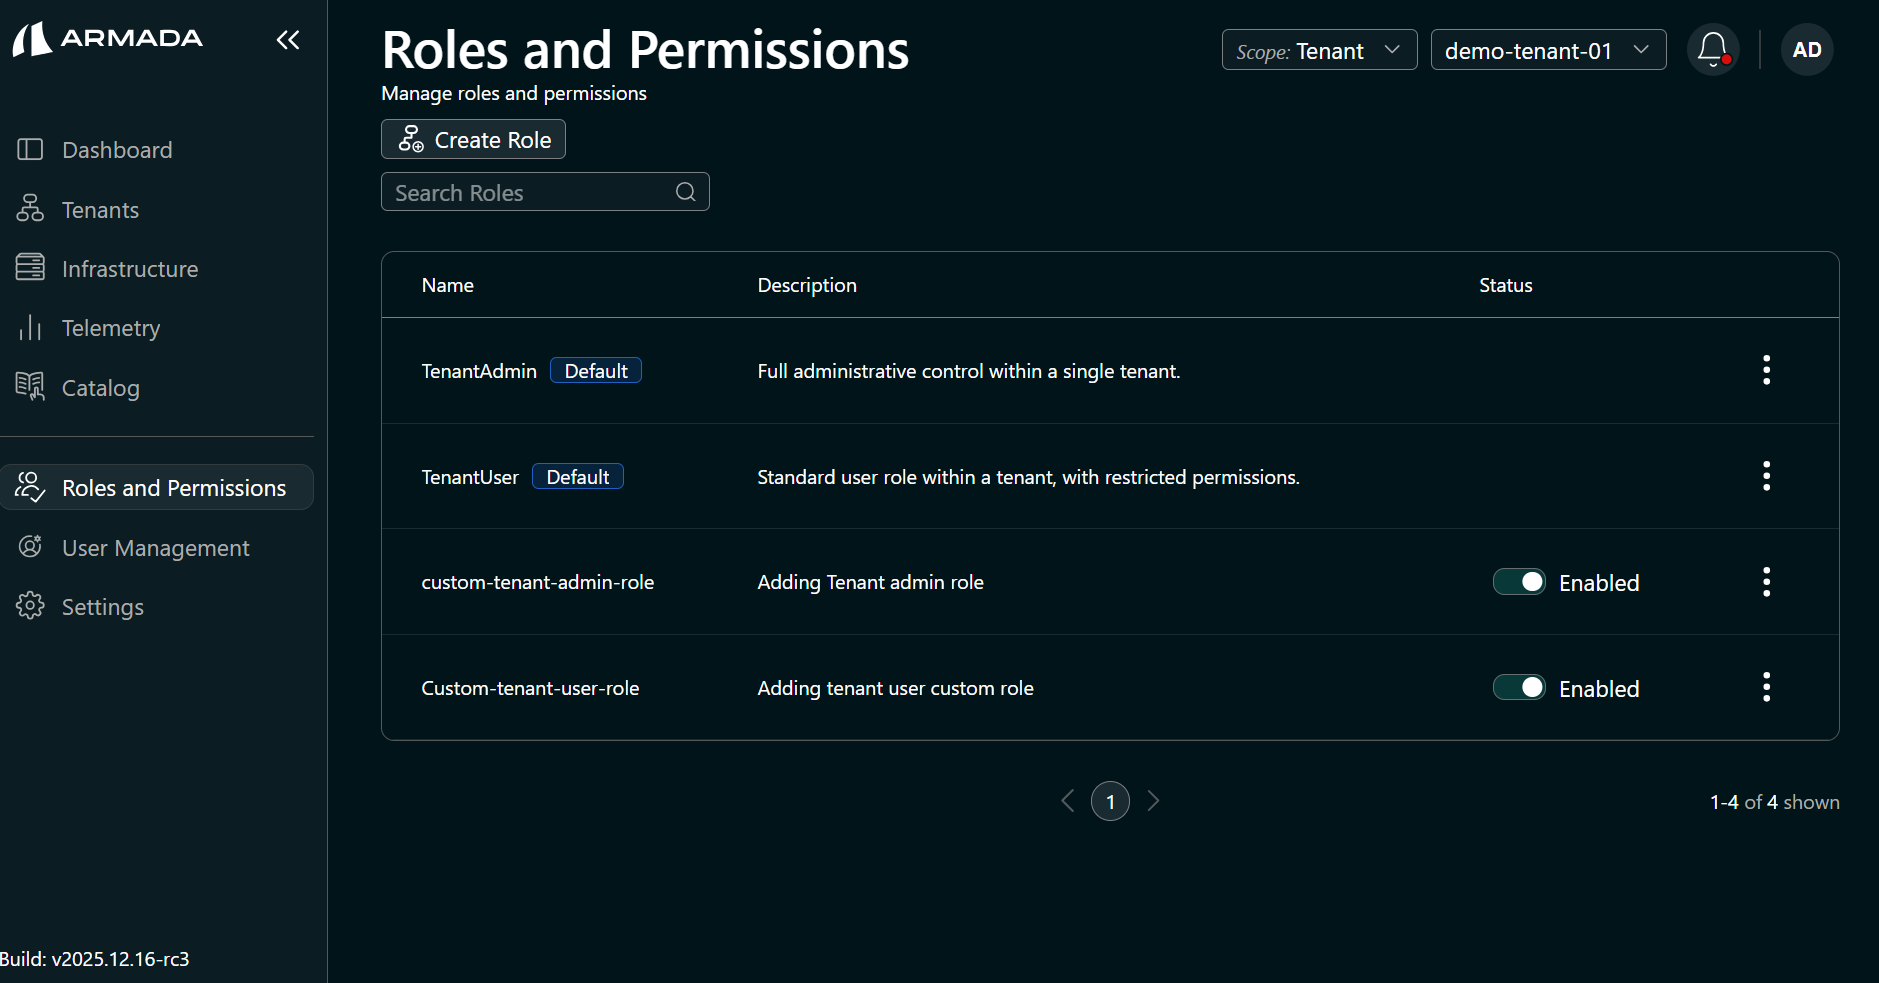
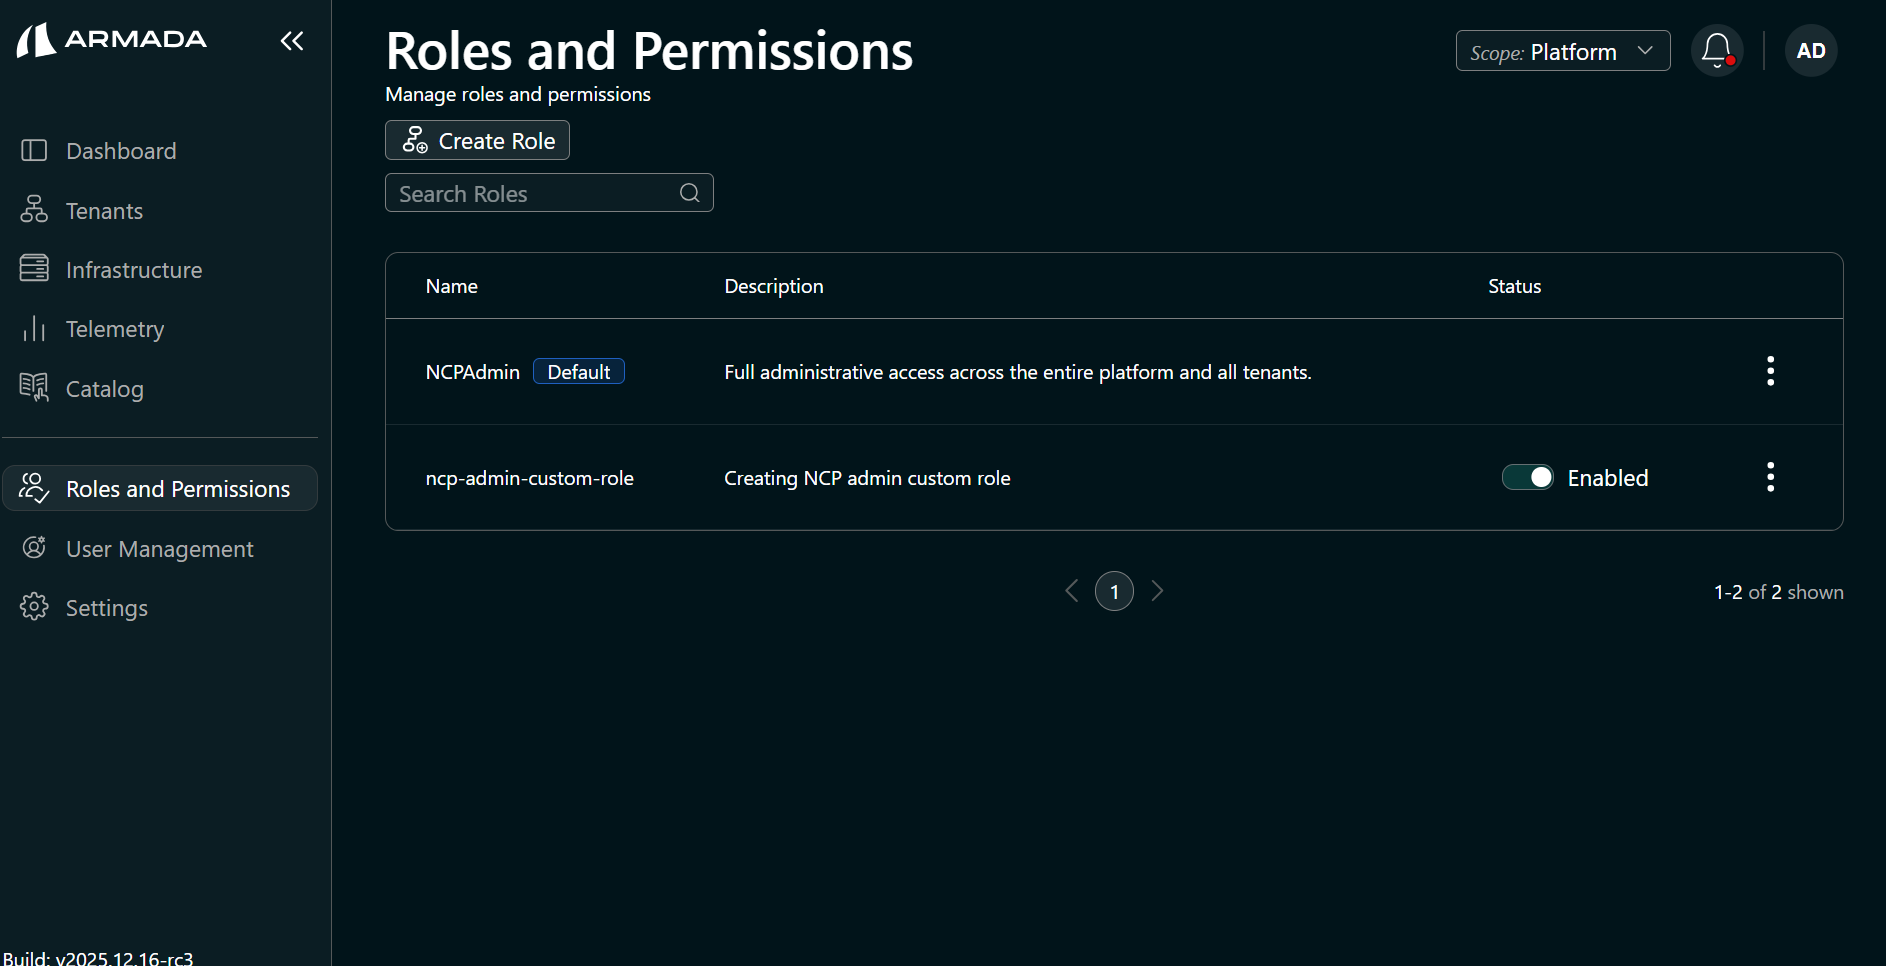
The new role appears in the Roles and Permissions list. Confirm the scope is Platform and the status is Enabled.
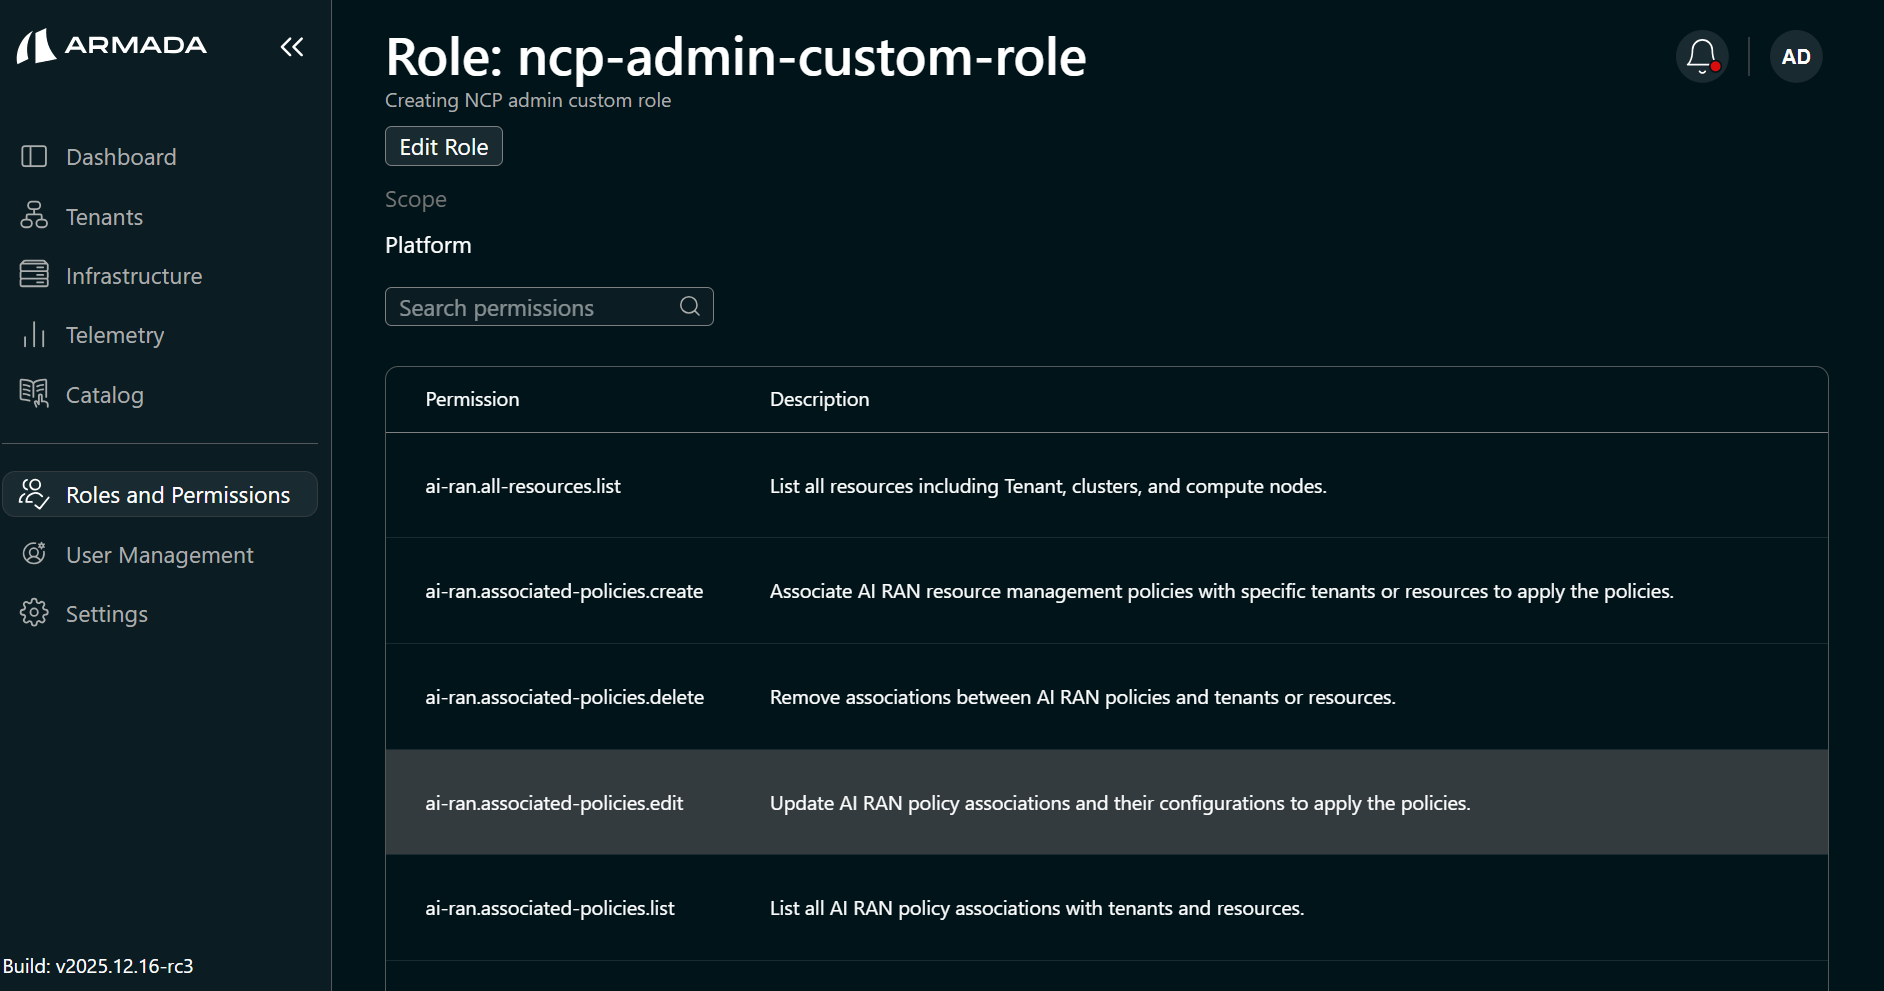
View Role Details
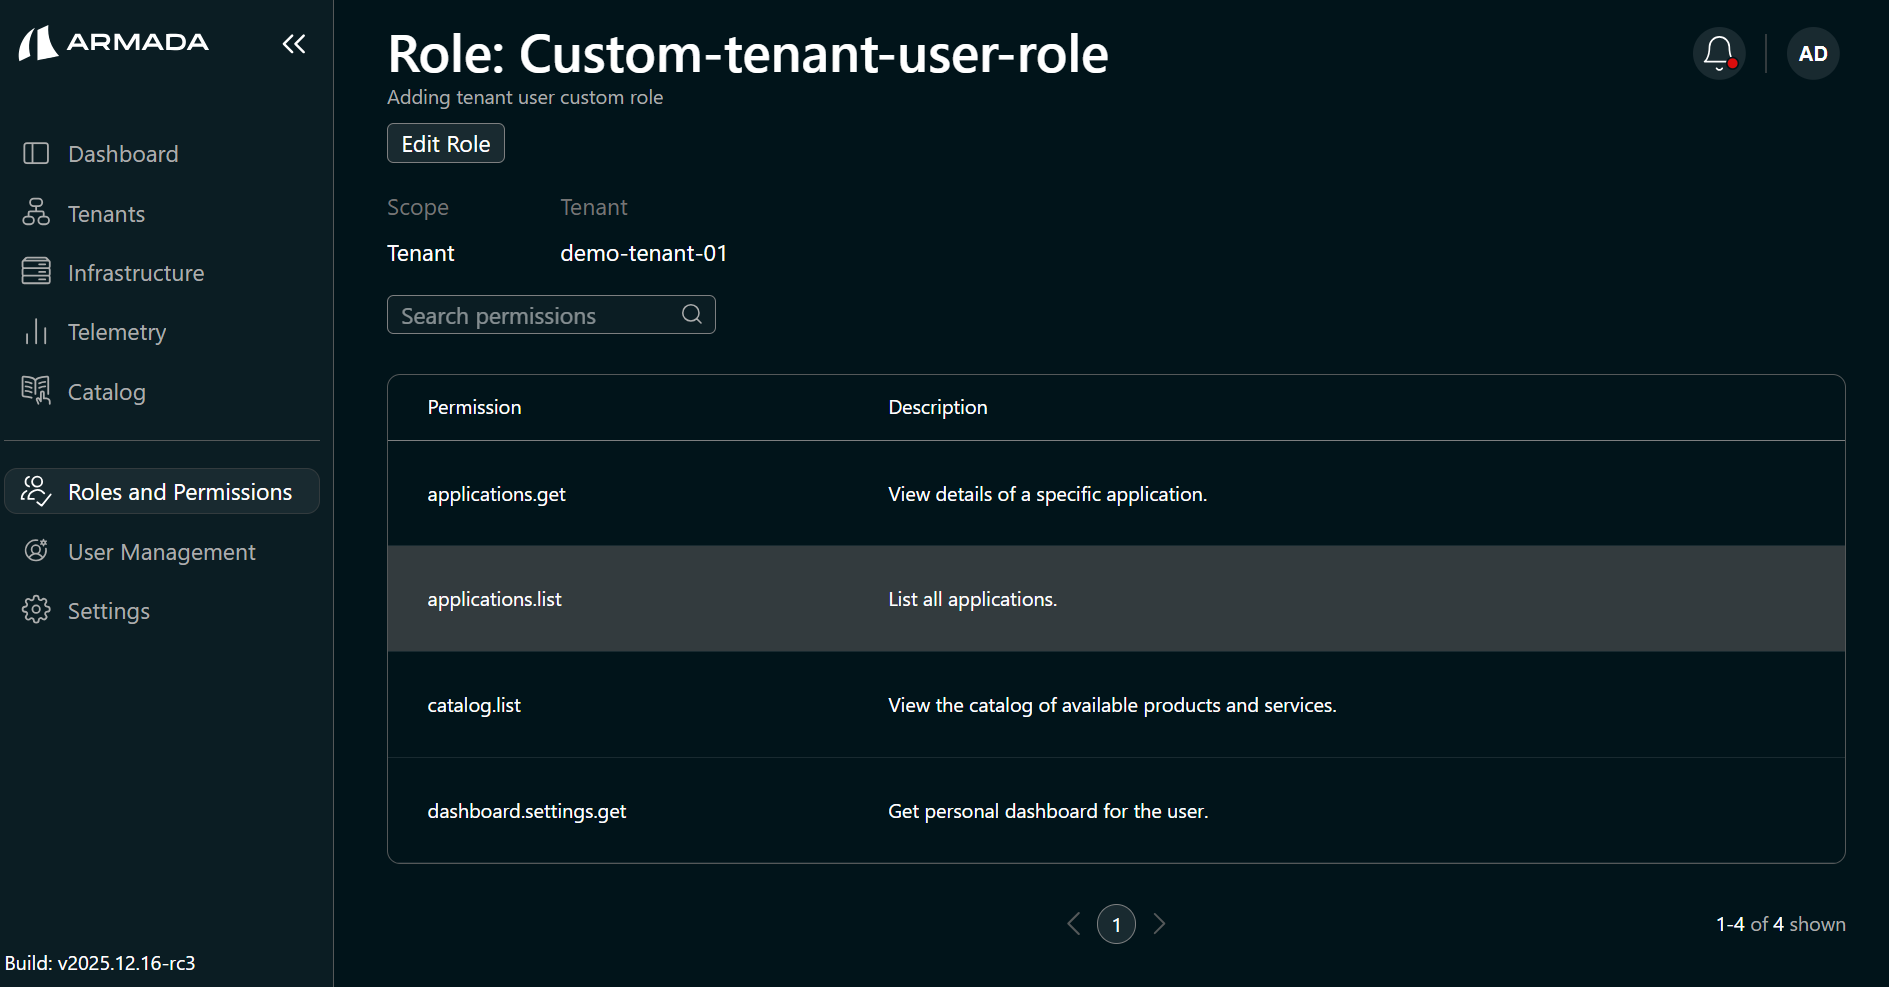
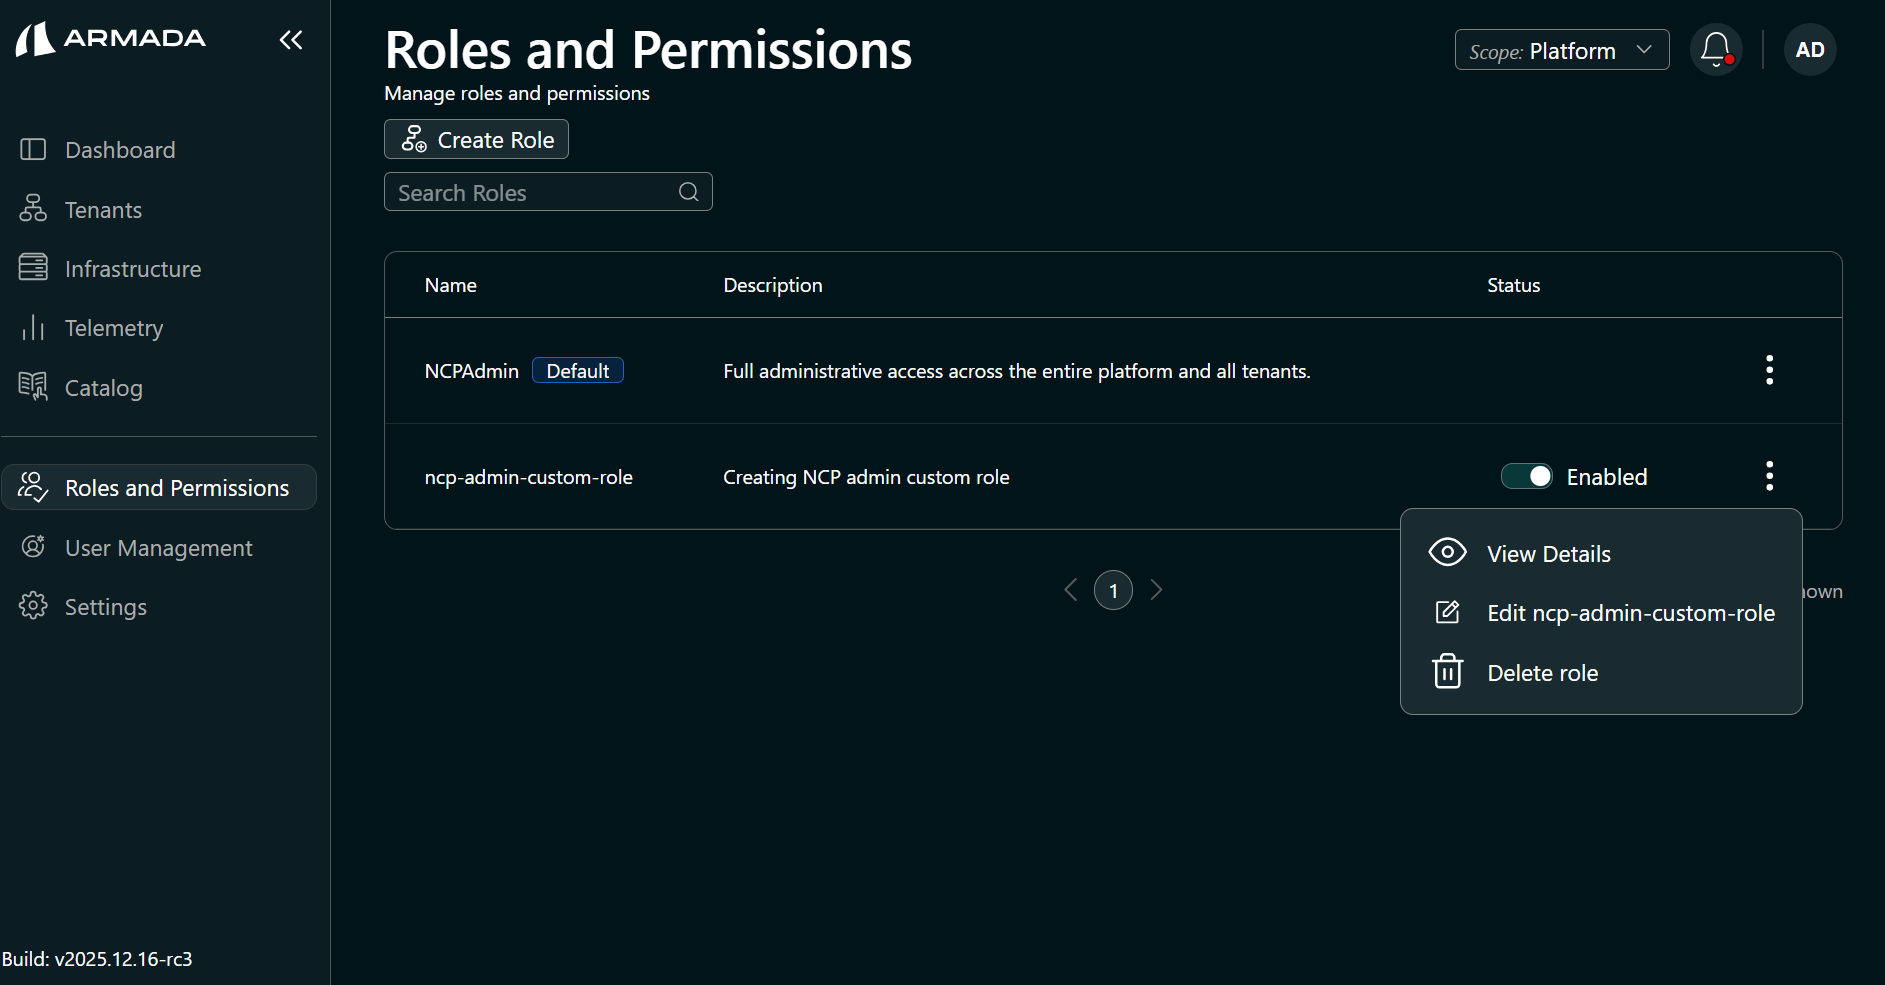
Click the ellipsis (⋯) next to the role and select View Details to review the assigned permissions.
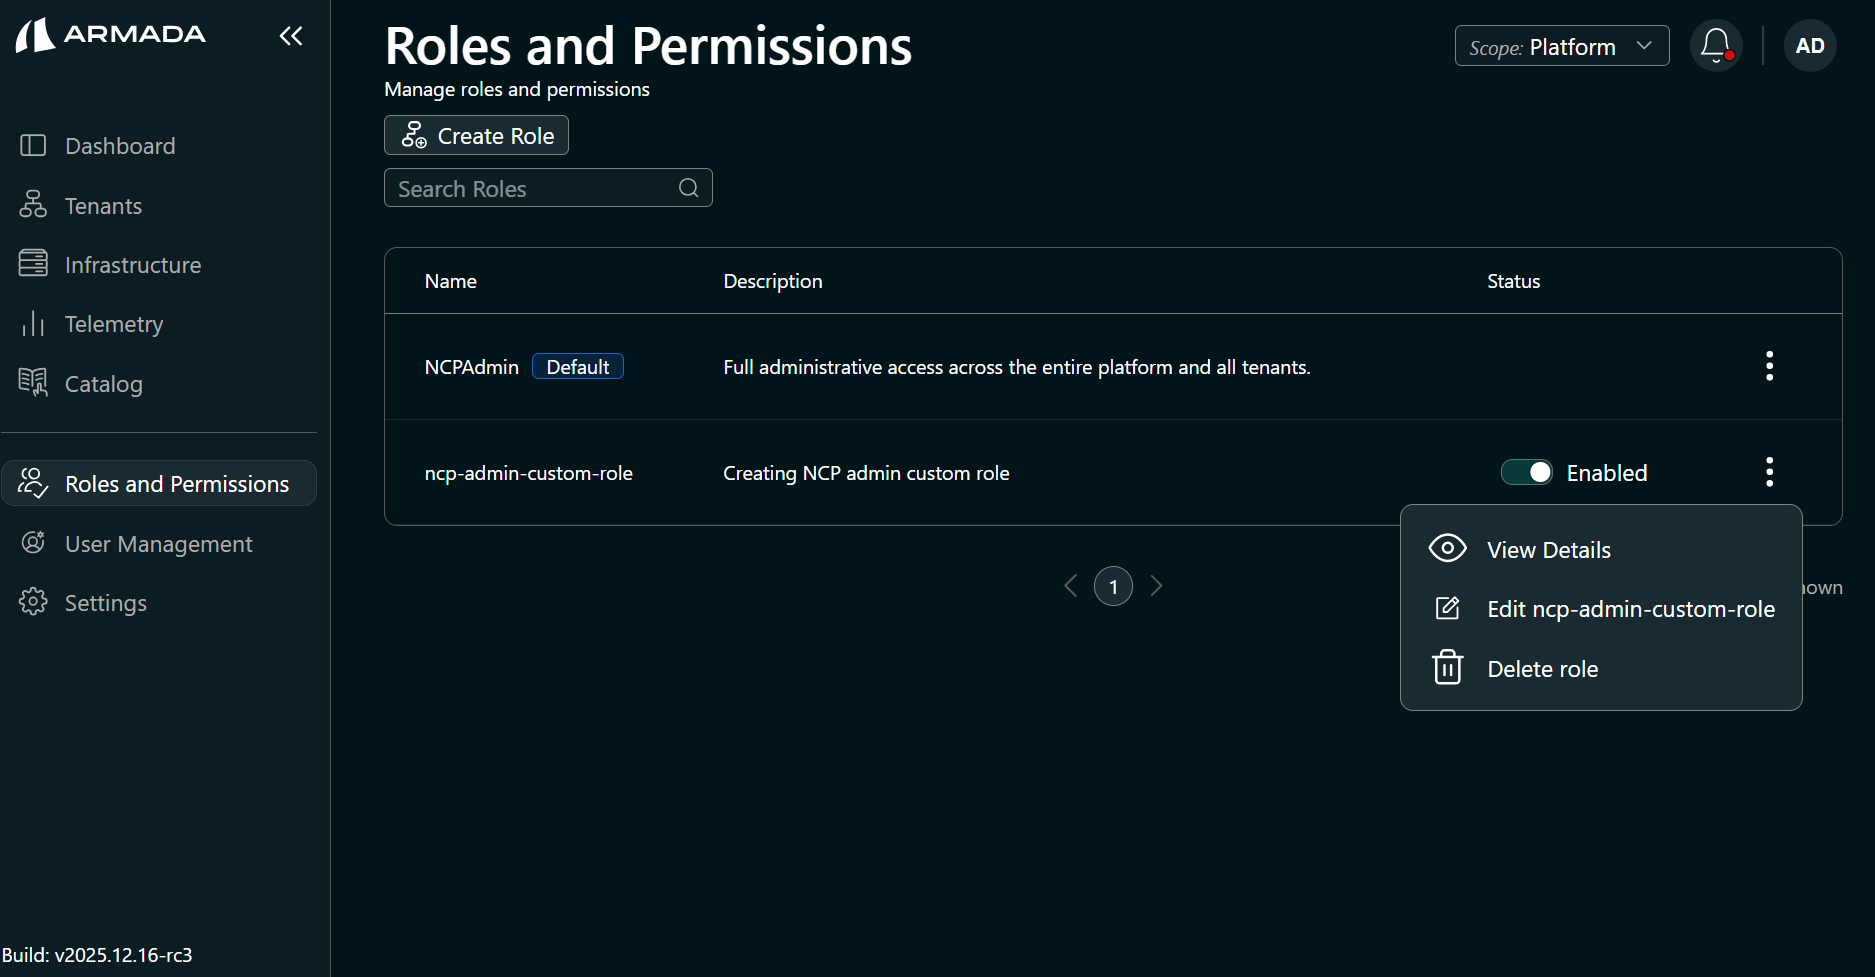
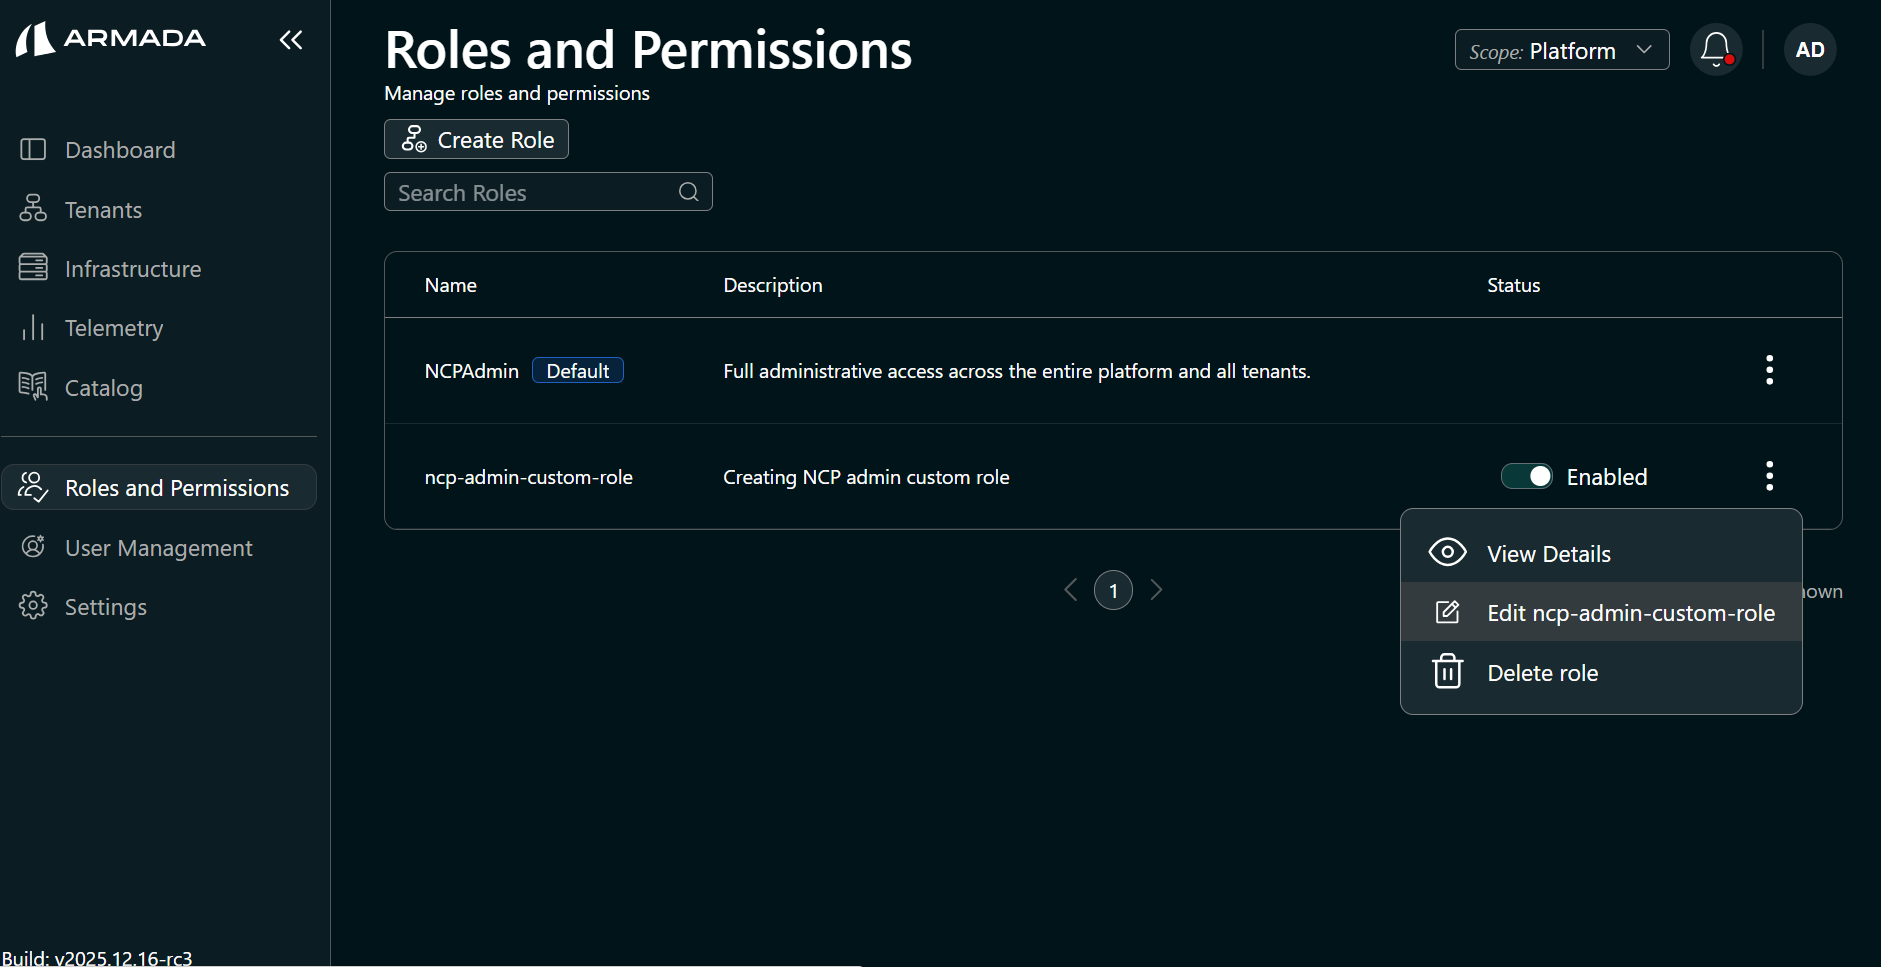
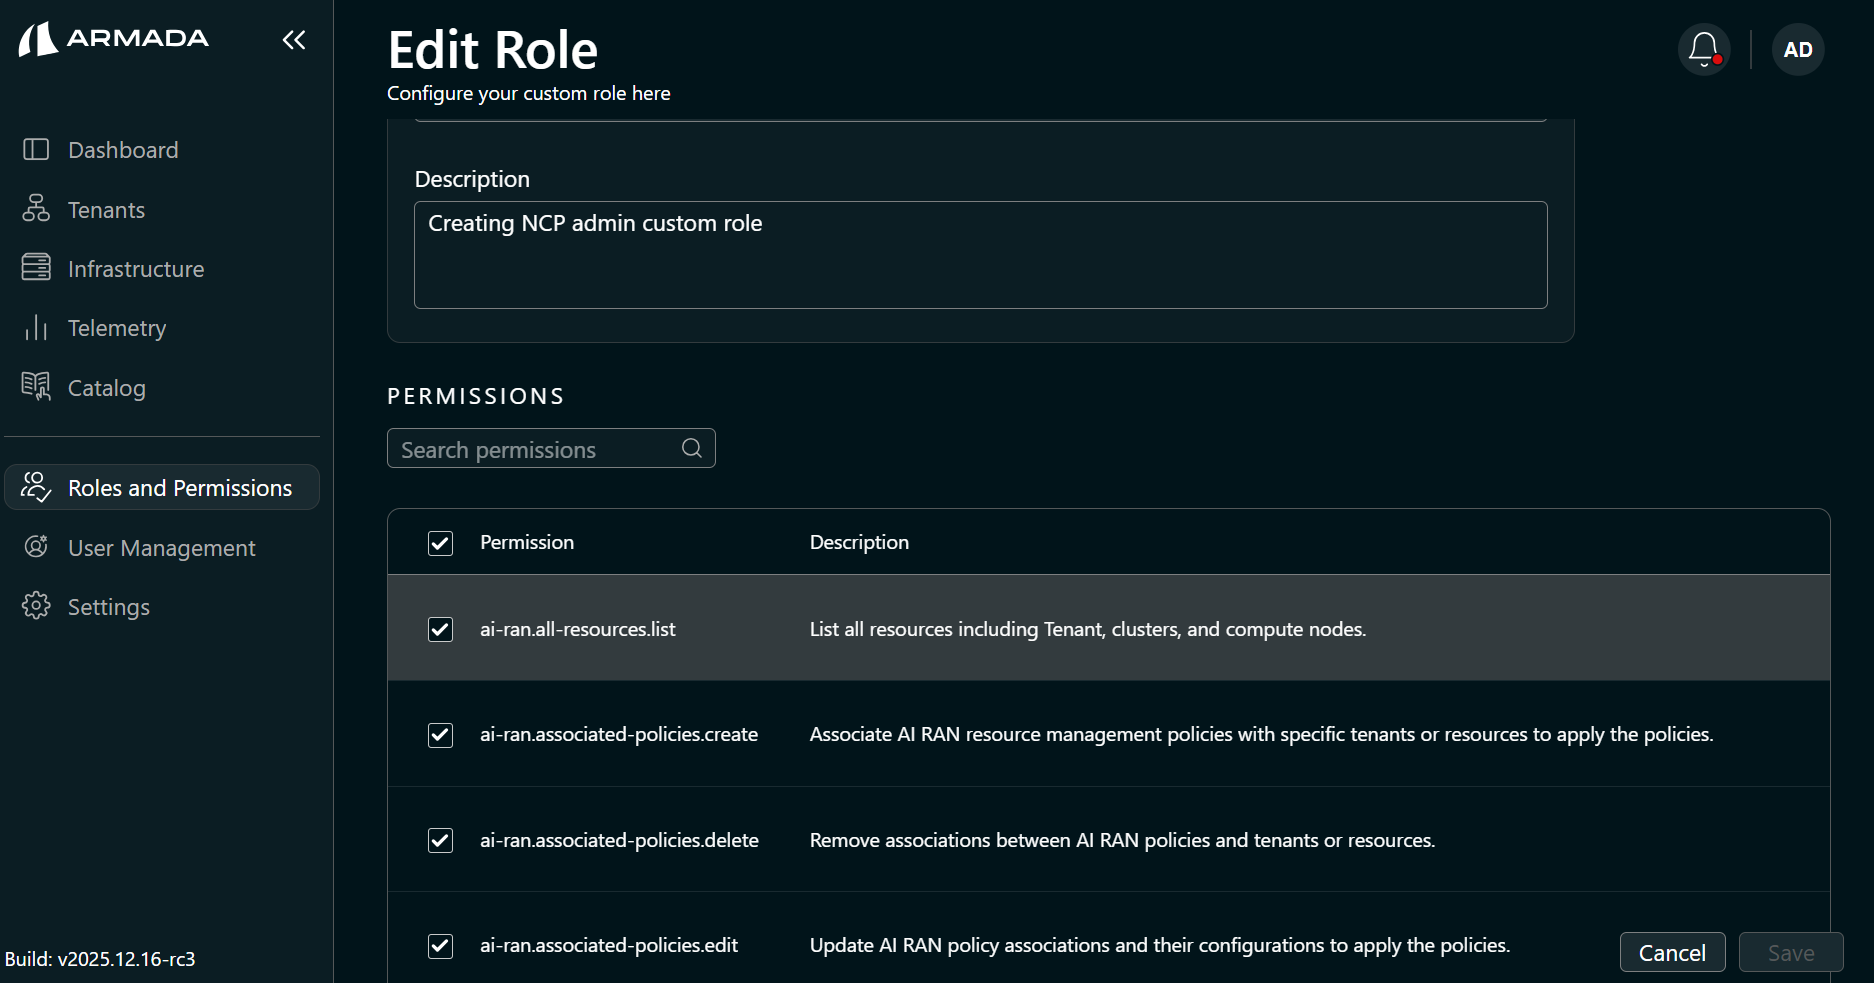
Edit Role Permissions
Click the ellipsis (⋯) and select Edit <role_name> to add or remove permissions.
Select or deselect permissions and click Save.

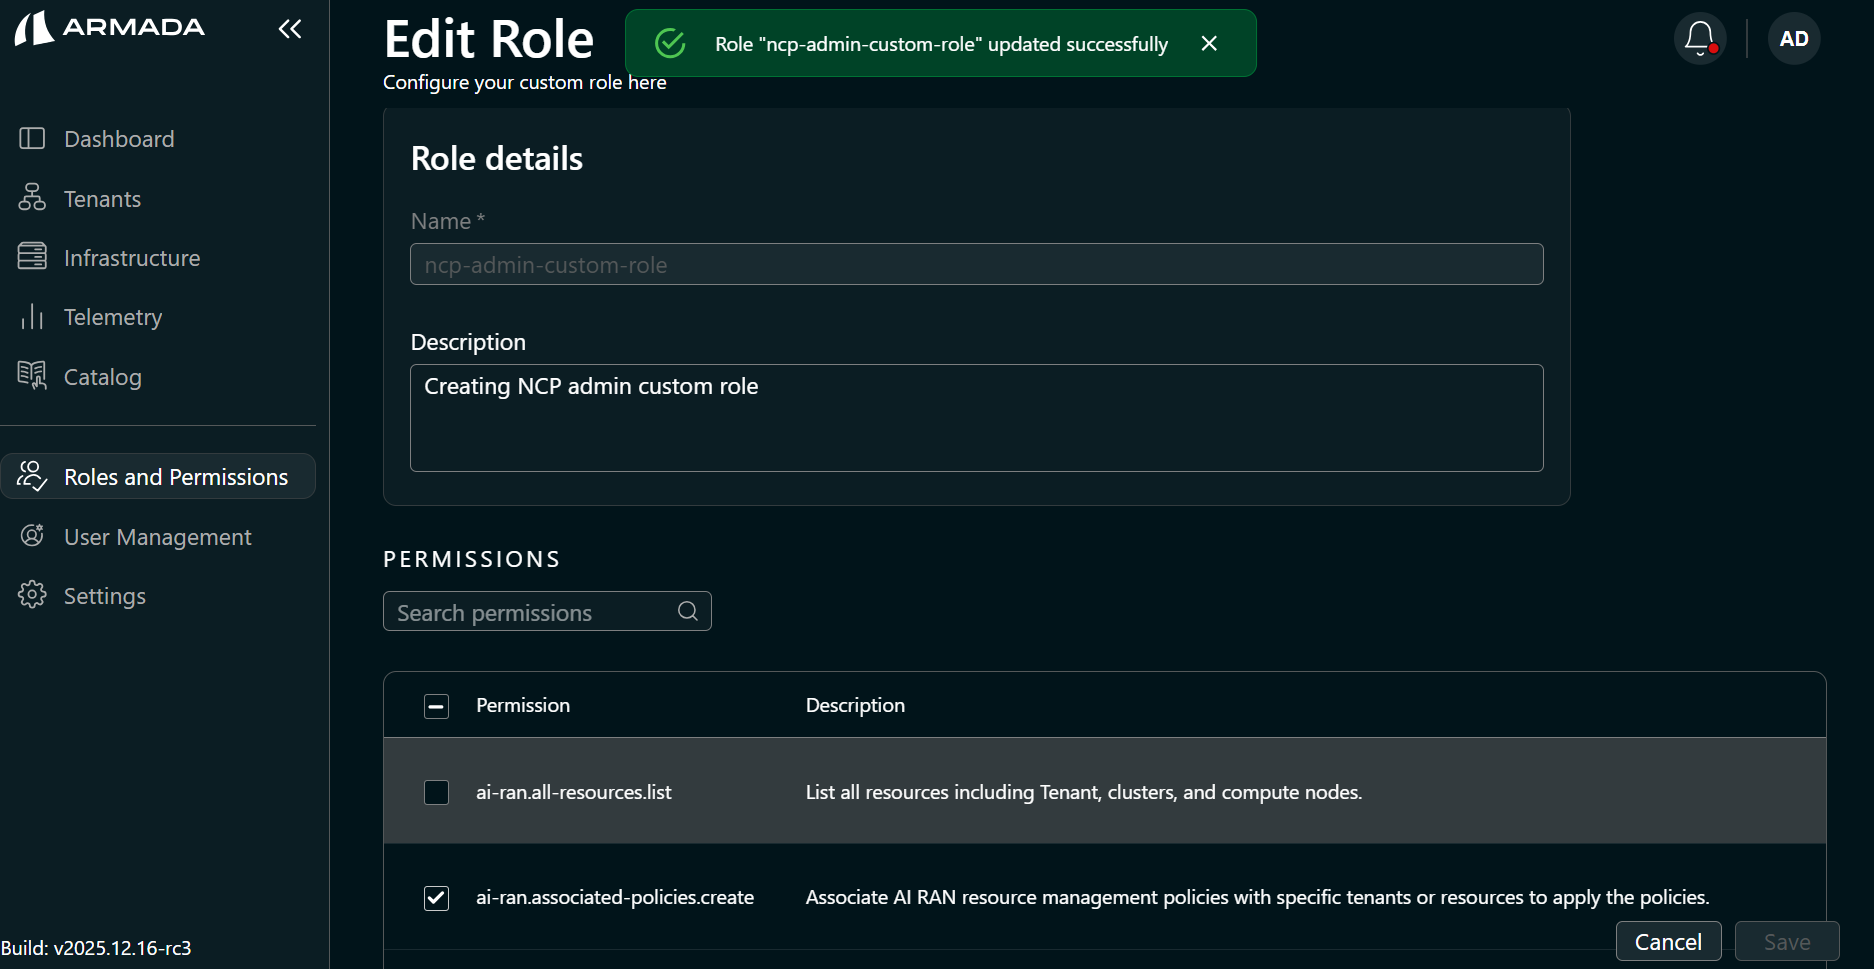
To verify the updated permissions, return to Roles and Permissions and select View Details.
Create a Custom Tenant Admin Role
A tenant must exist before you can create a Tenant Admin custom role. See Tenant Creation.
-
In the sidebar, click Roles and Permissions.
-
Set the scope to Tenant and select the target tenant from the Select Tenant dropdown.
-
Click Create Role.
-
Enter a Role Name (for example,
tenant-admin-custom-role), a Description, set the Role Type to Tenant Admin, and select the target tenant.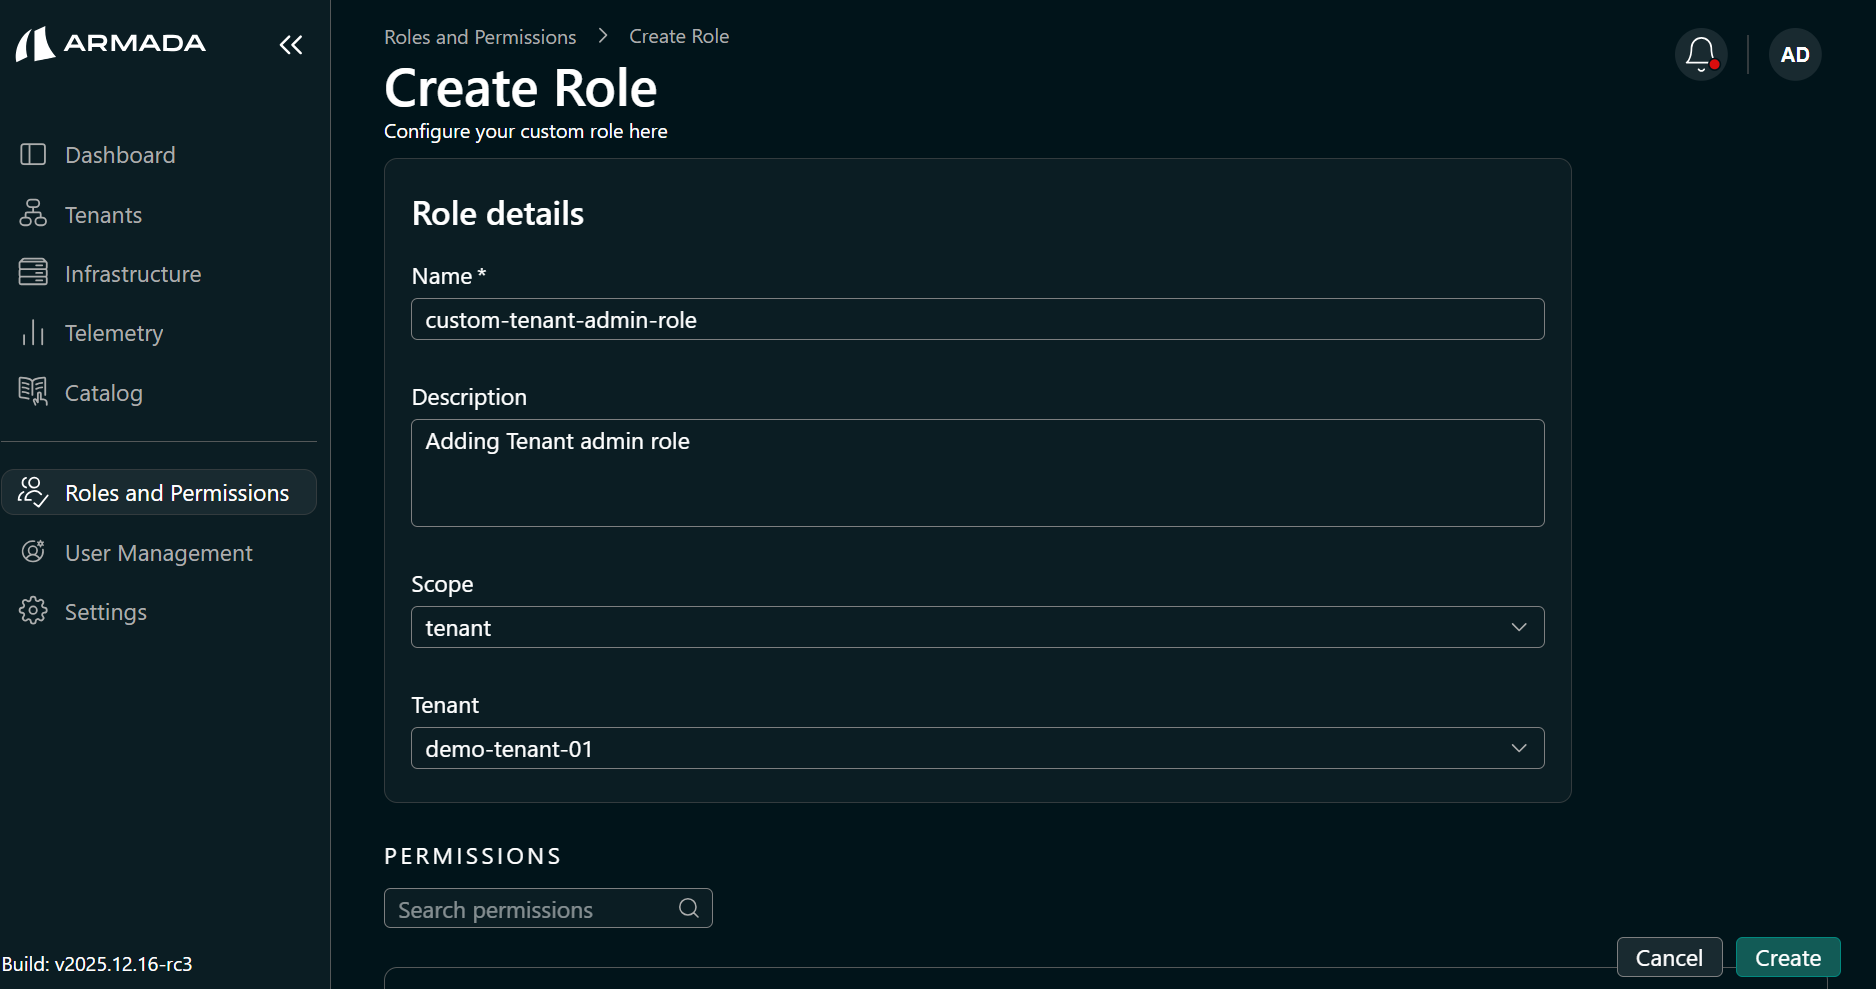
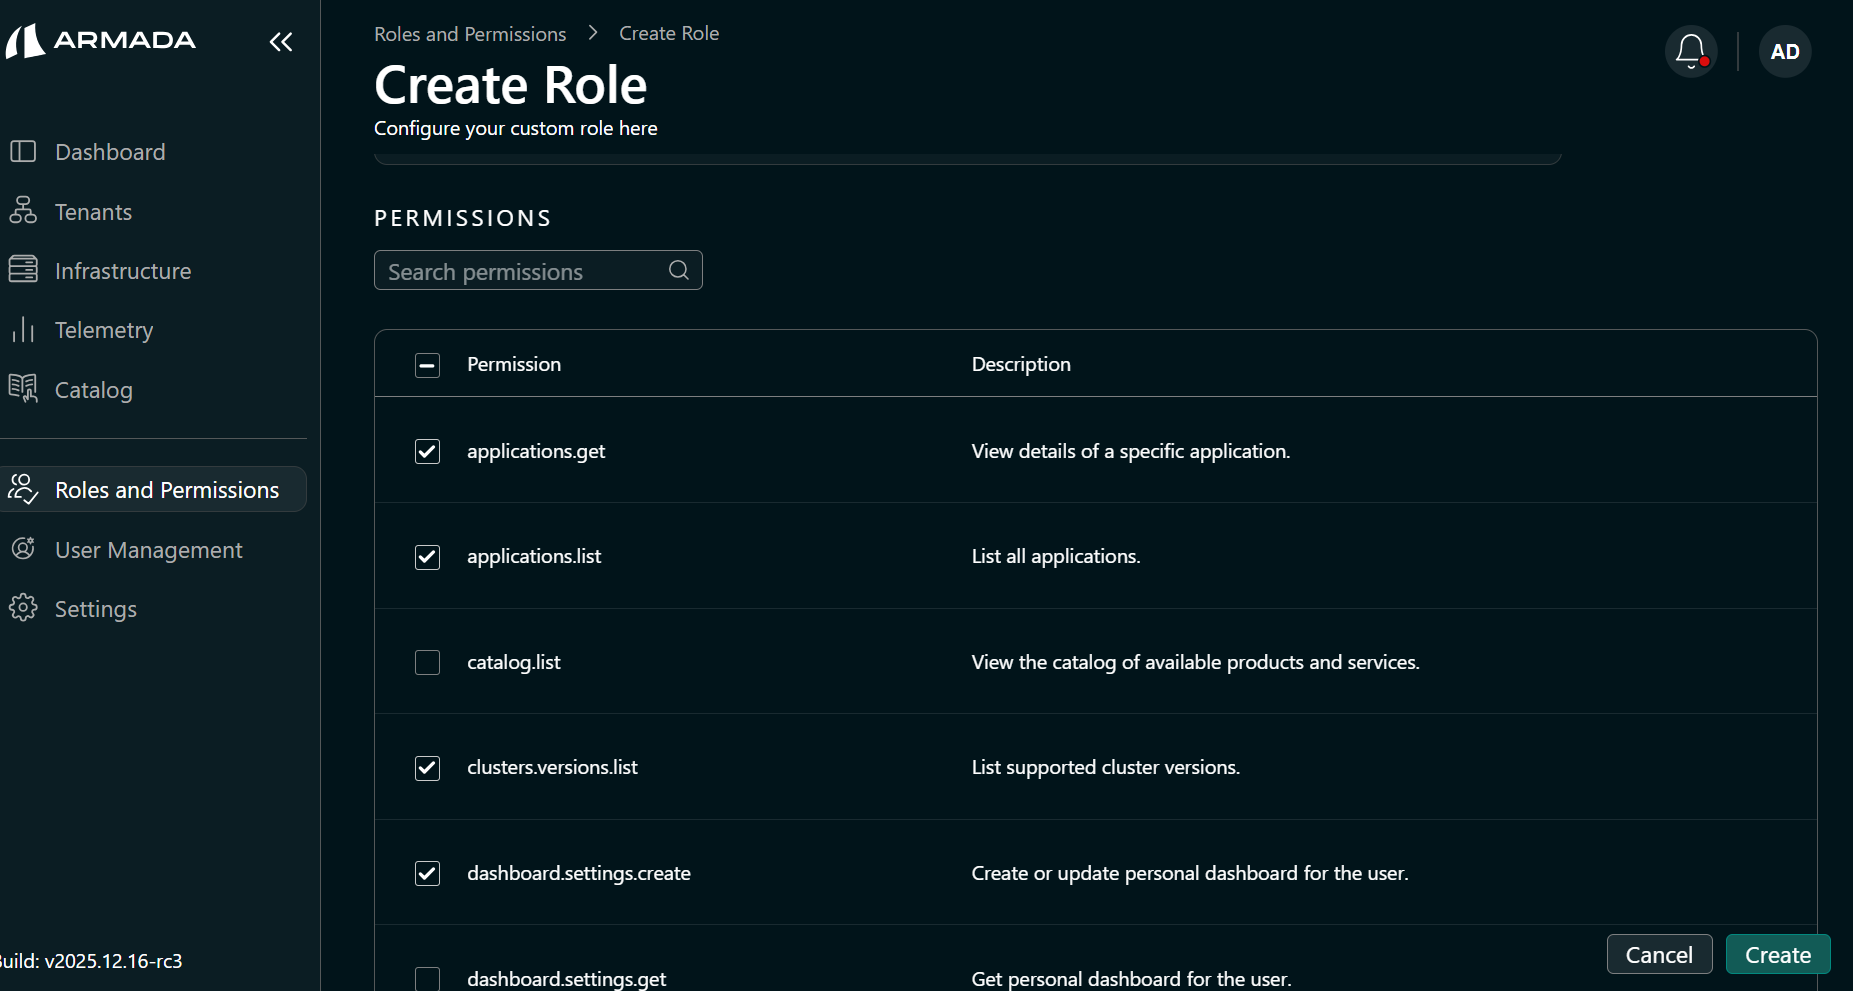
-
Select the required permissions and click Create.
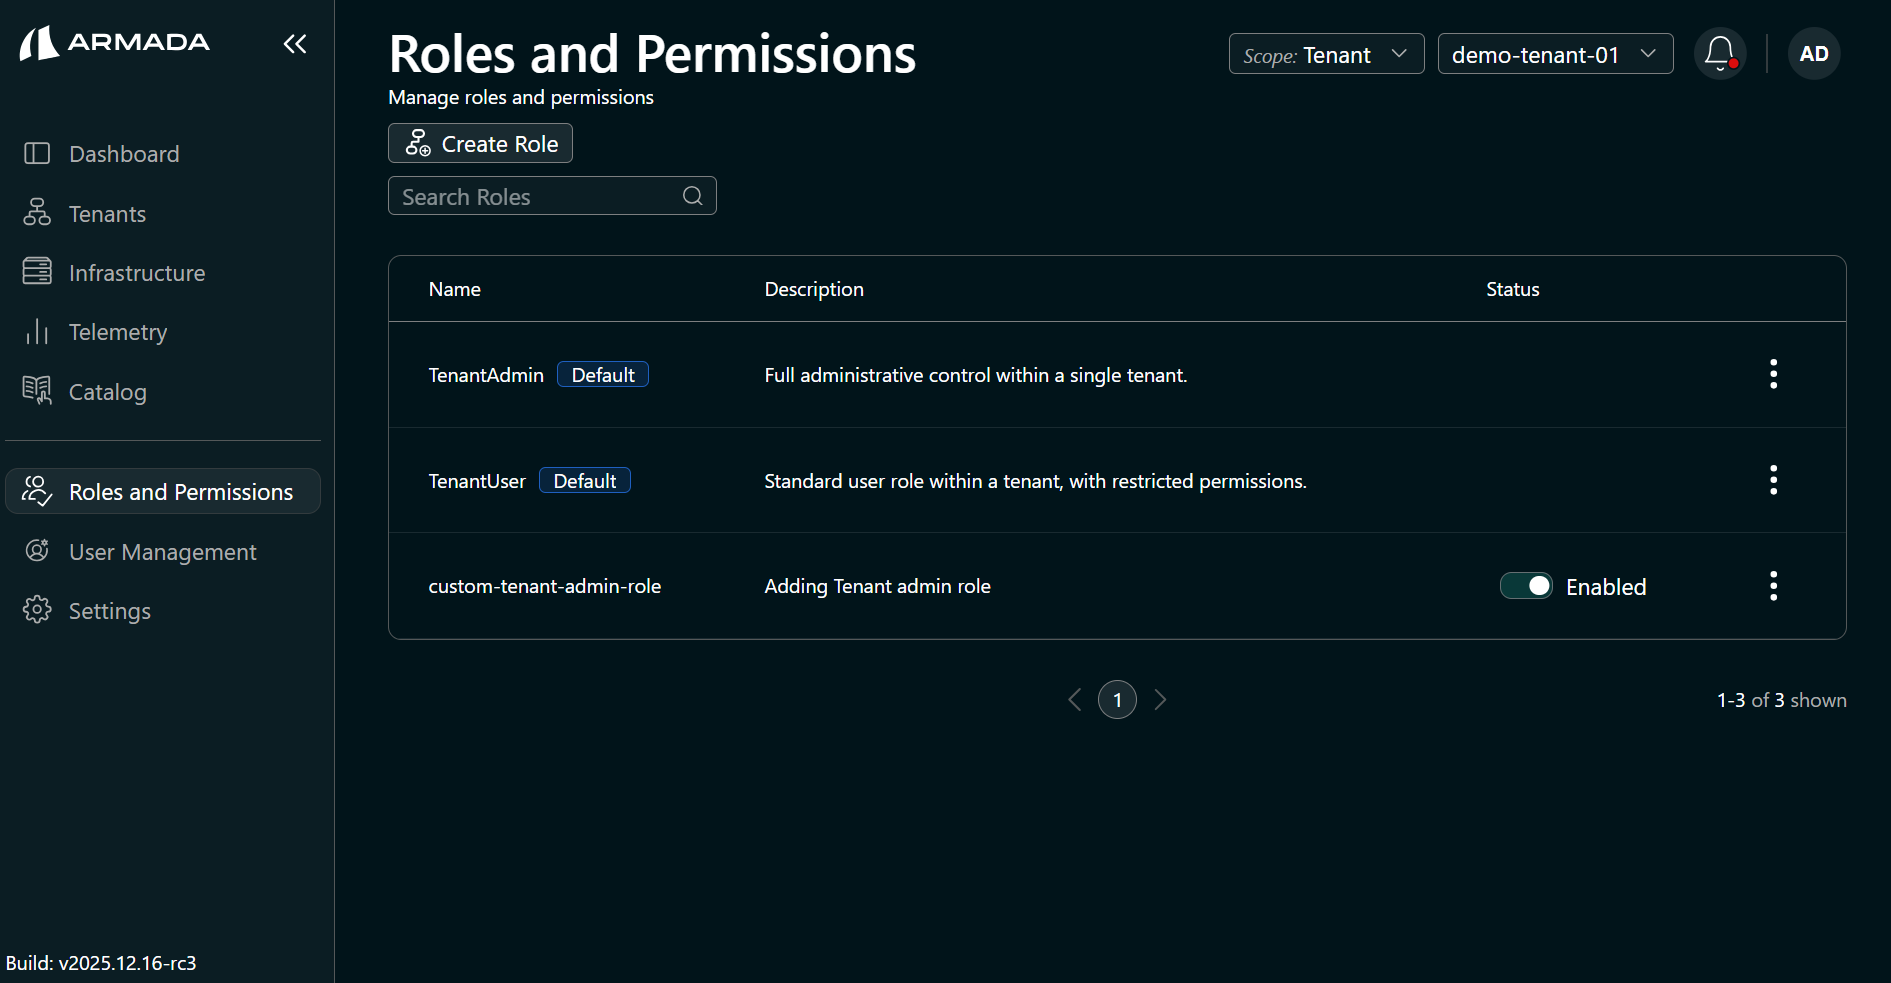
-
The new role appears in the list. Confirm the scope is Tenant, the correct tenant is selected, and the status is Enabled.
-
Click the ellipsis (⋯) and select View Details to review or Edit
<role_name>to modify permissions.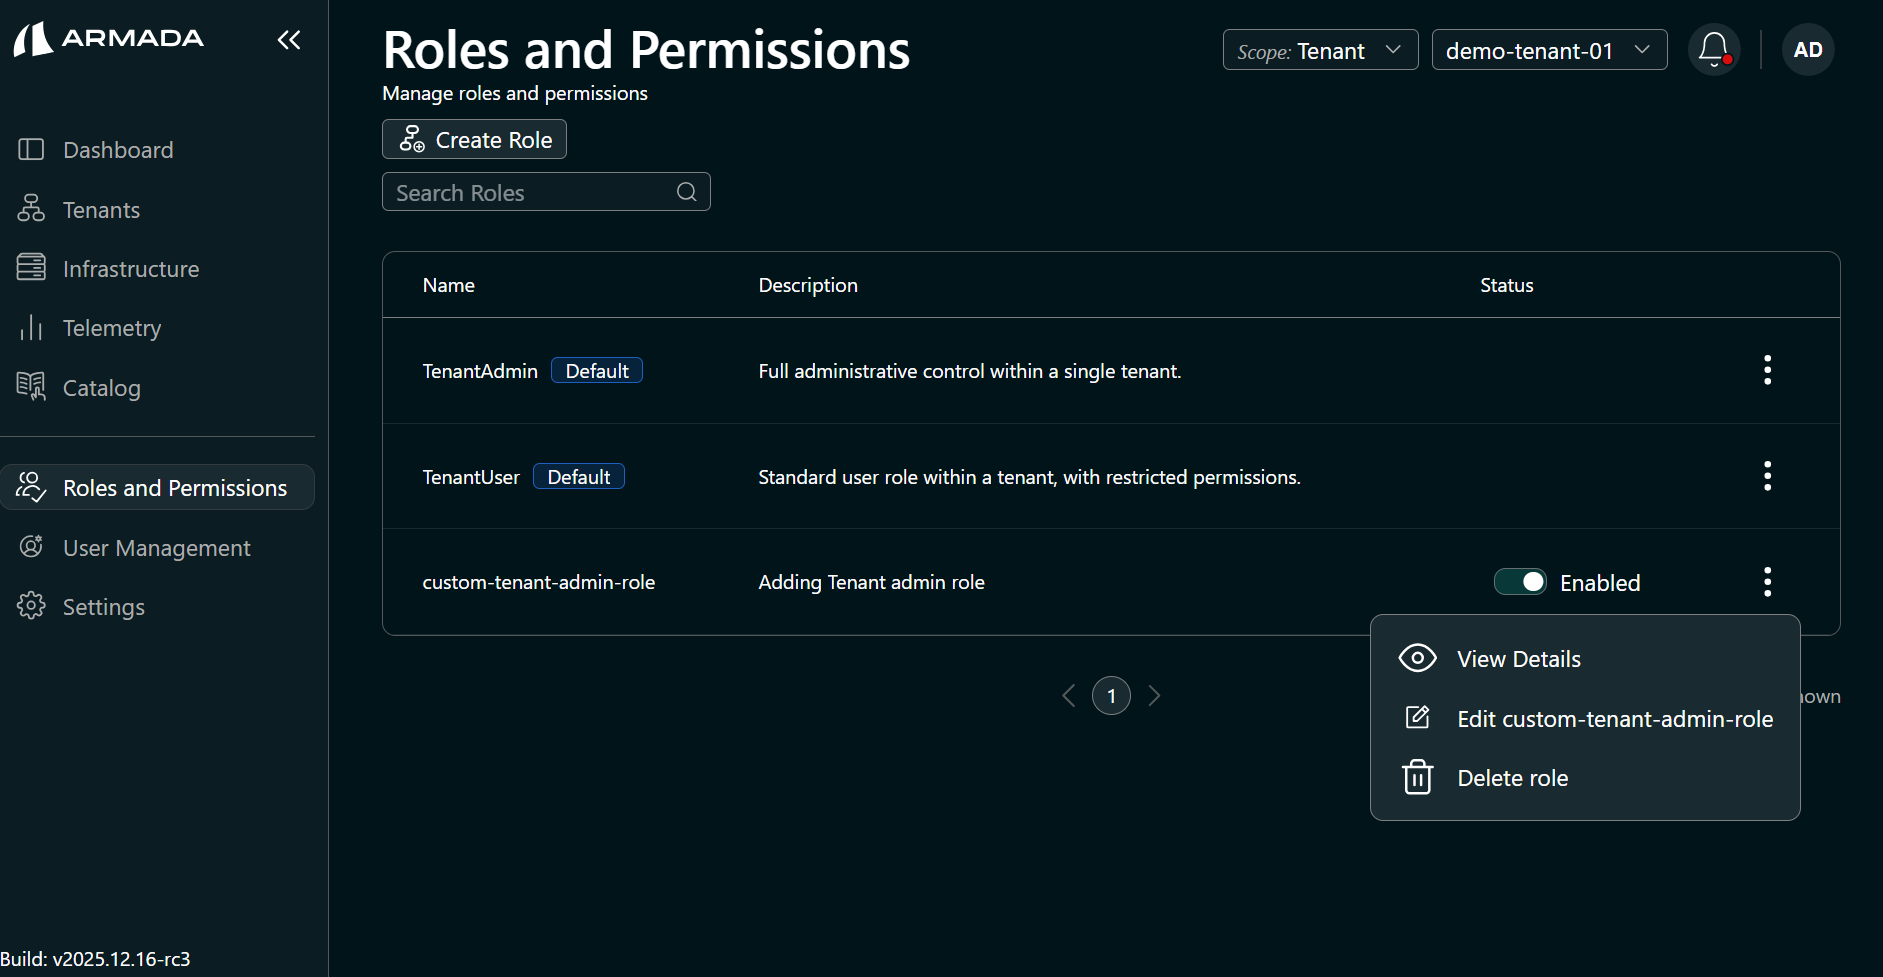
If a custom Tenant Admin role includes the User Create permission, users assigned to that role can create Tenant Admin and Tenant User custom roles.
Create a Custom Tenant User Role
-
In the sidebar, click Roles and Permissions.
-
Set the scope to Tenant and select the target tenant from the Select Tenant dropdown.
-
Click Create Role.
-
Enter a Role Name (for example,
tenant-user-custom-role), a Description, set the Role Type to Tenant User, and select the target tenant.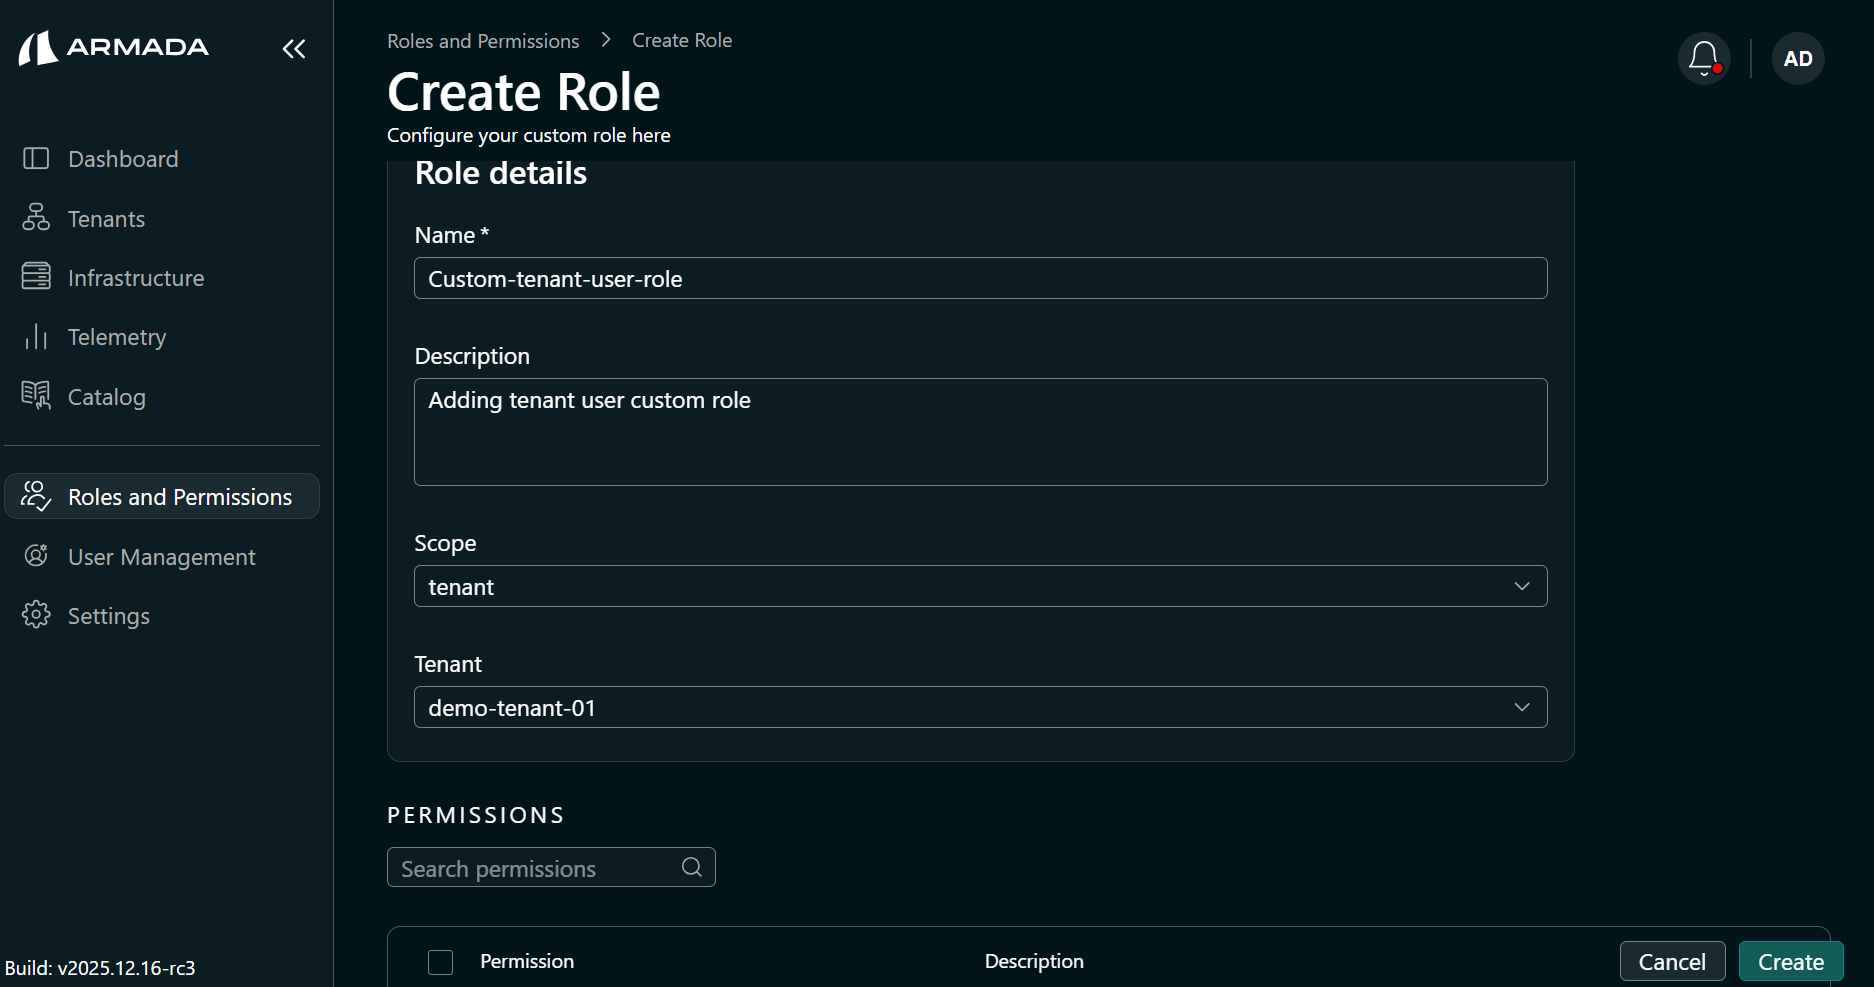
-
Select the required permissions and click Create.
-
The new role appears in the list. Confirm the scope is Tenant, the correct tenant is selected, and the status is Enabled.
-
Click the ellipsis (⋯) and select View Details to review the assigned permissions.

Assign a Custom Role to a User
Custom roles are assigned to users at creation time. See Create Users for the full procedure. The following steps show role assignment in context.
-
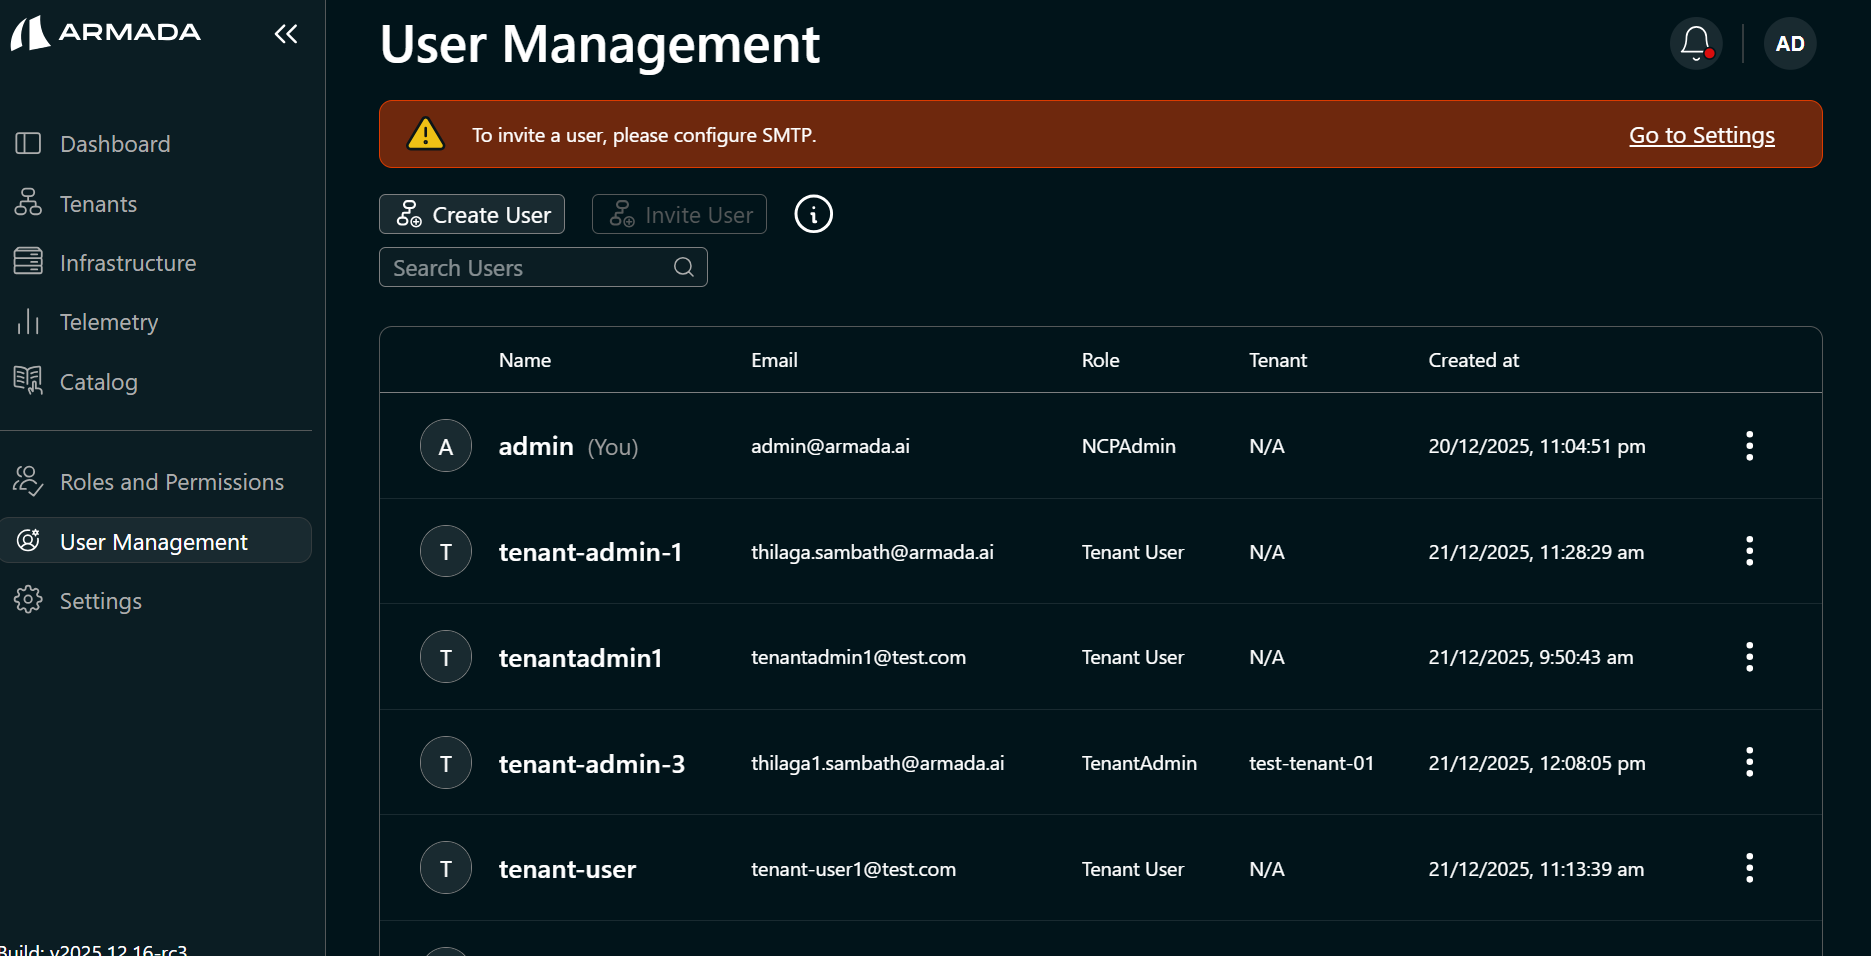
In the sidebar, click User Management, then click Create User.
-
Enter the user details and select a custom role from the Role dropdown.
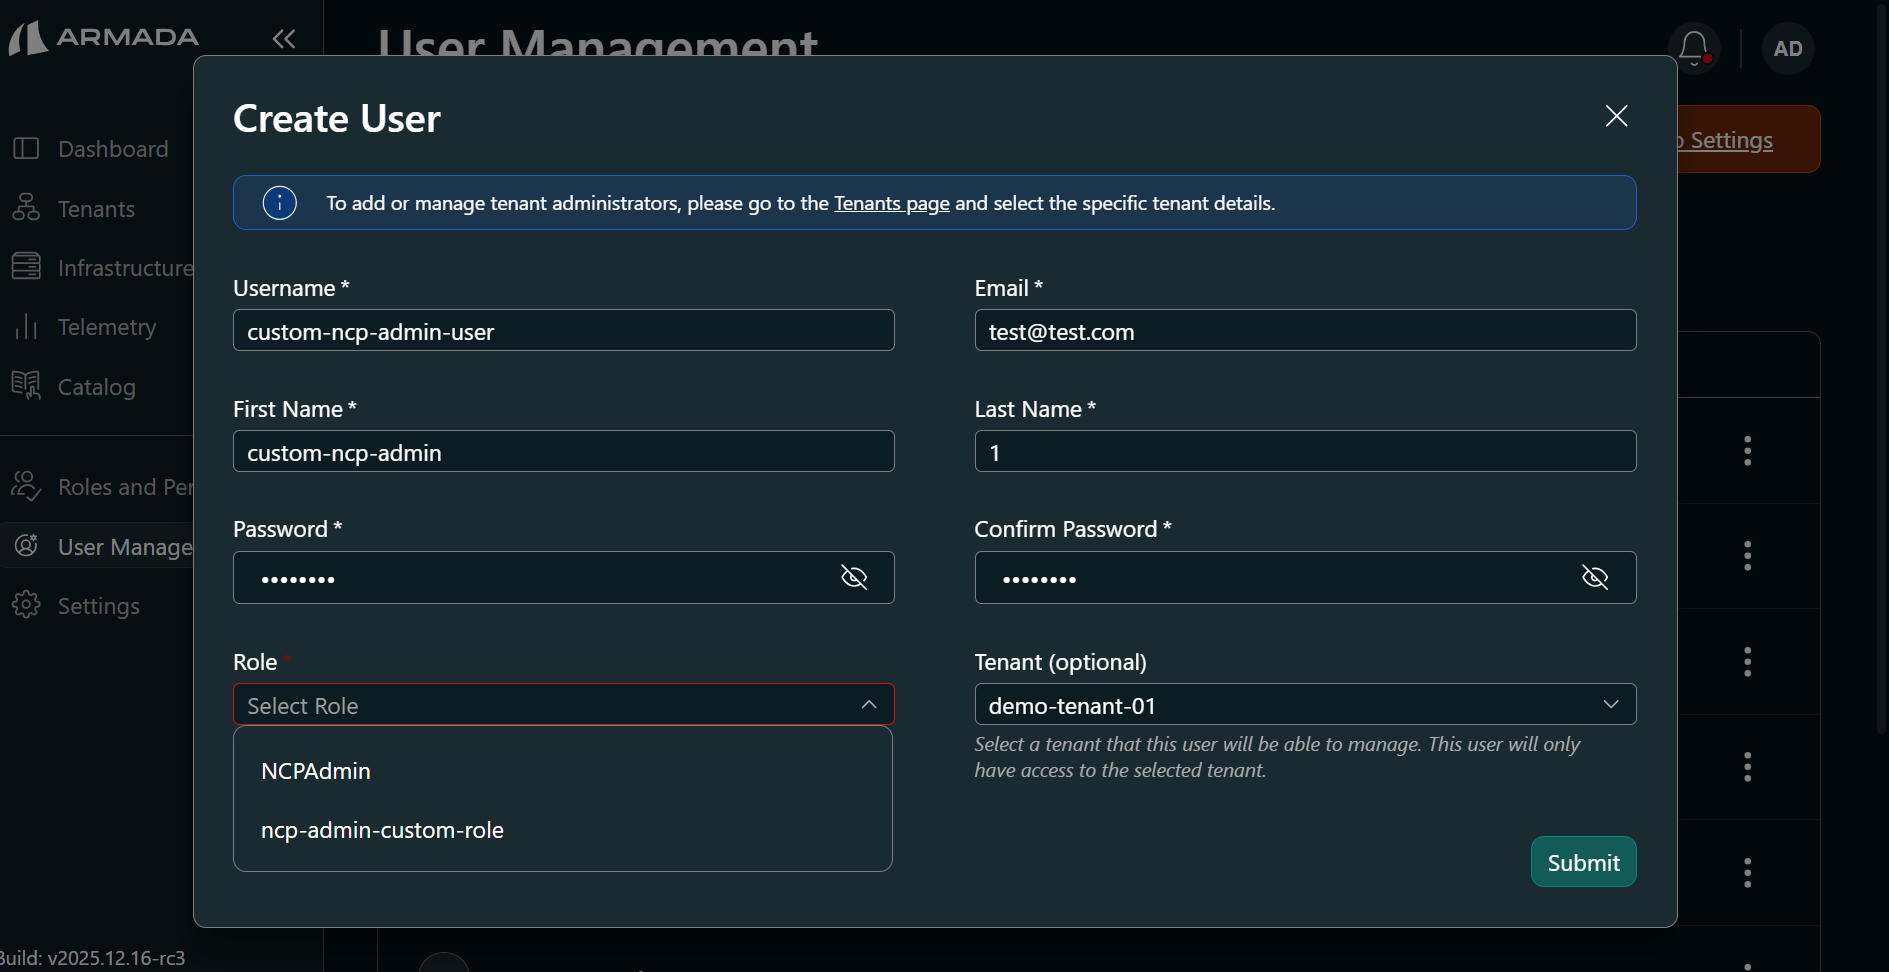
-
Click Create. The user appears in User Management with the assigned role.

-
Log out and log in as the new user to verify access matches the role definition.


Delete a Custom Role
- To delete an NCP Admin custom role, set the scope to Platform.
- To delete a Tenant Admin or Tenant User custom role, set the scope to Tenant and select the target tenant.
-
In the sidebar, click Roles and Permissions and set the appropriate scope.
-
Click the ellipsis (⋯) next to the role and select Delete role.
-
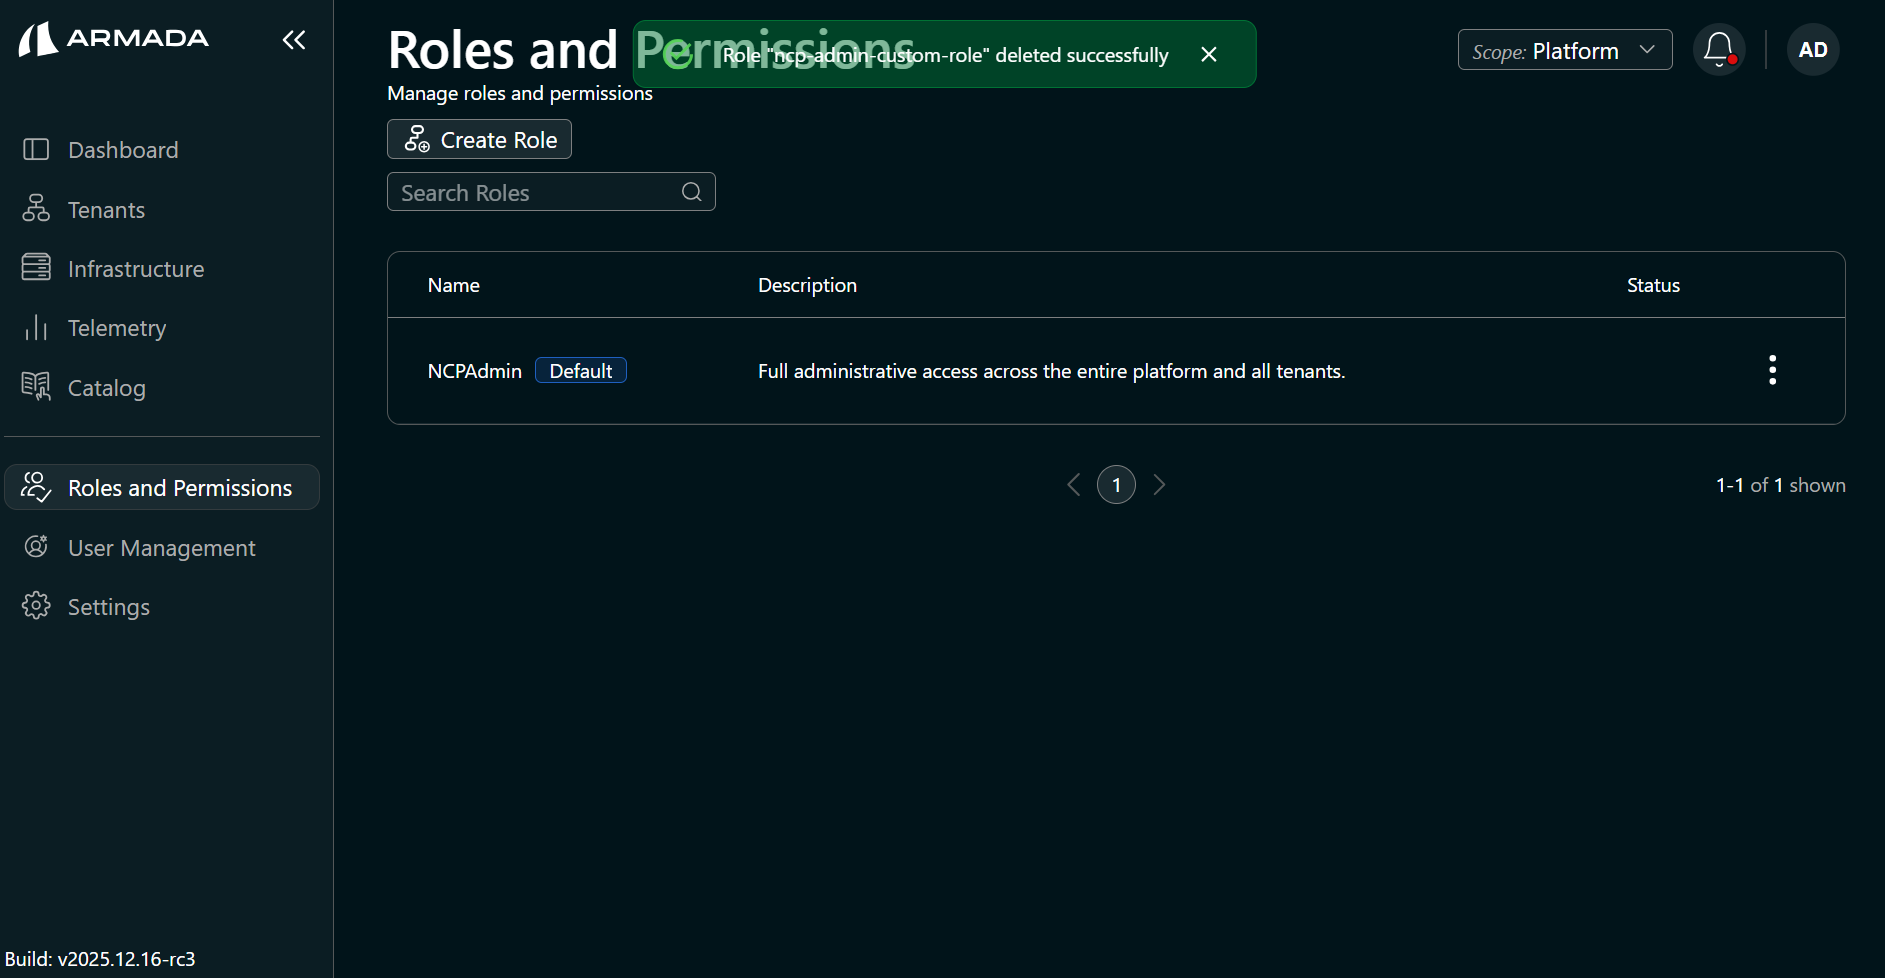
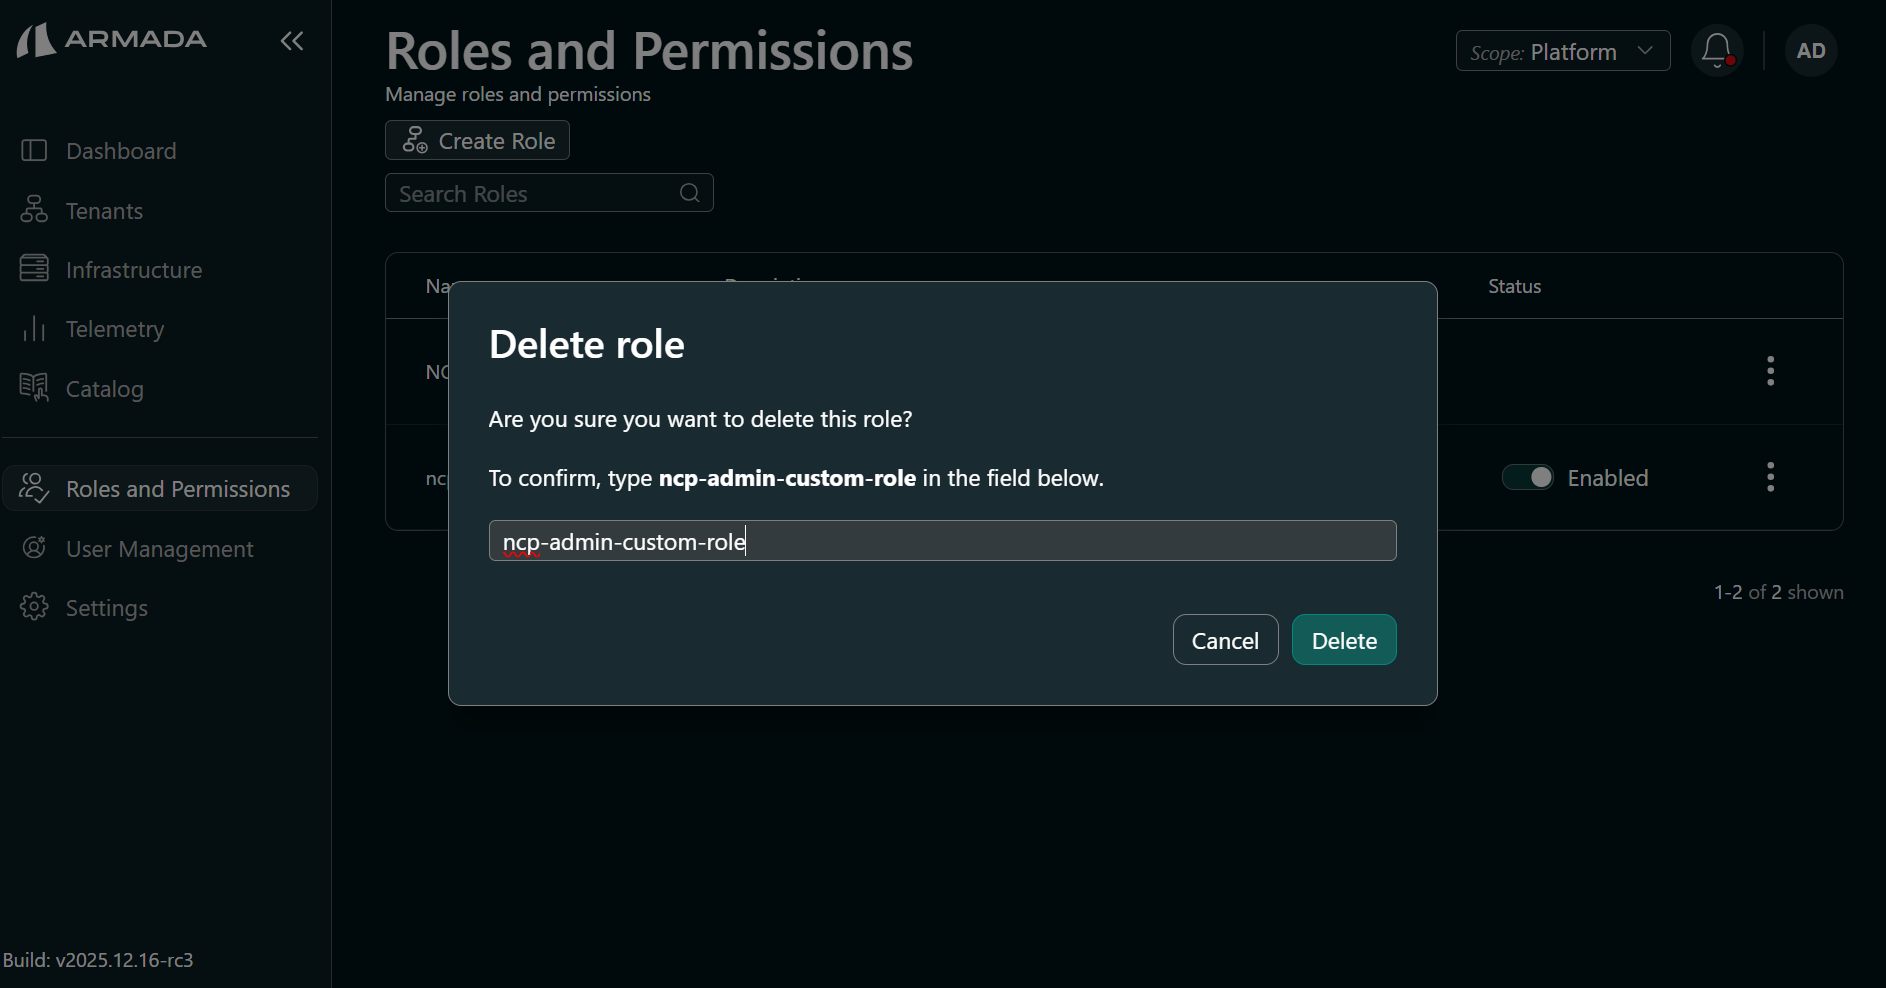
In the confirmation dialog, enter the role name and click Delete.
-
The role is removed from the list.