Cluster Scaling
Overview
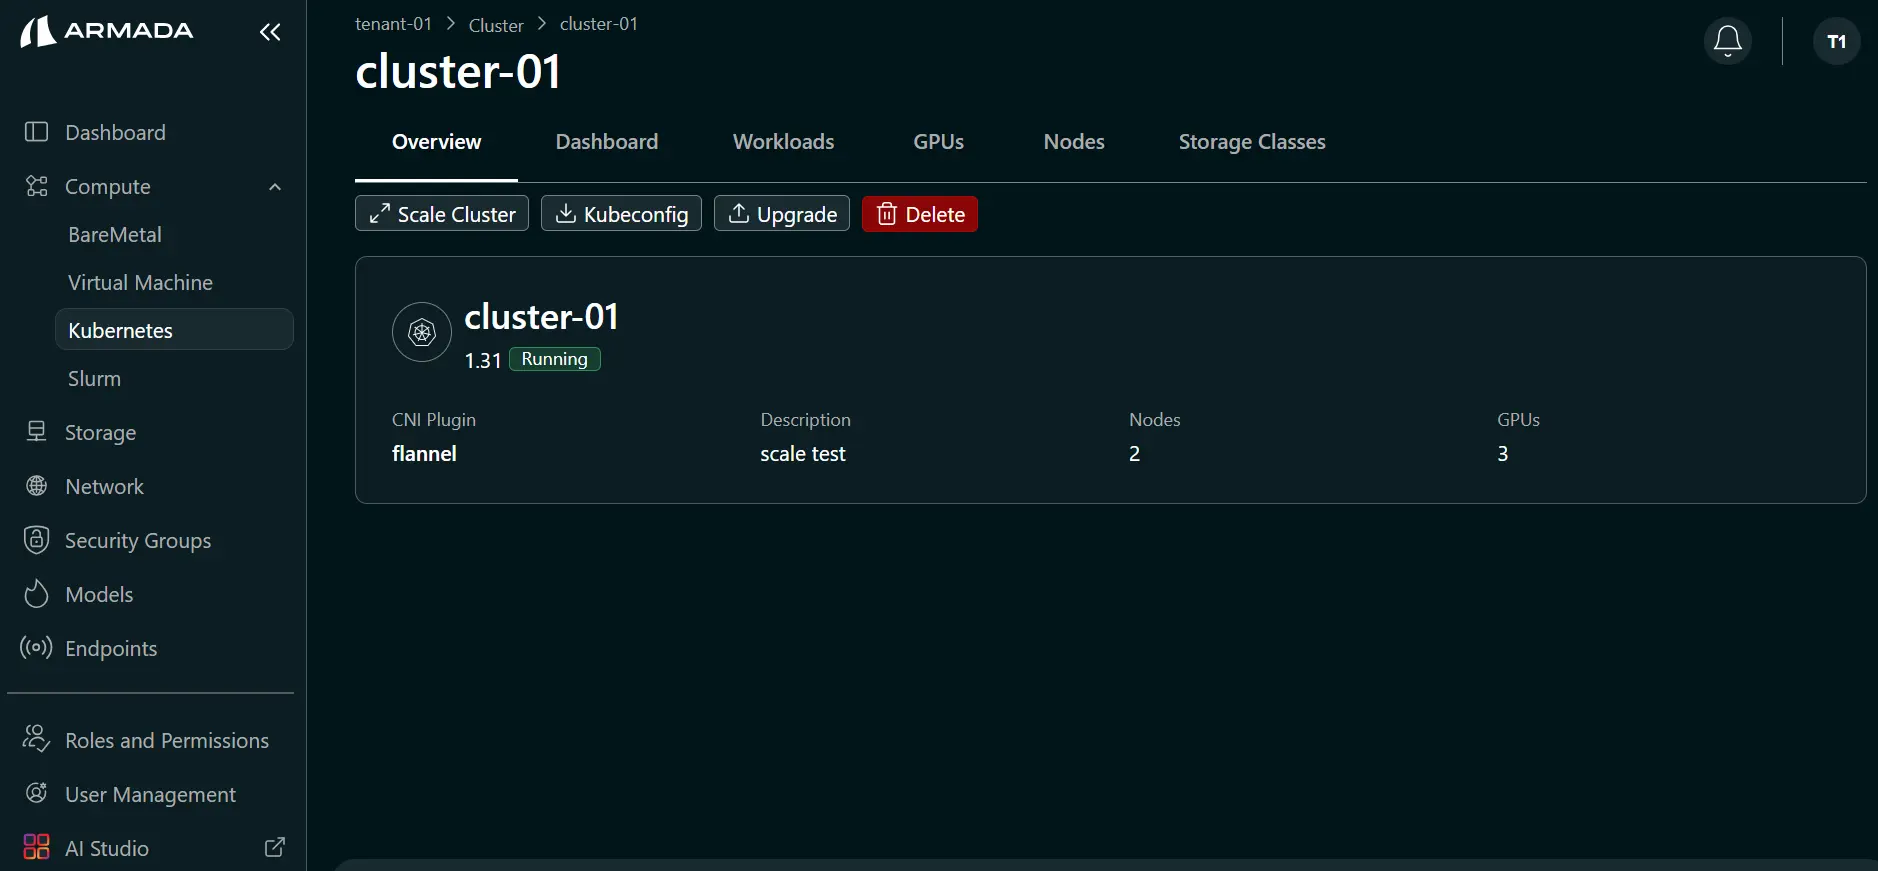
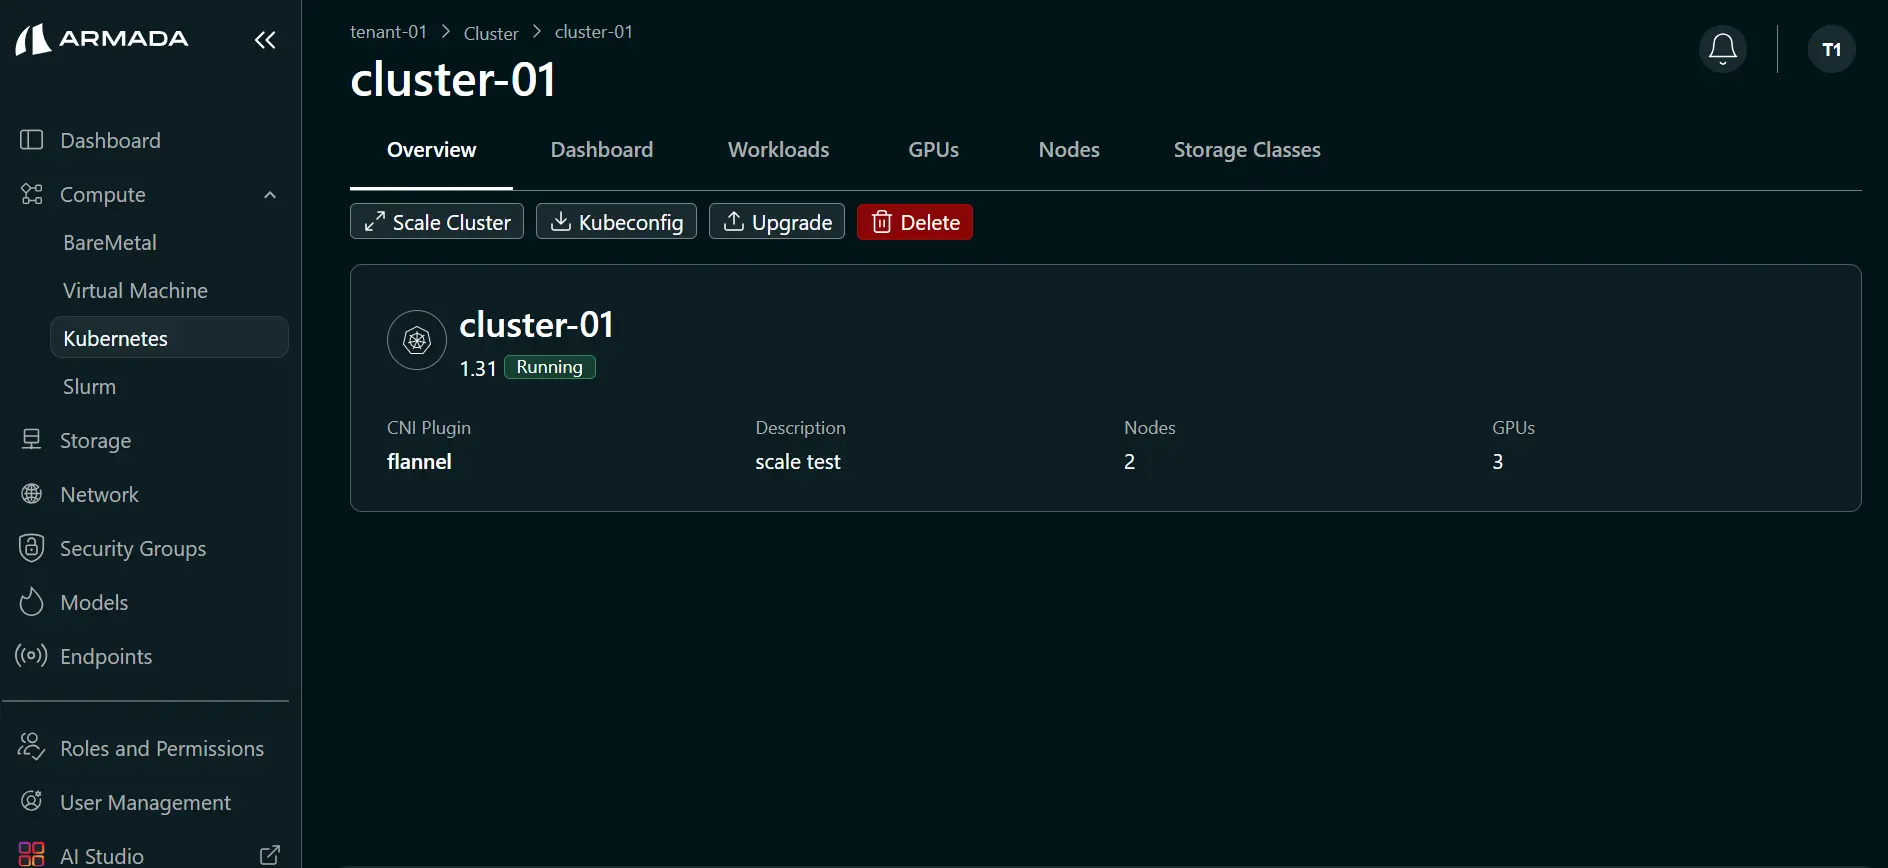
Cluster scaling in Bridge lets you increase or decrease worker nodes in an existing cluster without recreating the cluster.
- Scale up adds worker nodes to increase capacity for higher workloads.
- Scale down removes worker nodes to reduce resource usage when demand decreases.
Scaling changes only the worker node count. Existing cluster configuration, networking, and workloads remain intact.
Scaling Strategies
Horizontal Scaling
Add or remove entire nodes from your cluster:
- Best for workload changes
- Distributes load across nodes
- Maintains performance characteristics
Vertical Scaling
Adjust resources within existing nodes:
- Modify memory allocation
- Change CPU allocation
- Adjust GPU assignment
Scale Cluster Up
Prerequisites
- Available resources in your quota
- Running cluster to scale
- Monitoring data to inform scaling decision
Prerequisites
- Tenant Admin access — Log in as a Tenant Admin to scale clusters.
- Running cluster — The cluster must be in a healthy running state.
- Available resources for scale up — Ensure sufficient Bare Metal/VM resources are allocated to the tenant before increasing worker count.
- Workload readiness for scale down — Verify workloads can tolerate reduced worker capacity before decreasing node count.
Steps to Scale Up
Step 1: Update Worker Count
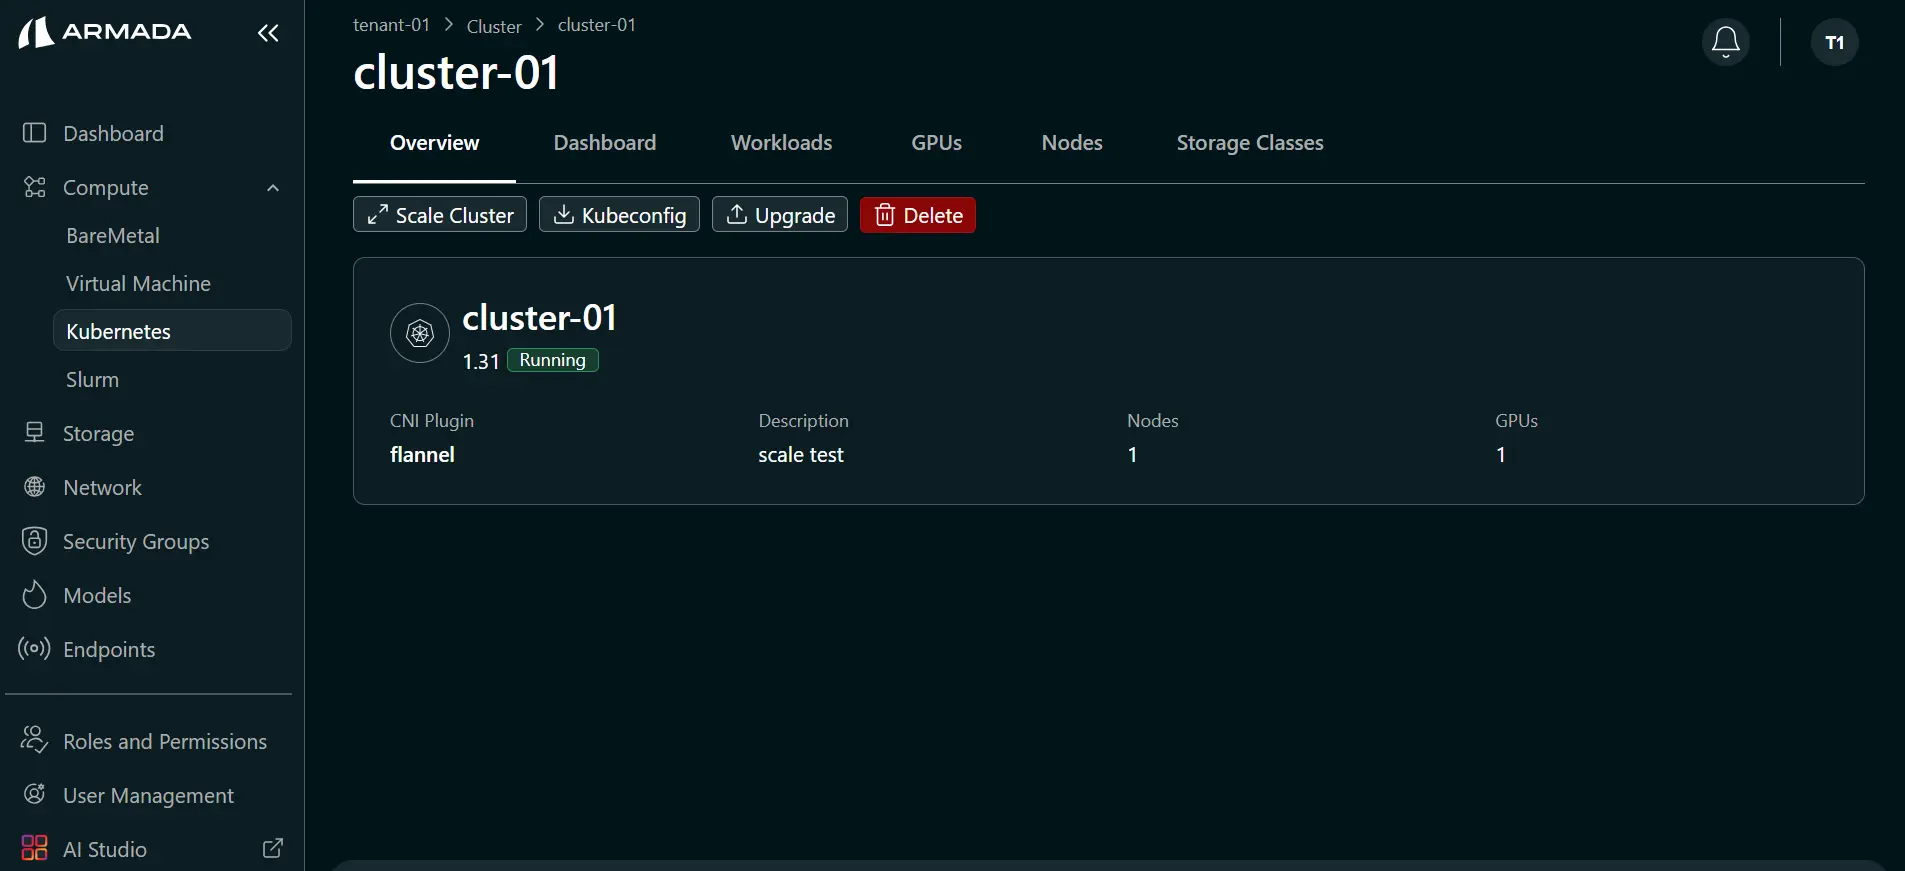
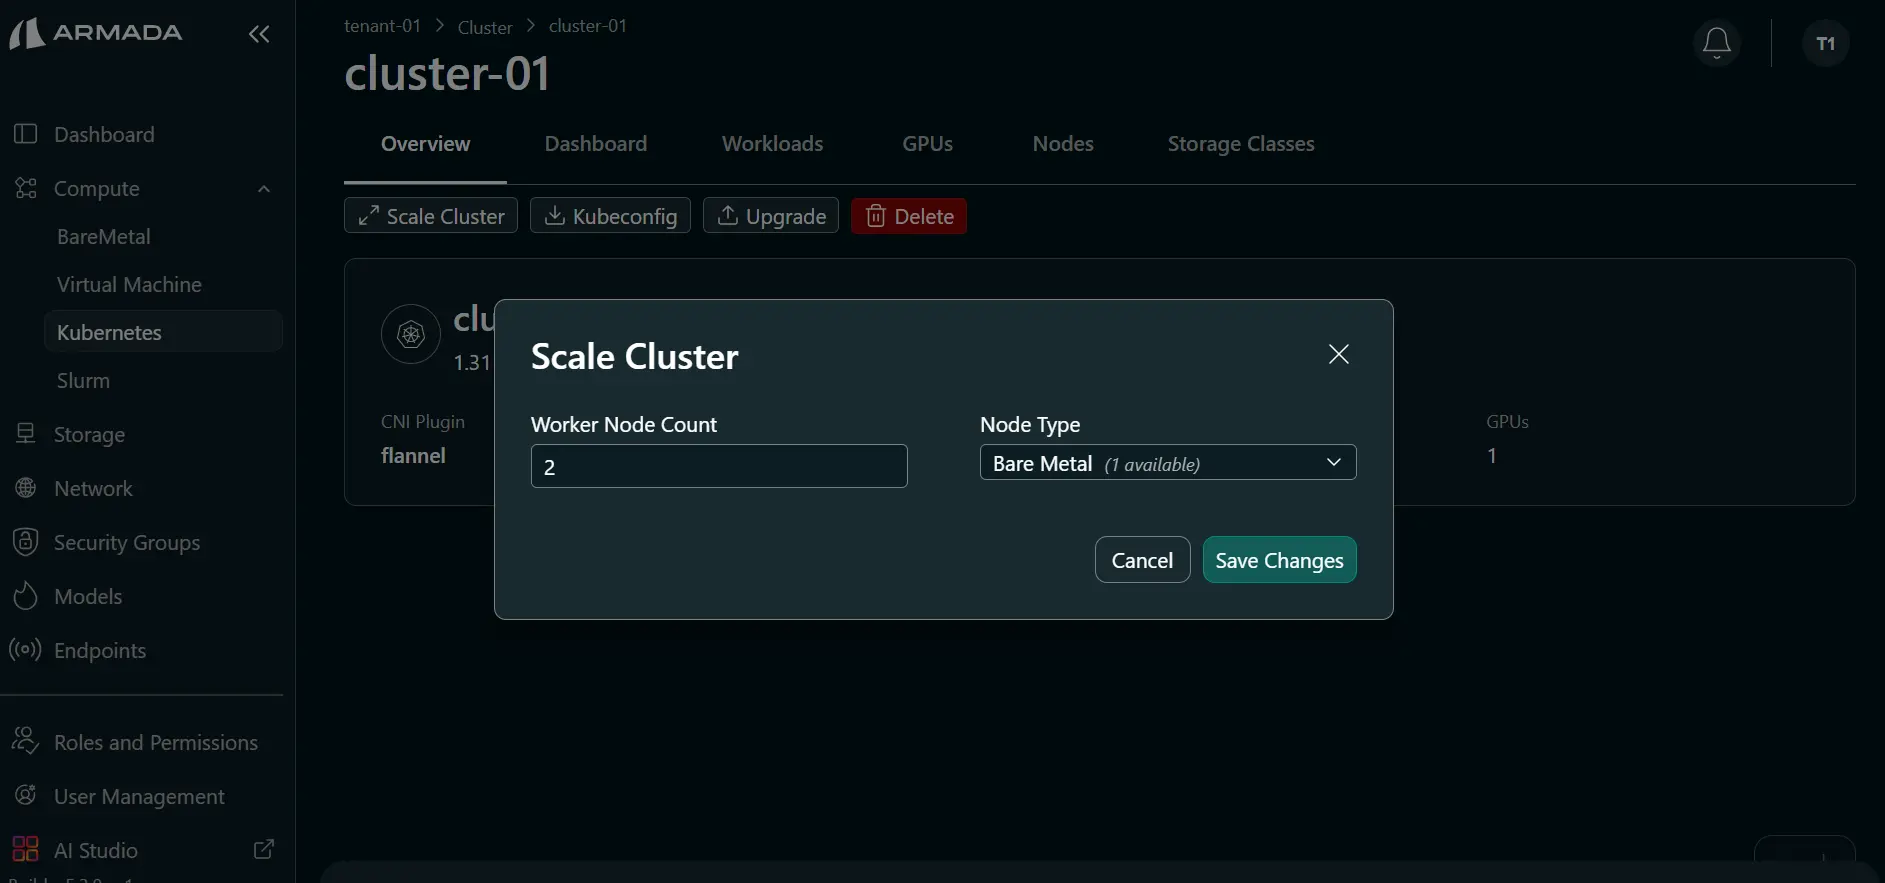
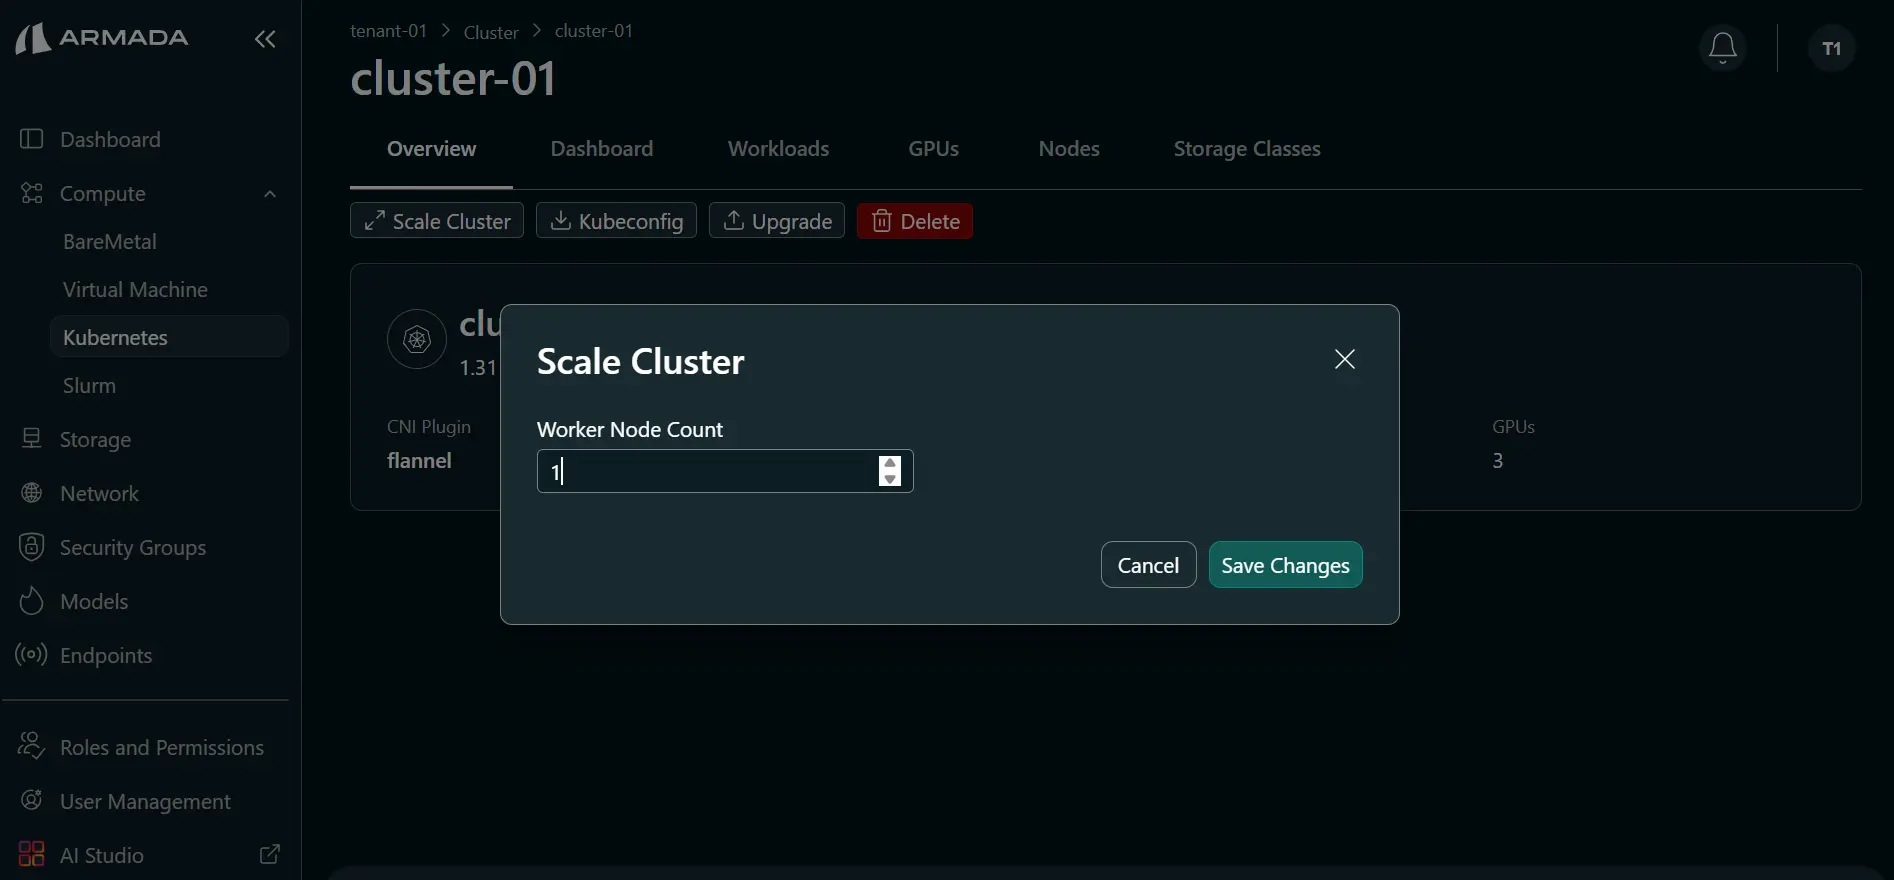
- Click the cluster name or the ellipsis (three-dot) menu, then click Scale Cluster.
- Set a worker node count that is greater than the current count.
- Choose Node Type (Bare Metal or Virtual Machine), then click Save Changes.
Worker node count must not exceed your allocated Bare Metal/Virtual Machine resources.
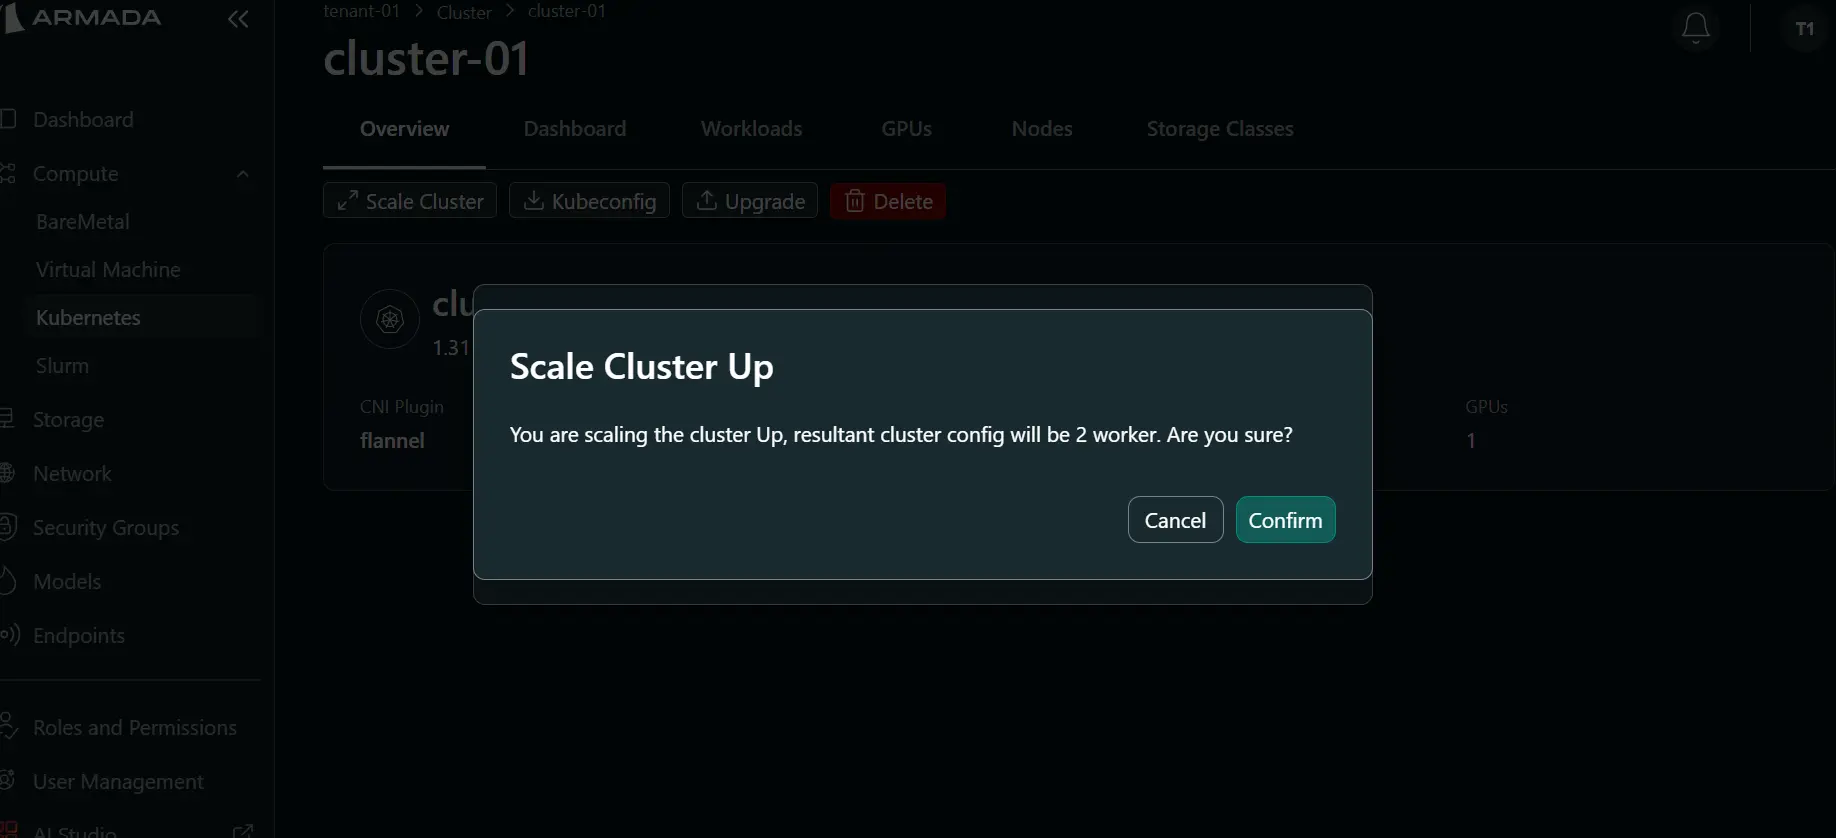
Step 2: Confirm and Monitor Scale Up
- Click Confirm to start scale up.
- Monitor cluster status. During scale up, status shows Scaling ↑.
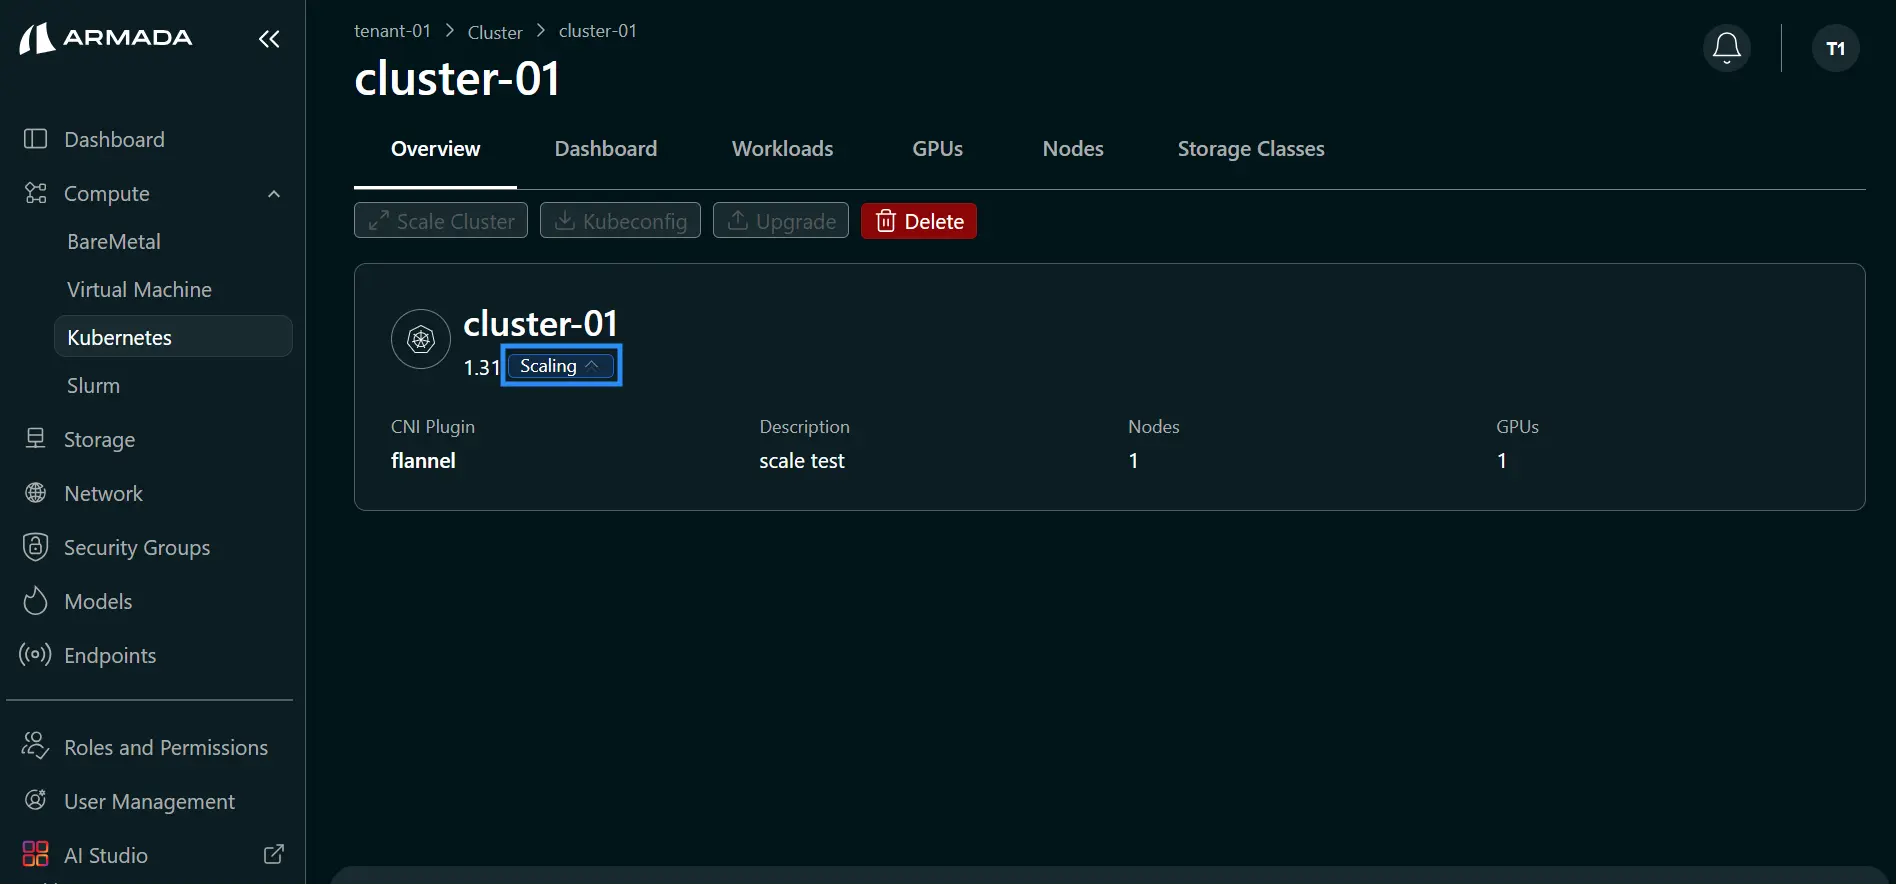
- After scale up completes, confirm worker node count has increased (for example, from 1 to 2).
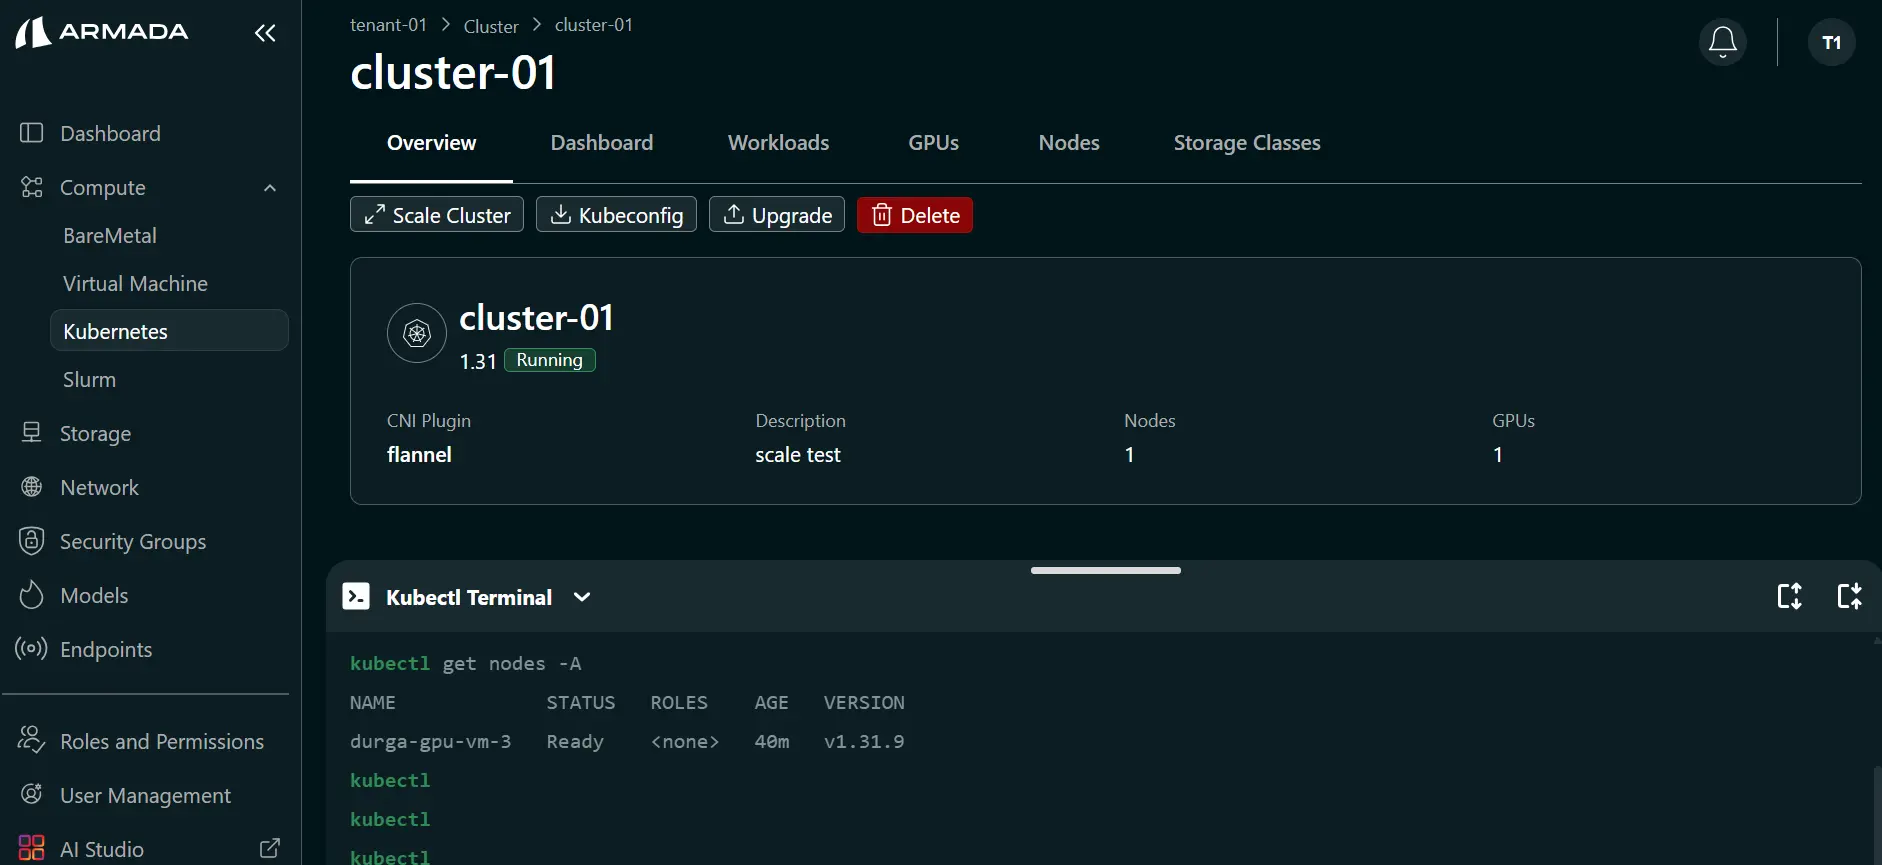
Step 3: Verify Cluster Health
- Open Kubectl Terminal.
- Verify the cluster is healthy and ready for workloads.
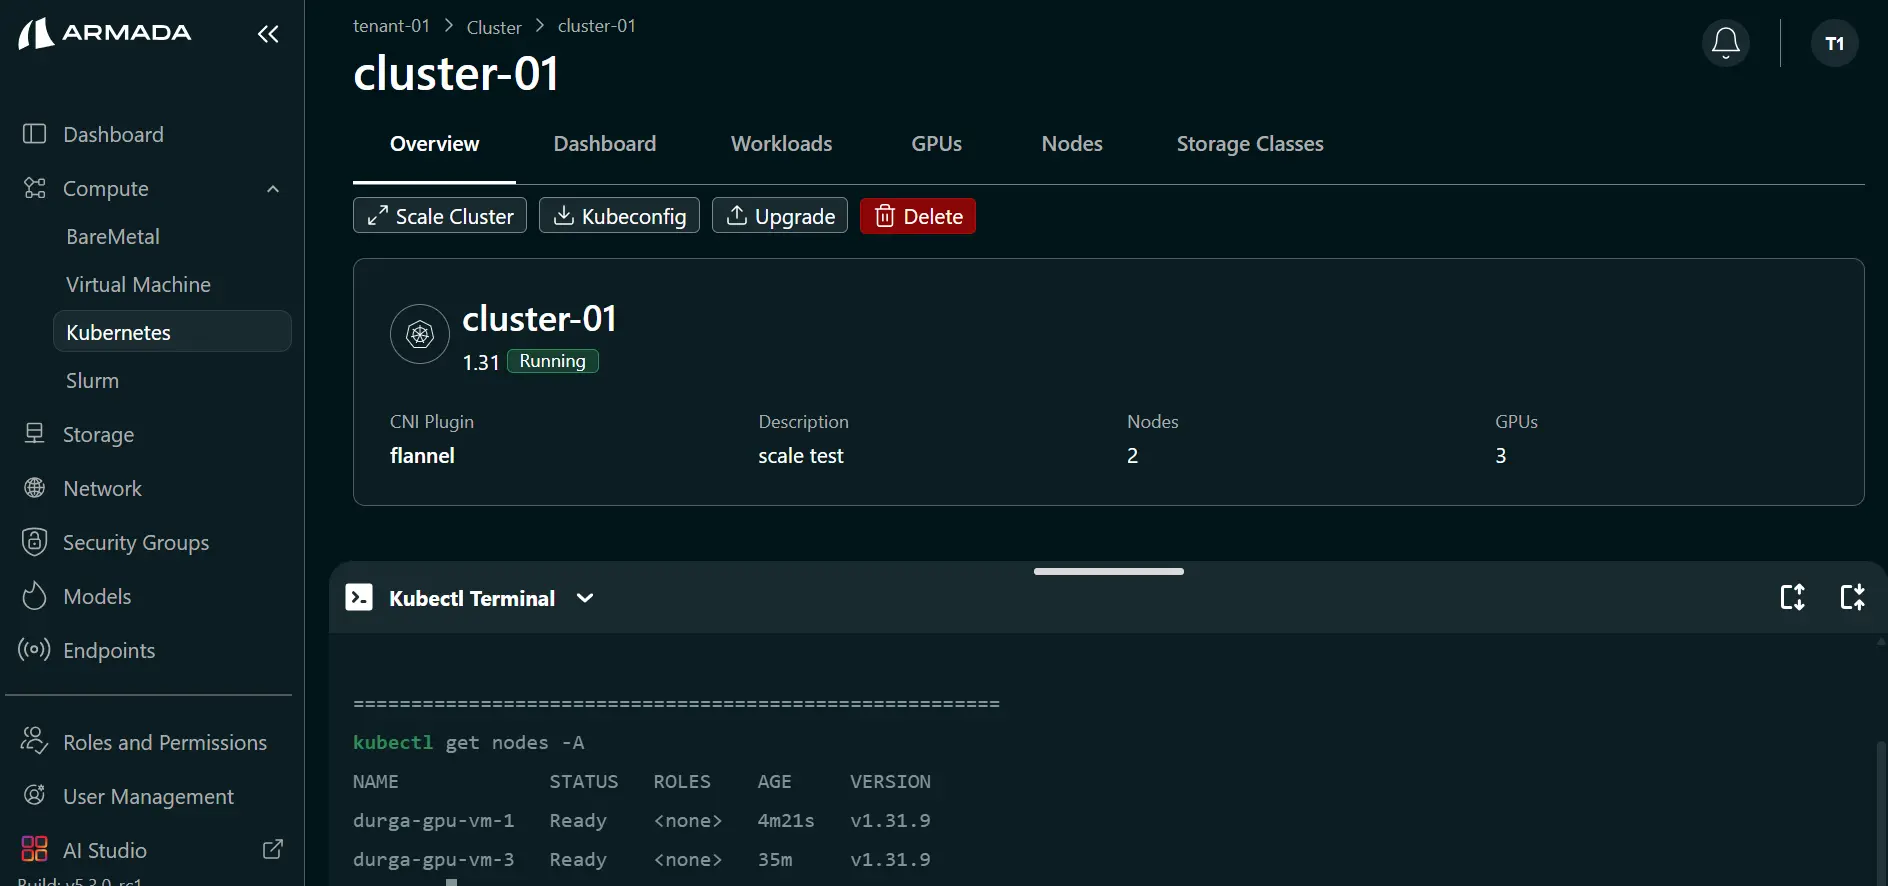
New nodes will be:
- Initialized
- Joined to cluster
- Configured with software
- Made available for workloads
Scale Cluster Down
Considerations Before Scaling Down
- Ensure workloads can migrate safely
- Drain jobs from nodes to be removed
- Verify no persistent data will be lost
- Plan for temporary service interruption
Step 1: Update Worker Count
- Click the cluster name or the ellipsis (three-dot) menu, then click Scale Cluster.
- Set a worker node count that is less than the current count.
- Click Save Changes.
Step 2: Confirm and Monitor Scale Down
- Click Confirm on the confirmation pop up.
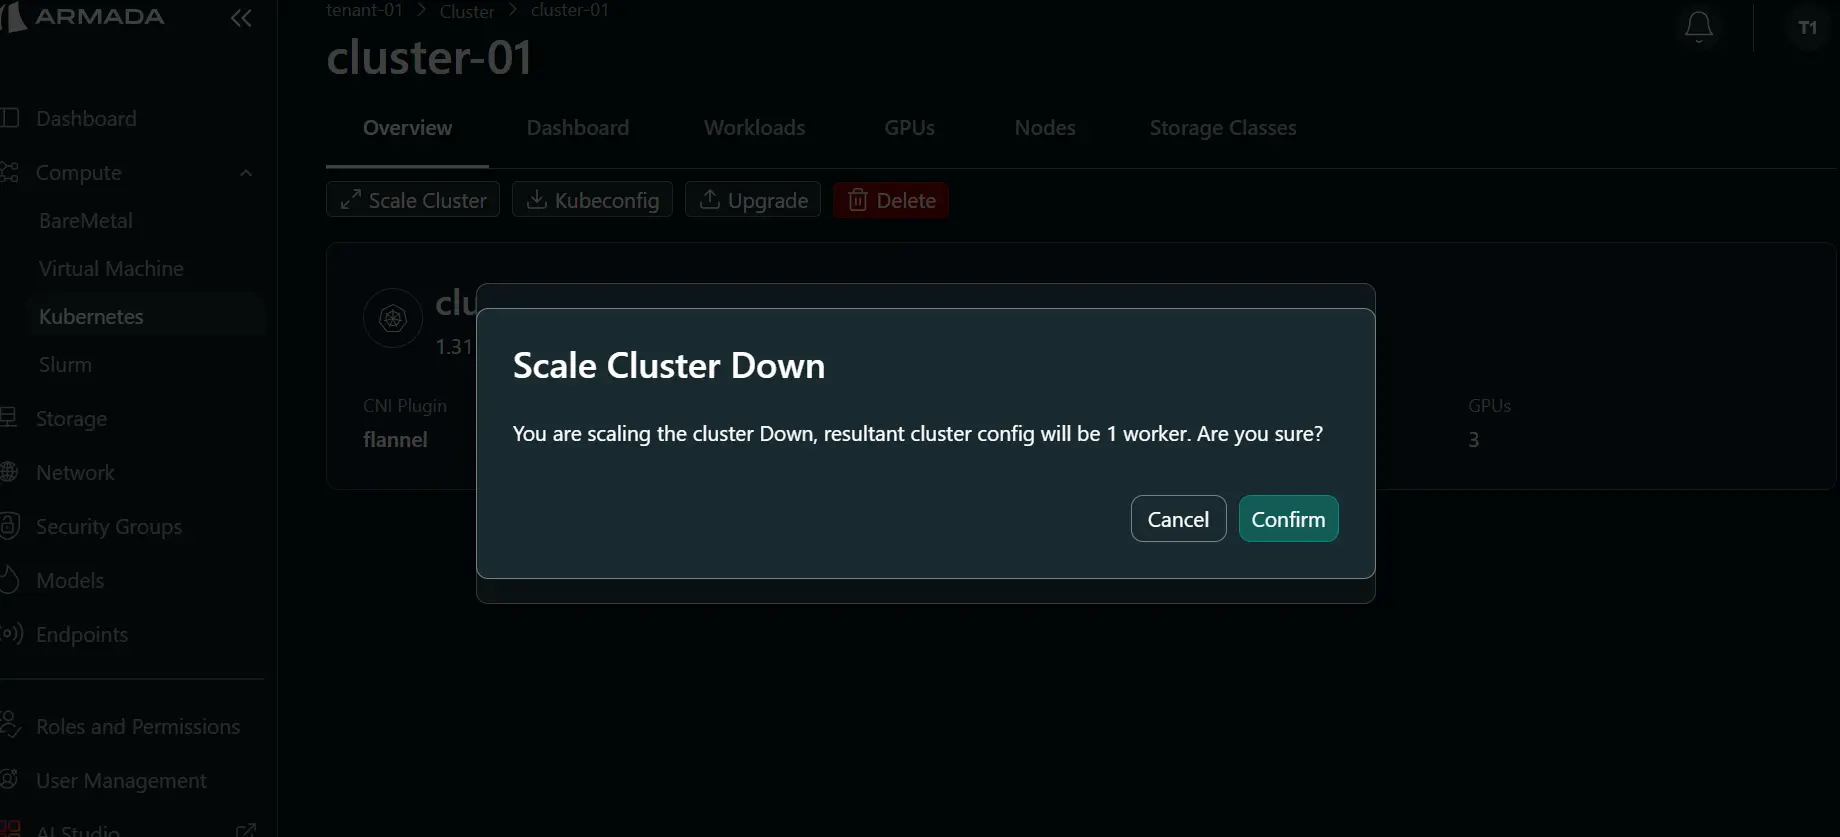
- Monitor cluster status. During scale down, status shows Scaling ↓.
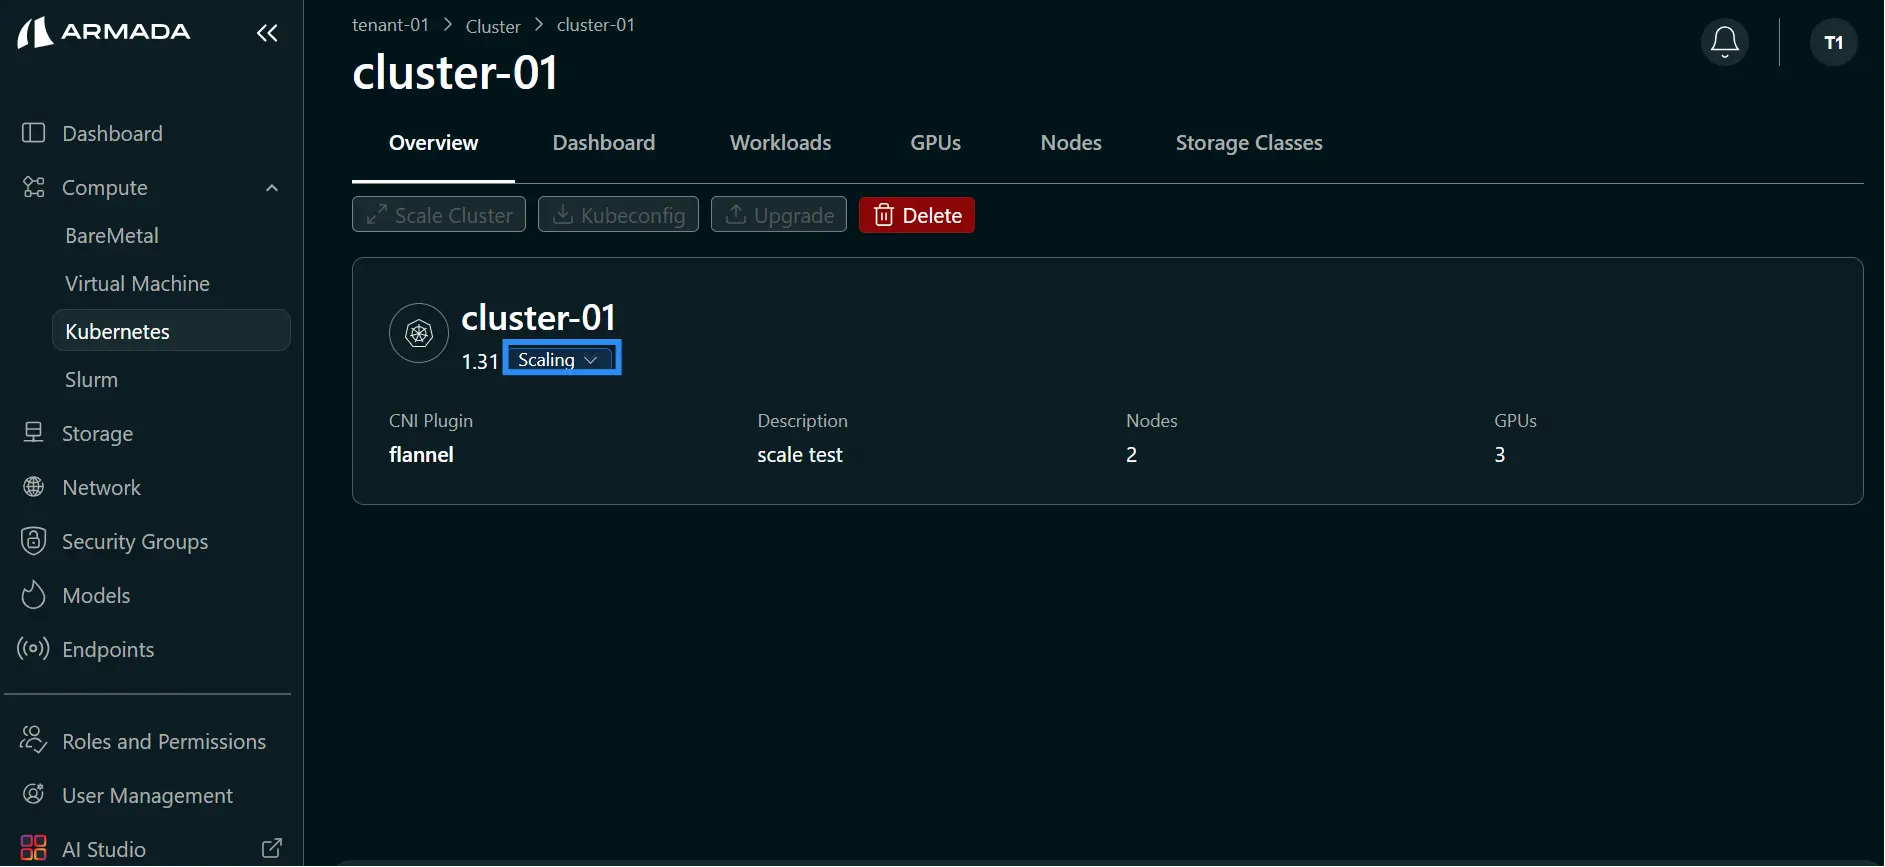
- After scale down completes, confirm worker node count is reduced (for example, from 2 to 1).

Step 3: Verify Cluster Health
- Open Kubectl Terminal.
- Confirm the cluster is healthy after node removal.
Auto-Scaling
Configure Auto-Scaling
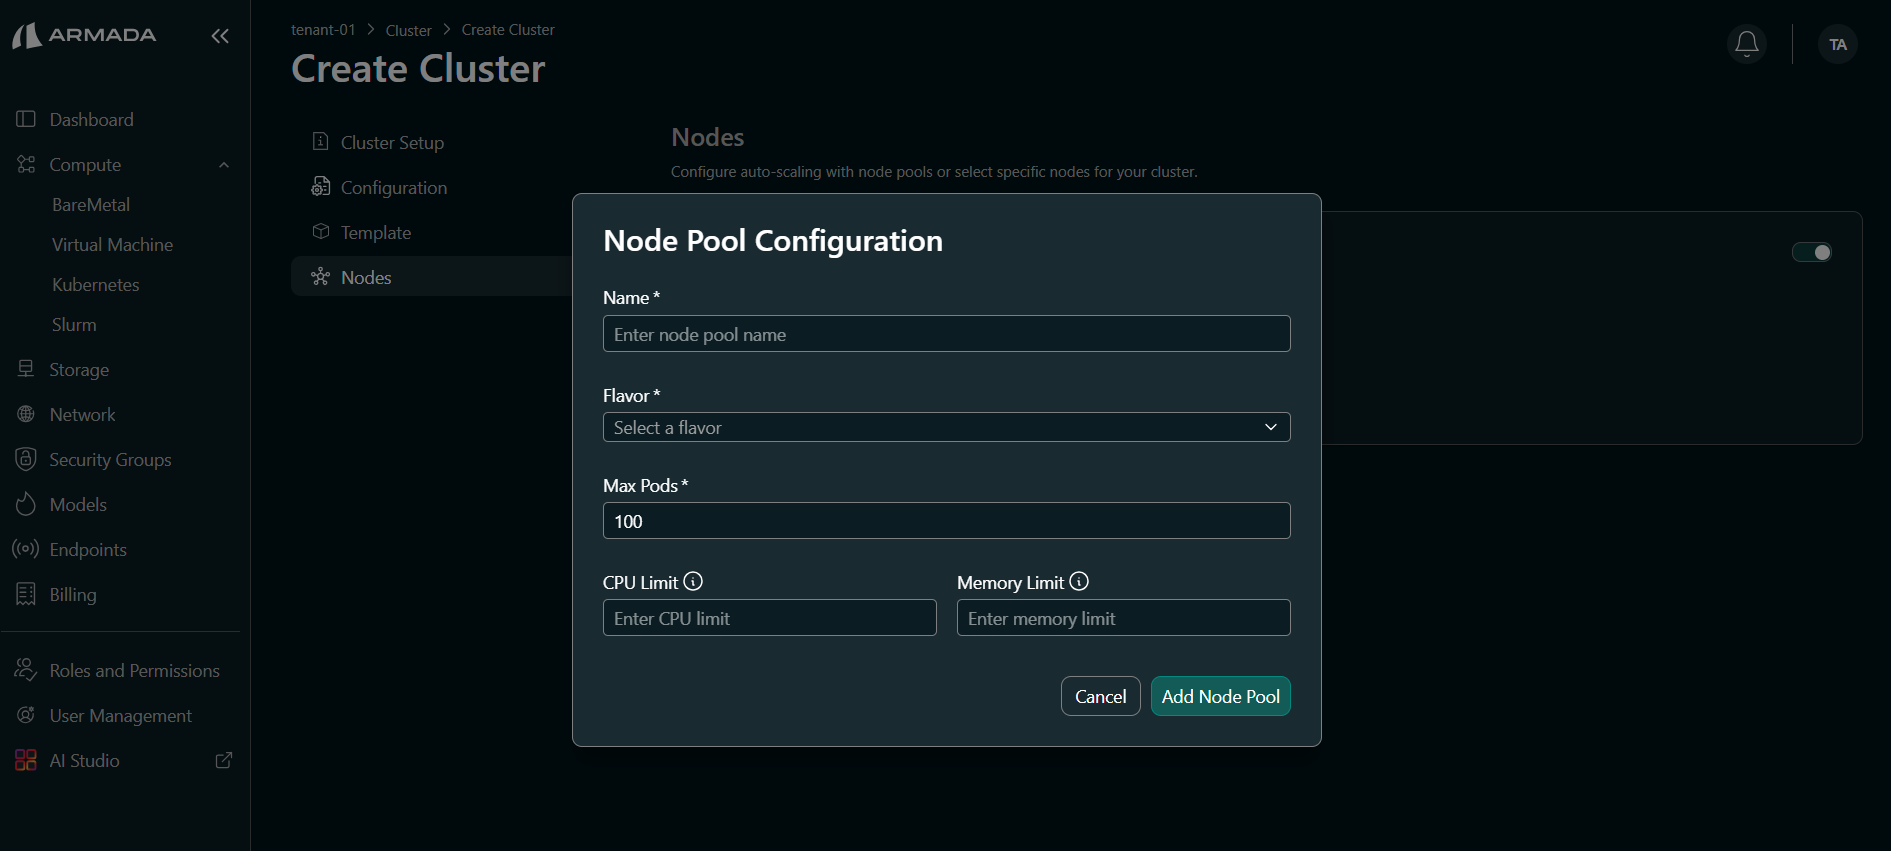
While creating the cluster, the Nodes page lets you configure auto-scaling with node pools or select specific nodes for your cluster.
Enable Autoscaling first. On the Nodes page, turn on the Autoscaling toggle. Autoscaling enables cluster auto-scaling based on workload demands. Only after Autoscaling is enabled can you see and use the node pool creation option.
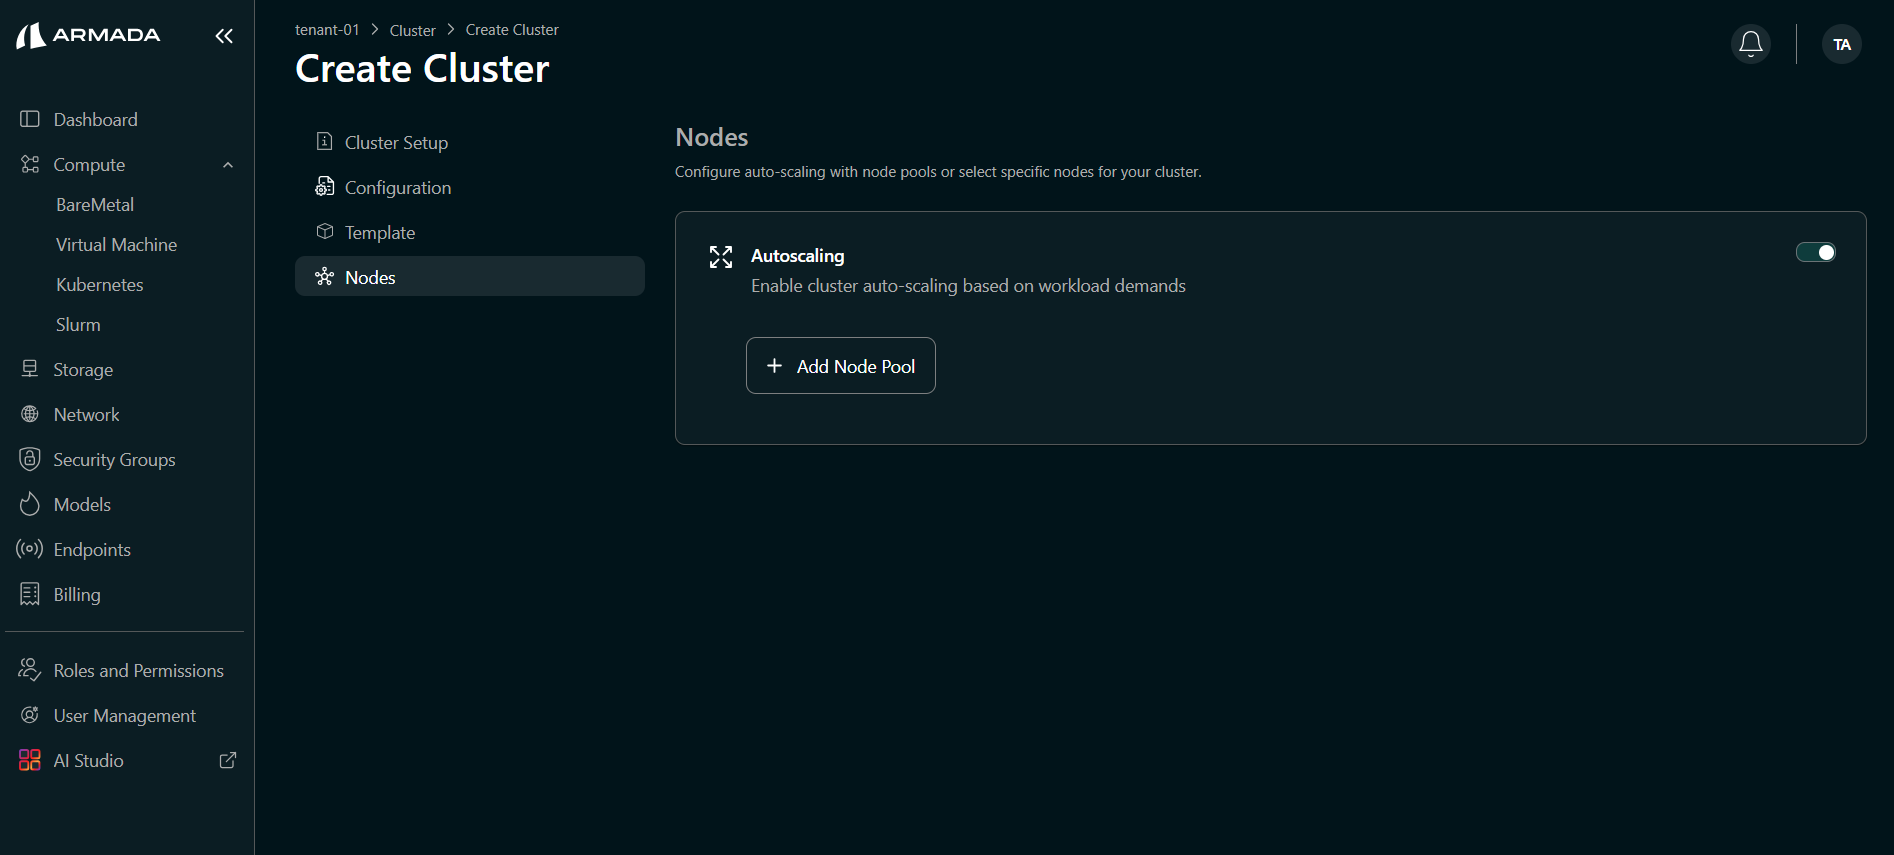
To add a node pool, open Node Pool Configuration and set the following:
- Name — Enter a node pool name (required).
- Flavor — Select a flavor from the dropdown (required).
- Max Pods — Maximum number of pods per node (required; for example, 100).
- CPU Limit — Enter the CPU limit for the node pool.
- Memory Limit — Enter the memory limit for the node pool.
How Auto-Scaling Works
- Monitors resource utilization
- Automatically adds nodes when threshold exceeded
- Automatically removes nodes when underutilized
- Respects min/max limits
Best Practices
Scaling Decisions
- Monitor trends before scaling
- Scale gradually in response to demand
- Keep buffer capacity for spikes
- Document scaling decisions
Timing
- Scale during low-usage windows for scale-down
- Plan scale-up ahead of known demand
- Avoid scaling during critical operations
- Allow time for node initialization
Cost Optimization
- Scale down during off-peak hours
- Use right-sized node types
- Monitor actual vs allocated resources
- Adjust quotas based on patterns
Kubernetes Specific
HPA (Horizontal Pod Autoscaler)
For pod-level scaling in Kubernetes:
kubectl autoscale deployment <deployment> --min=2 --max=10
VPA (Vertical Pod Autoscaler)
For resource recommendation:
kubectl apply -f vpa-config.yaml
Next Steps
- Application Deployment — Deploy custom applications and web services on your cluster, accessible via HTTP endpoints.
- NGINX Web Server — Deploy the NGINX web server on your cluster from the Bridge application catalog.
- Kubernetes Upgrade — Upgrade your cluster to the latest Kubernetes version for new features and security patches.