Kubernetes Cluster Upgrade
Overview
Kubernetes cluster upgrades ensure your cluster has the latest features, security patches, and performance improvements.
note
Cluster upgrade is supported for clusters with 2 or more nodes.
Check Current Version
View Cluster Version
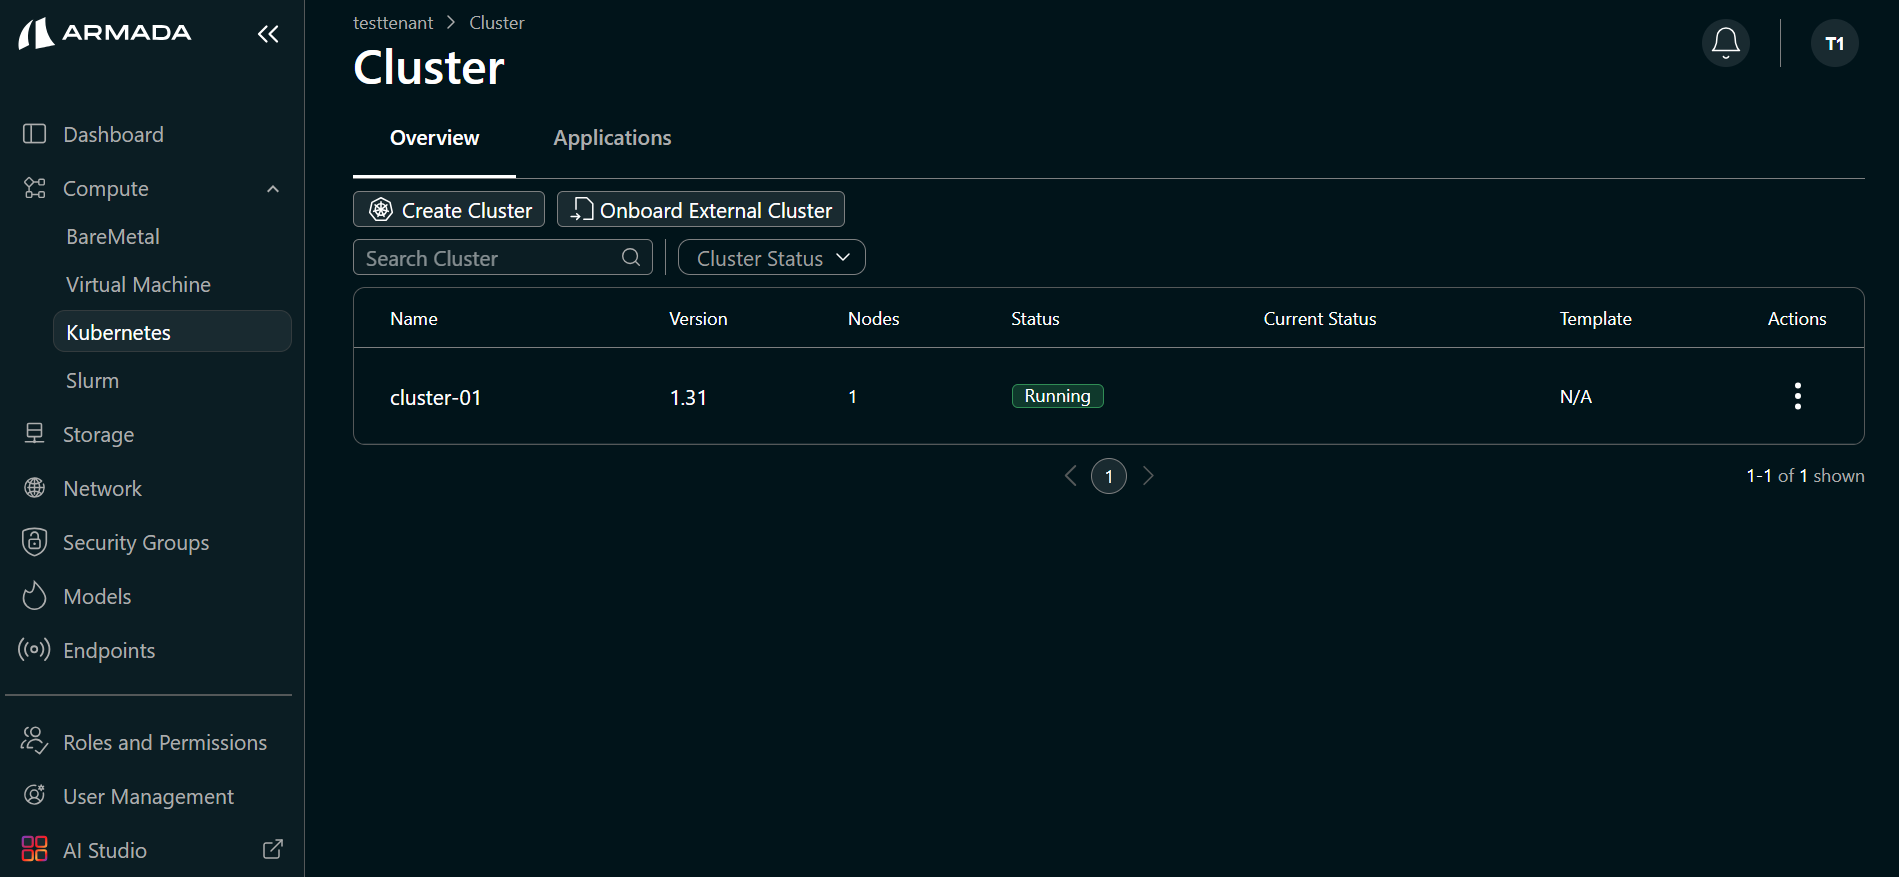
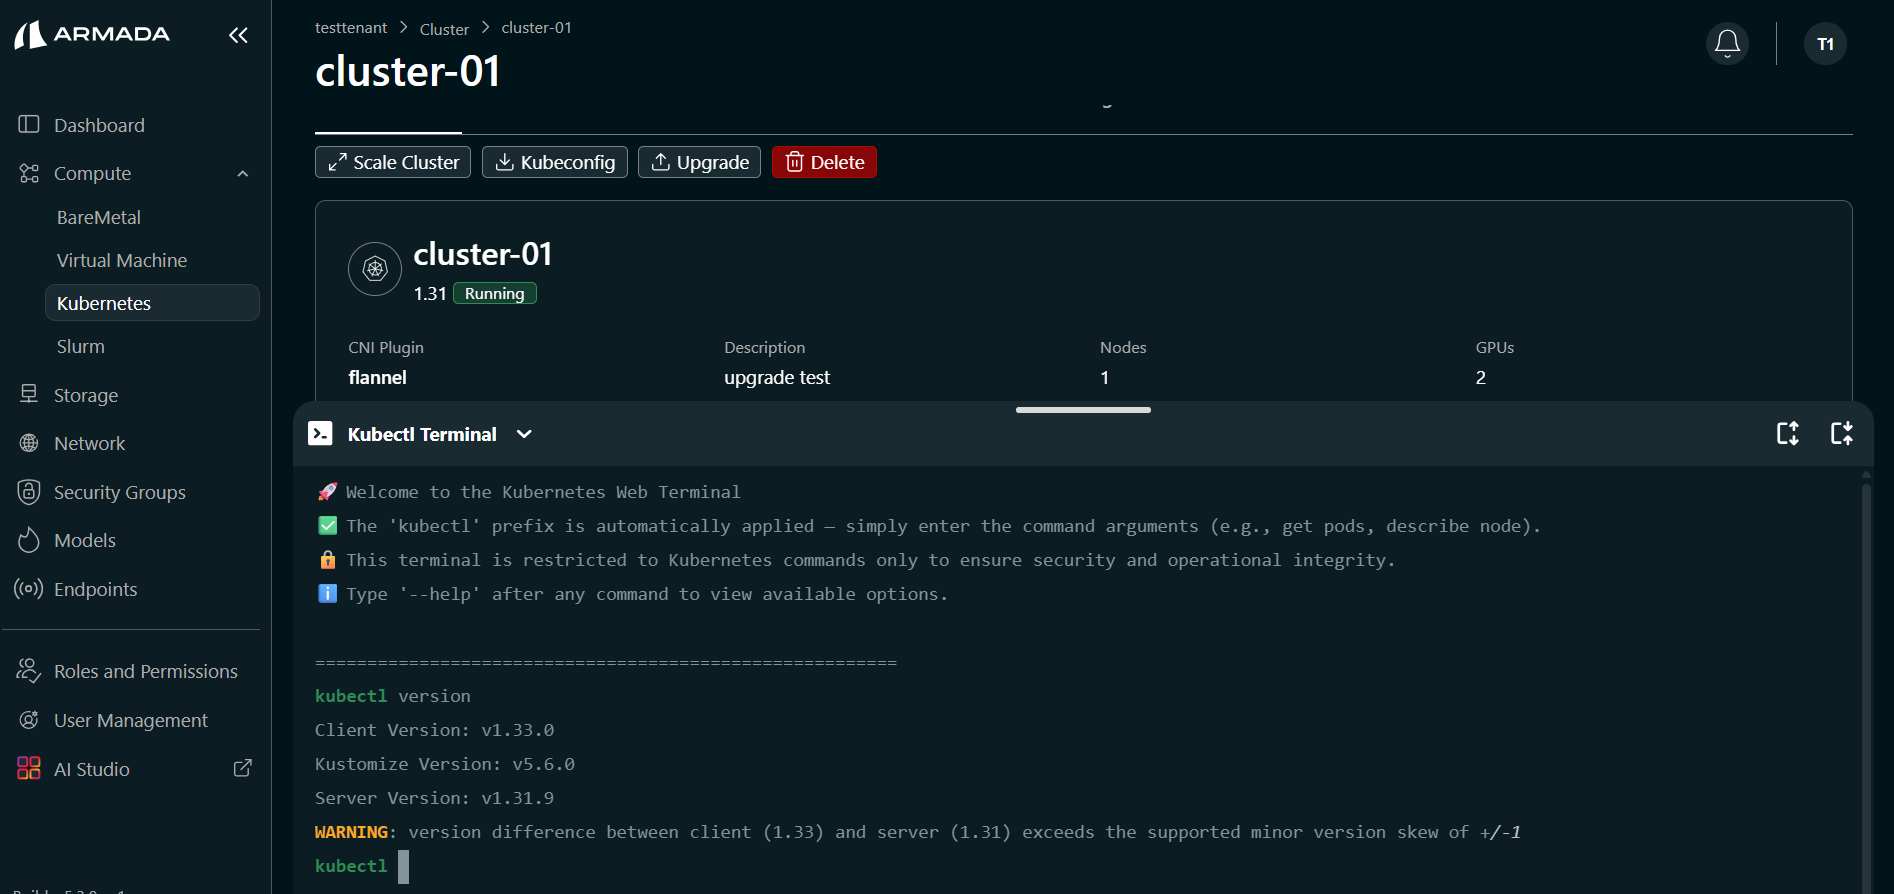
Access Kubernetes tab and check the current Kubernetes cluster version.
Or via Kubectl Terminal:
kubectl version
Plan Upgrade
Before Upgrading
- Backup Data - Export critical data
- Test Compatibility - Verify applications work with new version
- Review Release Notes - Check for breaking changes
- Schedule Window - Plan for maintenance window
- Notify Users - Inform tenant users of downtime
Upgrade Path
Check upgrade compatibility:
kubectl api-resources
kubectl convert --help
Perform Upgrade
Upgrade Approaches
- Rolling Upgrade - Gradual node updates (recommended)
- Blue-Green Upgrade - Run two clusters and switch traffic
- Canary Upgrade - Upgrade a subset first, then proceed
Upgrade Stages
- Pre-flight Checks - Verify compatibility
- Control Plane Upgrade - Update Kubernetes API components
- Node Upgrade - Update compute nodes
- Validation - Verify cluster health
- Completion - Finalize upgrade
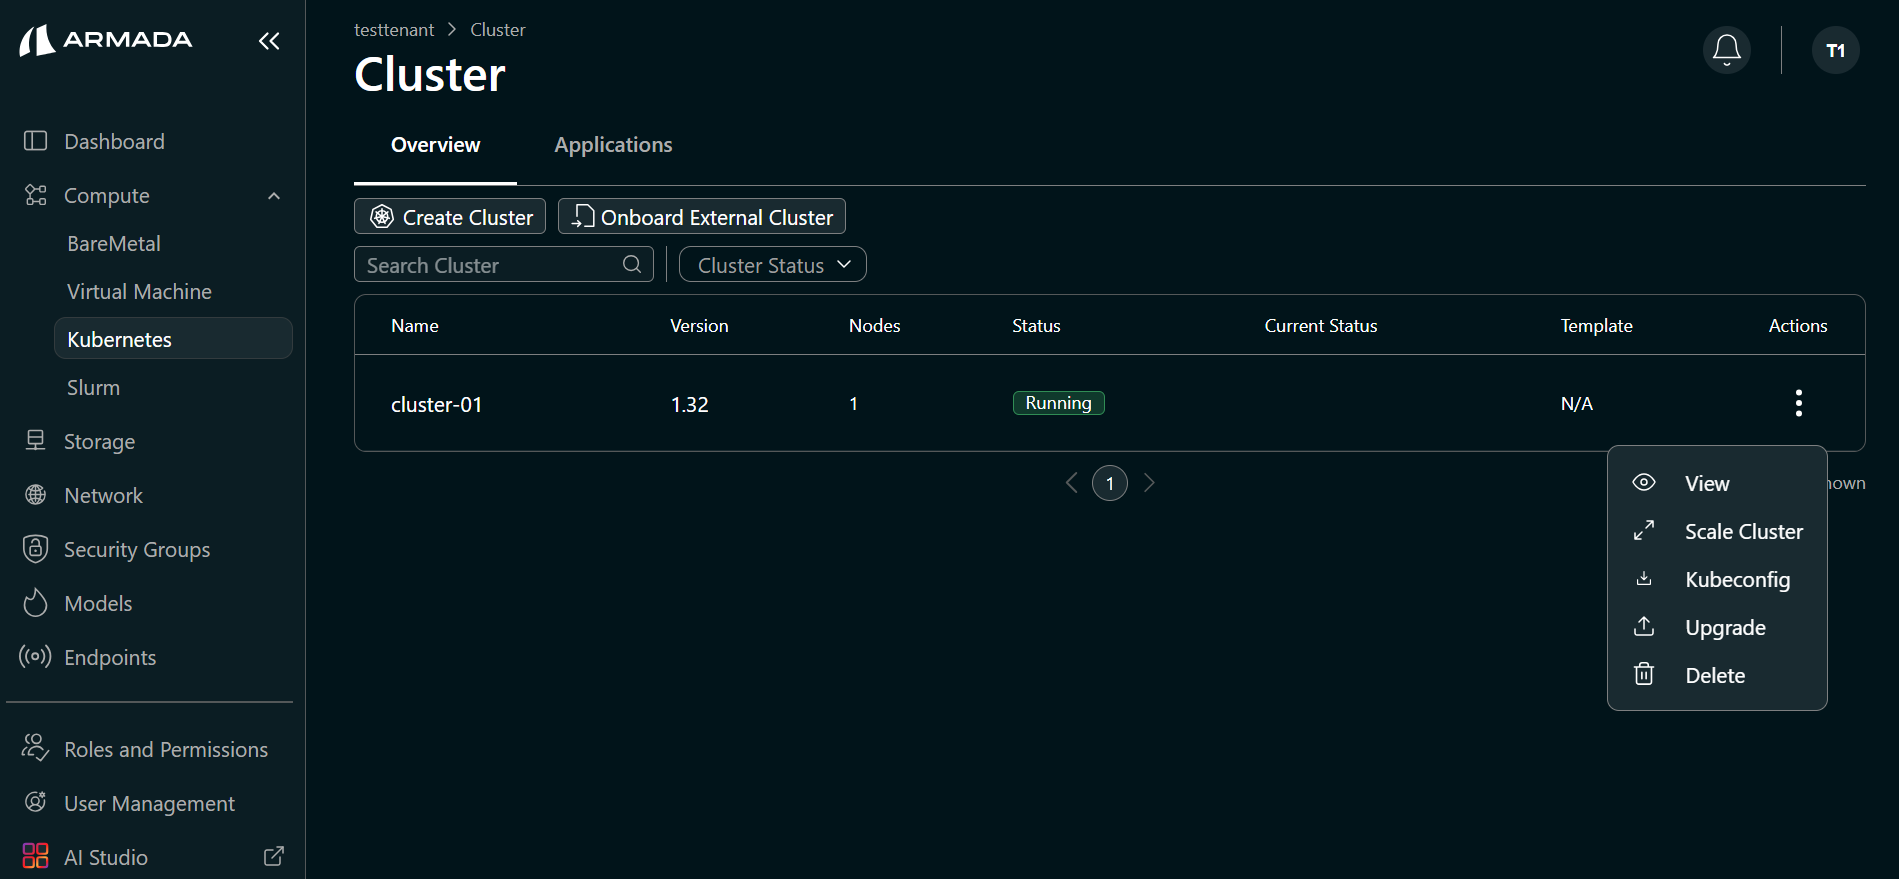
Step 1: Open Upgrade Action
- In the cluster list, click the ellipsis (three-dot) menu for the cluster.
- Click Upgrade.

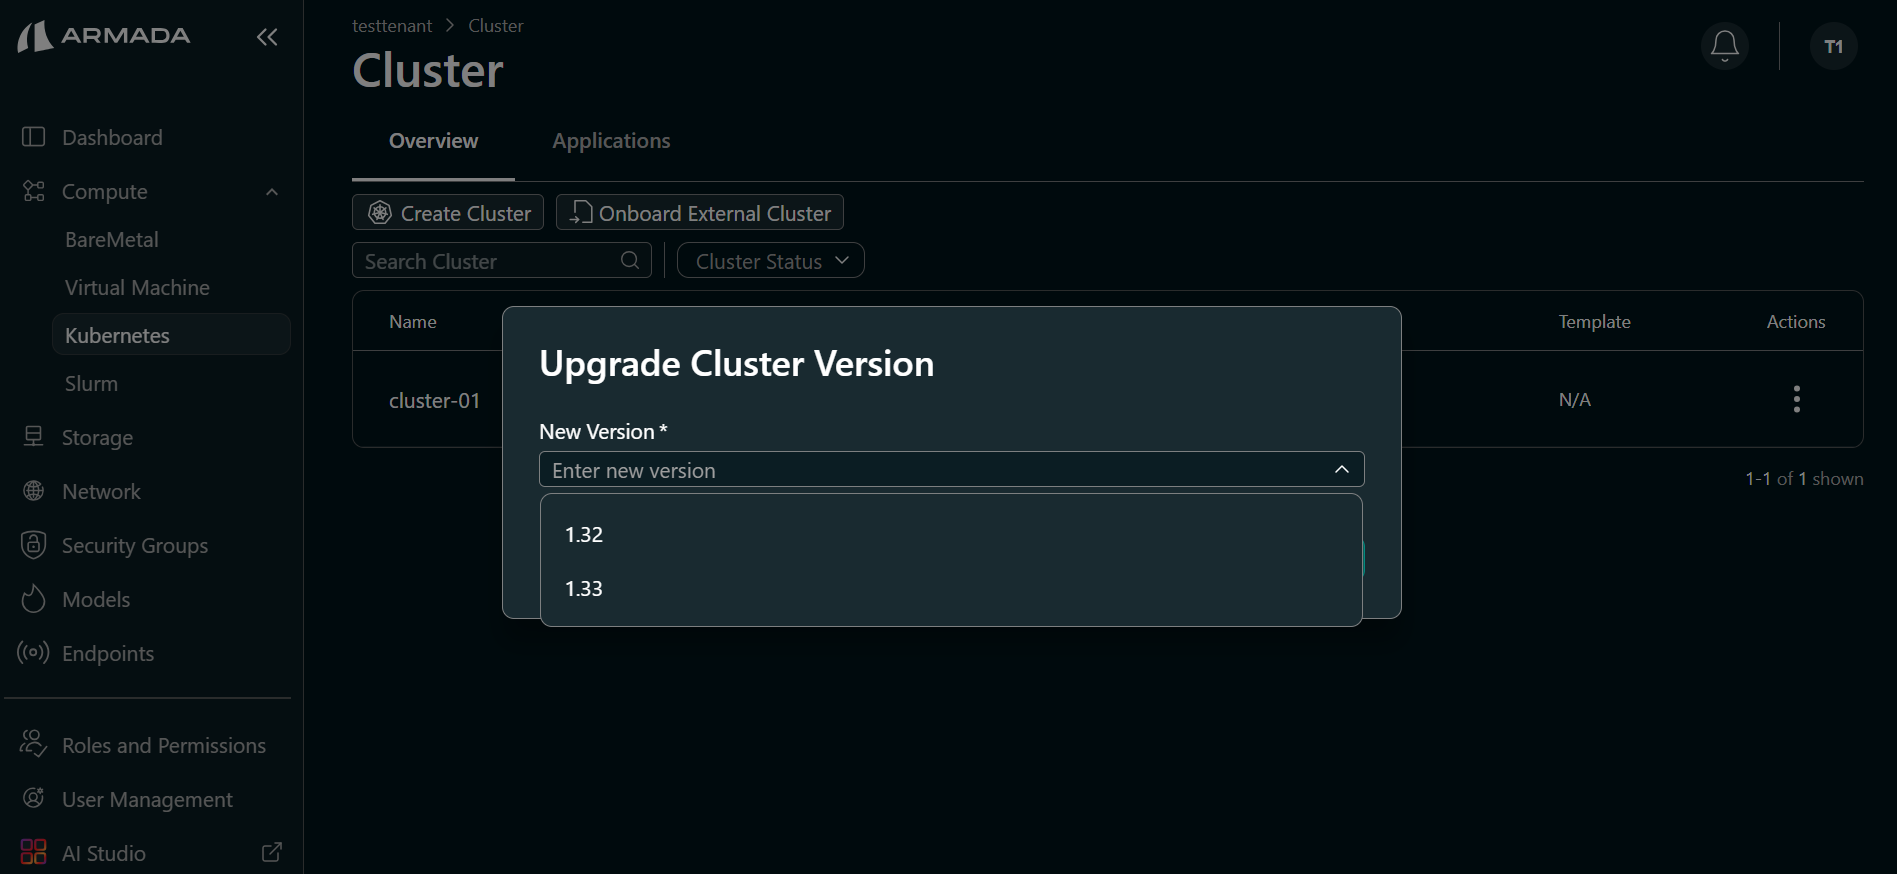
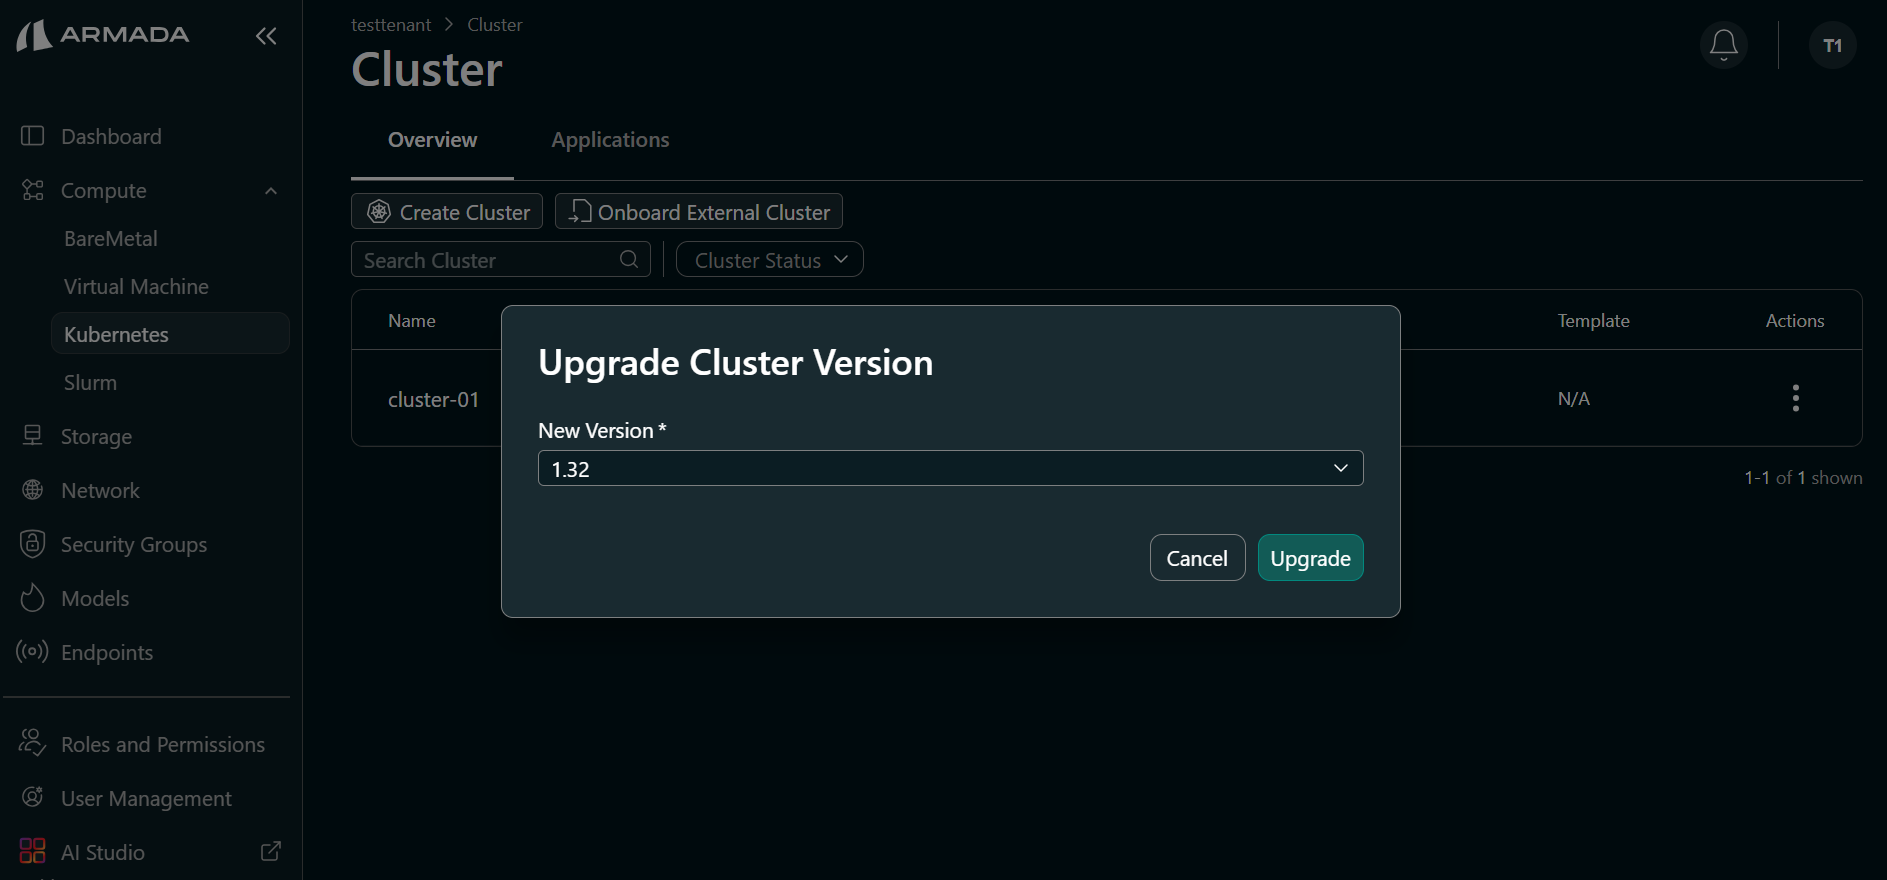
Step 2: Select Target Version and Start Upgrade
- In the New Version dropdown, select the target Kubernetes version.
- Click Upgrade to start the process.
info
Bridge supports Kubernetes versions 1.29, 1.30, 1.31, 1.32, and 1.33 for cluster creation. You can upgrade an existing cluster to any newer supported version within that range. For example, a cluster on 1.31 can be upgraded to 1.32 or 1.33.
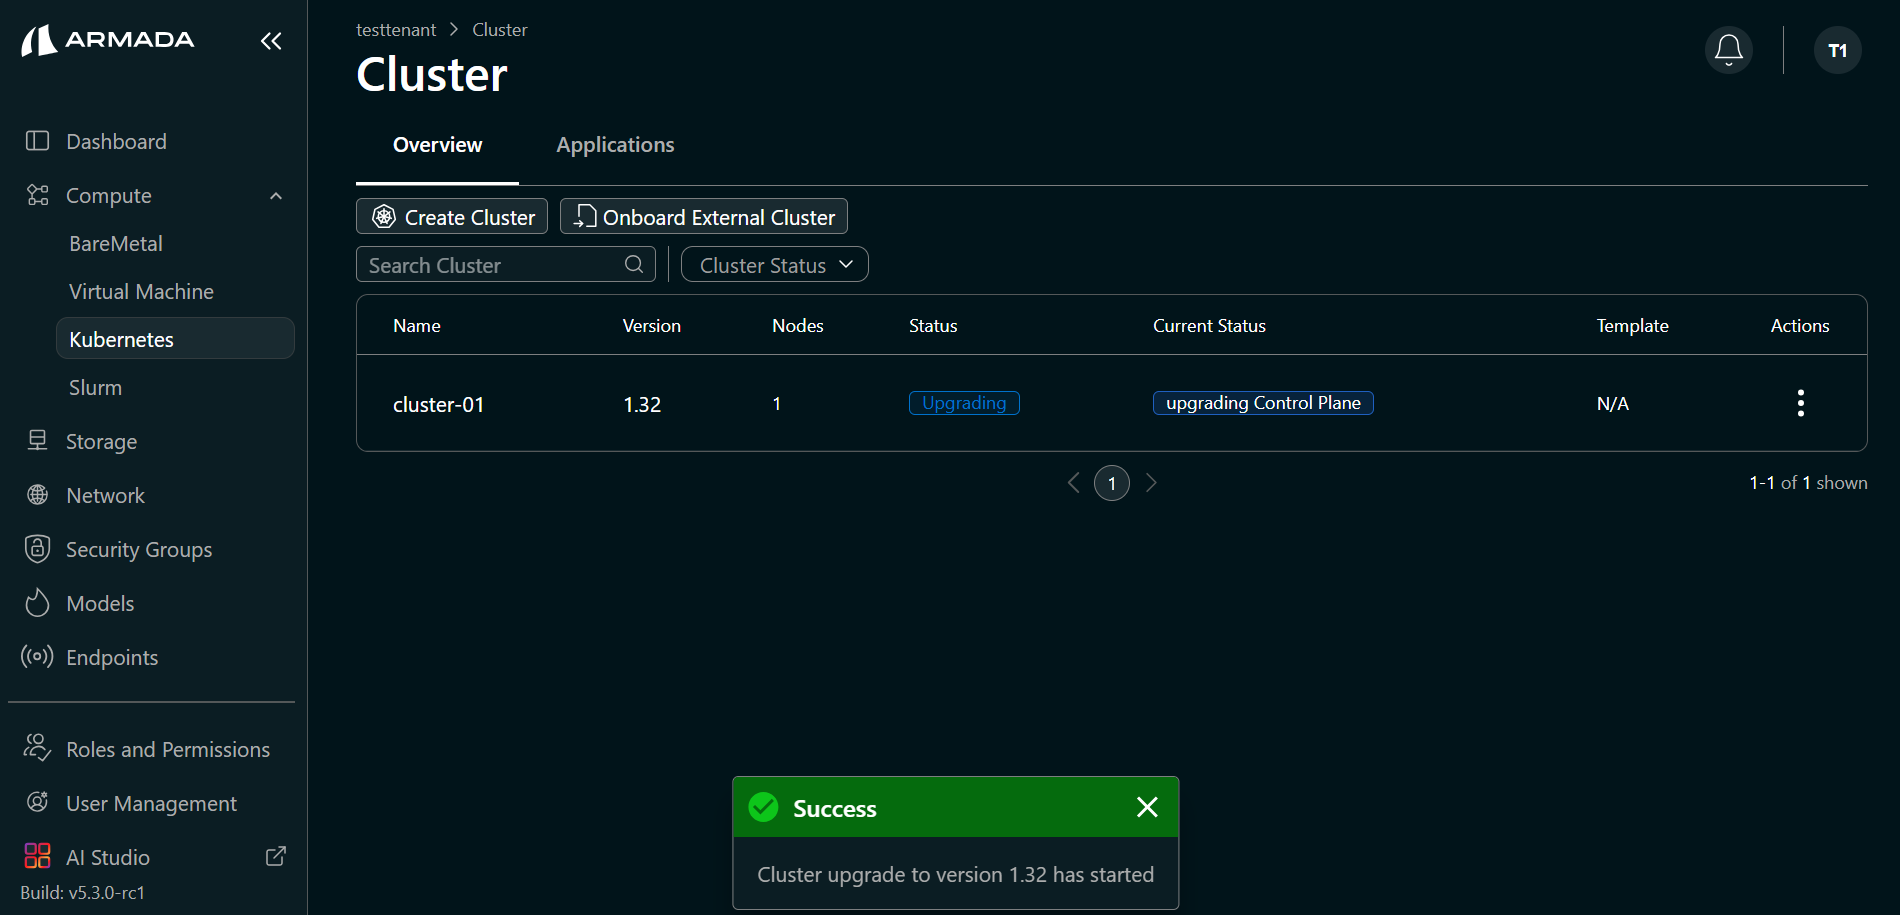
Step 3: Monitor Upgrade Progress
- After the process starts, status changes to Upgrading.
- Current status shows upgrade phase details (for example, Upgrading Control Plane).
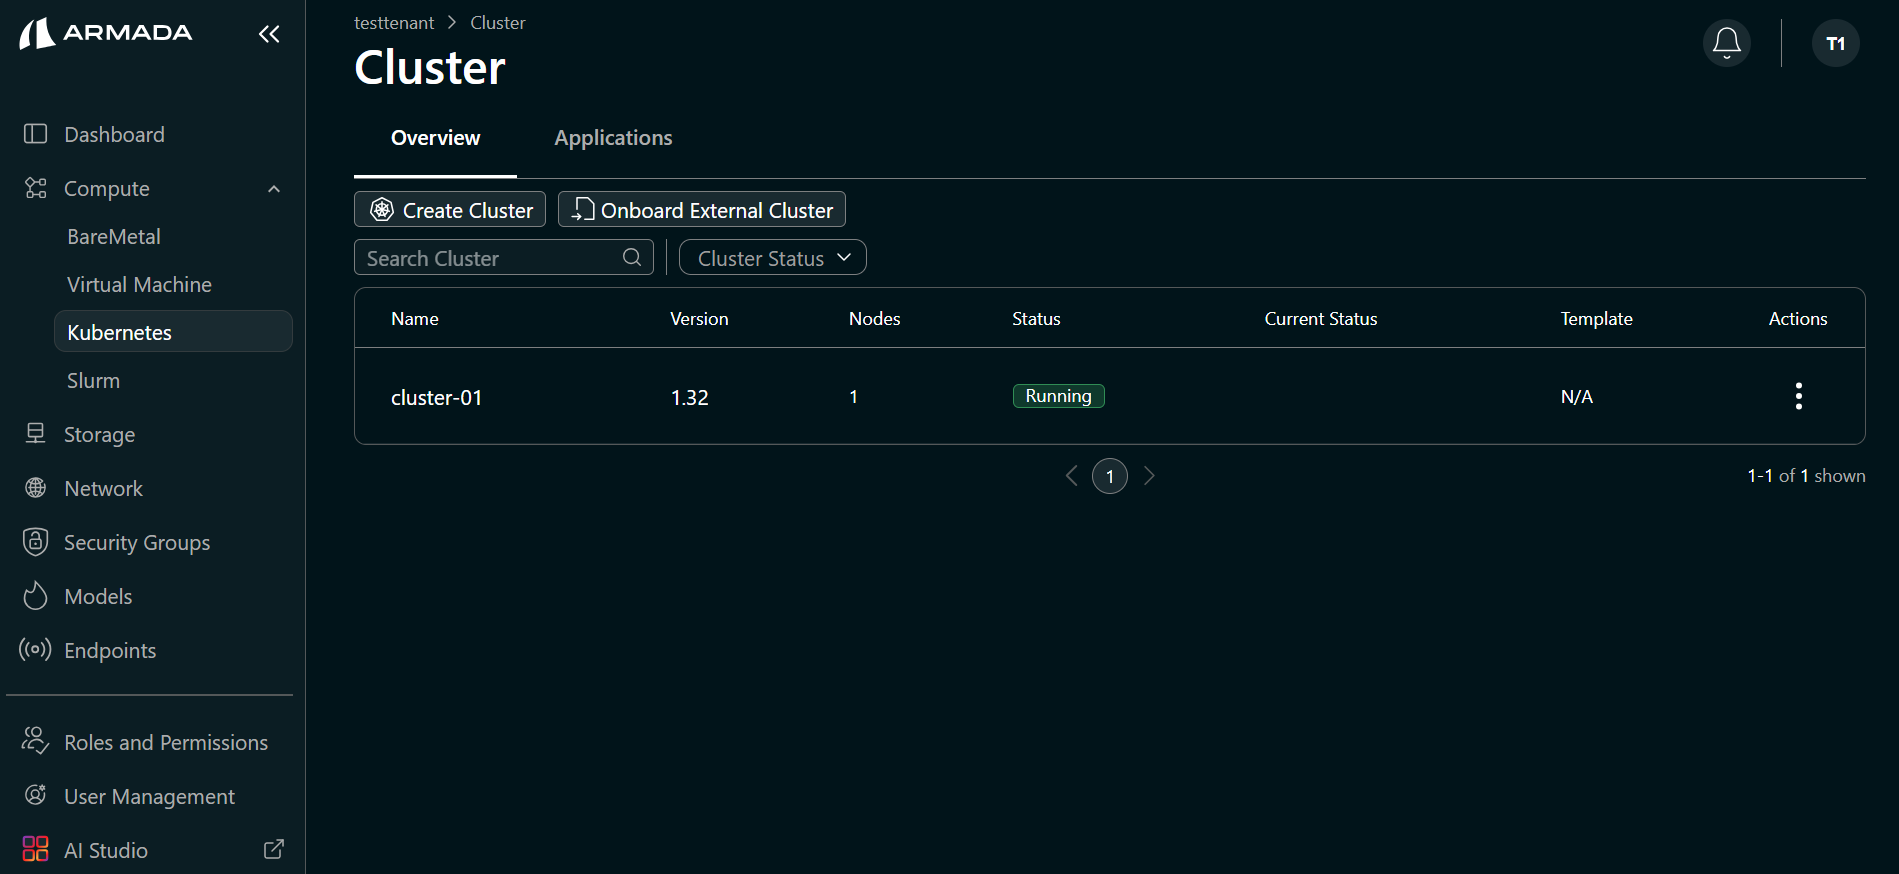
- Wait until the cluster status returns to Running.
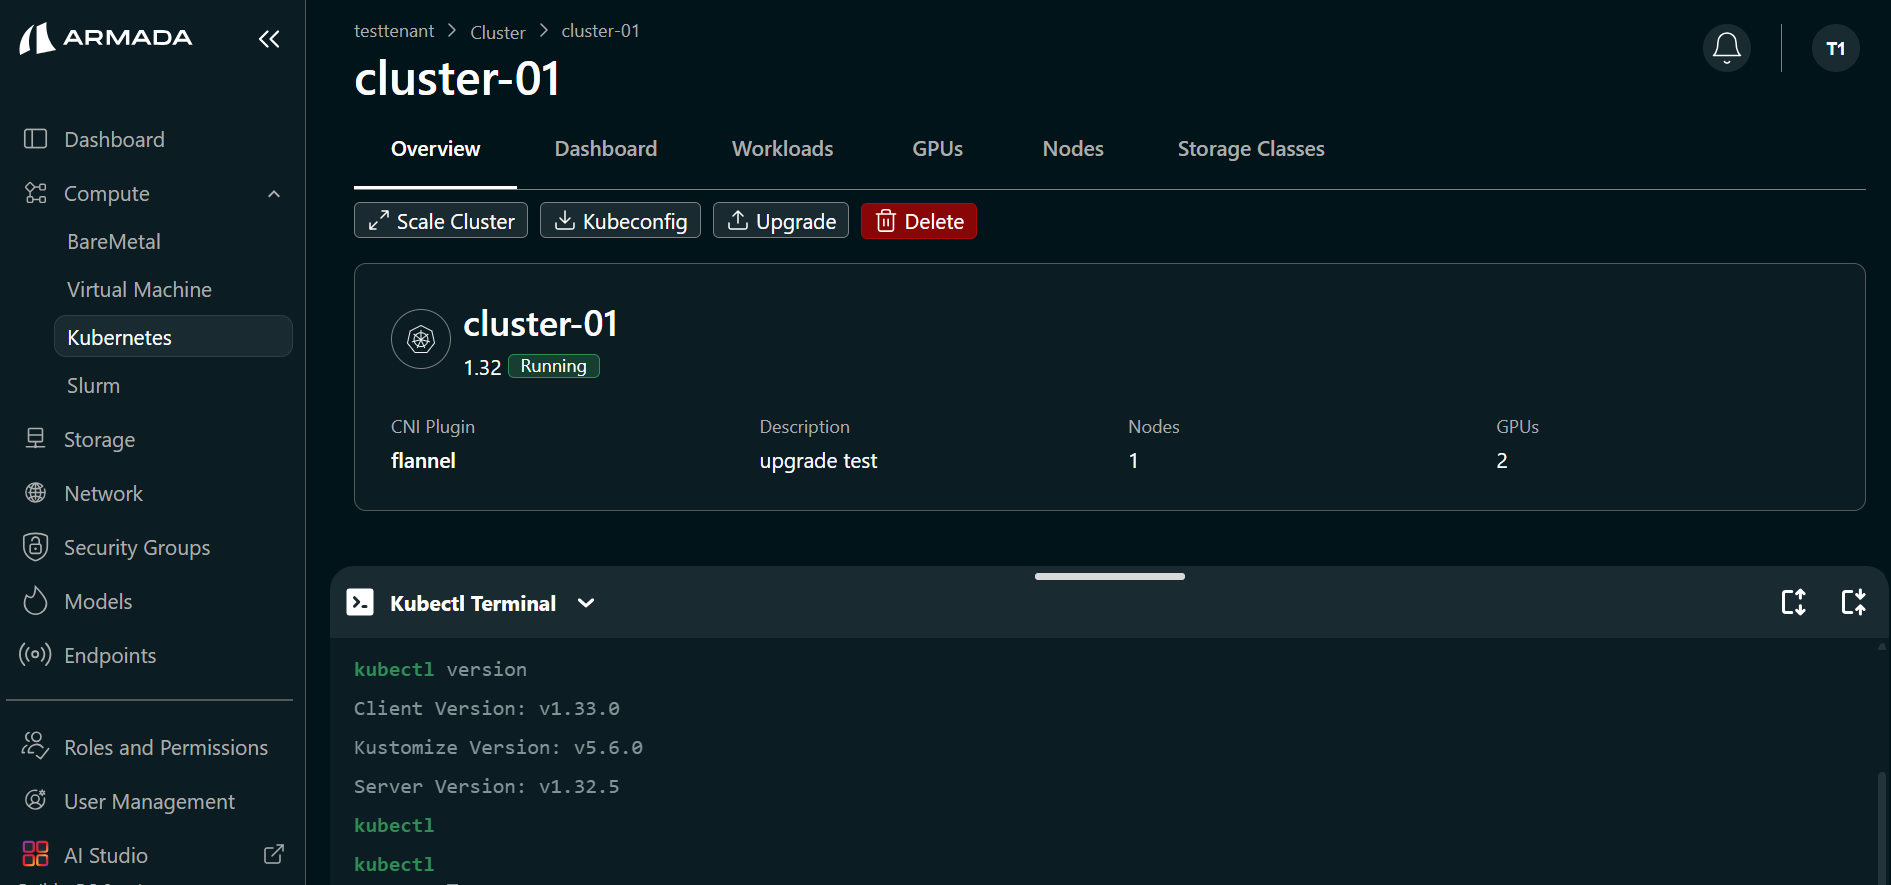
Step 4: Validate Cluster After Upgrade
- Open the cluster details (click cluster name or ellipsis menu → View).
- Open Kubectl Terminal.
- Verify the upgraded cluster version:
kubectl version
Test Applications
Verify applications work correctly:
- Run smoke tests
- Check application logs
- Verify connectivity
- Validate data integrity
Best Practices
Planning
- Upgrade during maintenance windows
- Perform upgrades during low-traffic periods
- Coordinate with application teams
- Document upgrade decisions
Testing
- Test in non-production first
- Verify all applications
- Check data consistency
- Monitor performance
Monitoring
- Watch upgrade progress closely
- Monitor resource usage
- Check application logs
- Verify network connectivity
Troubleshooting
Common Issues
- Node takes too long to upgrade
- Pods stuck in pending state
- Network connectivity issues
- Application compatibility problems
Support
If issues occur:
- Check cluster events:
kubectl describe events
- Review upgrade logs
- Contact support at support@armada.ai with details