Create Endpoints
Overview
Endpoints expose your services and models to external clients, providing HTTP/REST API access for inferencing and application integration.
Endpoint Types
| Type | Use case | Access method | Authentication |
|---|---|---|---|
| JupyterHub Endpoint | Remote access to JupyterHub notebooks; collaboration | Web browser | Tenant credentials |
| Model Endpoint | Required to deploy a model; API-based access once deployed | REST API | API keys or credentials |
Choose the endpoint type: JupyterHub endpoint for a JupyterHub cluster, or model endpoint when you need to deploy and access a model.
TLS configuration
When you create an endpoint, you choose the TLS configuration method
| Option | Description |
|---|---|
| CA SIGNED | Certificate signed by a trusted Certificate Authority (CA). Use when you have a CA-issued certificate. |
| SELF SIGNED | Certificate generated and signed by the system. Use for internal or test environments; browsers may show a security warning until the certificate is trusted. |
| UPLOADED | Your own certificate and key uploaded to Bridge. Use when you have a custom certificate (e.g., from an internal CA or another provider). |
Select the option that matches your environment and security requirements.
Prerequisites
- Tenant Admin access — You must log in as a Tenant Admin to create endpoints.
- Cluster (for JupyterHub endpoint) — A JupyterHub cluster must already exist so you can attach it to the endpoint.
- Cluster (for model endpoint) — A Ray-enabled Kubernetes cluster used for model serving must exist so you can attach it to the endpoint.
Create JupyterHub Endpoint
Use this flow to create an endpoint that exposes your JupyterHub server for remote browser access.
Step 1: Create New Endpoint
- Log in to Bridge as a Tenant Admin.
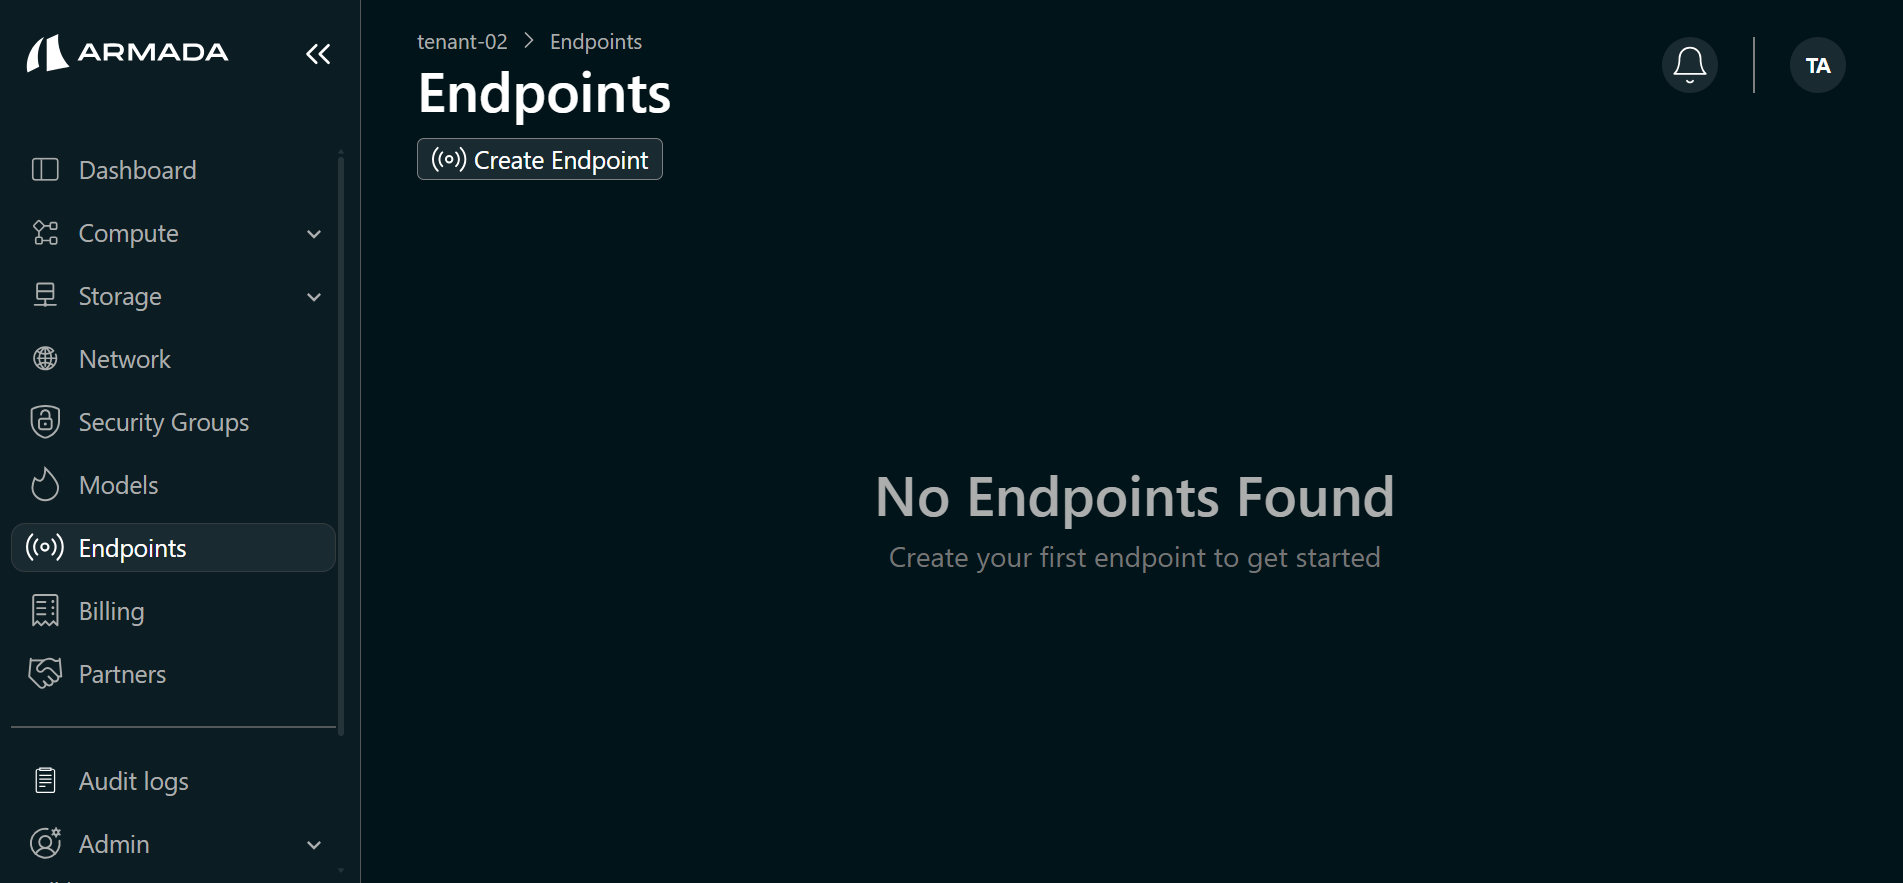
- In the left sidebar, click Endpoints.
- Click Create Endpoint.
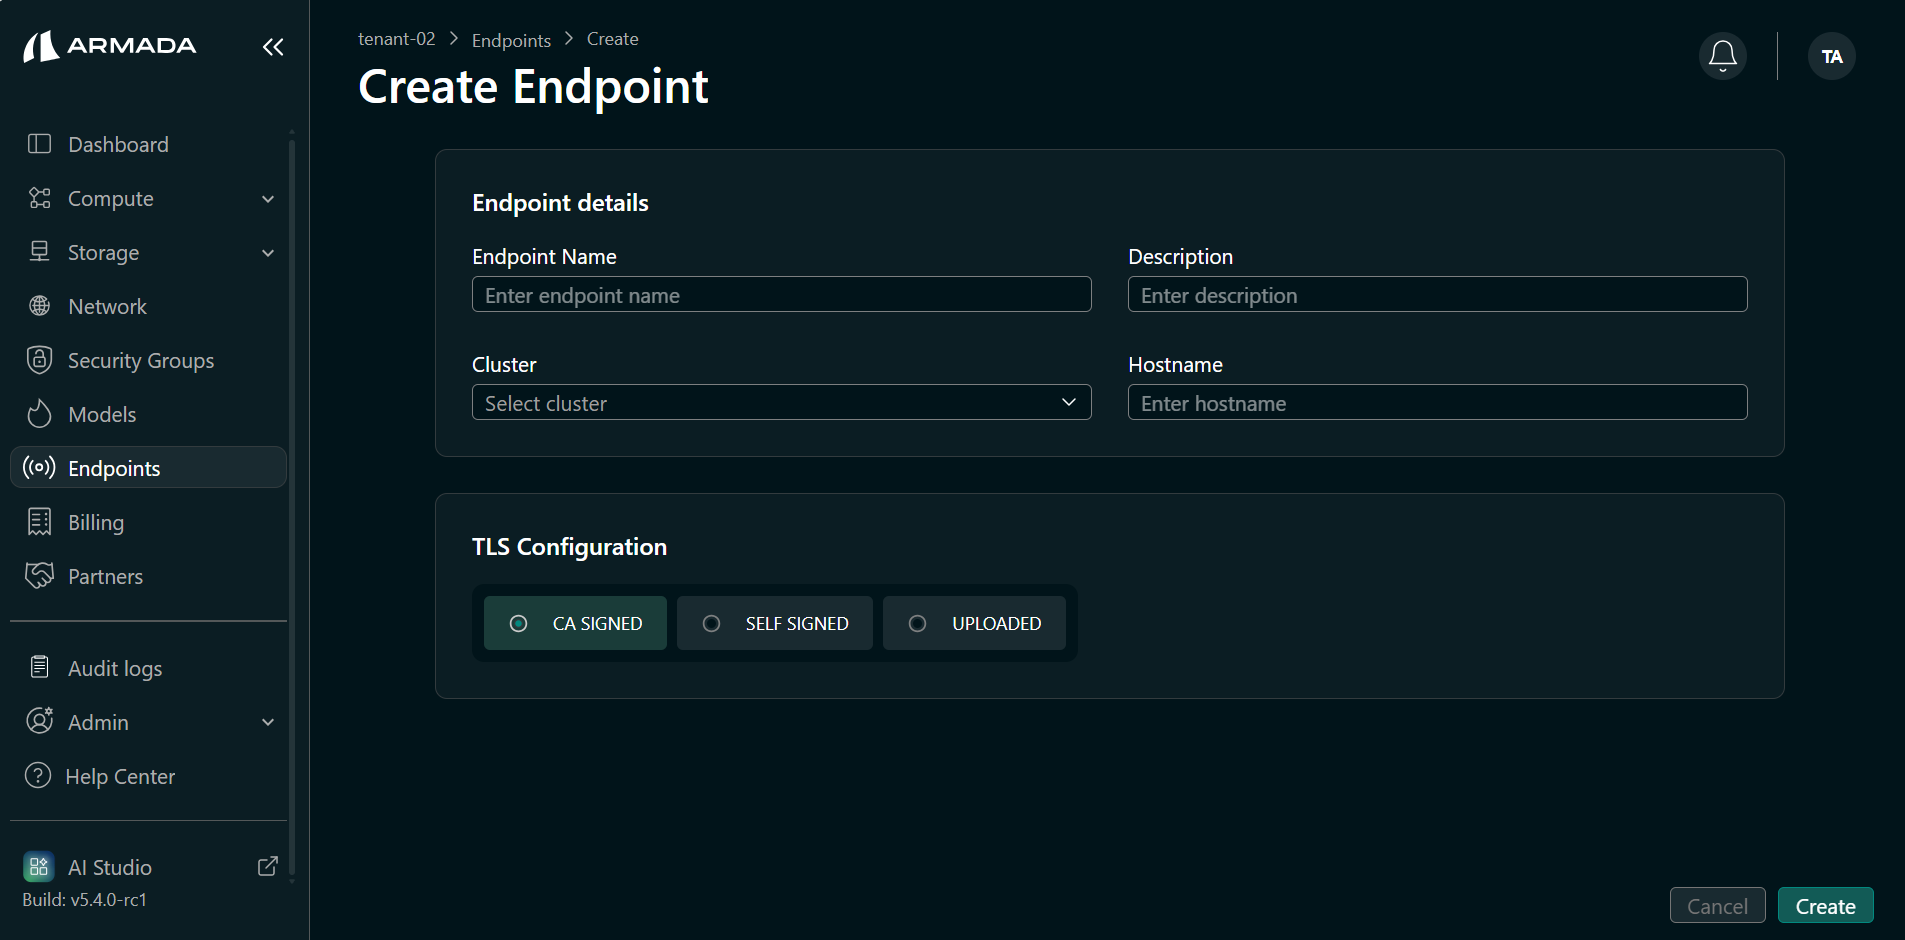
Step 2: Configure JupyterHub Endpoint
- Enter the Endpoint name (e.g.,
jupyter-endpoint-01) and Description. - Select the JupyterHub cluster you want to expose (the cluster must already exist).
- Select TLS configuration — CA SIGNED, SELF SIGNED, or UPLOADED (see TLS configuration above).
- Click Create.
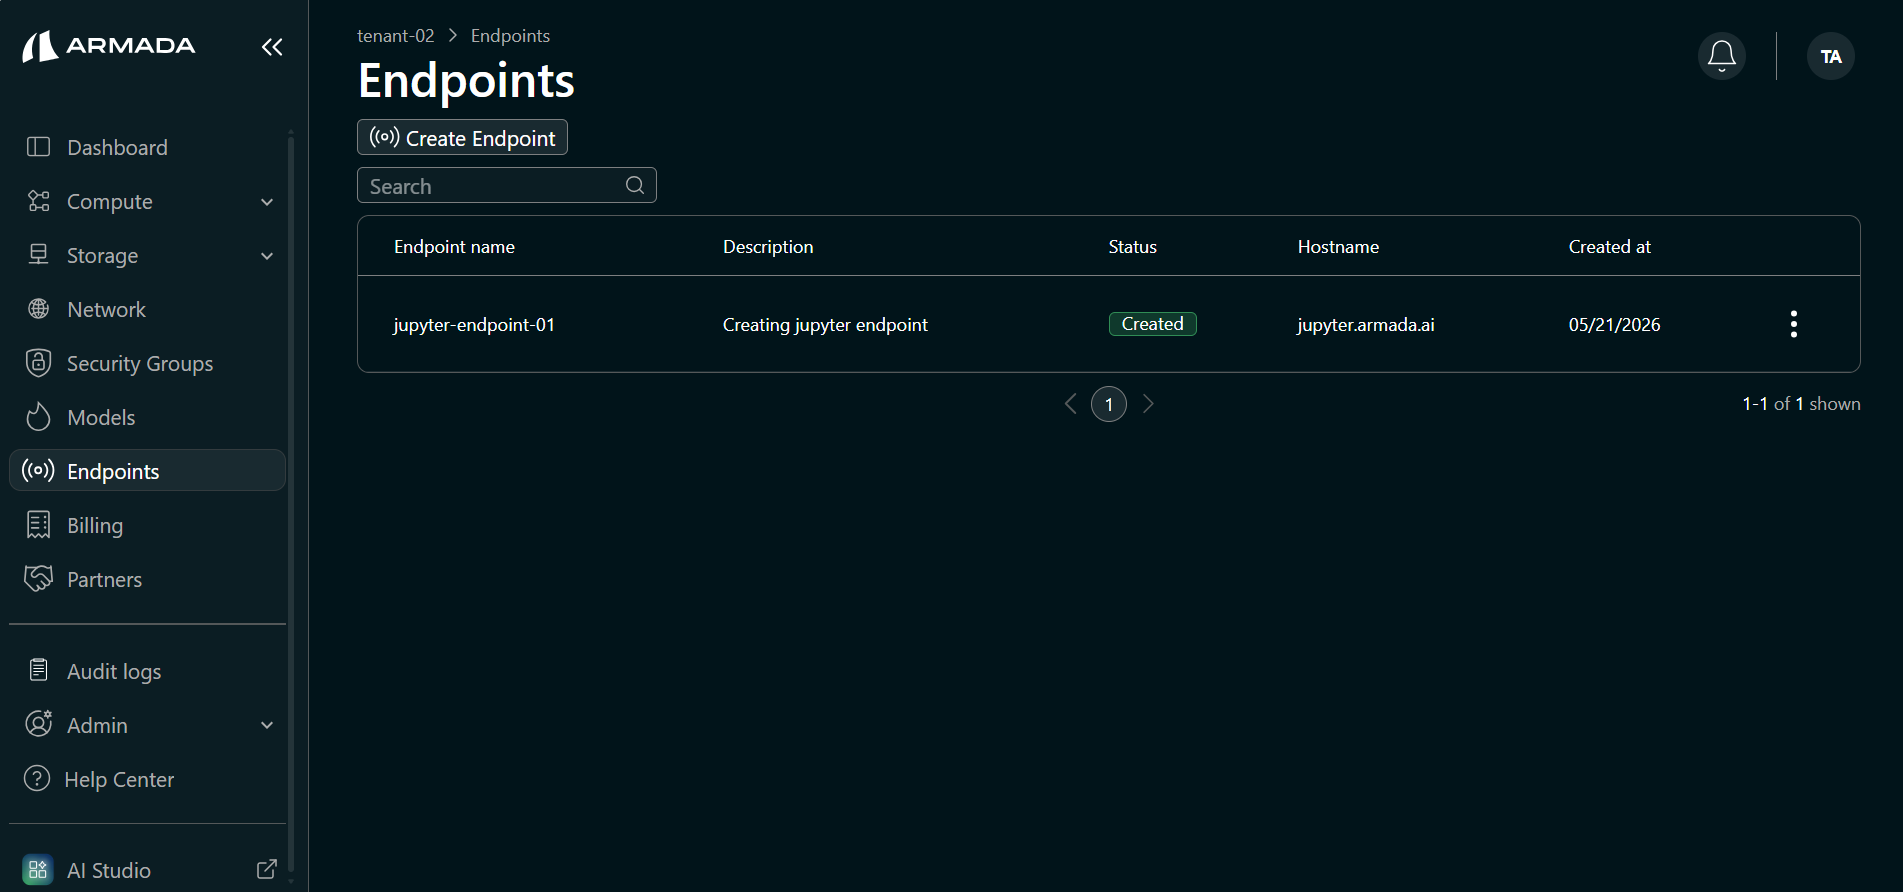
- The endpoint is created and appears in the endpoints list.
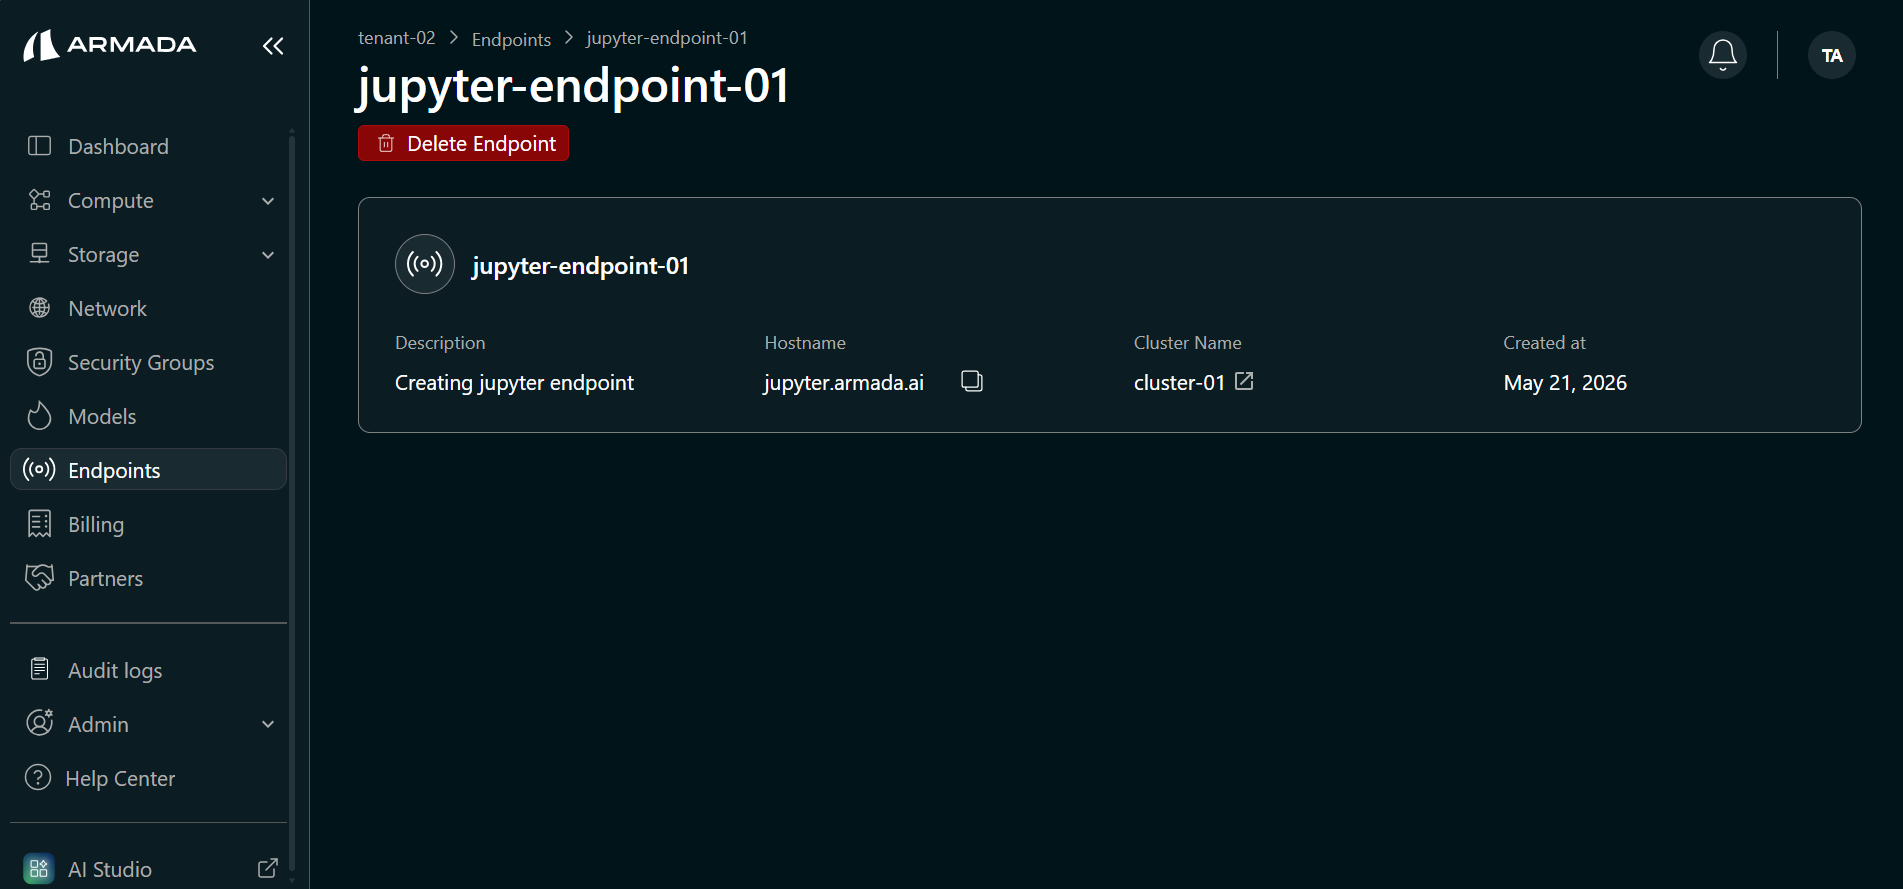
Step 3: View Endpoint Details
Click the created endpoint name to view its details, including endpoint name, hostname, the cluster attached to the endpoint, and created time.
Create Model Endpoint
Use this flow to create a model endpoint. You need this endpoint to deploy a model; create it before deploying a model (see Deploy Hugging Face Model, Deploy NIM Model, or Deploy Azure ML Model). After deployment, the model is accessed through this endpoint via the API.
Step 1: Create New Endpoint
- Log in to Bridge as a Tenant Admin.
- In the left sidebar, click Endpoints.
- Click Create Endpoint.
Step 2: Configure Model Endpoint
- Enter the Endpoint name (e.g.,
model-endpoint-01) and Description. - Enter the Hostname — the domain name used to access models deployed through this endpoint (e.g.,
models.example.com). - Select the cluster used for model serving (the cluster that will serve your deployed models).
- Select TLS configuration — CA SIGNED, SELF SIGNED, or UPLOADED (see TLS configuration above).
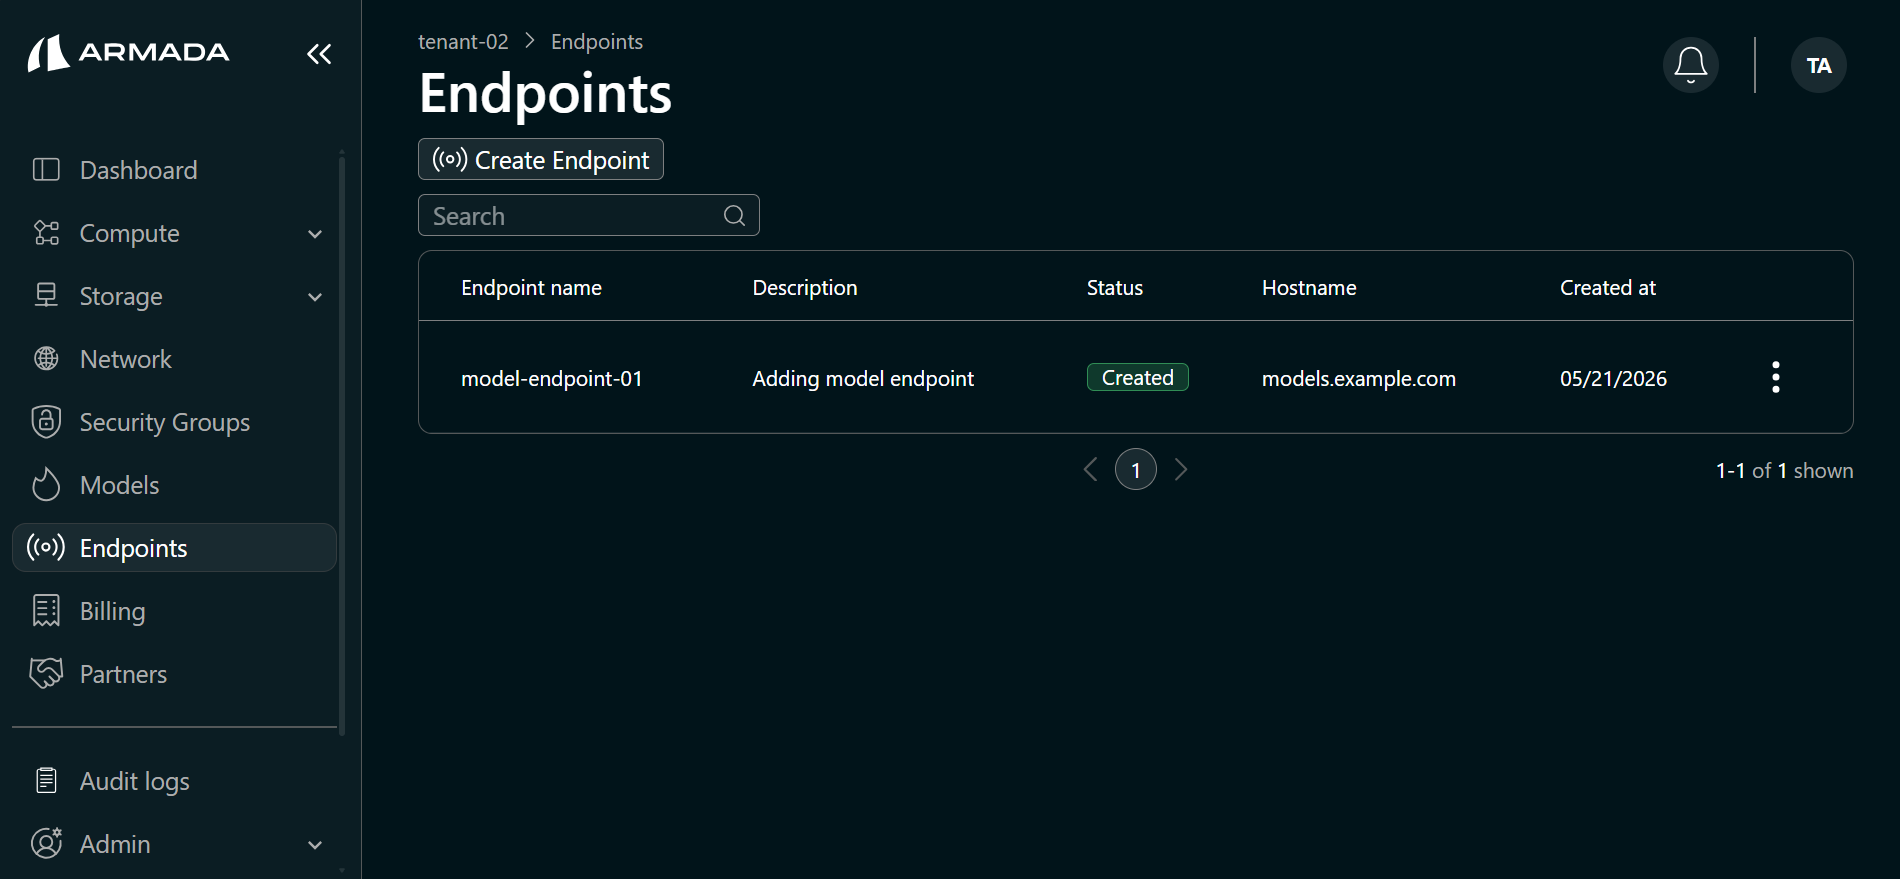
- Click Create.
- The endpoint is created and appears in the list.
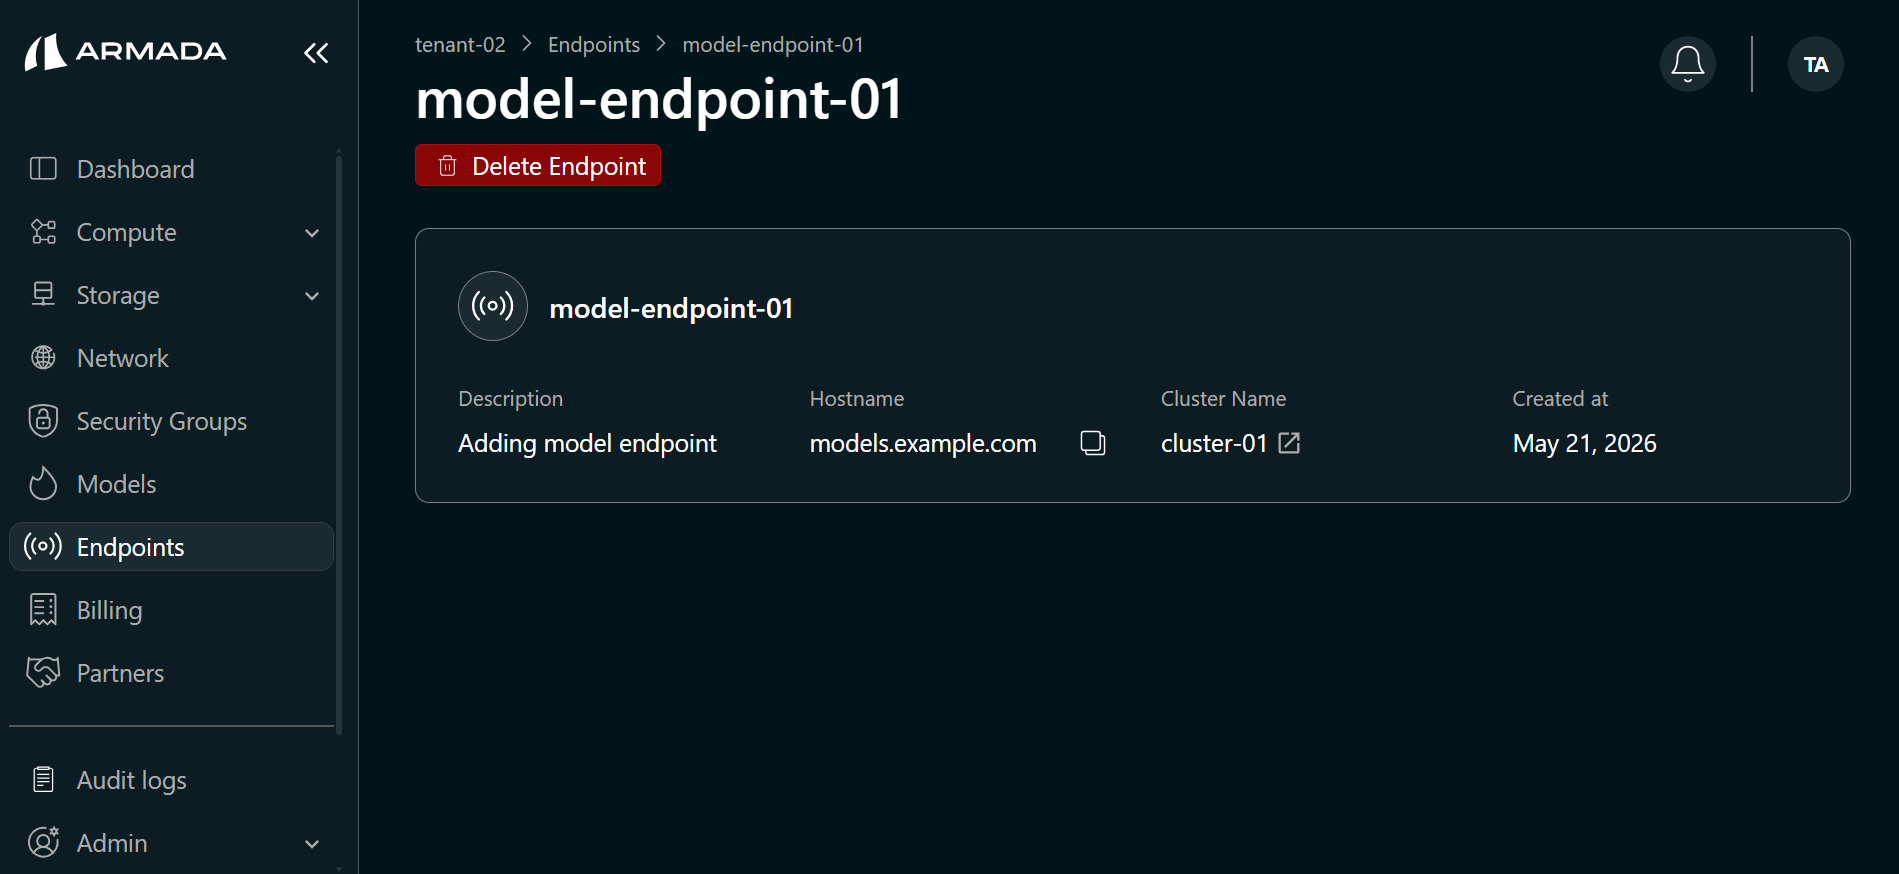
Step 3: View Endpoint Details
Click the created endpoint name to view its details, including endpoint name, hostname, the cluster attached to the endpoint, and created time.
To access models deployed through this endpoint from your local machine, you may need to add an entry to your /etc/hosts file.
This is required if the endpoint hostname is not resolvable via public or internal DNS.
Add an entry that maps the endpoint hostname to the public IP address of the GPU VM or Bare Metal node associated with the selected cluster. For example:
<GPU_VM_Public_IP> <endpoint_hostname>
Replace <GPU_VM_Public_IP> with the actual public IP and <endpoint_hostname> with the hostname you configured for the endpoint.
Using Endpoints
Access Jupyter Endpoint
- Open endpoint URL in browser
- Login with credentials
- Start using Jupyter
https://jupyter-endpoint.your-domain.com
Call LLM Endpoint
Make API requests to your LLM:
curl -X POST https://llm-endpoint.your-domain.com/v1/completions \
  -H "Authorization: Bearer <your-api-key>" \
  -H "Content-Type: application/json" \
  -d '{
    "model": "model-name",
    "prompt": "Your prompt here",
    "max_tokens": 100
  }'
Call Model Endpoint
Get predictions from deployed models:
curl -X POST https://model-endpoint.your-domain.com/predict \
  -H "Authorization: Bearer <your-api-key>" \
  -H "Content-Type: application/json" \
  -d '{
    "data": [1, 2, 3, 4, 5]
  }'
Security Best Practices
API Key Management
- Rotate keys regularly
- Use different keys for different services
- Store keys securely
- Don't commit keys to version control
Access Control
- Restrict endpoint access by IP
- Use authentication tokens
- Enable HTTPS/TLS
- Monitor access logs
Rate Limiting
- Set appropriate rate limits
- Monitor for abuse
- Adjust limits based on usage
- Alert on suspicious activity
Next Steps
- Deploy Hugging Face Model — Deploy open-source models from Hugging Face Hub.
- Deploy NIM Model — Deploy GPU-optimized NVIDIA NIM inference containers.
- Deploy Azure ML Model — Deploy models from your Azure ML model registry.
- Access Model Playground — Test deployed AI models interactively by sending prompts and inspecting responses in real time.