GPU & MIG Configuration
Overview
NVIDIA Multi-Instance GPU (MIG) lets you partition a single physical GPU (for example, NVIDIA A100/H100) into multiple isolated GPU instances. Each instance has dedicated compute, memory, and bandwidth.
In Bridge, you can configure and manage MIG profiles directly from the UI, without manual CLI setup.
MIG configuration helps you:
- Increase GPU utilization by running multiple workloads on one GPU
- Isolate workloads for predictable performance
- Allocate GPU resources based on workload needs
MIG Purpose and Benefits
Why Use MIG?
- Resource Sharing - Share single GPUs across multiple applications
- Improved Utilization - Maximize GPU efficiency
- Cost Optimization - Better resource allocation
- Isolation - Independent workloads don't interfere
- Flexibility - Configure instances based on workload needs
MIG Profiles
Available MIG profiles include:
- 1g.10gb - 1 compute slice + 10 GB memory
- 1g.10gb+me - 1 compute slice + 10 GB memory (media extension variant)
- 1g.20gb - 1 compute slice + 20 GB memory
- 2g.20gb - 2 compute slices + 20 GB memory
- 3g.40gb - 3 compute slices + 40 GB memory
- 4g.40gb - 4 compute slices + 40 GB memory
- 7g.80gb - Full GPU profile (80 GB)
note
Available MIG profiles depend on the GPU model in the selected node (for example, H100 80GB).
Prerequisites
- Tenant Admin access
- A running Kubernetes cluster (for example, JupyterHub with KAI scheduler template) with supported NVIDIA GPUs
Enable MIG Configuration
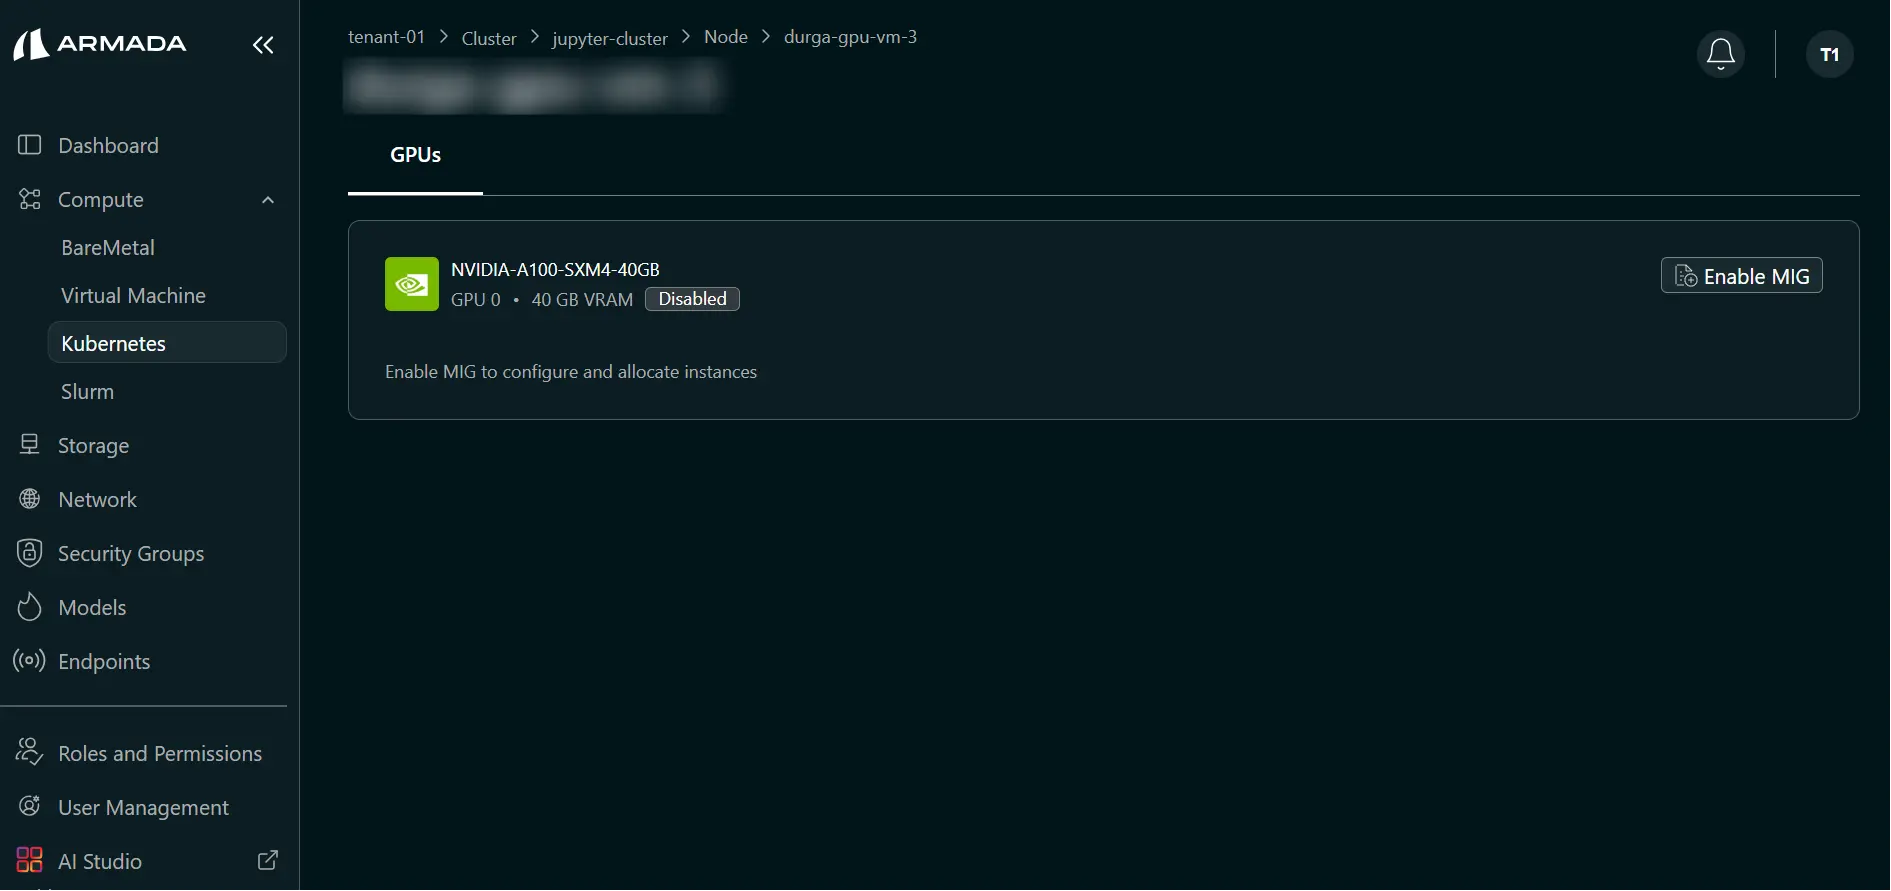
Step 1: Open MIG Settings for a Node
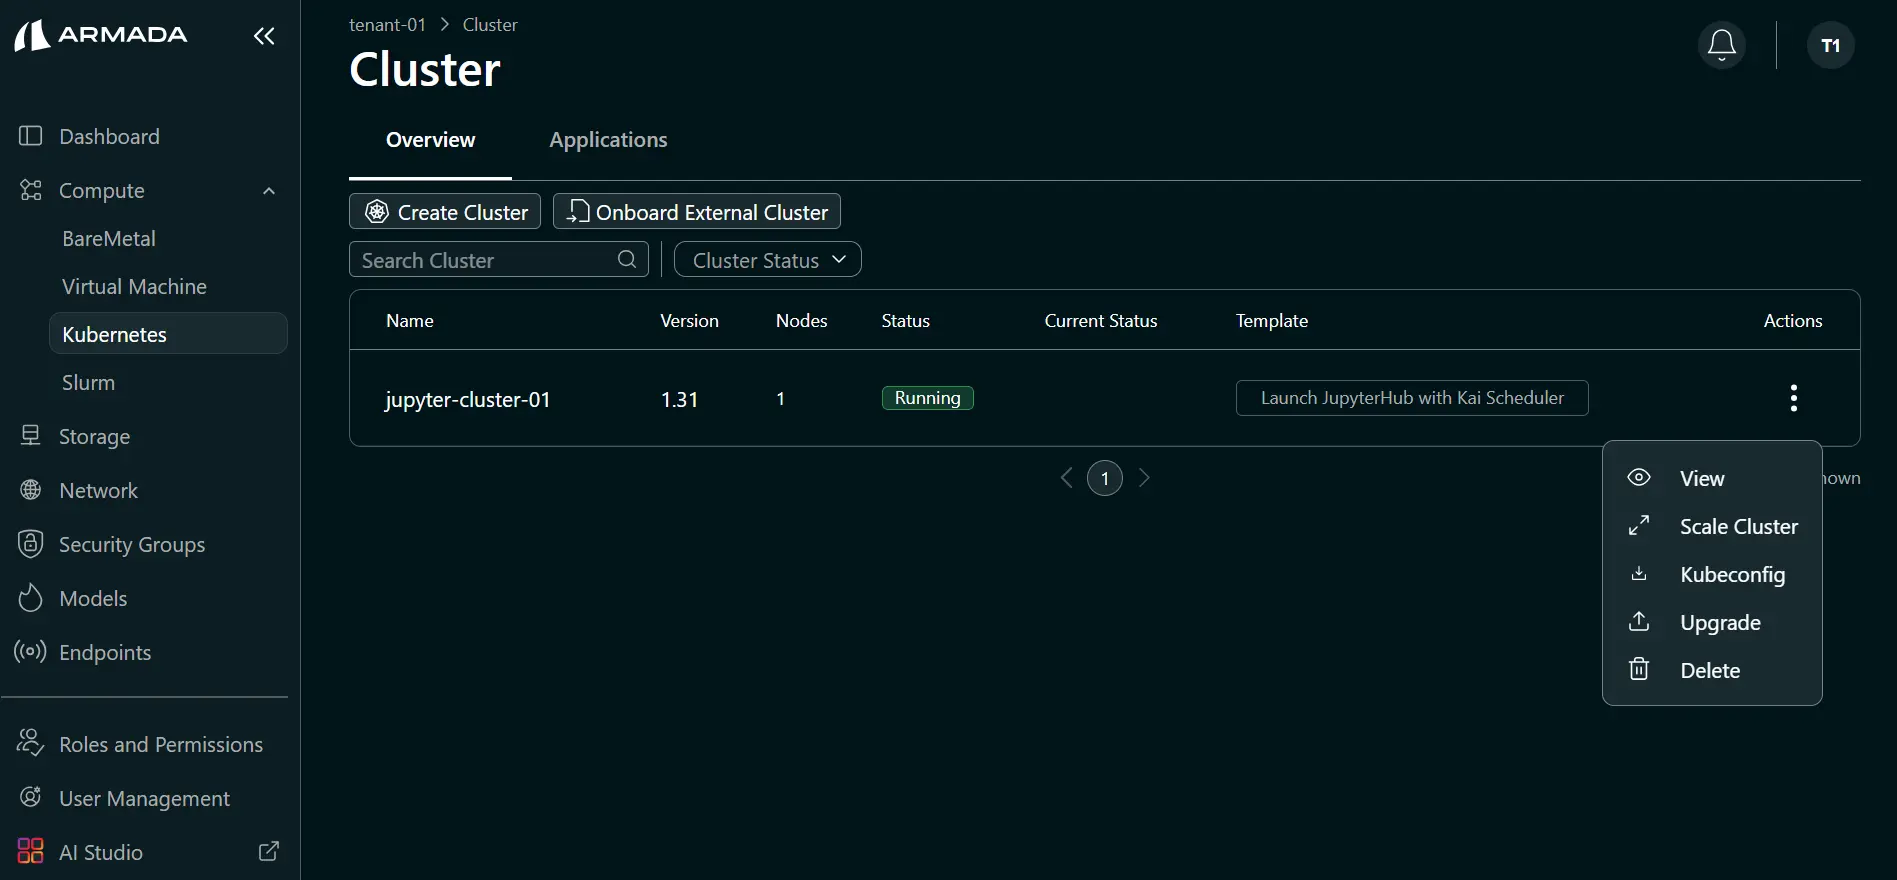
- Open the cluster details (click cluster name or ellipsis menu → View).
- Go to the Nodes tab.
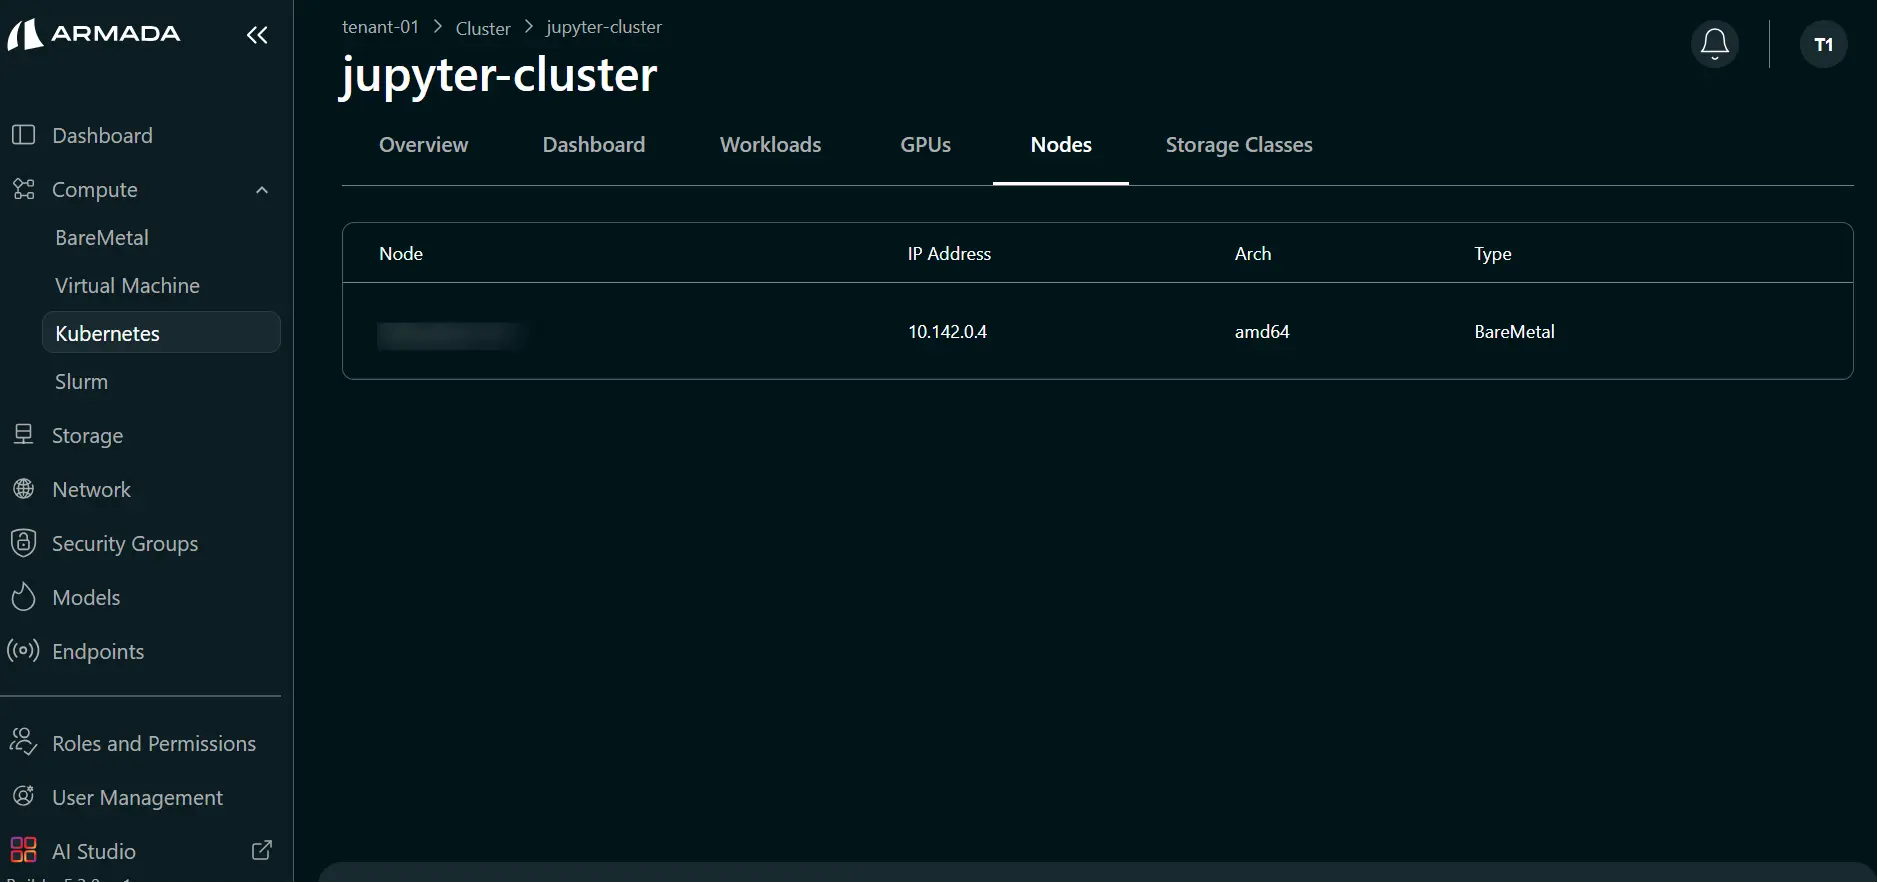
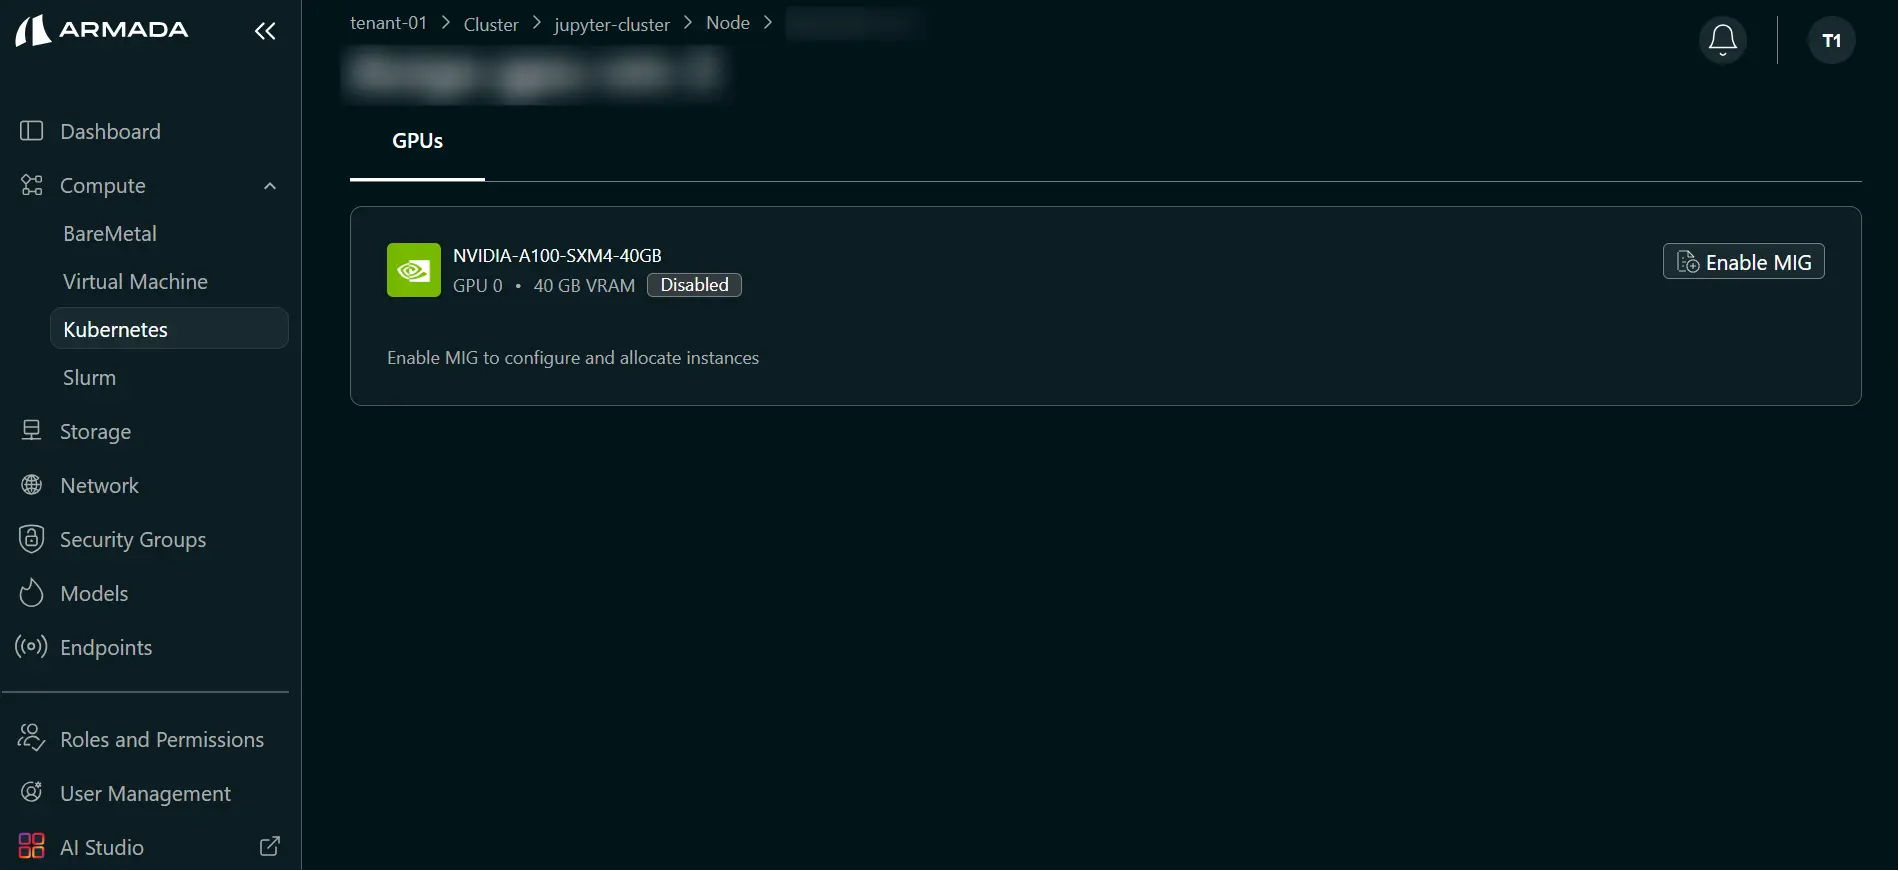
- Click the required node and select Enable MIG to open available MIG profiles.
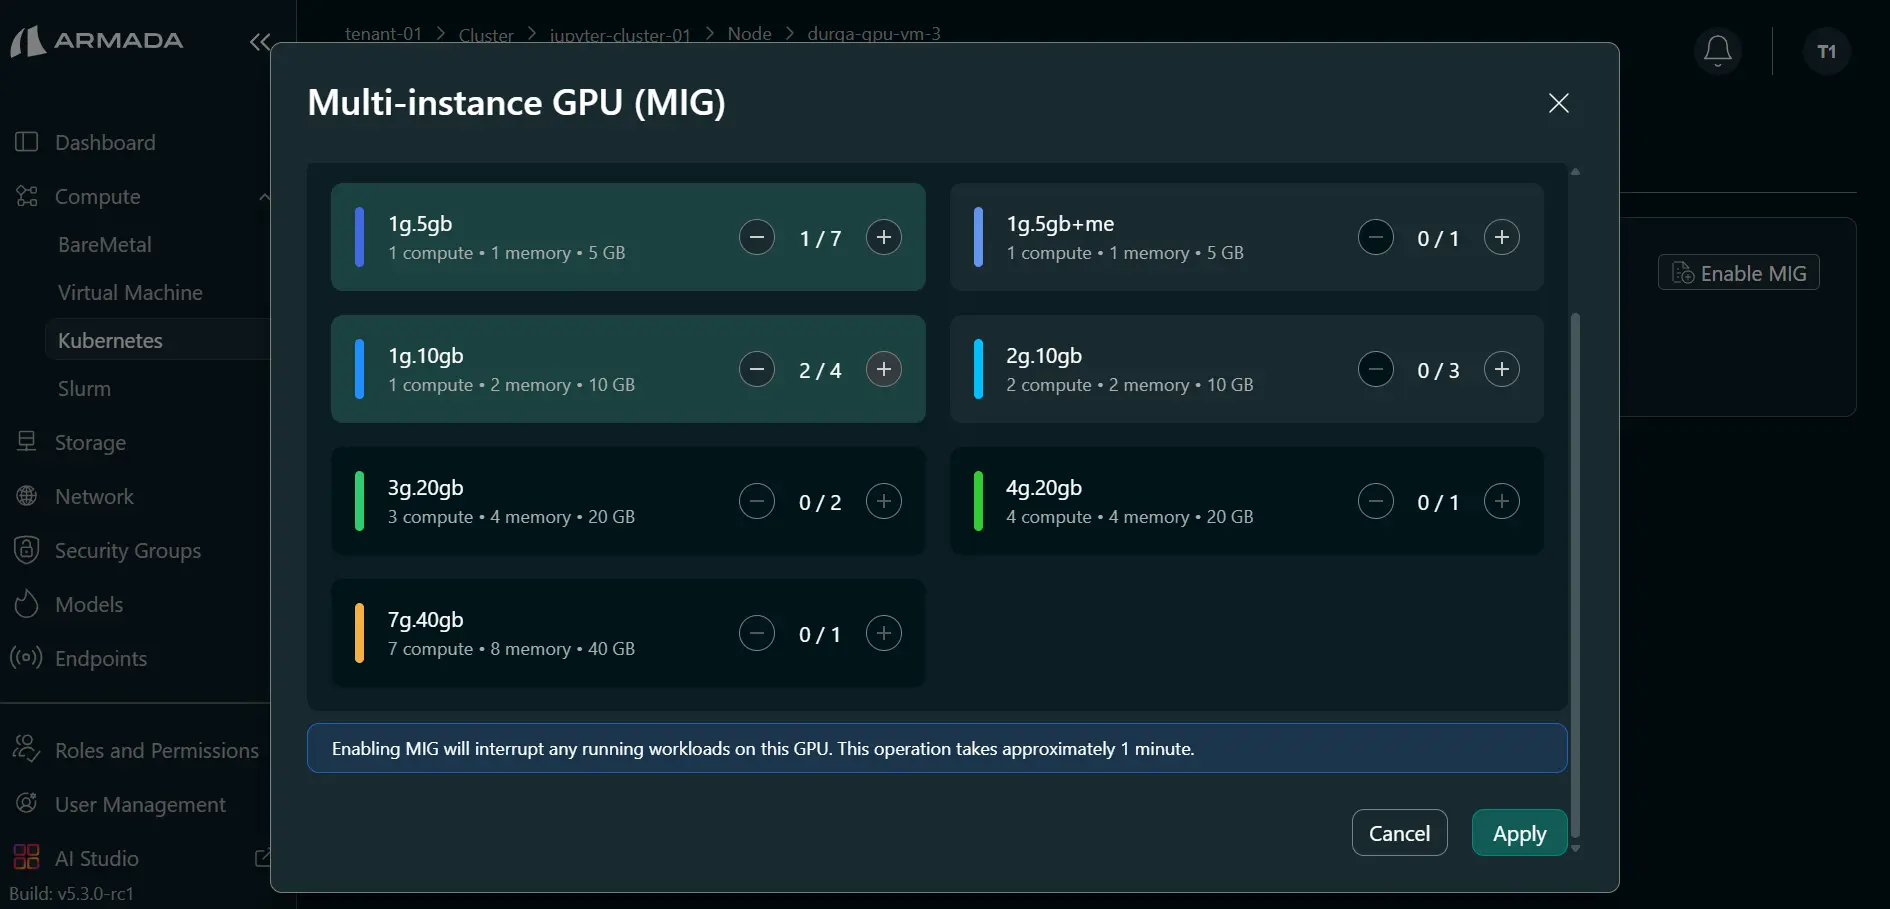
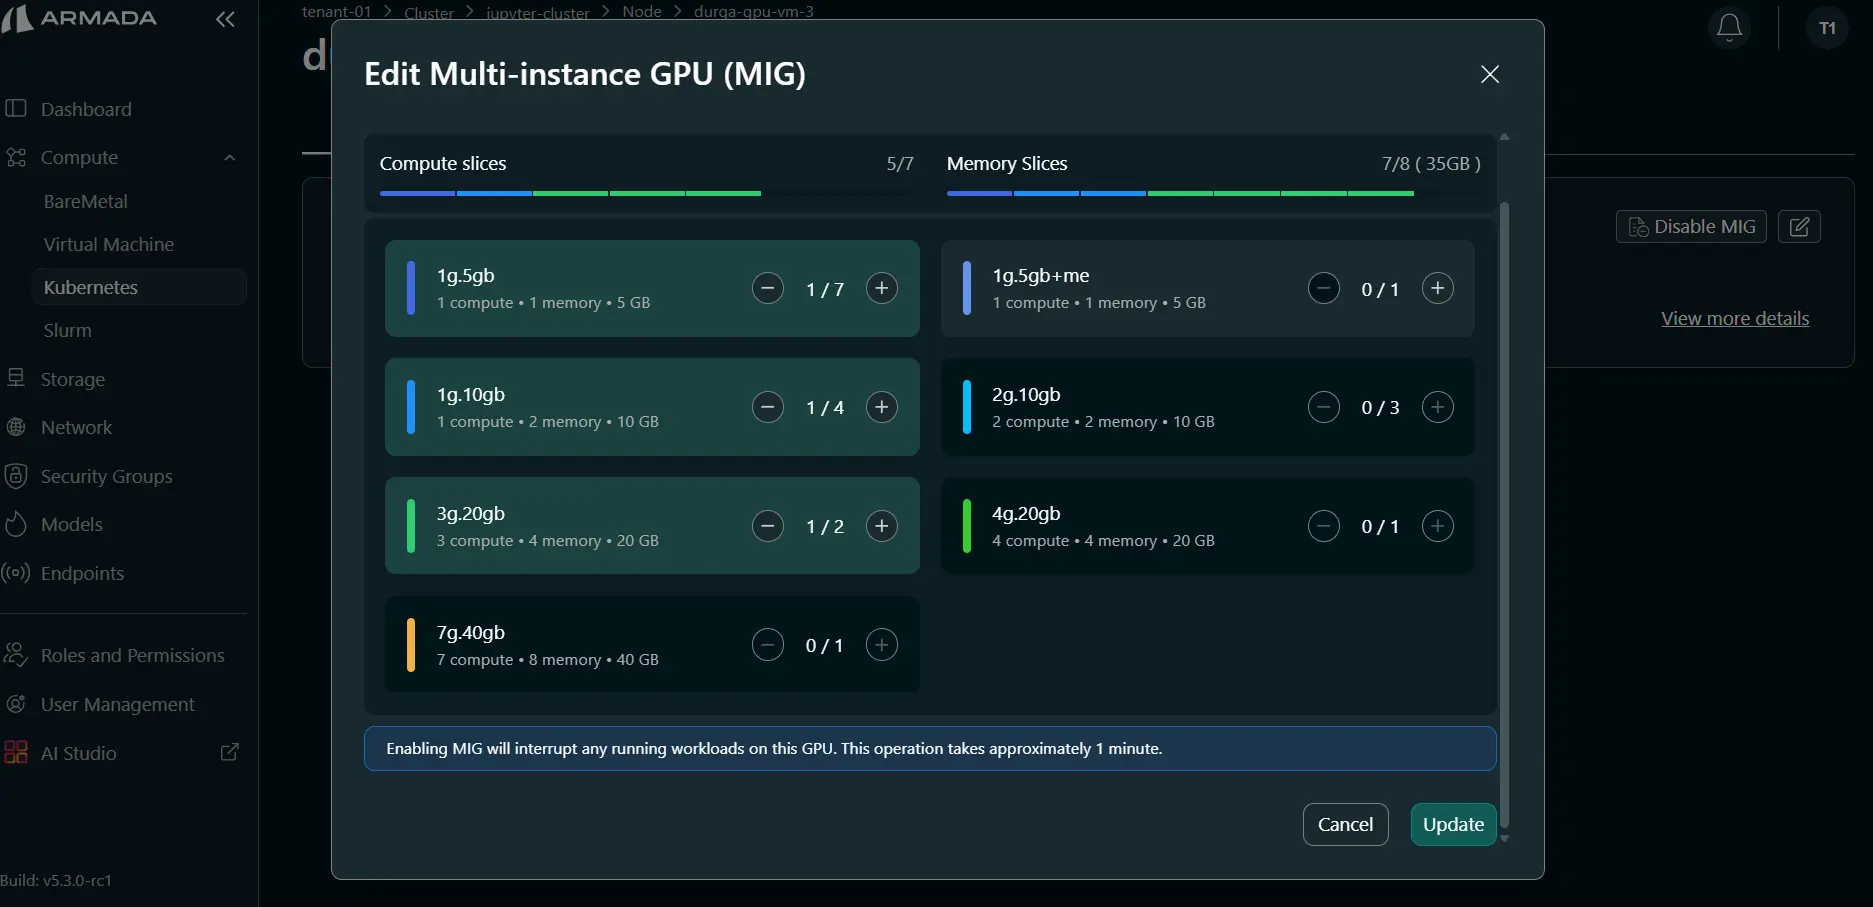
Step 2: Select MIG Profiles and Apply
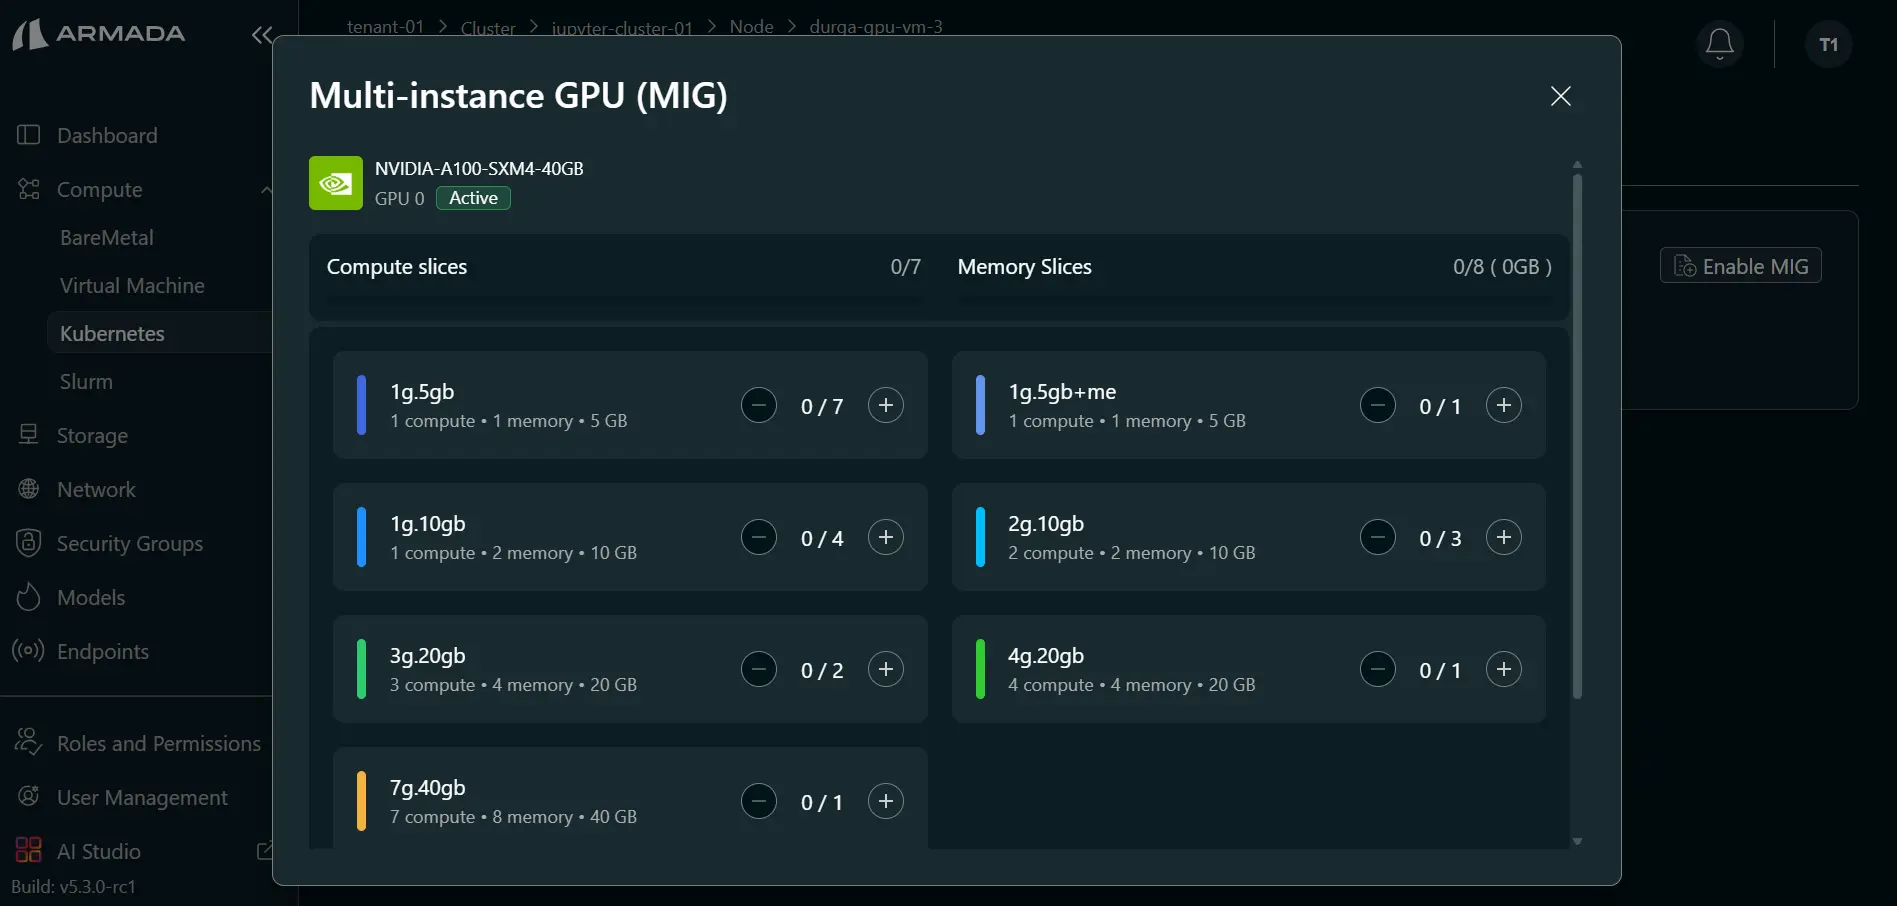
- Select required MIG profile(s) using the plus (+) icon.
- Choose profiles based on workload requirements (for example, Jupyter server needs).
- Click Apply.
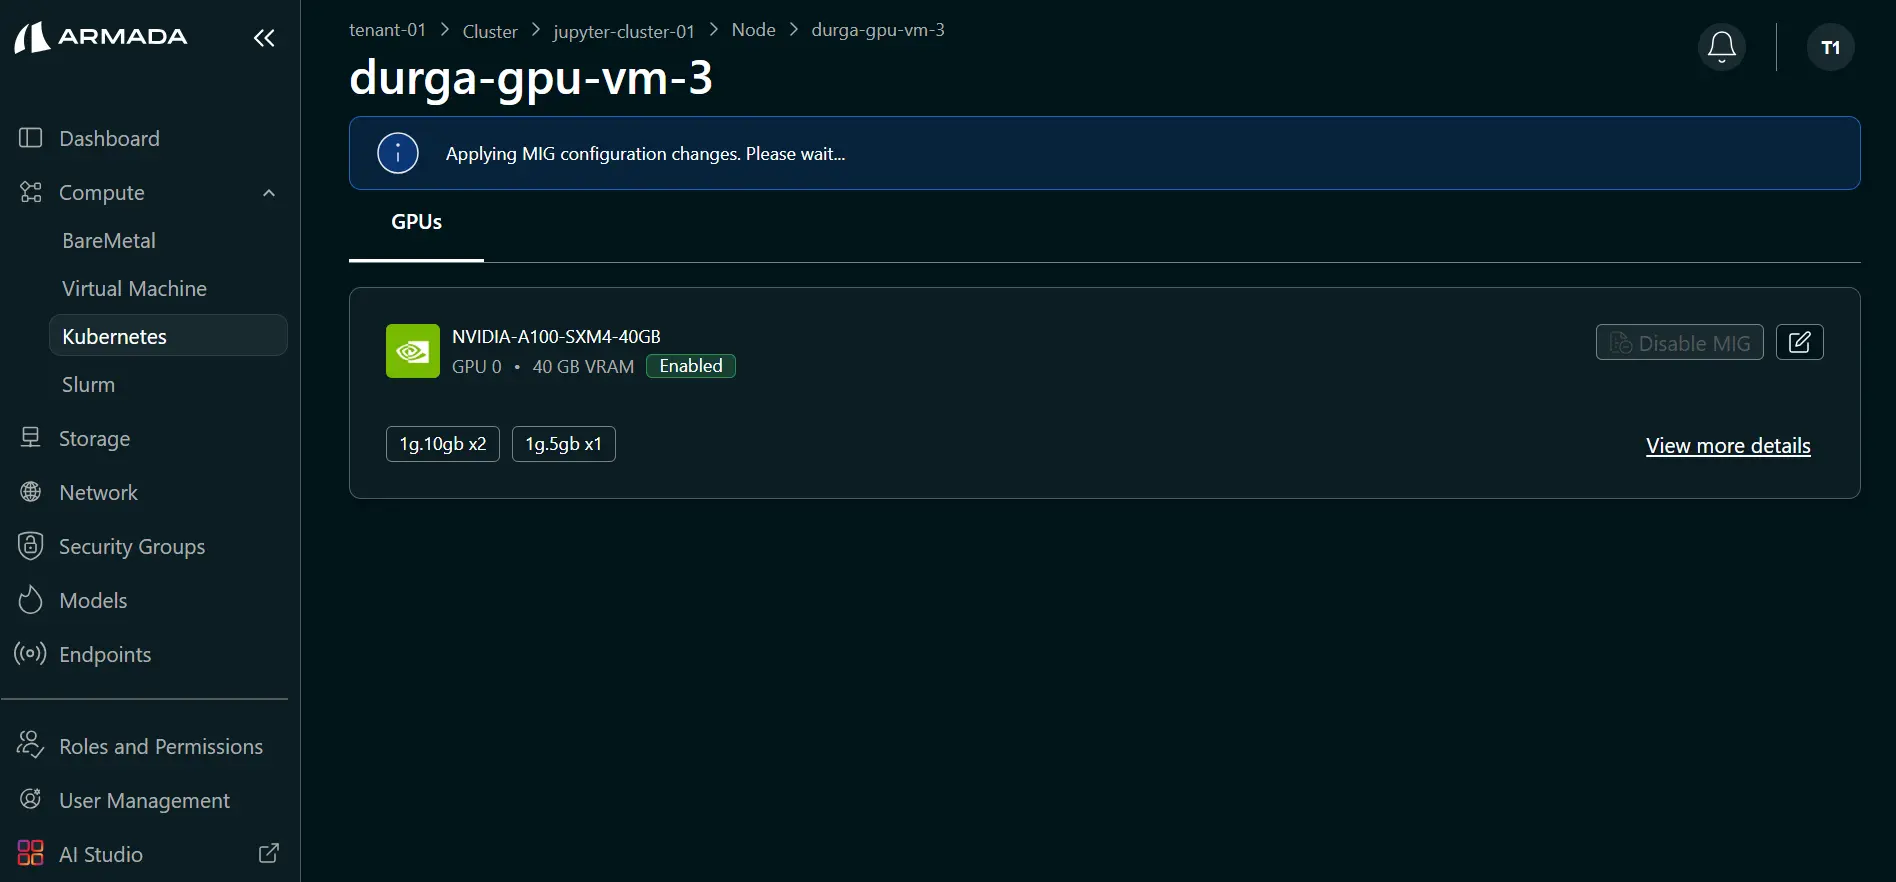
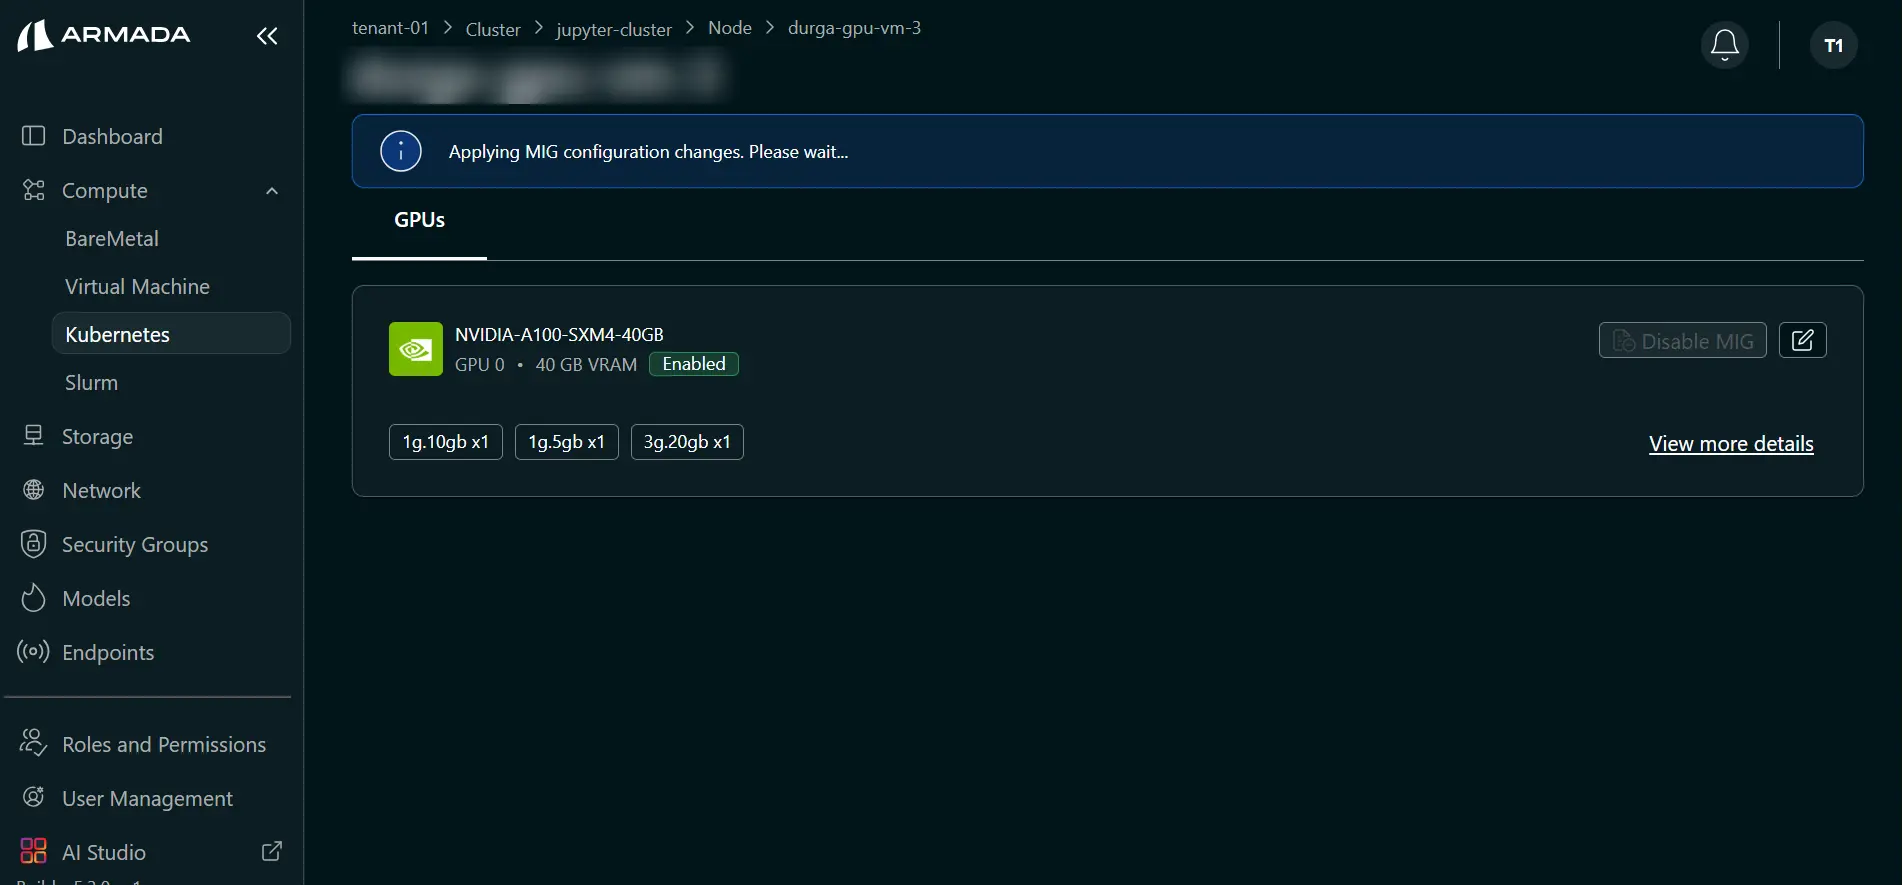
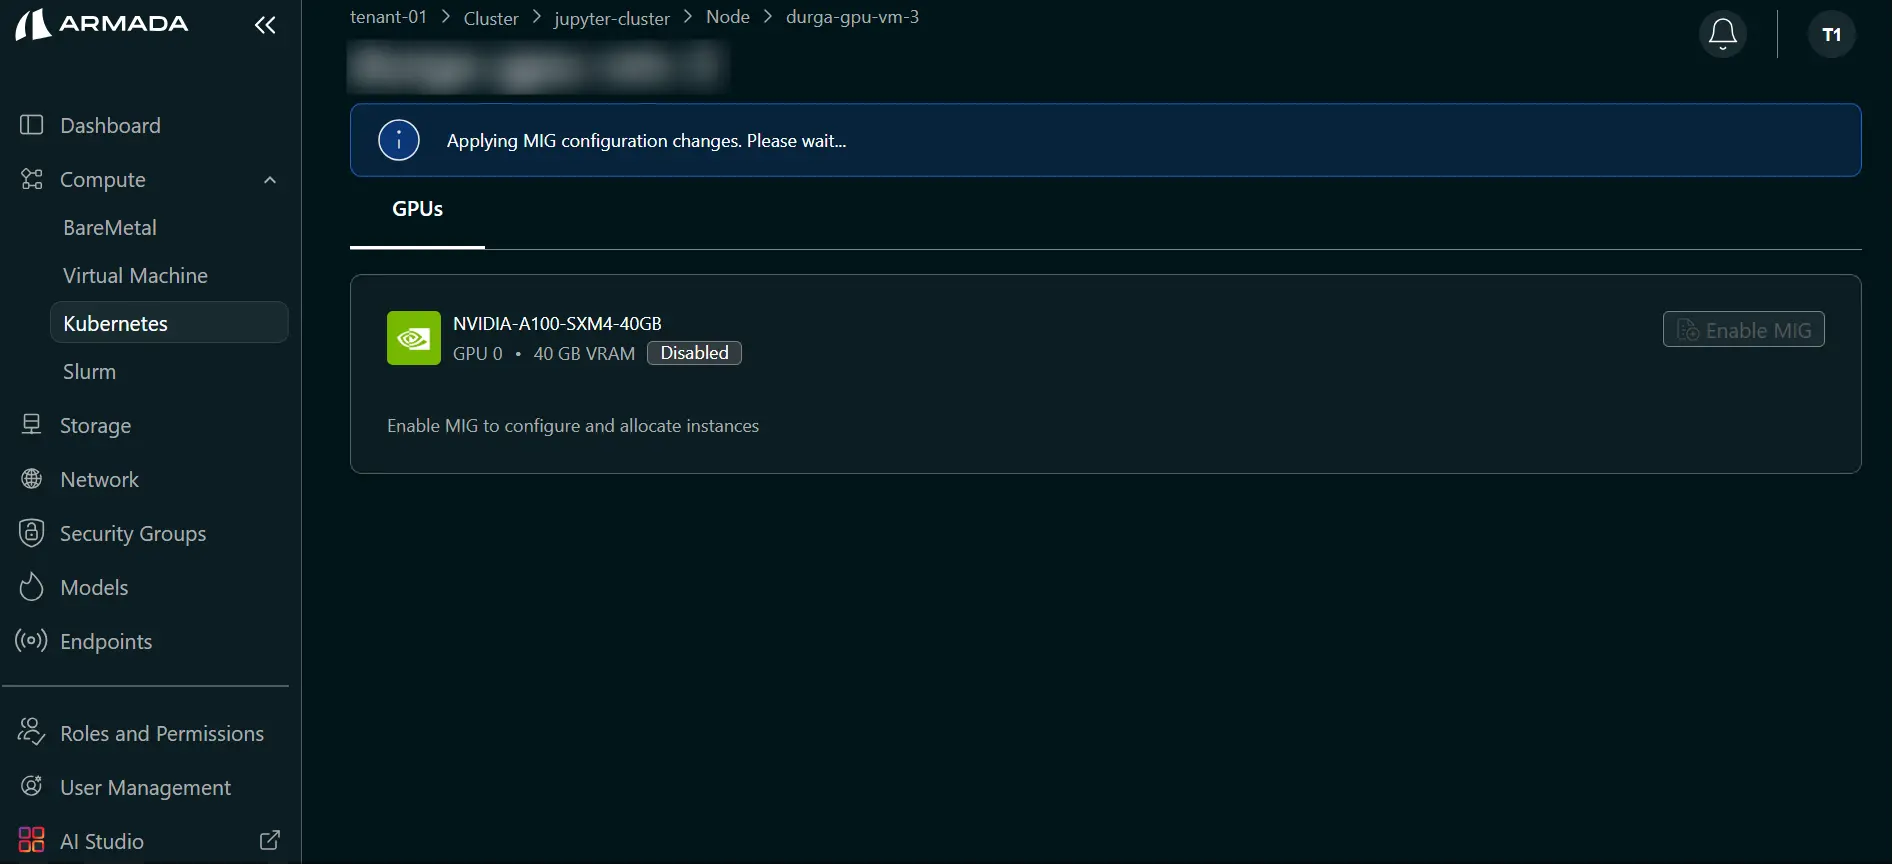
Step 3: Monitor and Verify
- Wait for profile creation to complete (typically 1–2 minutes).
- During processing, UI shows: Applying MIG configuration changes. Please wait...
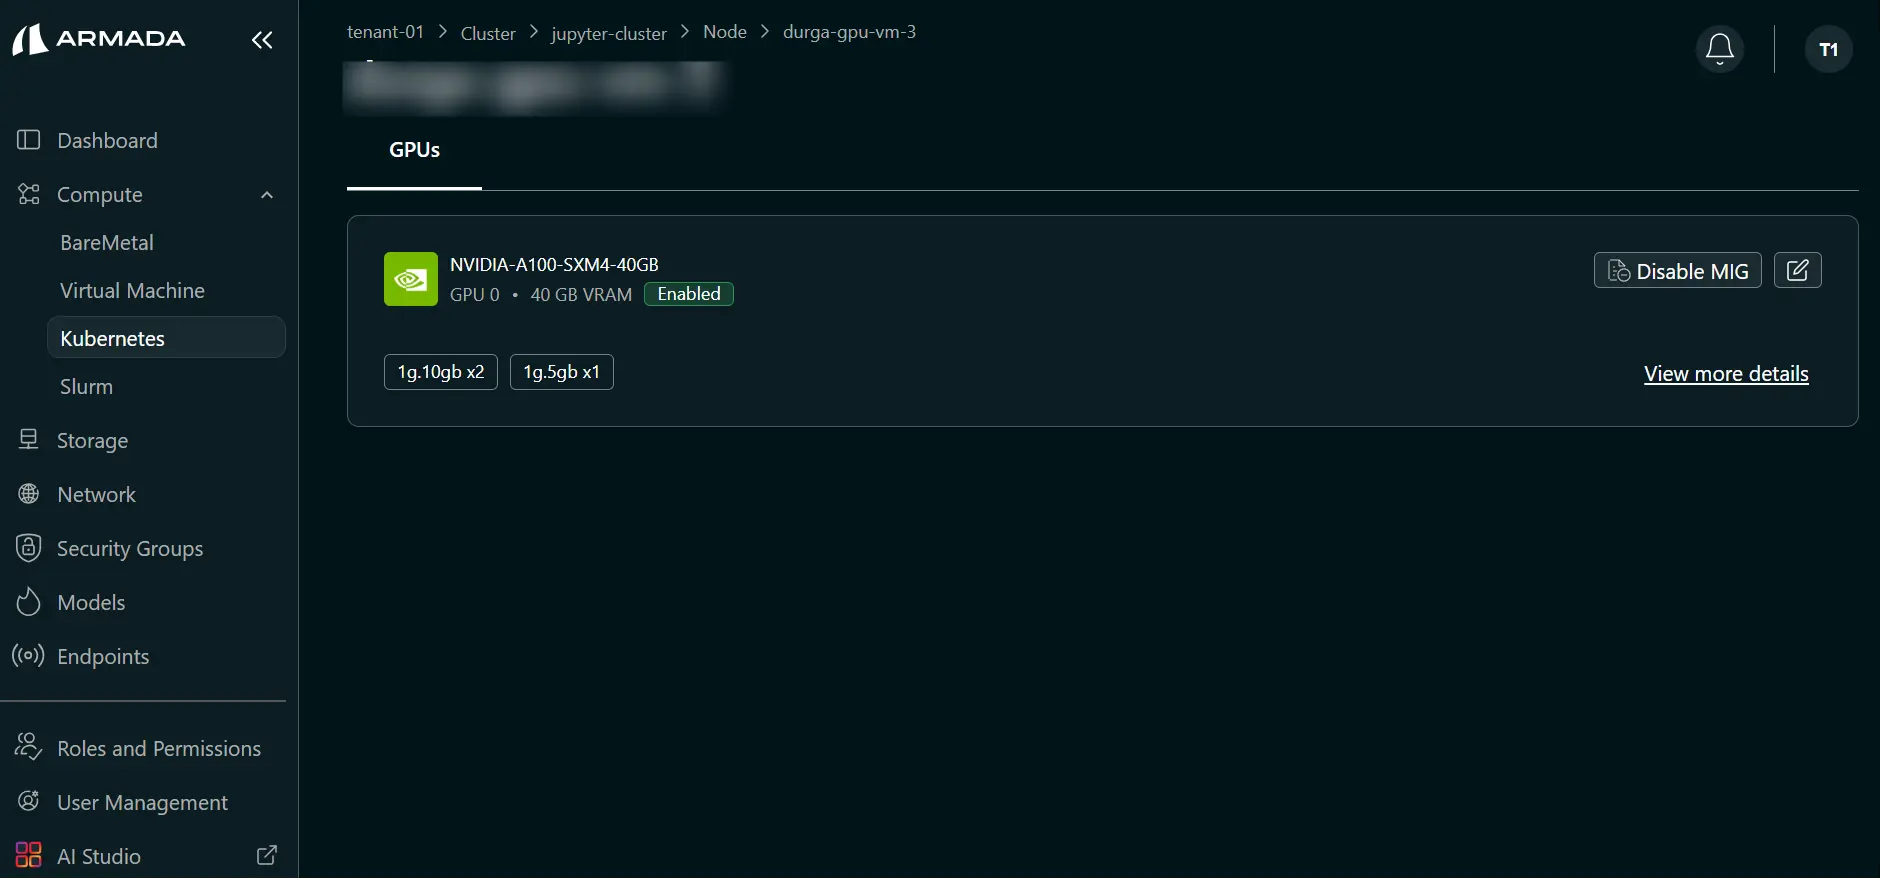
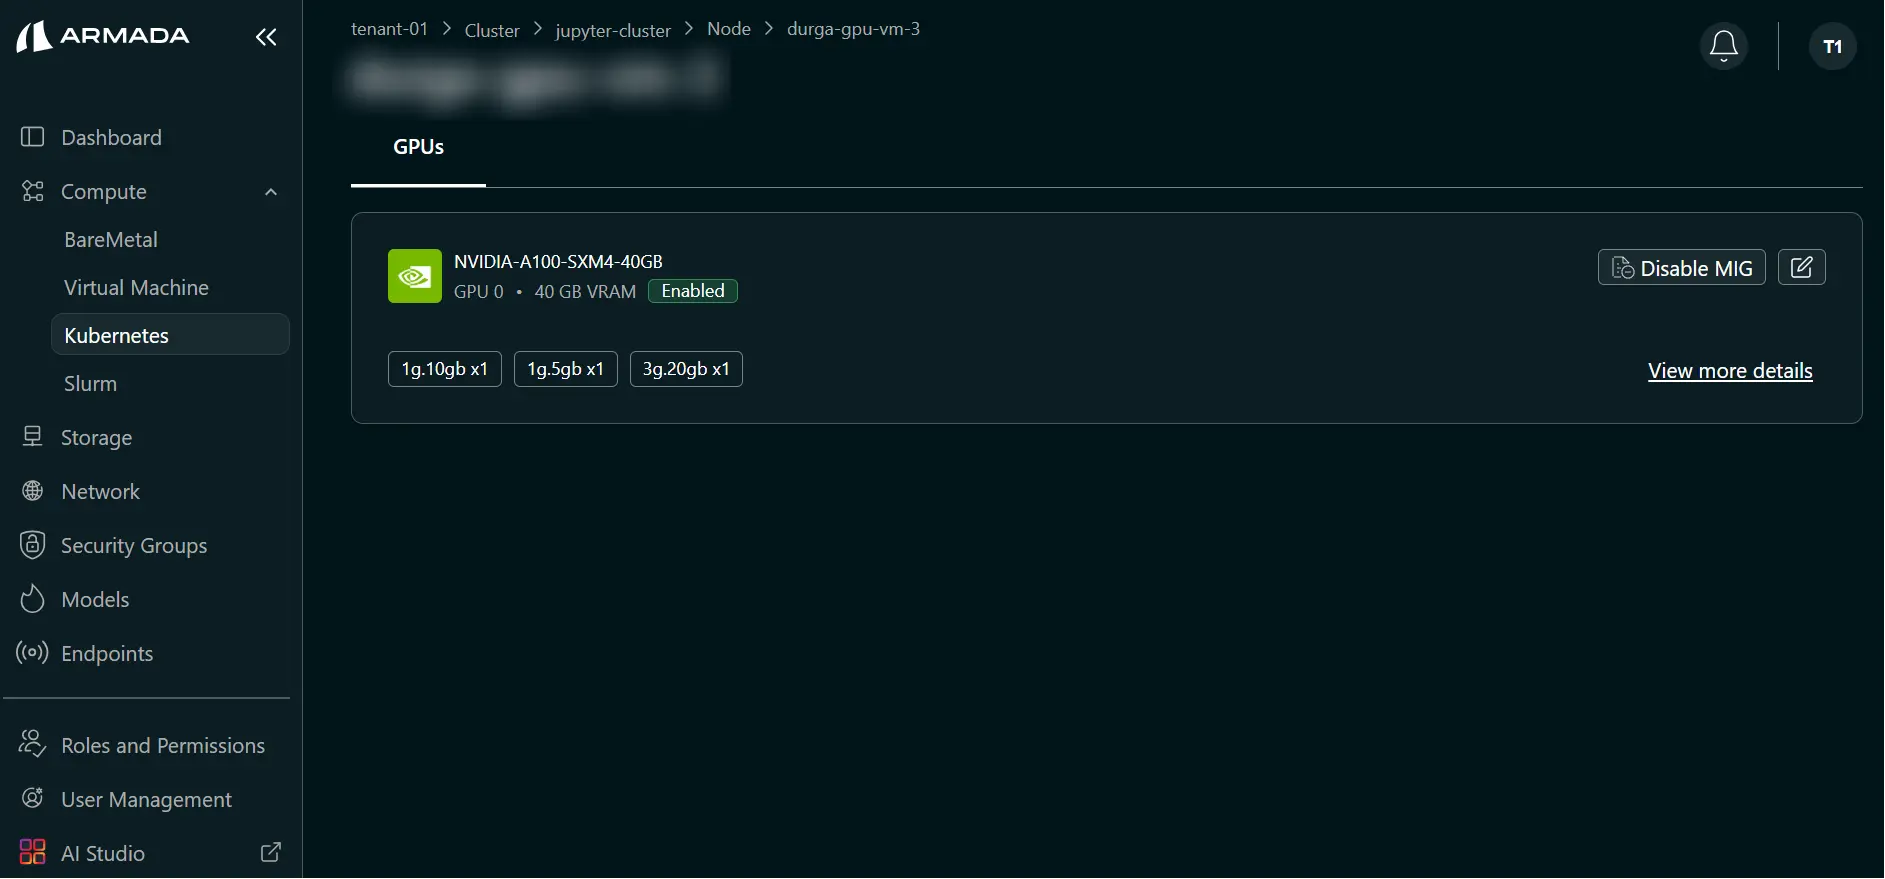
- Verify the warning is cleared and profiles appear in the node view.
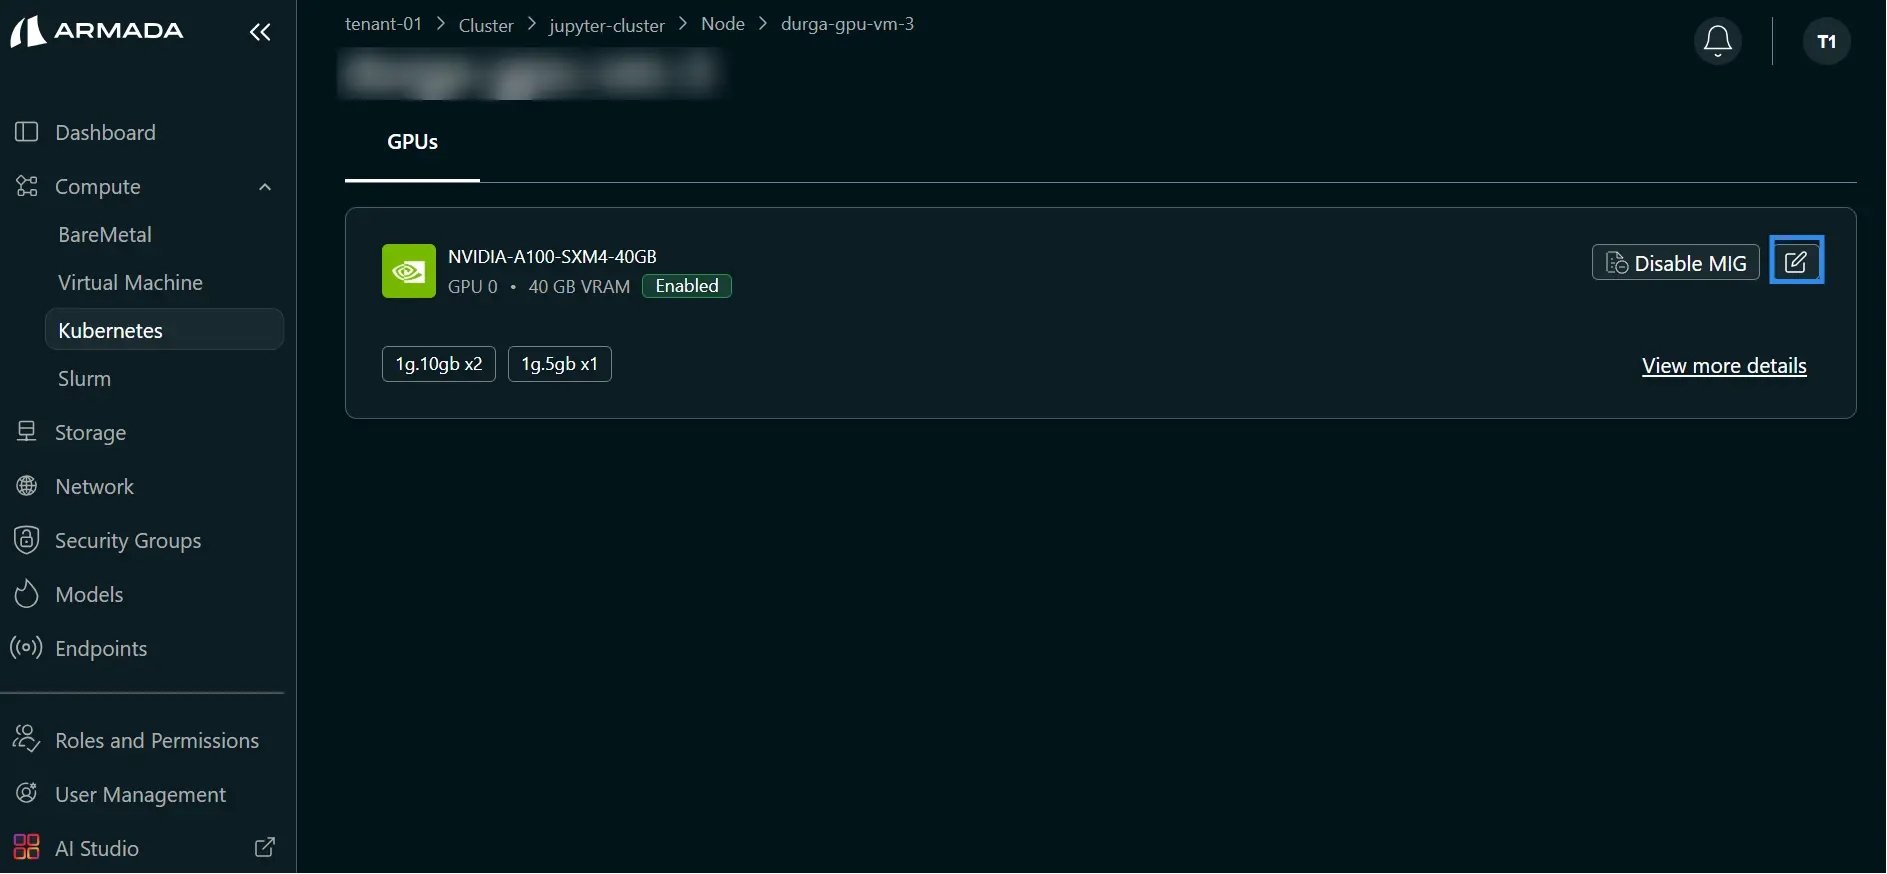
Edit MIG Profile
Step 1: Open Edit MIG
- In the node MIG view, click the Edit icon.
Step 2: Update Profiles
- Add profiles using plus (+) or remove profiles using minus (–).
- Review the updated profile allocation.
- Click Update.
Step 3: Monitor and Verify
- Wait for update to complete (typically 1–2 minutes).
- During processing, UI shows: Applying MIG configuration changes. Please wait...
- Verify the warning is cleared and updated profiles are displayed.

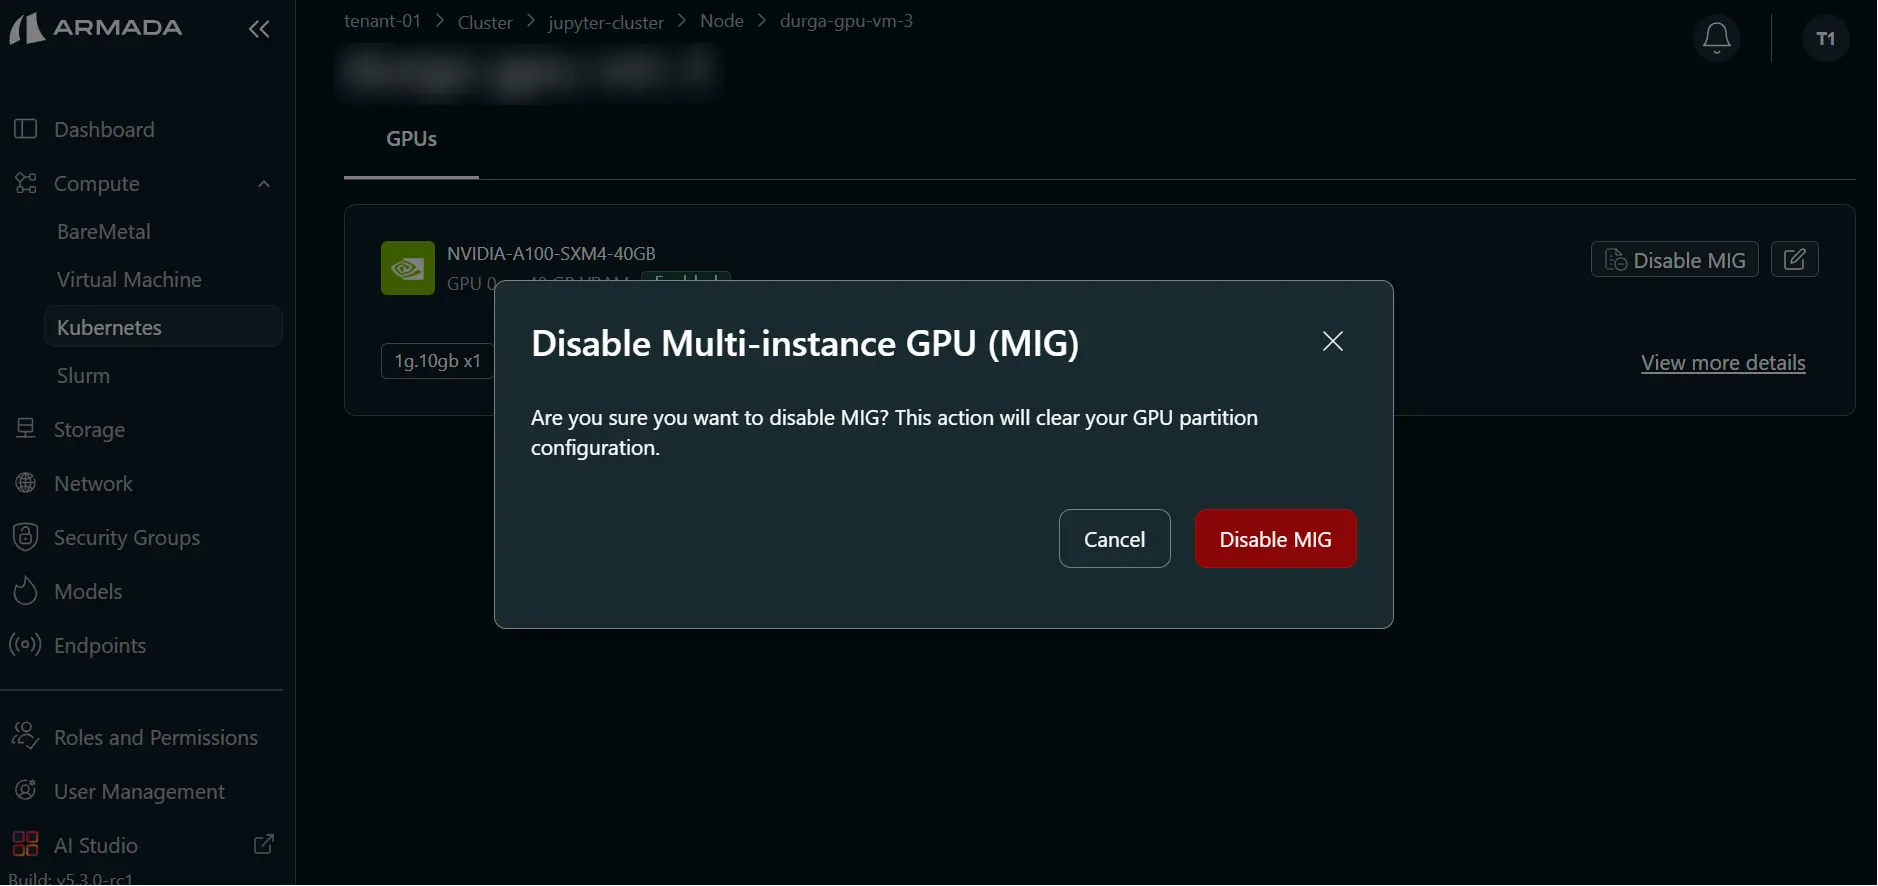
Disable MIG Configuration
Step 1: Start Disable MIG
- In the node MIG view, click Disable MIG.
Step 2: Confirm Disable MIG
- In the confirmation pop-up, click Disable MIG.
Step 3: Monitor and Verify
- Wait for disable operation to complete (typically 1–2 minutes).
- During processing, UI shows: Applying MIG configuration changes. Please wait...
- Verify the warning is cleared and GPU returns to full-capacity mode.
Best Practices
MIG Configuration
- Use smaller profiles for inference-only workloads
- Reserve full GPUs for training jobs
- Monitor GPU utilization regularly
- Adjust profiles based on actual usage patterns
Performance Considerations
- MIG profiles have slight performance overhead
- Full GPUs provide maximum performance
- Benchmark workloads before production deployment
- Consider scaling horizontally instead of vertically
Monitoring GPU Usage
View GPU Metrics
Monitor GPU utilization:
- GPU memory usage
- Compute utilization
- Temperature
- Power consumption

Optimize Allocation
Based on metrics, you can:
- Adjust MIG profiles
- Add/remove GPU instances
- Rebalance workloads
- Plan capacity upgrades
Next Steps
- Deploy Hugging Face Model — Deploy open-source models from Hugging Face Hub.
- Deploy NIM Model — Deploy GPU-optimized NVIDIA NIM inference containers.
- Deploy Azure ML Model — Deploy models from your Azure ML model registry.
- Create JupyterHub Servers with GPU — Launch GPU-backed JupyterHub servers for interactive development.
- Scale Clusters — Scale worker nodes up or down to match workload demands.