Custom Application Deployment
Overview
Application deployment enables you to run custom applications and web services on your clusters, making them accessible via HTTP endpoints.
Prepare Application
Application Requirements
Your application should:
- Be containerized (Docker/OCI image)
- Listen on a configurable port (typically 8080)
- Have health check endpoints
- Handle graceful shutdown
- Log to standard output
Dockerfile Example
FROM python:3.9-slim

WORKDIR /app
COPY requirements.txt .
RUN pip install -r requirements.txt

COPY app.py .

EXPOSE 8080
CMD ["python", "app.py"]
Deploy Application
Step 1: Prepare Image
- Build and push your Docker image to a container registry:
docker build -t myregistry/myapp:v1.0 .
docker push myregistry/myapp:v1.0
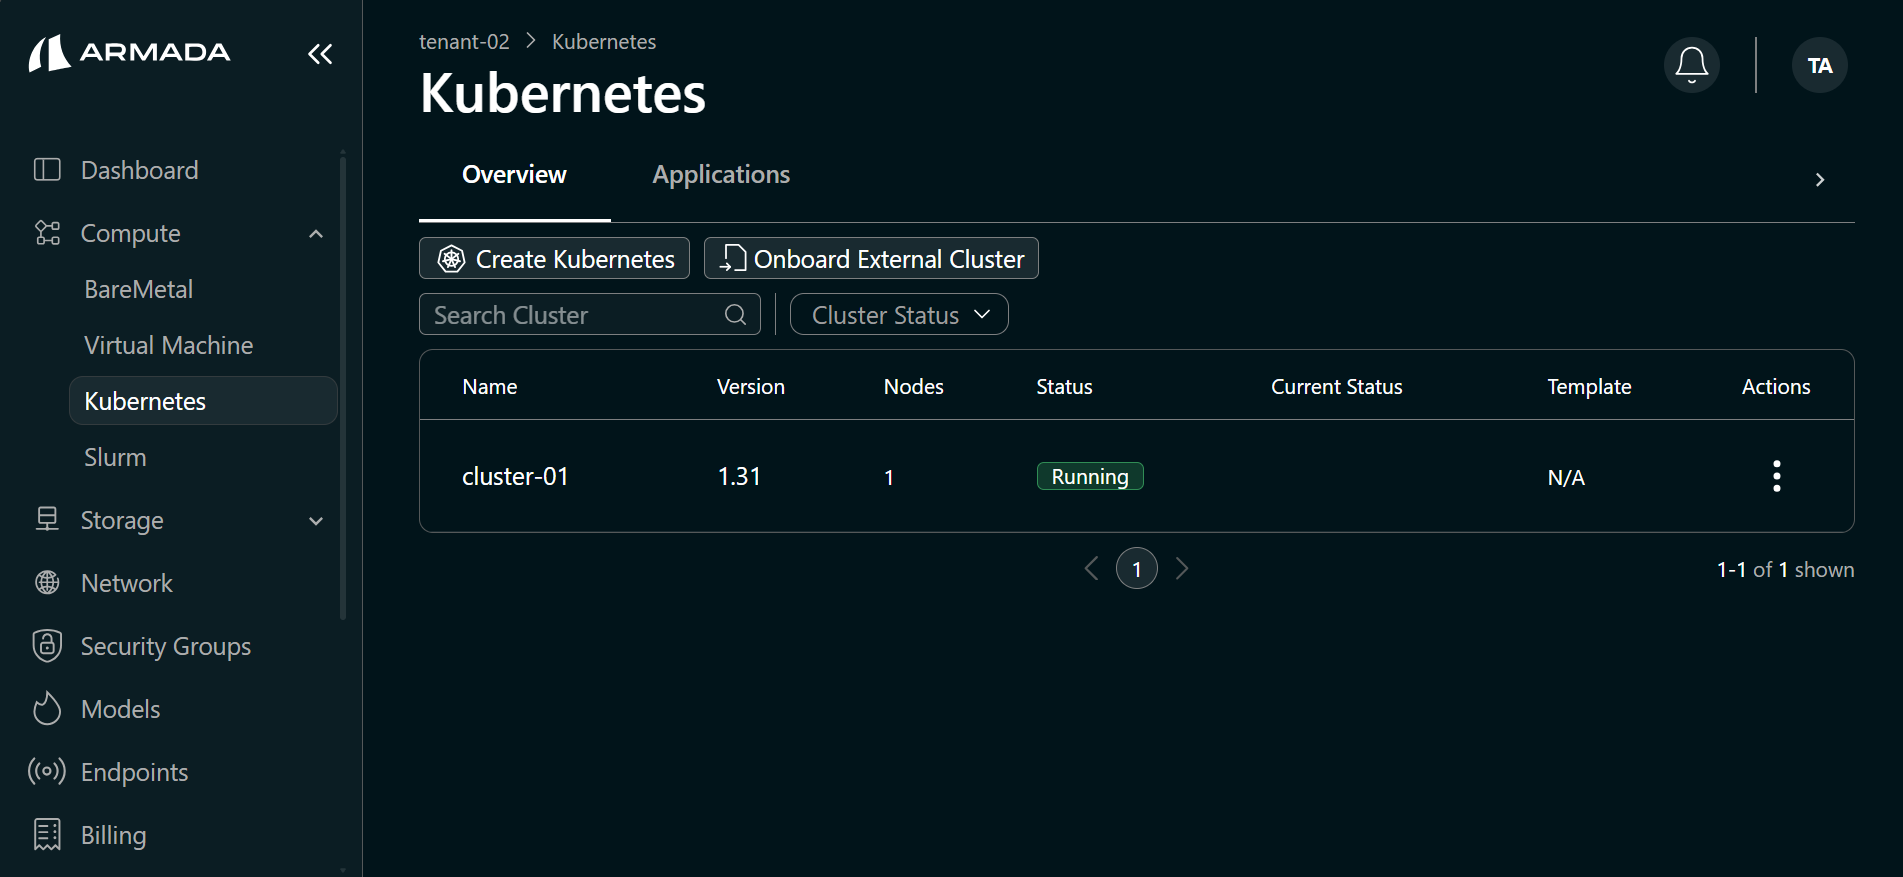
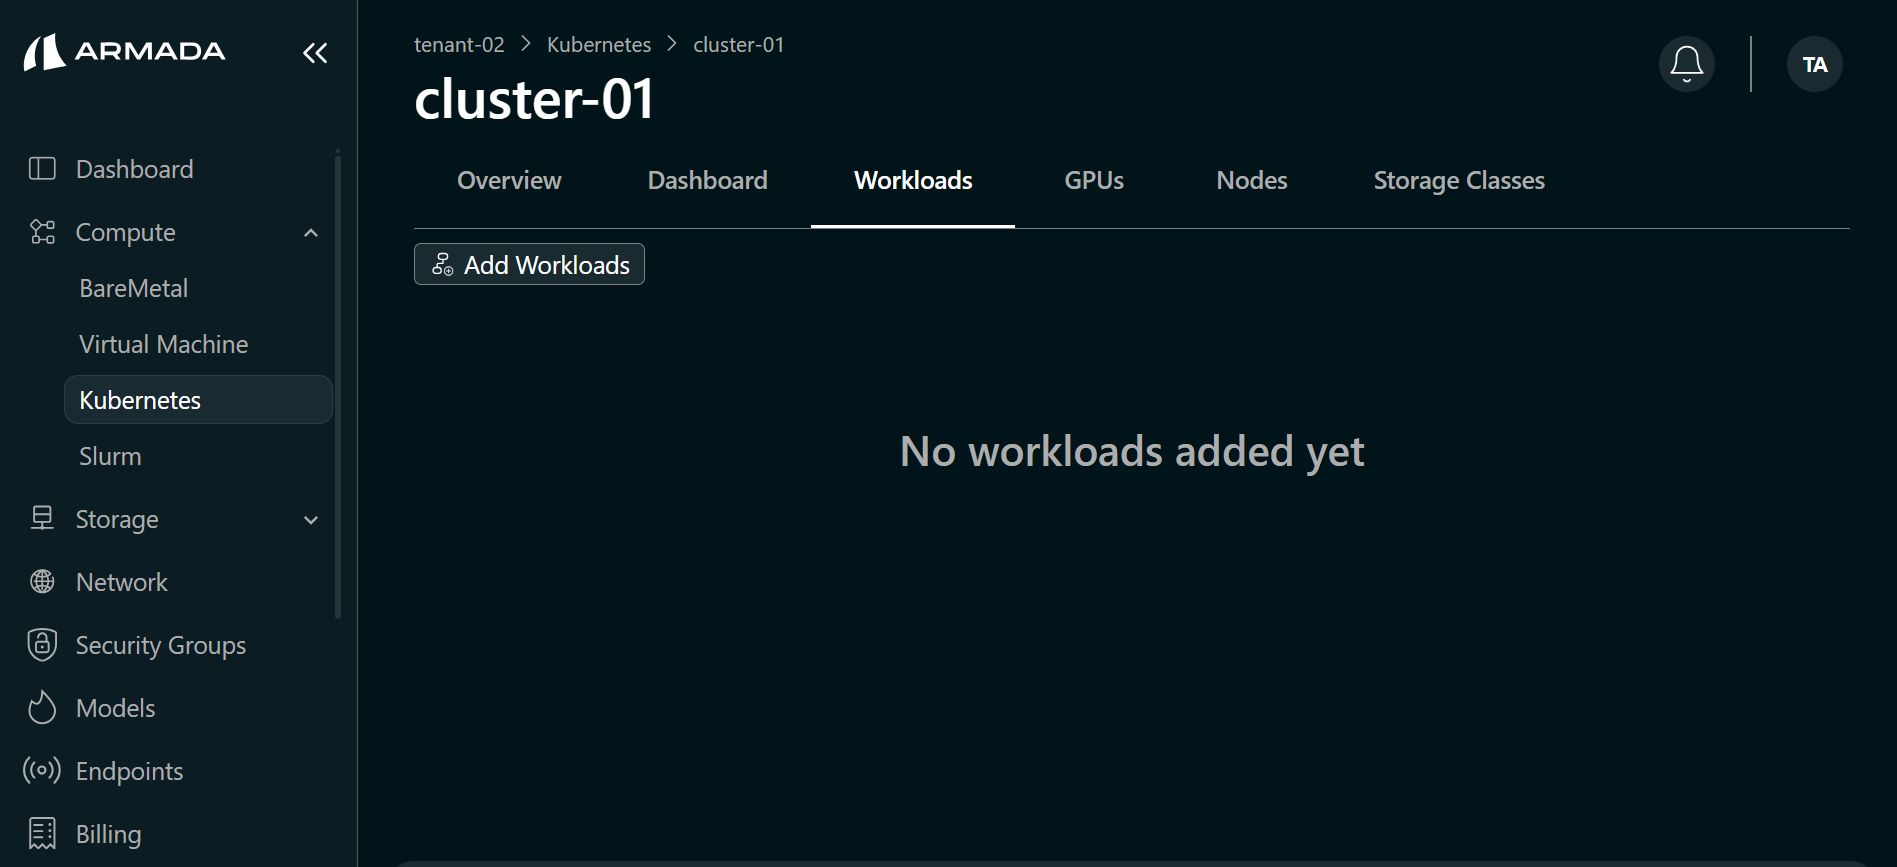
Step 2: Open Cluster Workloads
- Click the cluster name to open the cluster overview.
- Navigate to the Workloads tab.
- Click Add Workloads.
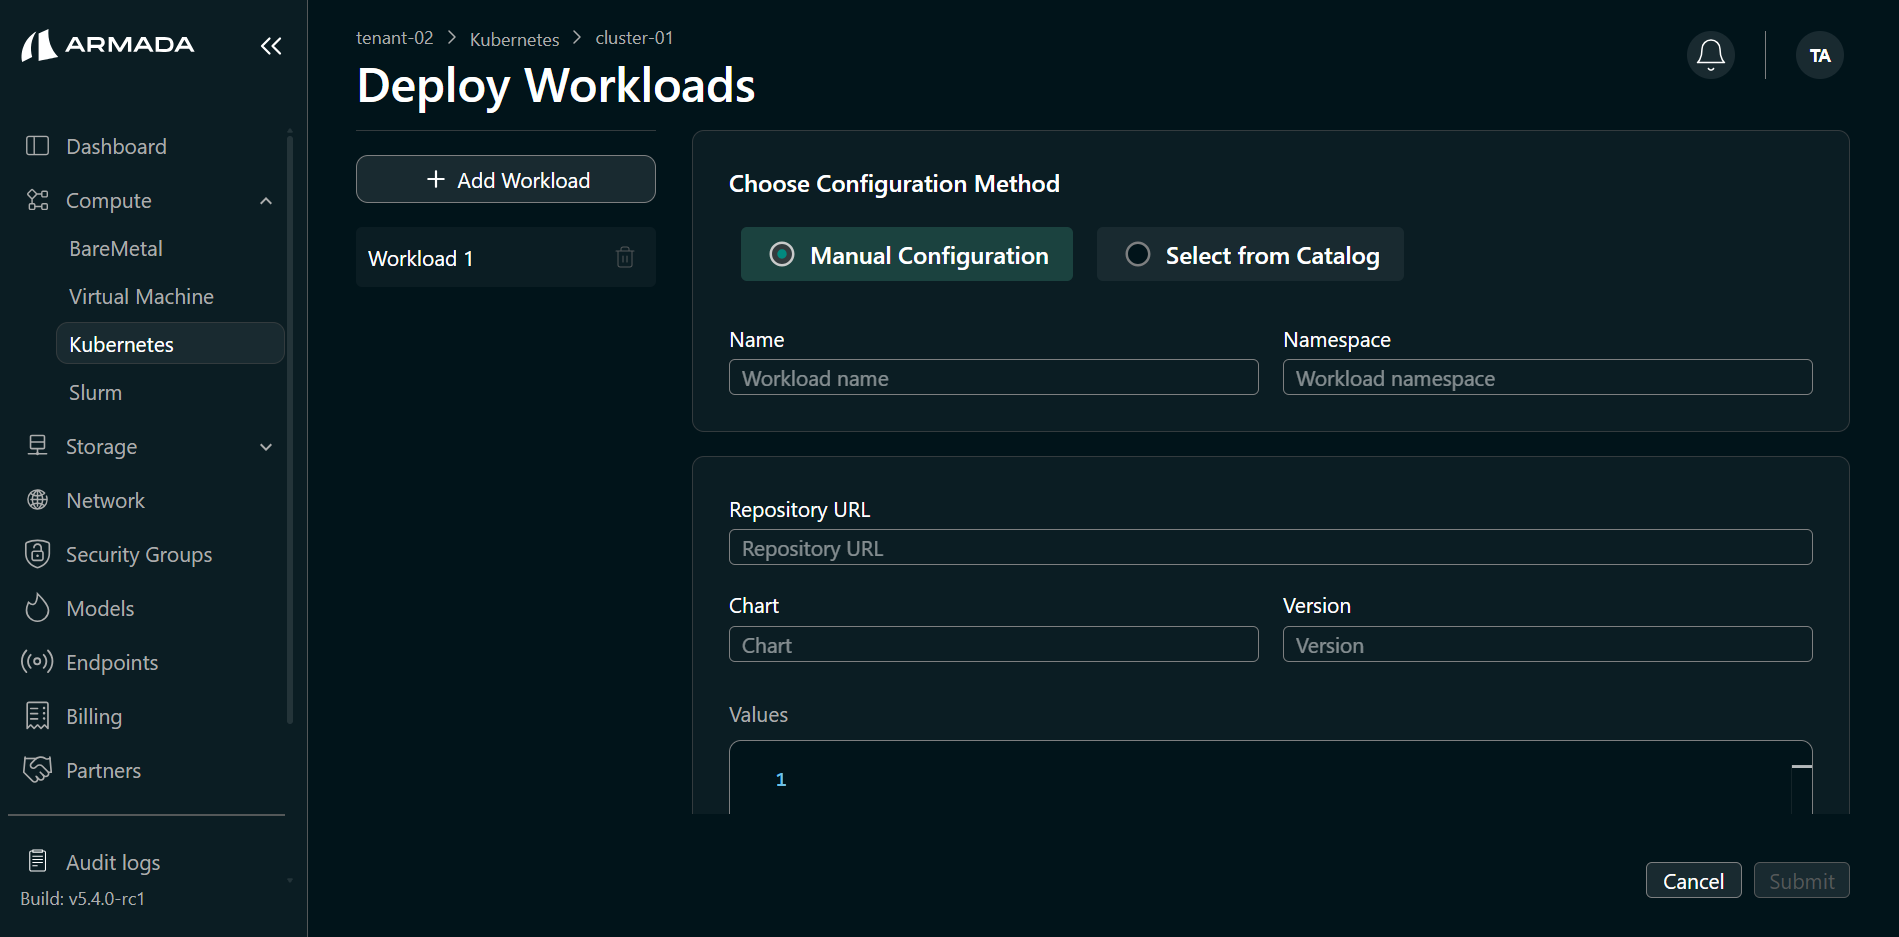
Step 3: Configure and Deploy Workload
- Set Configuration Method to Manual Configuration.
- Enter Name (e.g.,
nginx-workload). - Enter Namespace (e.g.,
nginx). - Enter Repository URL (e.g.,
https://gitlab.com/api/v4/projects/54152051/packages/helm/devel). - Enter Chart (e.g.,
nginx). - Enter Version (e.g.,
17.0.0). - Provide Values (optional).
- Click Submit.
- Application will be:
- Pulled from registry
- Scheduled on cluster
- Started as containers
- Exposed via service
- Application will be:
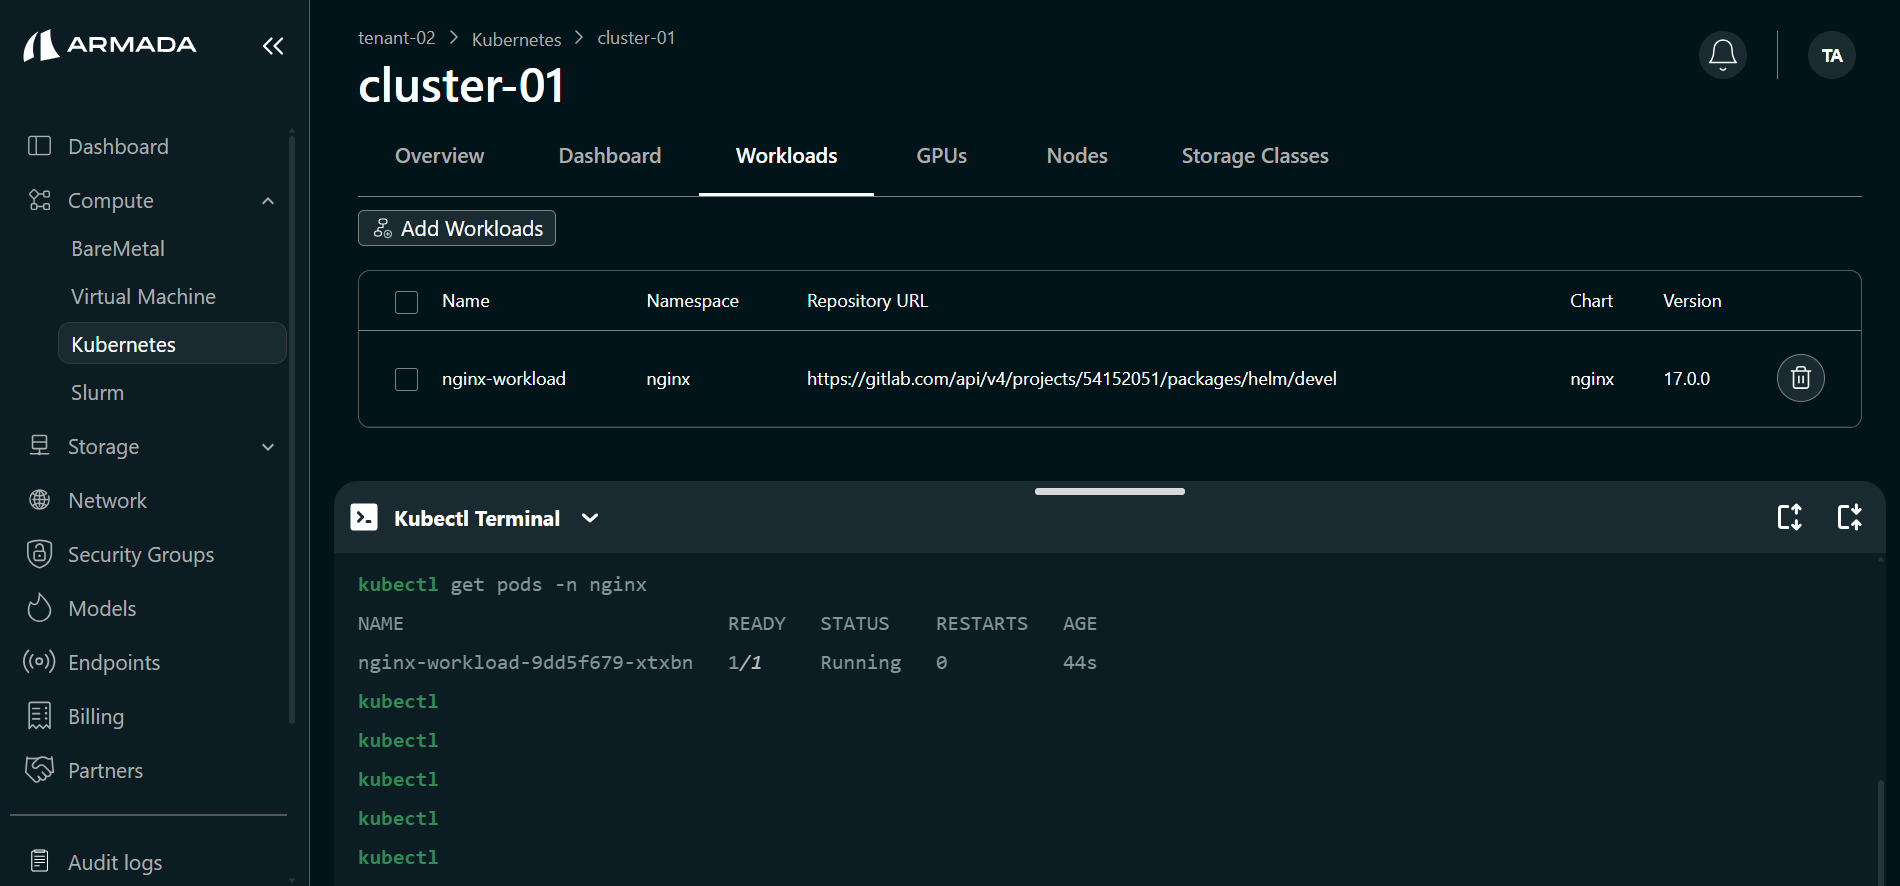
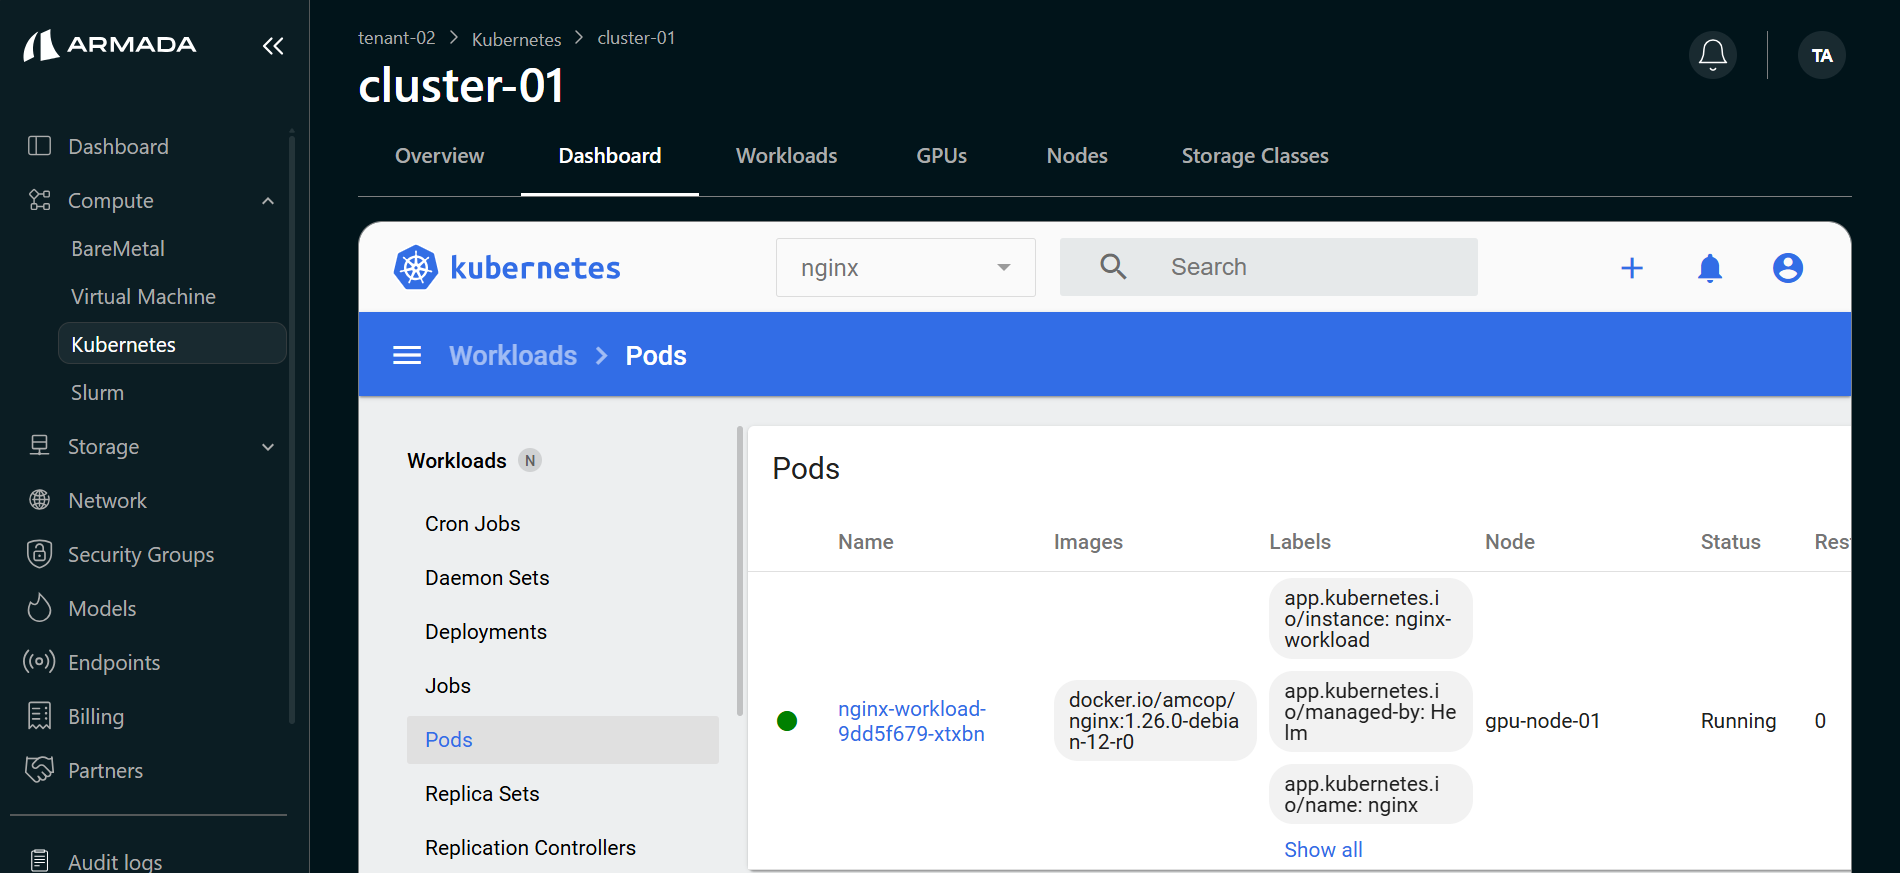
Step 4: Monitor Application Status
- Open Kubectl Terminal from the cluster to monitor workload status.
info
Workload States:
- Pending — Pods are being scheduled and waiting for resources
- Deploying — Container images are being pulled and containers are starting
- Running — All pods are healthy and serving requests
- Failed — One or more pods failed to start (e.g., image pull error, crash loop, insufficient resources)
- Application status is also visible in the Kubernetes Dashboard.
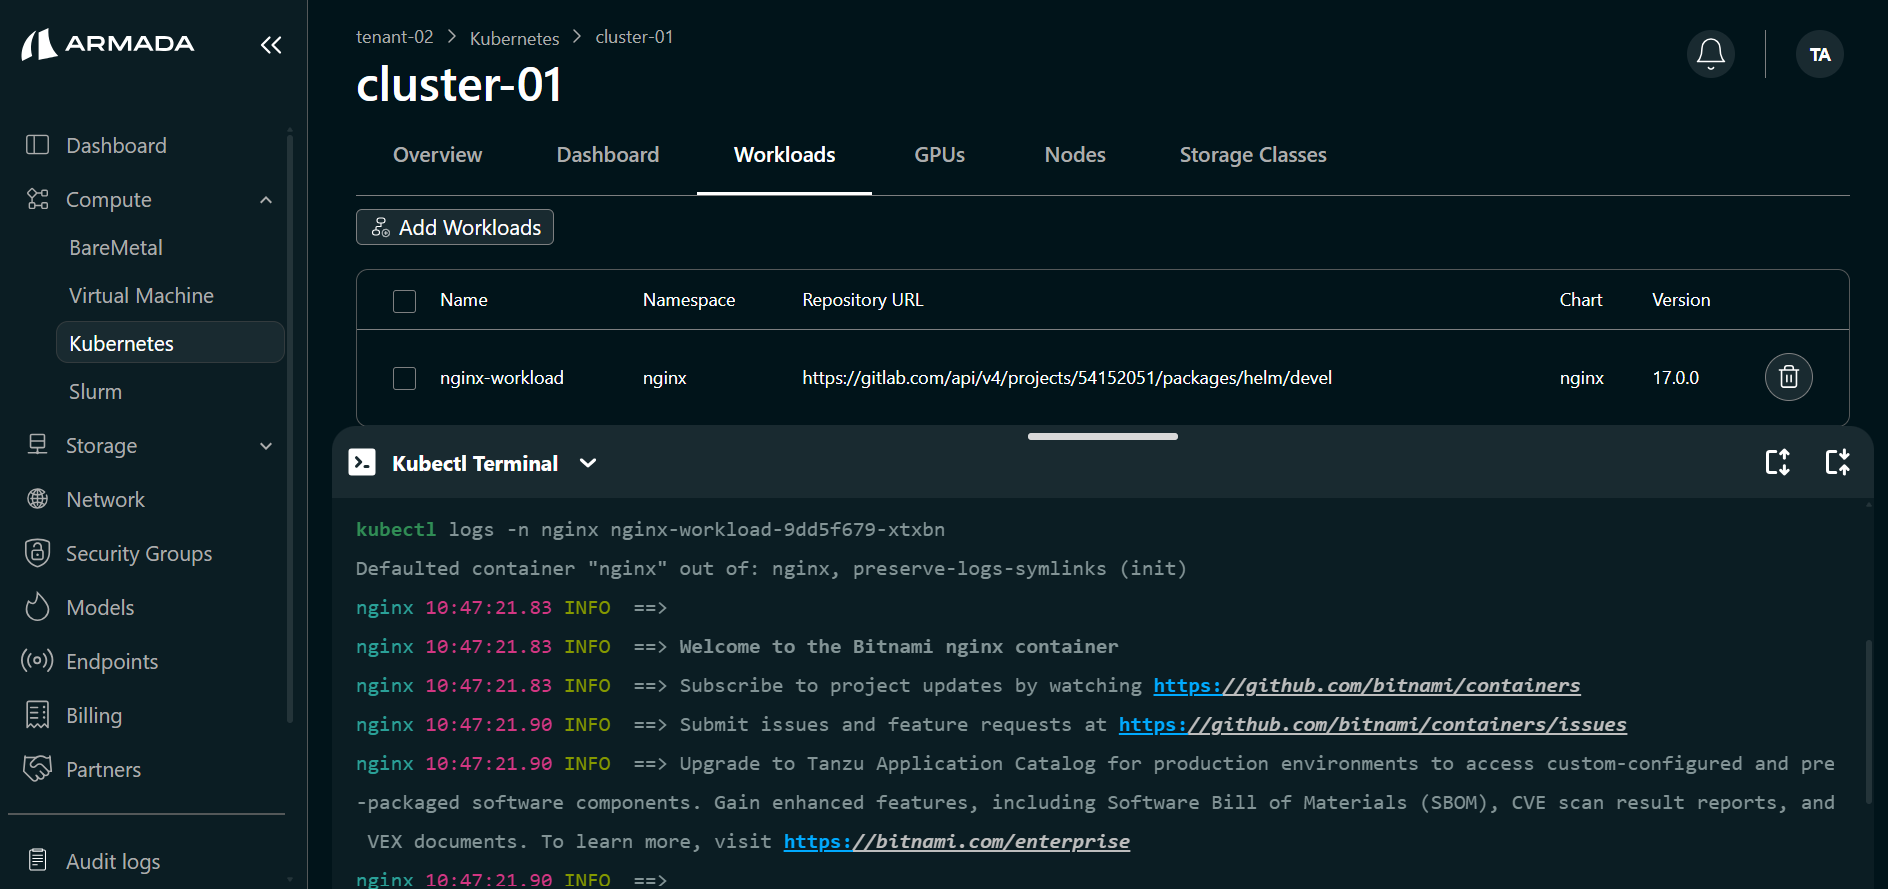
Step 5: View Logs
- Access application logs using the Kubectl Terminal:
kubectl logs deployment/<app-name>
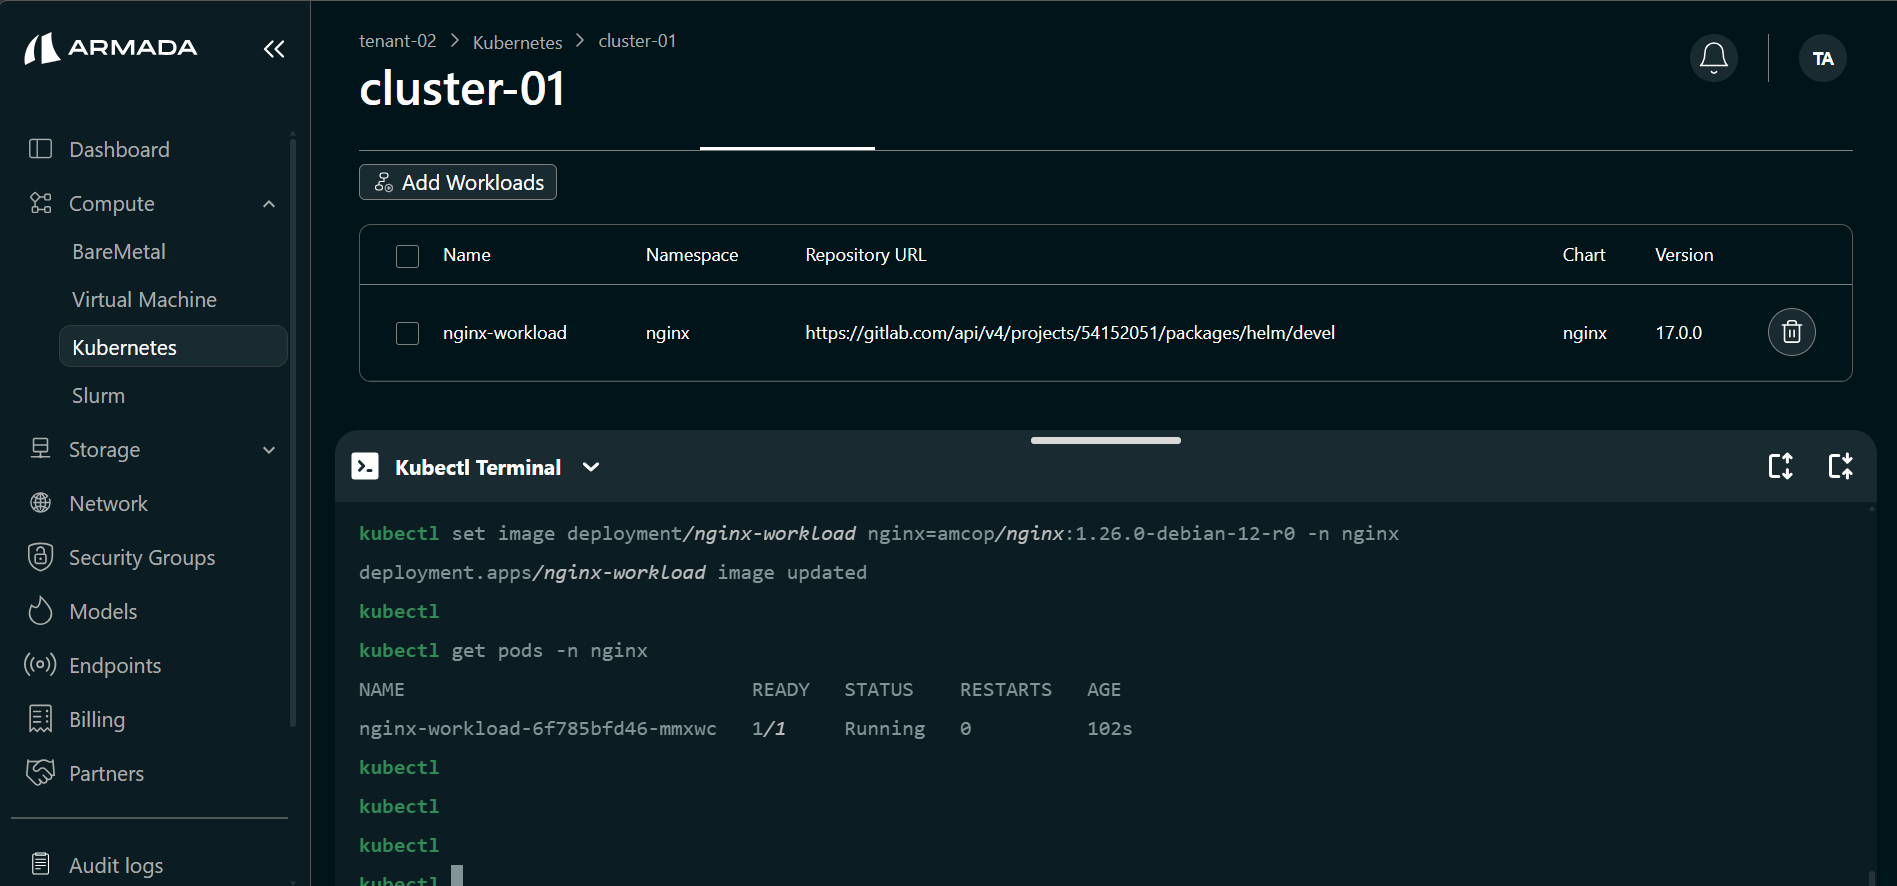
Step 6: Update Application
- Push the new image to your registry.
- Update the deployment image or manifest.
- Trigger a rolling update:
kubectl set image deployment/<deployment-name> <container-name>=<image-name>:<tag>
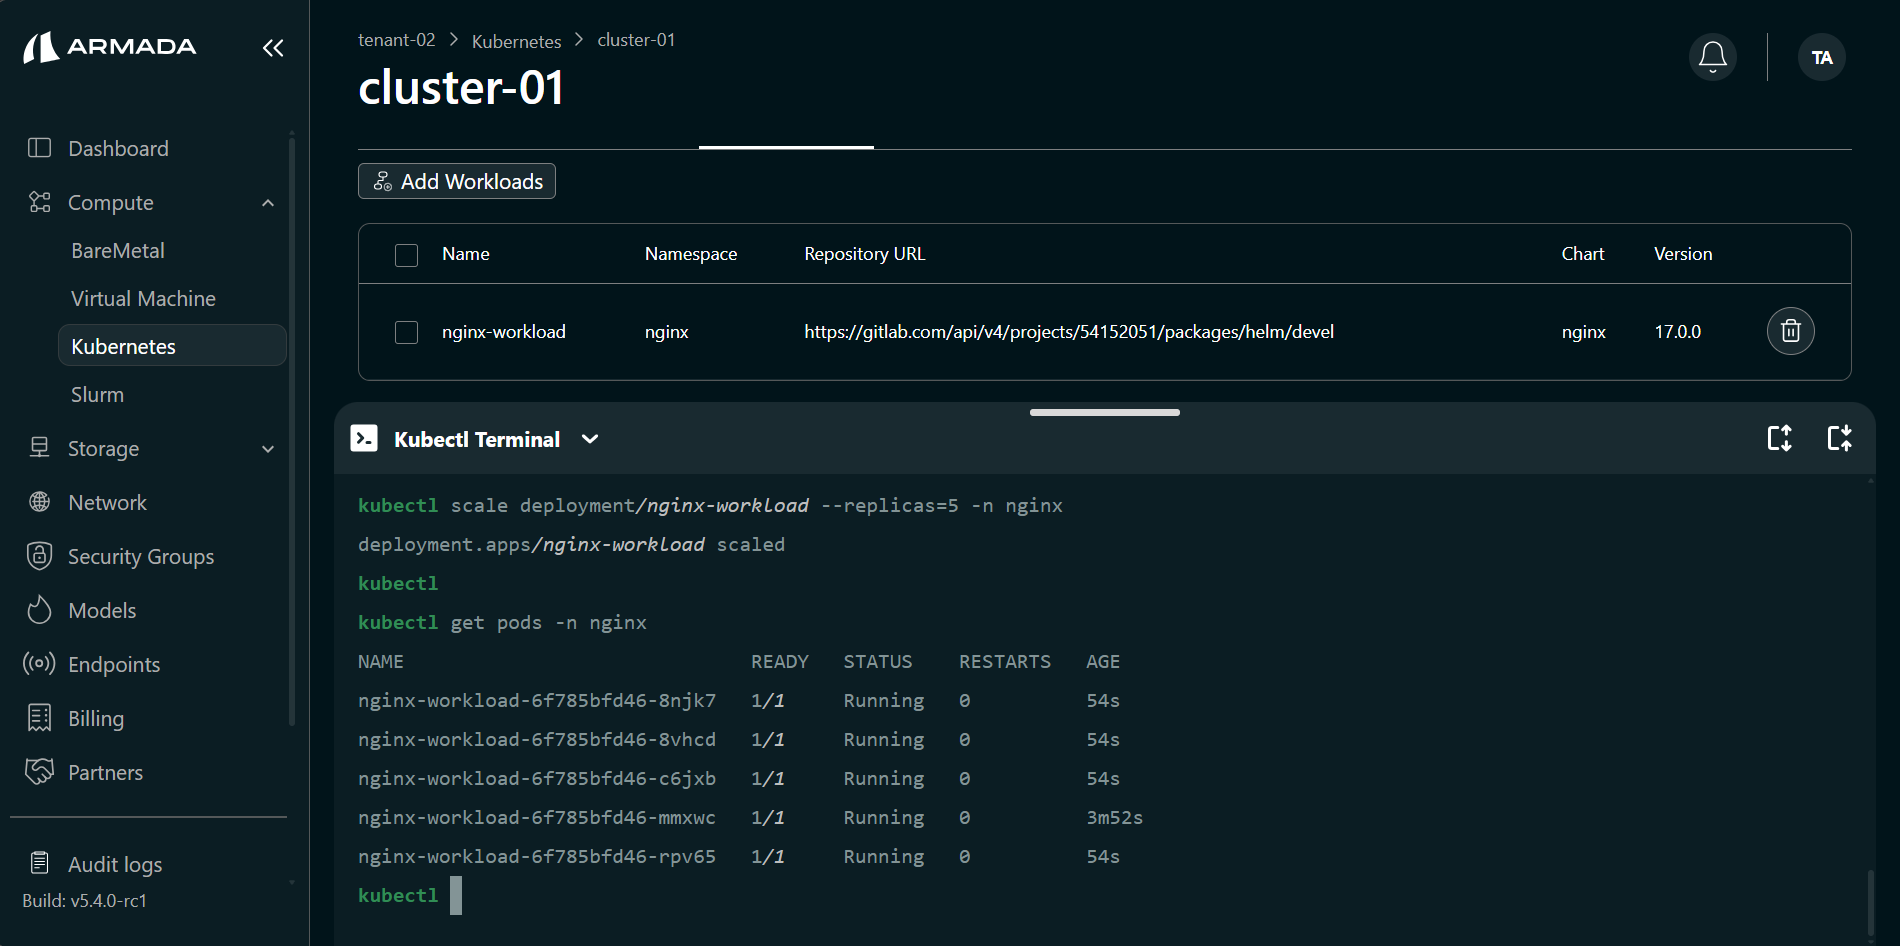
Step 7: Scale Application
- Select the application.
- Click Scale.
- Set the replica count.
- Click Confirm.
kubectl scale deployment/<app-name> --replicas=5 -n <namespace>
Expose Application
Create Service
Expose application via service:
apiVersion: v1
kind: Service
metadata:
  name: myapp-service
spec:
  type: LoadBalancer
  ports:
  - port: 80
    targetPort: 8080
  selector:
    app: myapp
Create Ingress
Route traffic via HTTP:
apiVersion: networking.k8s.io/v1
kind: Ingress
metadata:
  name: myapp-ingress
spec:
  rules:
  - host: myapp.example.com
    http:
      paths:
      - path: /
        backend:
          service:
            name: myapp-service
            port:
              number: 80
Access Application
Access via endpoint:
https://myapp-endpoint.domain.com
Best Practices
Application Design
- Stateless application design
- 12-factor app principles
- Health checks on startup
- Graceful shutdown handling
Containerization
- Minimal base images
- Layer caching optimization
- Security scanning
- Multi-stage builds
Deployment
- Version all images
- Use image tags (not latest)
- Test images before deployment
- Rolling updates for zero-downtime
- Resource limits and requests
Monitoring
- Comprehensive logging
- Metrics collection
- Error tracking
- Performance monitoring
Common Applications
- Web APIs
- Microservices
- Frontend applications
- Batch processors
- Scheduled jobs
Next Steps
- Create Endpoints — Configure endpoints to expose your application via a hostname with TLS.
- NGINX Web Server — Deploy the NGINX web server on your cluster from the Bridge application catalog.