Kubeflow
Overview
The Kubeflow template provisions a complete Machine Learning operations (MLOps) platform on your Kubernetes cluster. This deployment includes the full Kubeflow ecosystem including Central Dashboard, Notebooks, Pipelines, and Katib.
Accessing the cluster
Bridge provides two ways to work with your cluster after it is created:
-
Download kubeconfig — You can download the cluster kubeconfig file from the cluster menu. Use this to access the cluster from your local machine or external tools by setting KUBECONFIG.
-
Kubectl Terminal — Interact directly with the Kubernetes cluster from Bridge UI. Use this to:
- Run kubectl commands directly from the UI to add any additional kubeflow config
- Monitor the 50+ microservices that make up the Kubeflow stack
Prerequisites
- Tenant Admin access — Log in as a Tenant Admin to create clusters.
- Compute resources — Minimum 16GB RAM and 4 CPUs per node recommended for Kubeflow.
Create a Kubeflow Cluster
Step 1: Start Cluster Creation
- Log in to Bridge as a Tenant Admin.
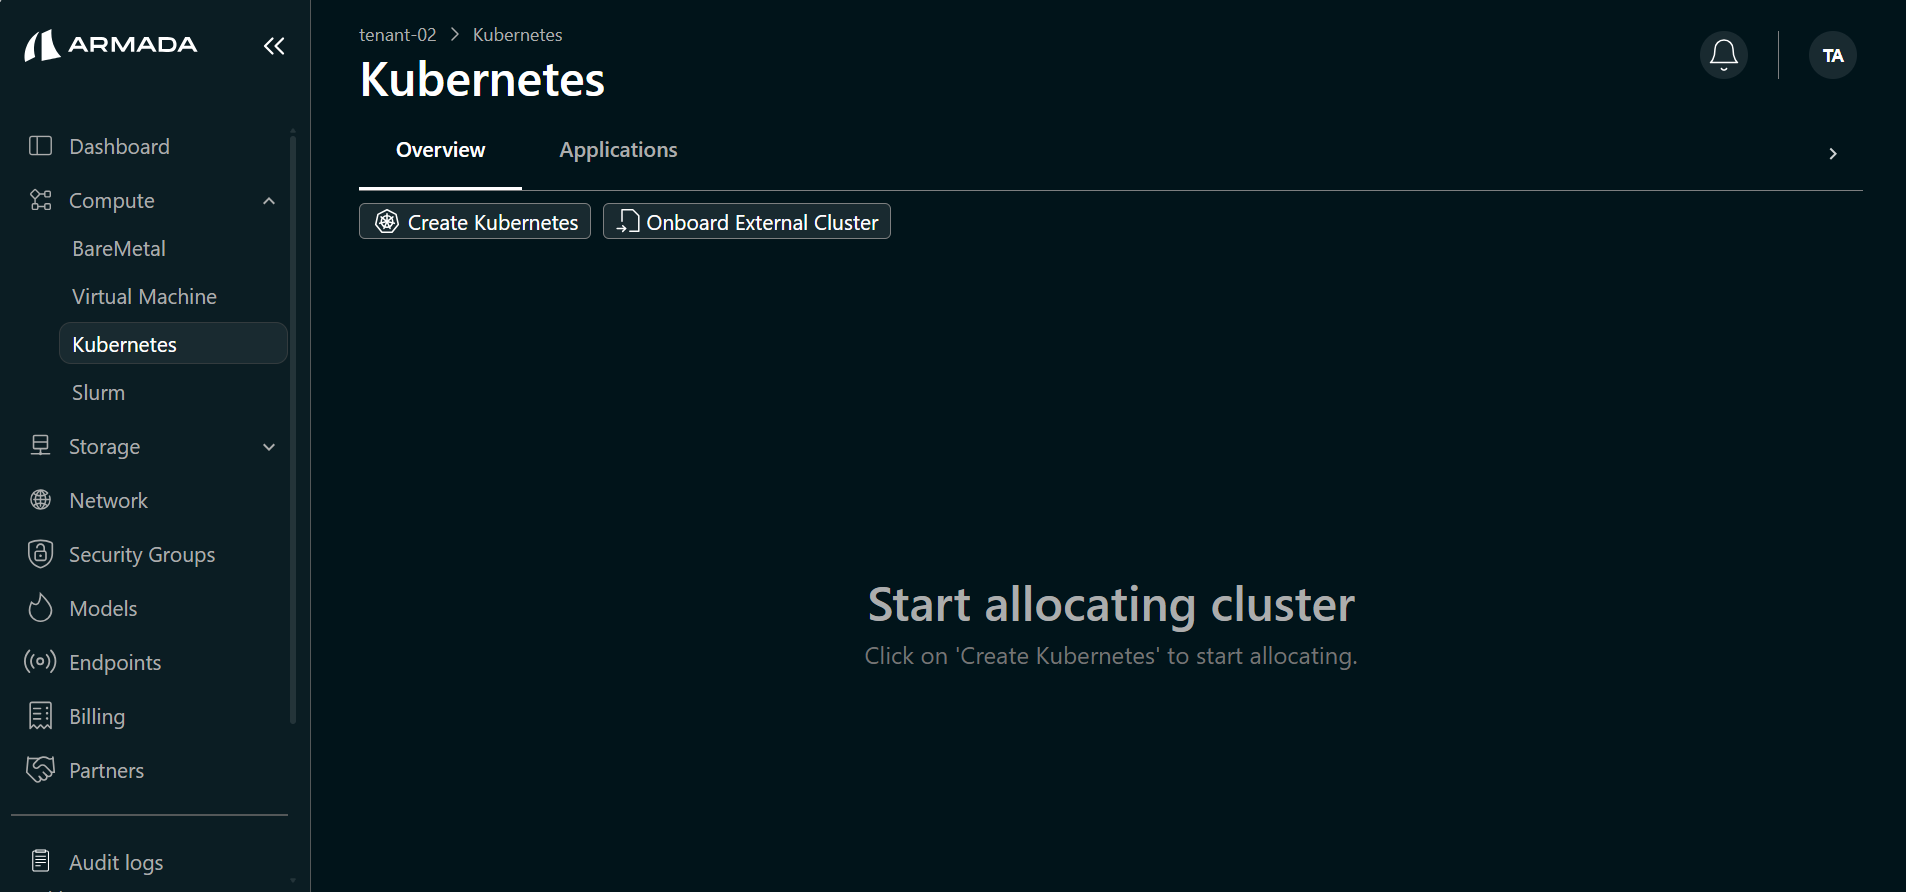
- In the left sidebar, open Compute → Kubernetes.
- Click Create Kubernetes.
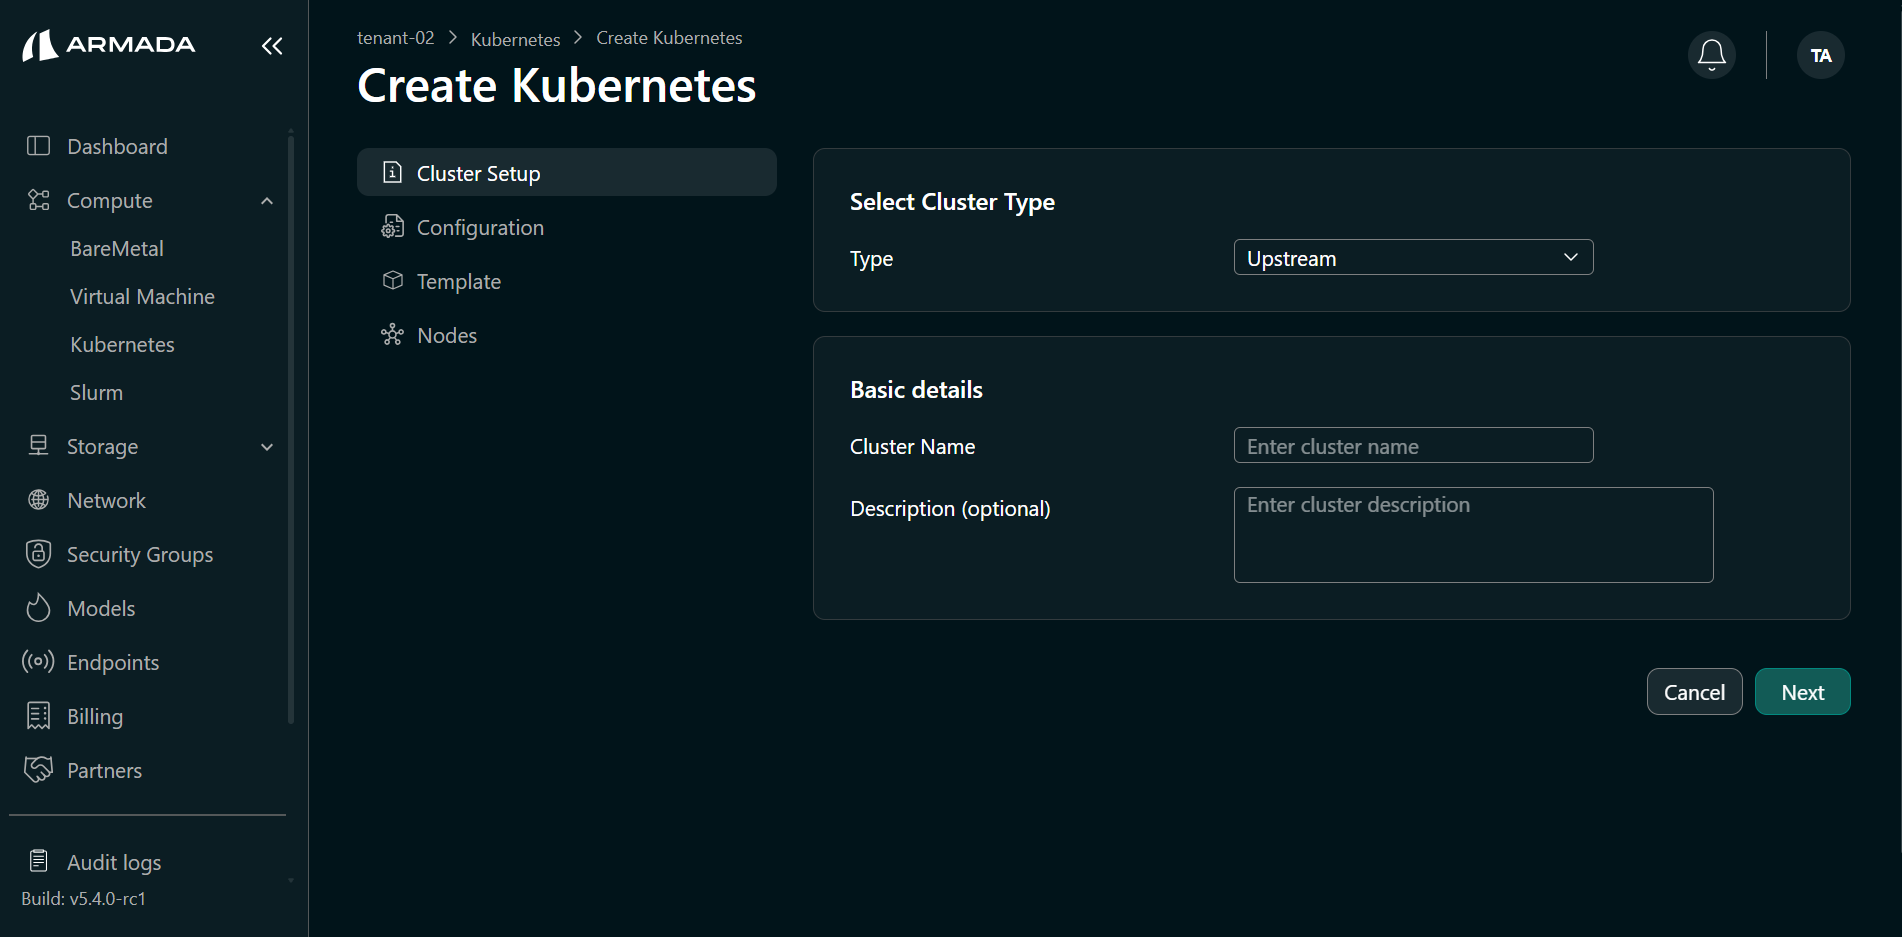
Step 2: Configure Cluster Details
- Select the cluster Type as Upstream.
- Enter a name and description for the cluster, then click Next.
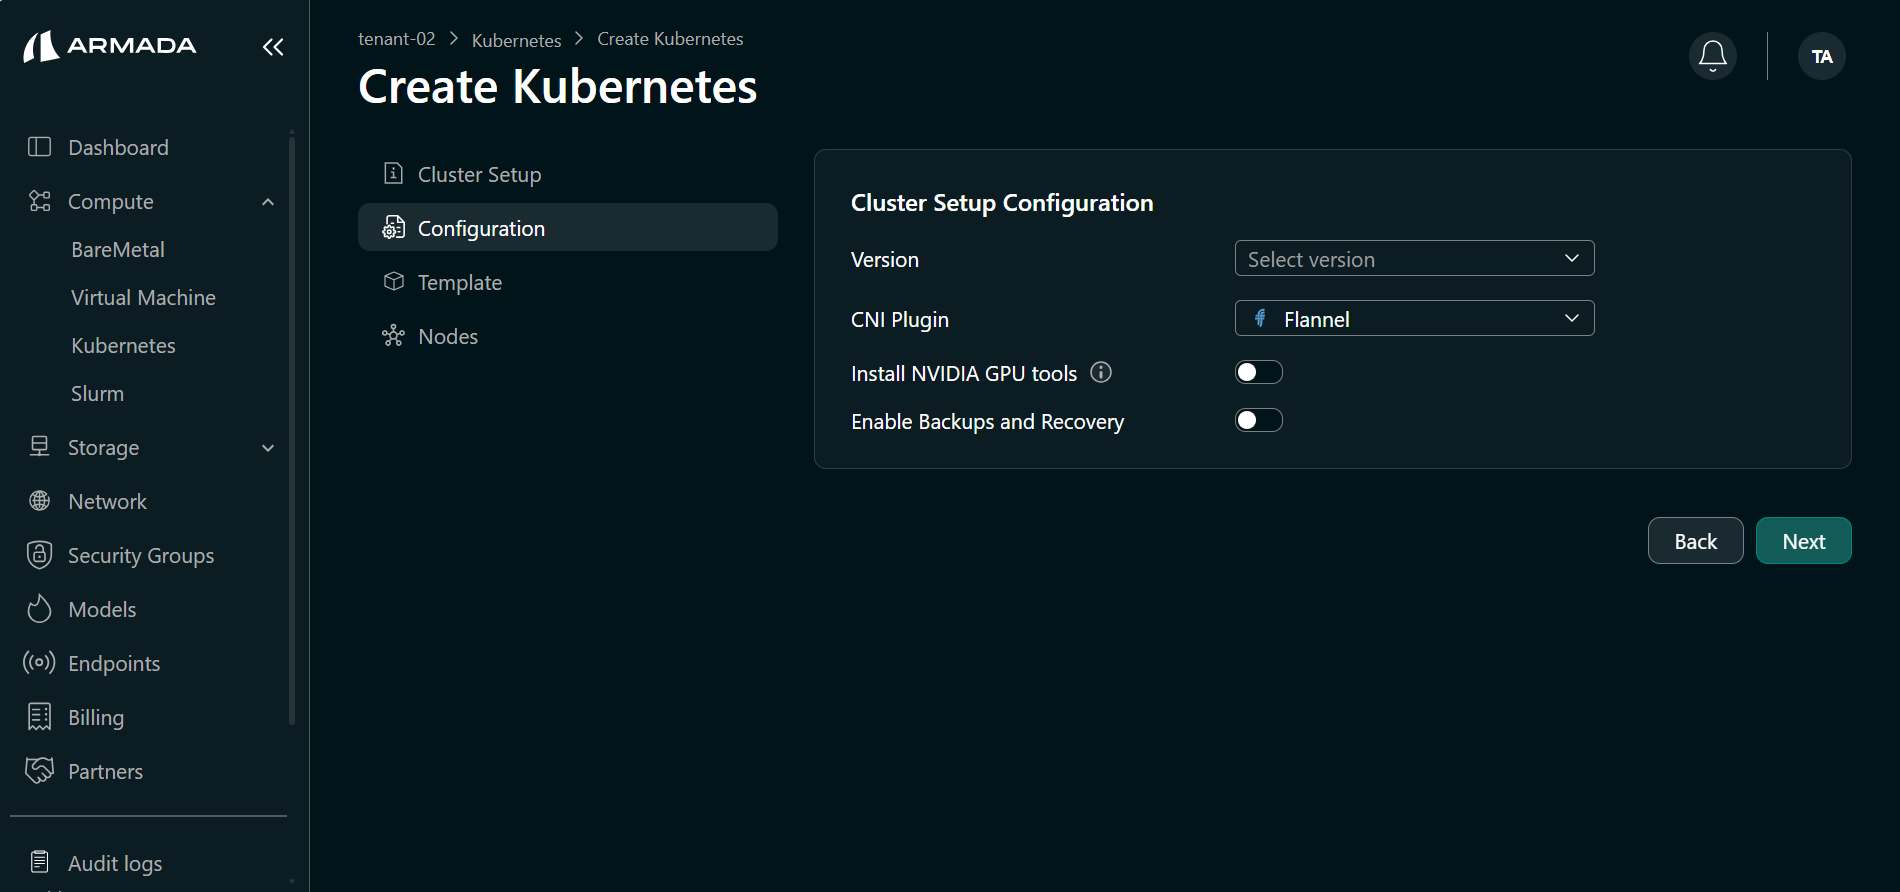
- Select Kubernetes version 1.33 or higher.
The Deploy Kubeflow for End-to-End MLOps Orchestration template requires Kubernetes 1.33 or higher version.
- Select the CNI plugin. Bridge supports Flannel and Cilium.
- (Optional) Enable Install NVIDIA GPU tools if you want GPU tooling on the cluster.
- Click Next.
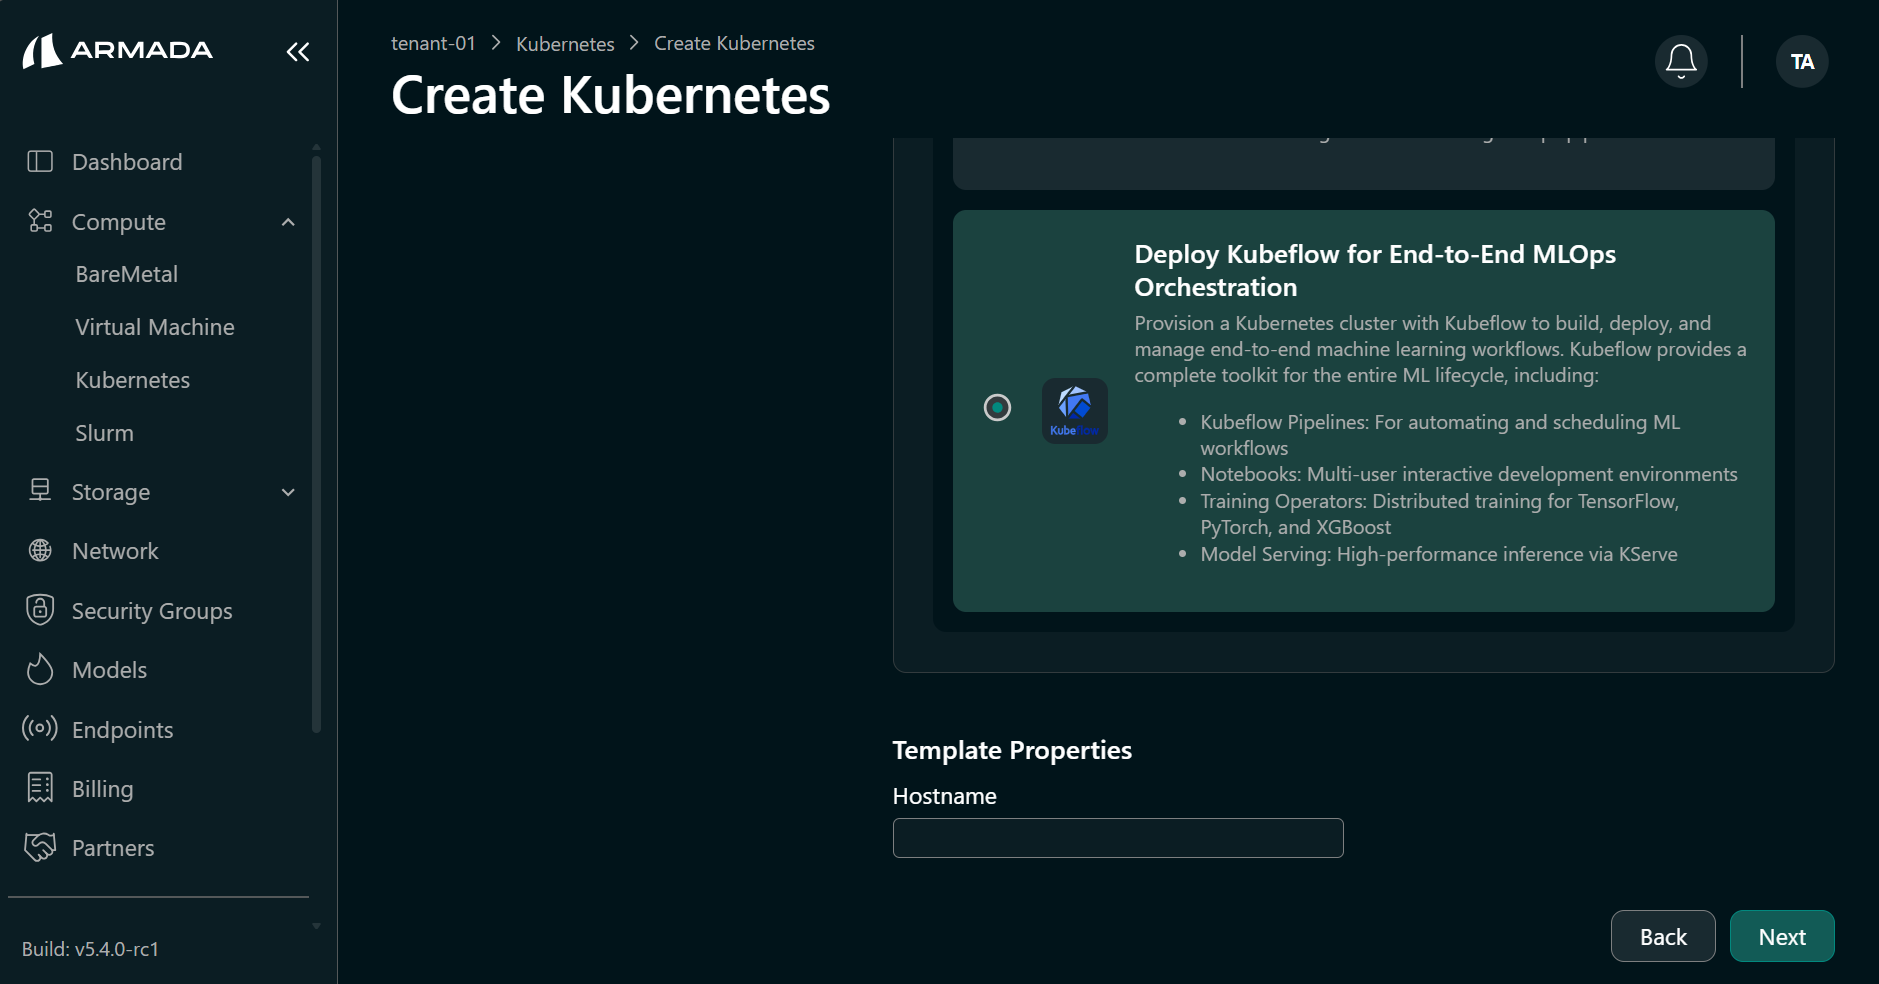
Step 3: Select Cluster Template
- Choose Deploy Kubeflow for End-to-End MLOps Orchestration template.
- Enter the Hostname (for example,
kubeflow.armada.ai) as required by your environment. - Click Next.
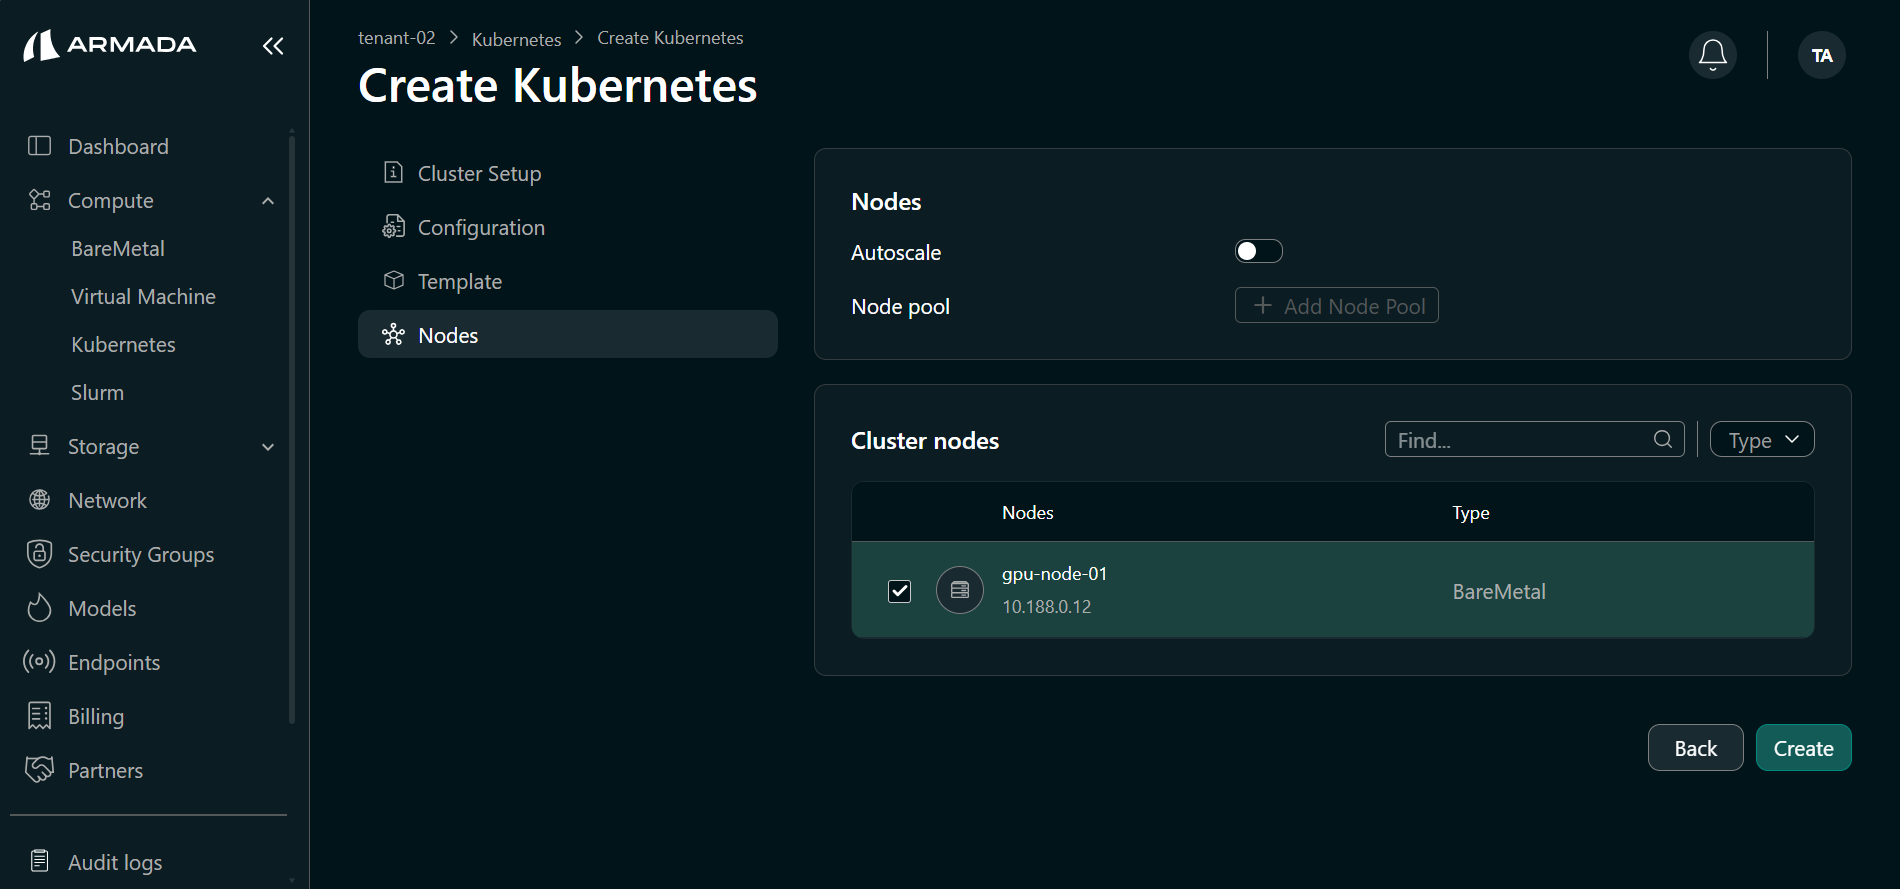
Step 4: Select Nodes and Create
- Select the cluster node(s) (Bare Metal or Virtual Machine).
- Click Create to start cluster creation.
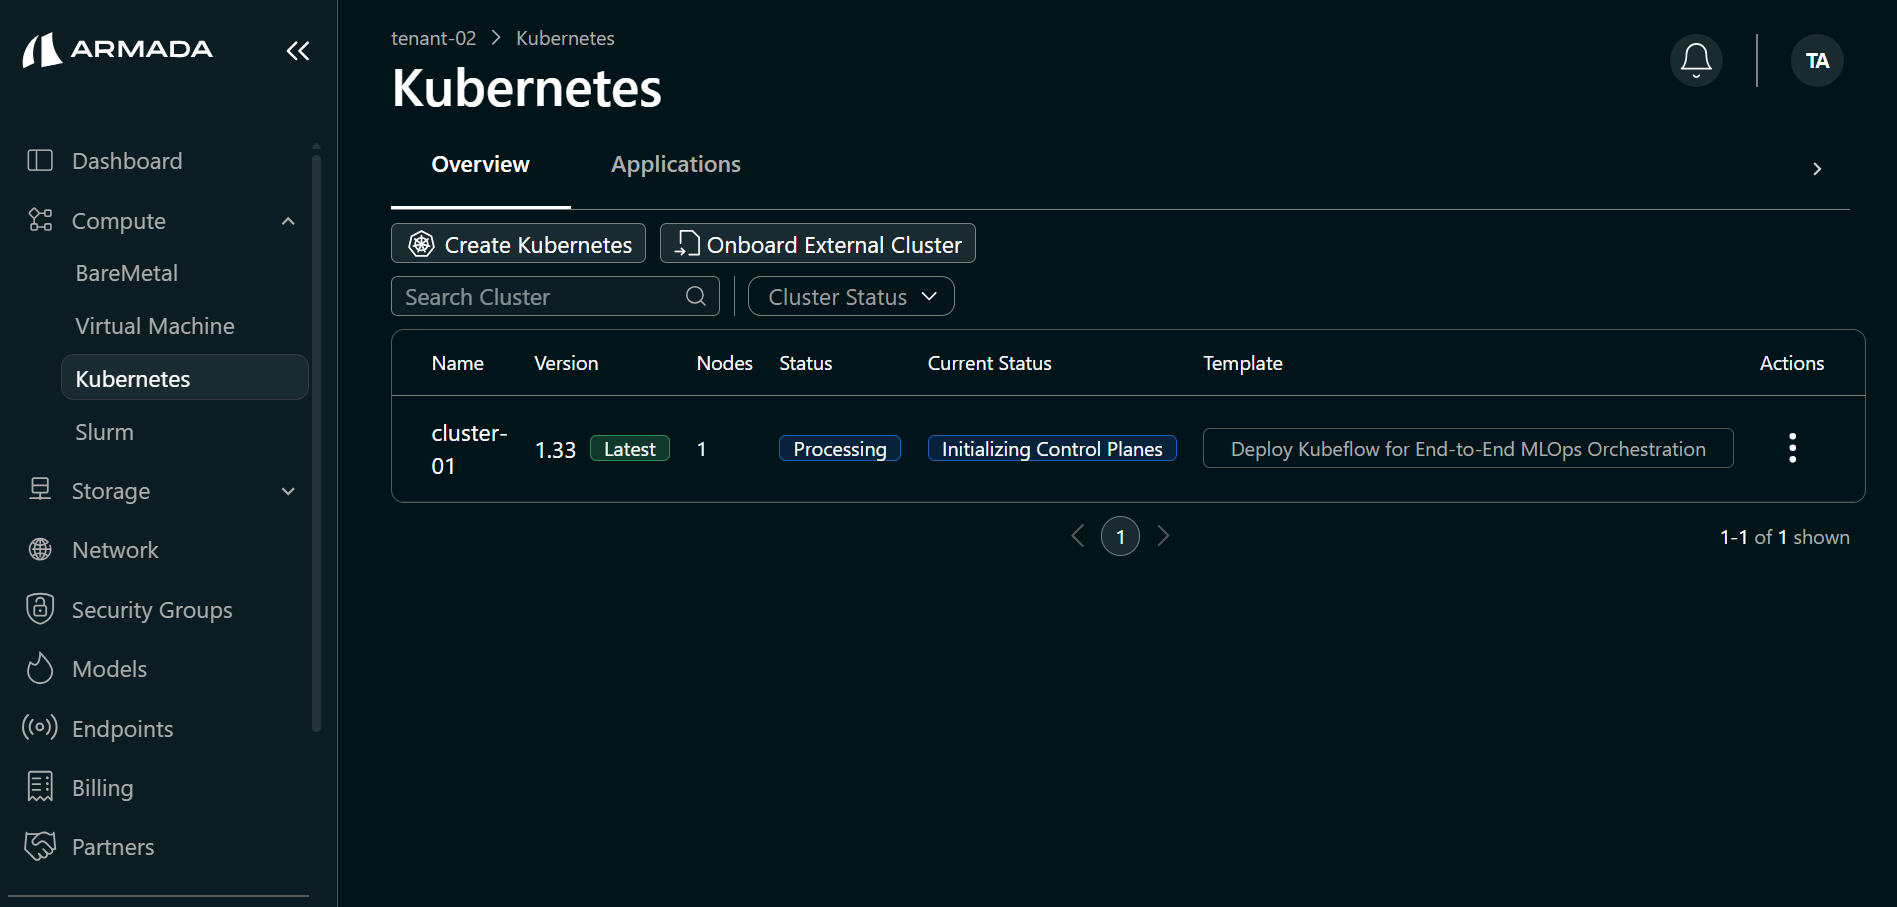
Step 5: Monitor Cluster Creation
Wait until the status is Running.
Cluster creation runs through several states. Wait until the status is Running.
- Initializing Control Planes — Status shows Processing.
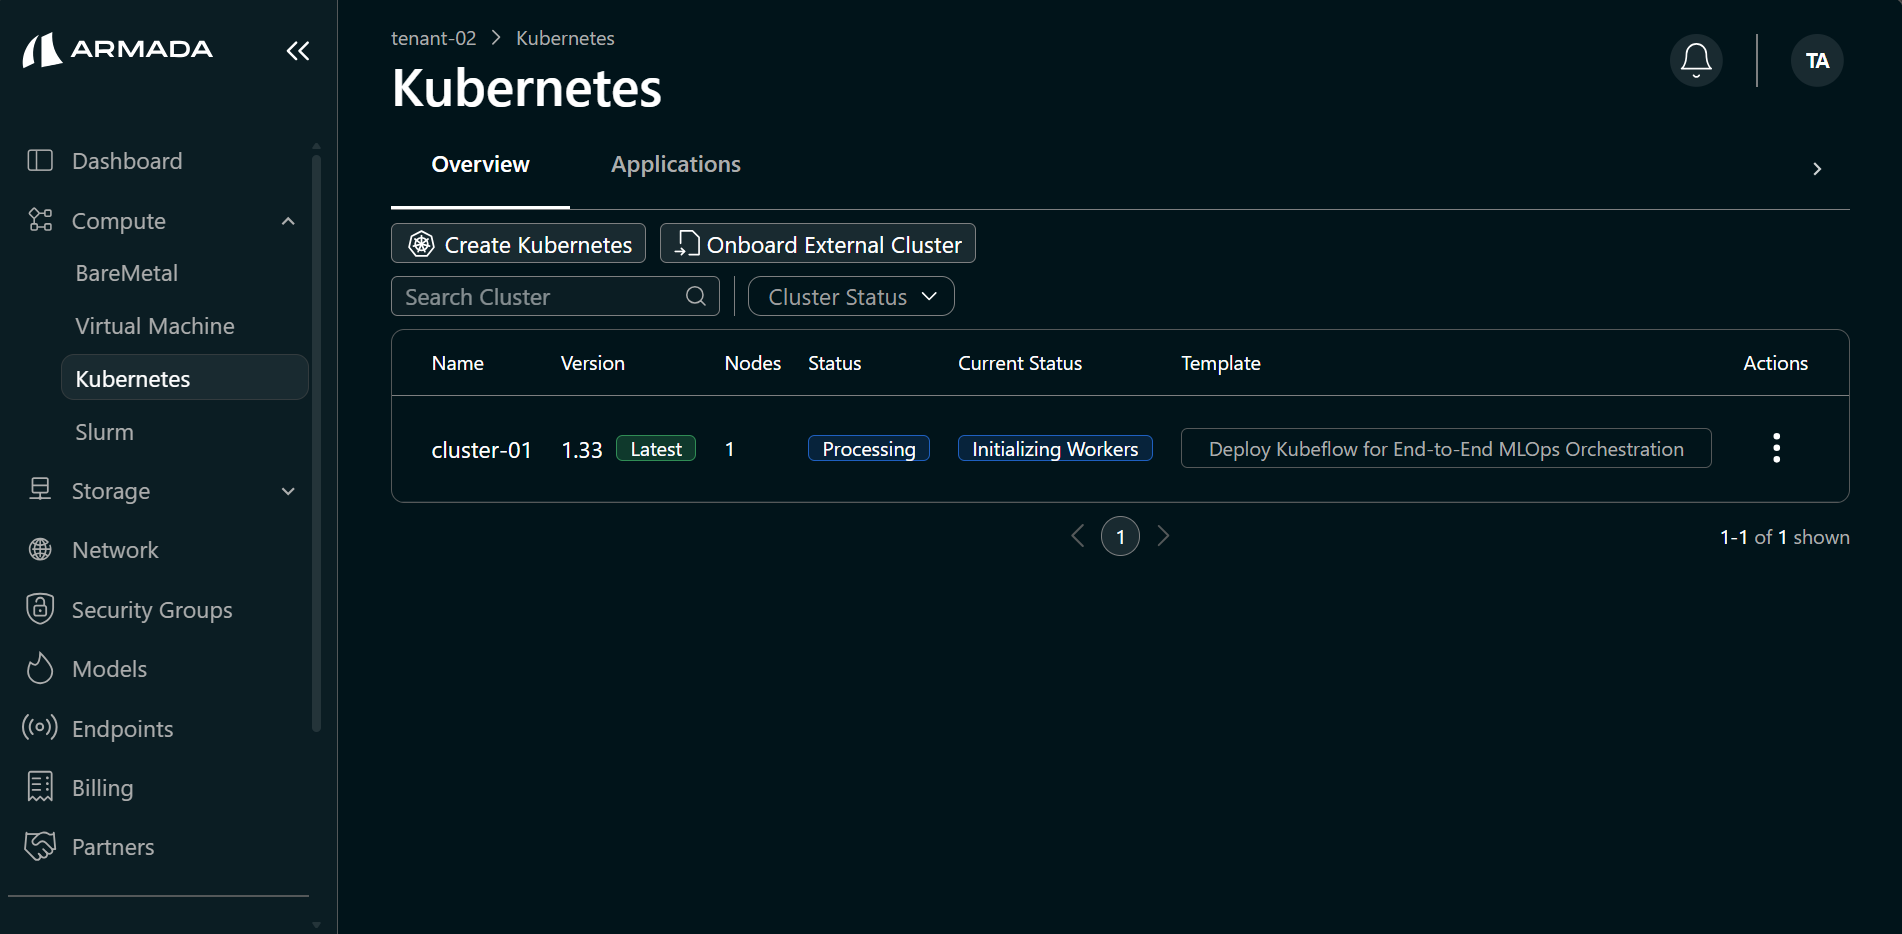
- Initializing Workers — Status remains Processing.
- Deploying Template — Status remains Processing.
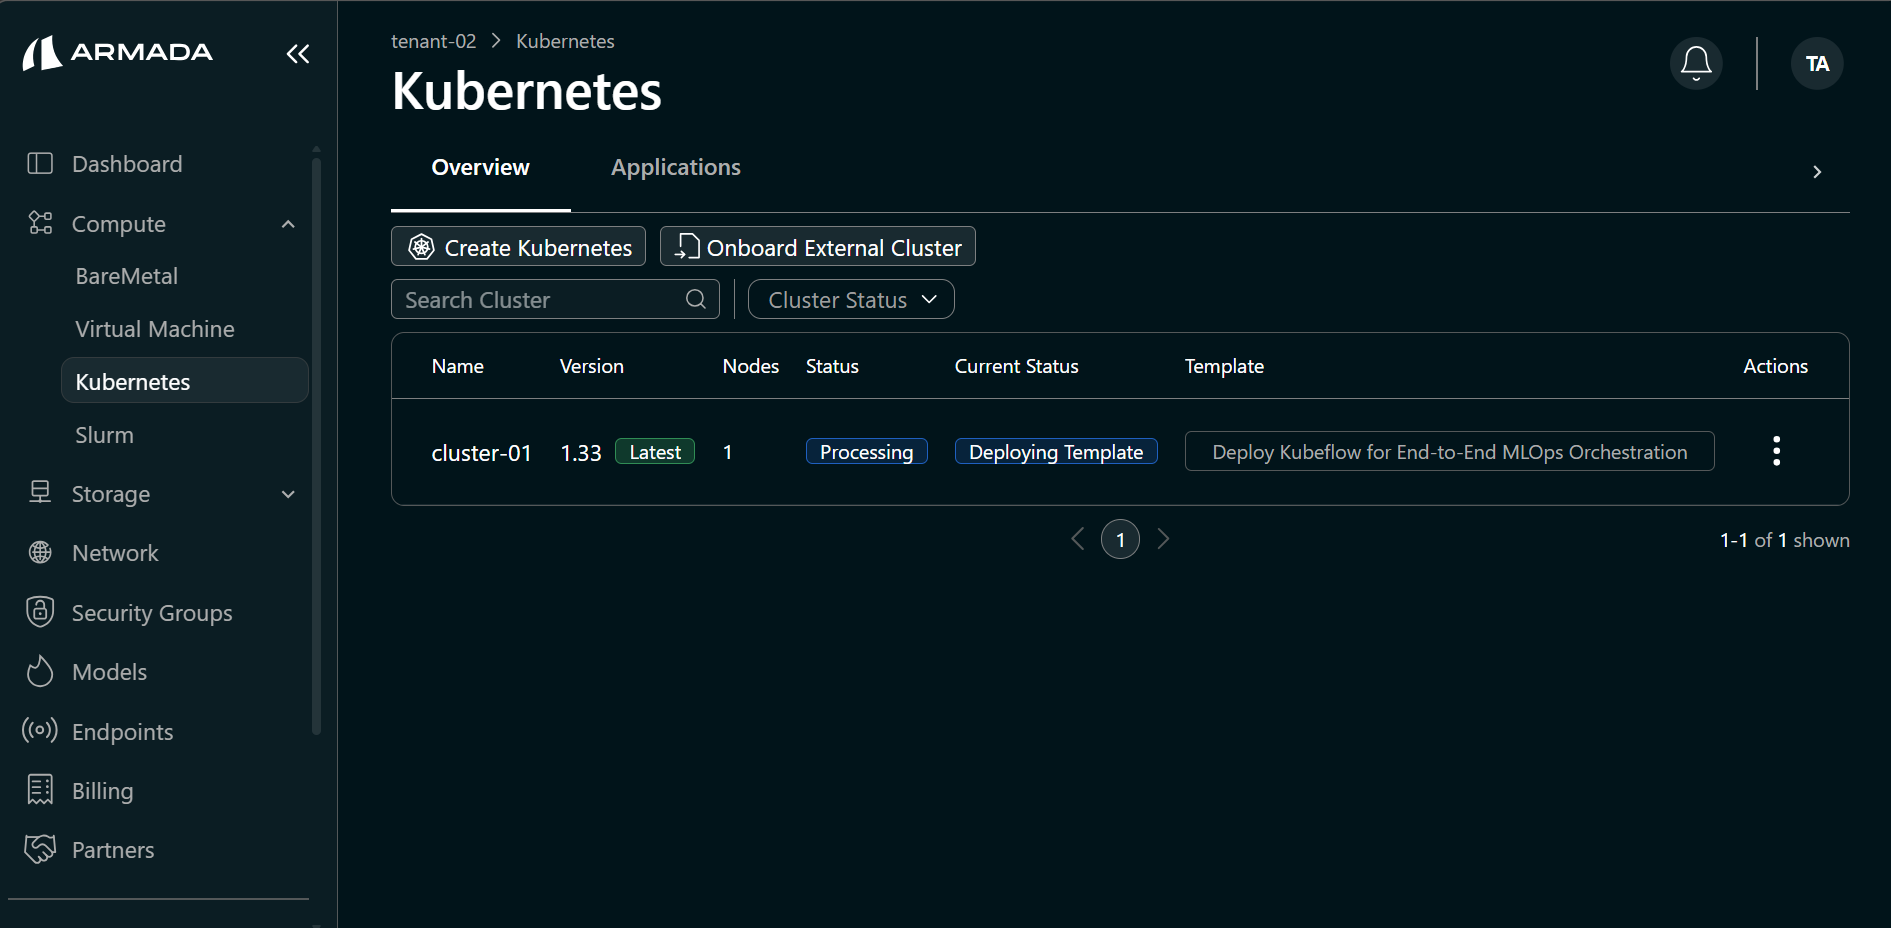
- When creation completes, the Status shows Running.

Post-Deployment Configuration
Step 6: Create Endpoint for the Cluster
Create an endpoint for the Kubeflow cluster. See Create Endpoints for instructions.
Step 7: Map to Hostname
If this domain is not resolvable via your corporate or public DNS, you must manually point your local machine to the cluster Ingress by adding an entry to your /etc/hosts file:
<VM_PUBLIC_IP> kubeflow.armada.ai
Replace <VM_PUBLIC_IP> with the public IP of the node or the LoadBalancer IP provided in the Cluster Overview.
kubectl get pods -n kubeflow
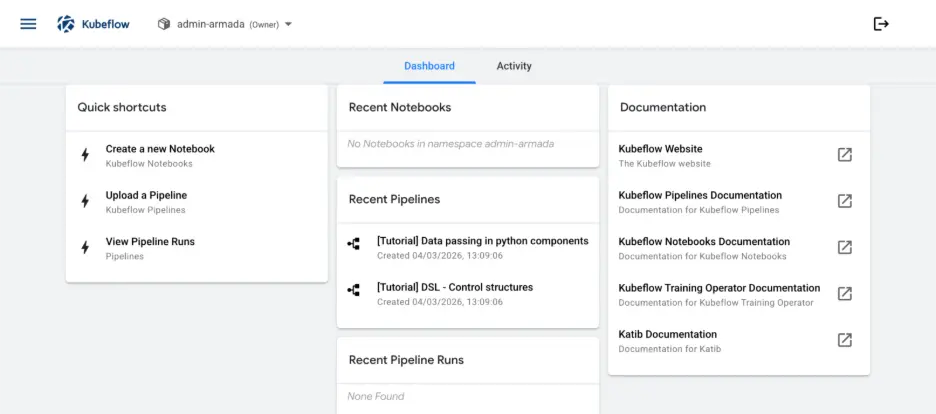
Step 8: Access the Dashboard
- Open your web browser and navigate to https://kubeflow.armada.ai.
- Log in using your tenant credentials (Dex/OIDC). Contact administrator for login credentials.
- Upon successful authentication, you will be redirected to the Kubeflow Central Dashboard.

To Learn more about how to use kubeflow for MLOps refer official Kubeflow documentation at :
https://www.kubeflow.org/docs/
Next Steps
- Create Endpoints — Configure endpoints to expose services on your cluster via a hostname with TLS.
- Cluster Scaling — Scale worker nodes up or down to match workload demands without recreating the cluster.