Ray-Enabled Cluster Template
Overview
The Ray-enabled template provisions a Kubernetes cluster with KubeRay for running Ray workloads (e.g., distributed computing, model serving, data processing). Use this template when you need a cluster for Ray-based applications or for deploying models that use Ray.
Accessing the cluster
Bridge provides two ways to work with your cluster after it is created:
-
Download kubeconfig — You can download the cluster kubeconfig file from the cluster menu. Use this file to access the cluster from your local machine or external tools (e.g.,
kubectl, IDEs, or CI/CD pipelines) by settingKUBECONFIGor merging the file into your default kubeconfig. -
Kubectl Terminal — The Kubectl Terminal feature in Bridge lets you interact directly with the Kubernetes cluster from Bridge UI. You do not need to log in to the cluster separately from an external terminal. With this feature you can:
- Run kubectl commands directly from the UI
- Manage and monitor cluster resources without switching to a separate command-line environment
- Perform cluster operations from Bridge UI and save time
This guide covers:
- Configuring cluster name, version, and CNI
- Selecting the Ray-enabled (KubeRay) template and cluster nodes
- Monitoring creation until the cluster is Running
- Downloading kubeconfig, viewing nodes and GPUs, and using the Kubectl Terminal
Prerequisites
- Tenant Admin access — Log in as a Tenant Admin to create clusters.
- Compute resources — Bare Metal or Virtual Machine resources allocated to your tenant.
Create a Ray-Enabled Cluster
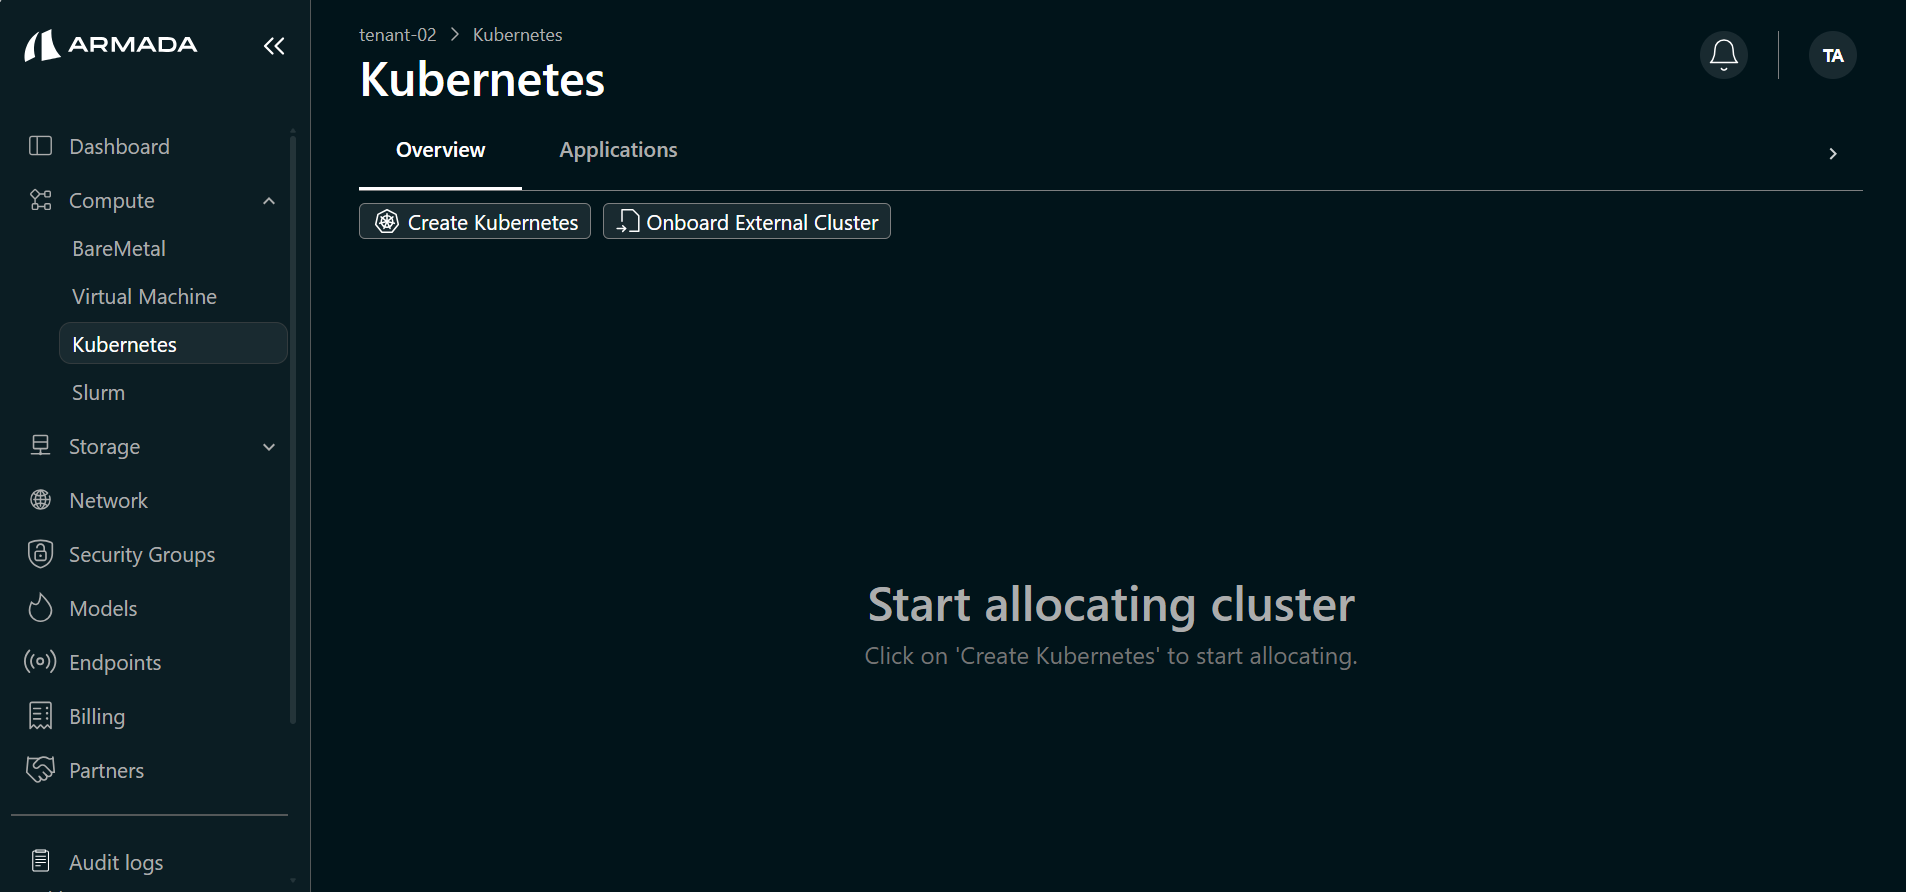
Step 1: Start Cluster Creation
- Log in to Bridge as a Tenant Admin.
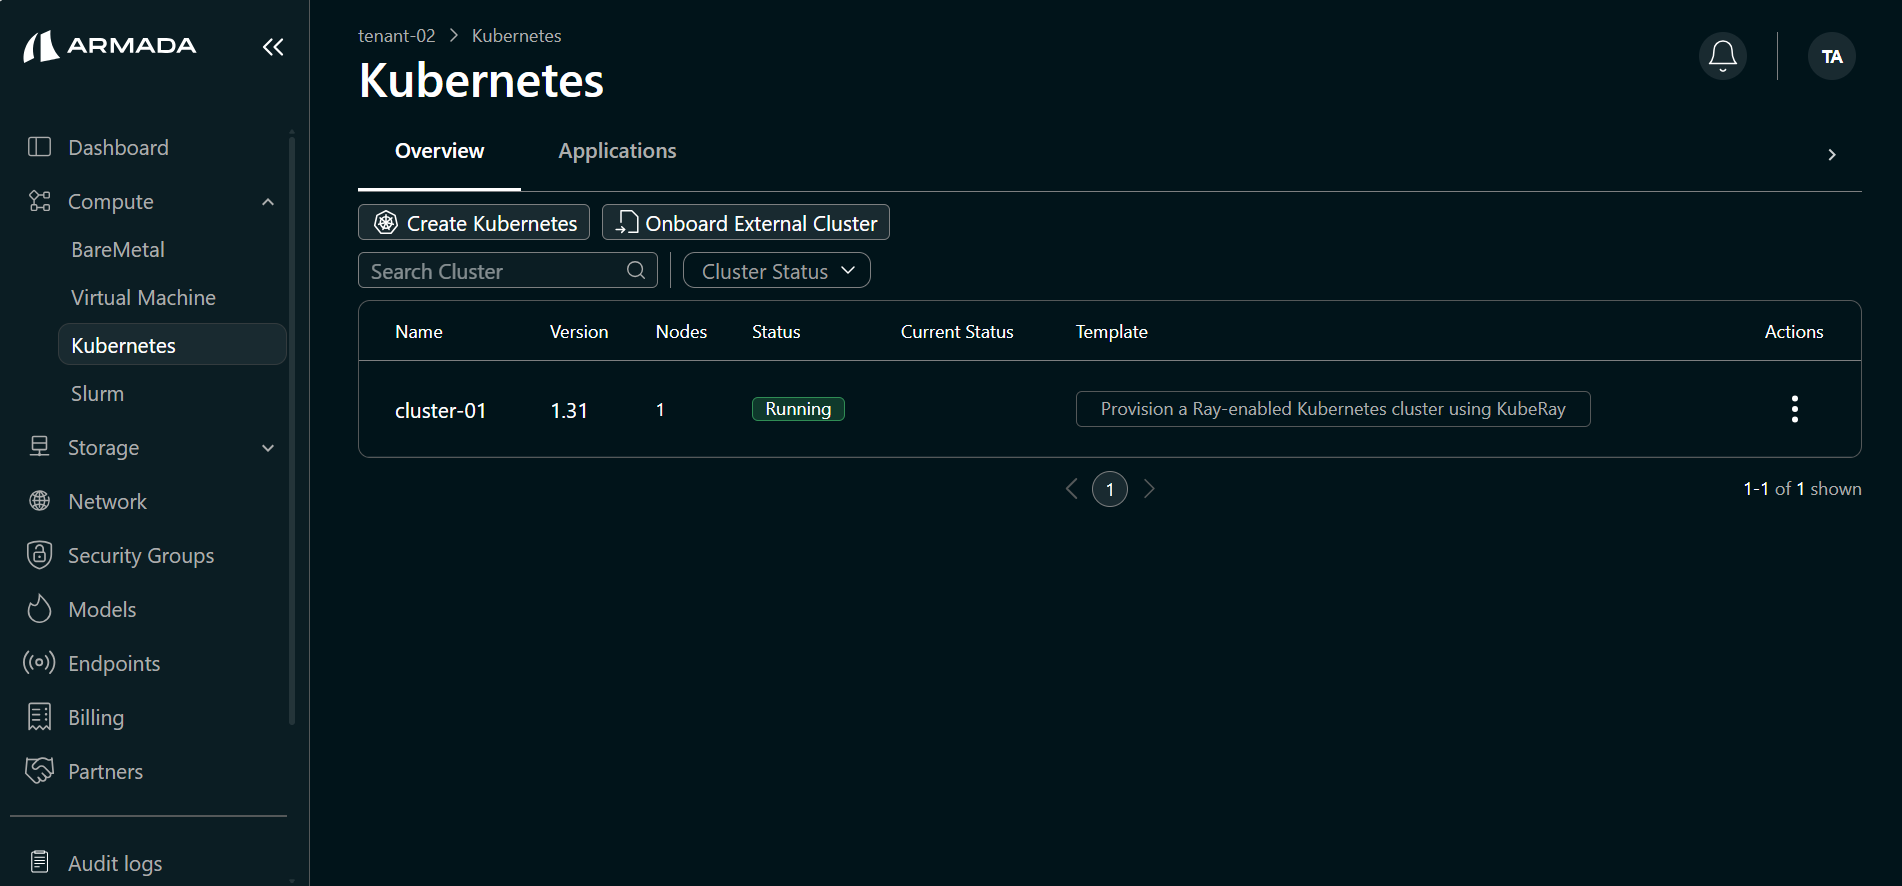
- In the left sidebar, open Compute → Kubernetes.
- Click Create Kubernetes.
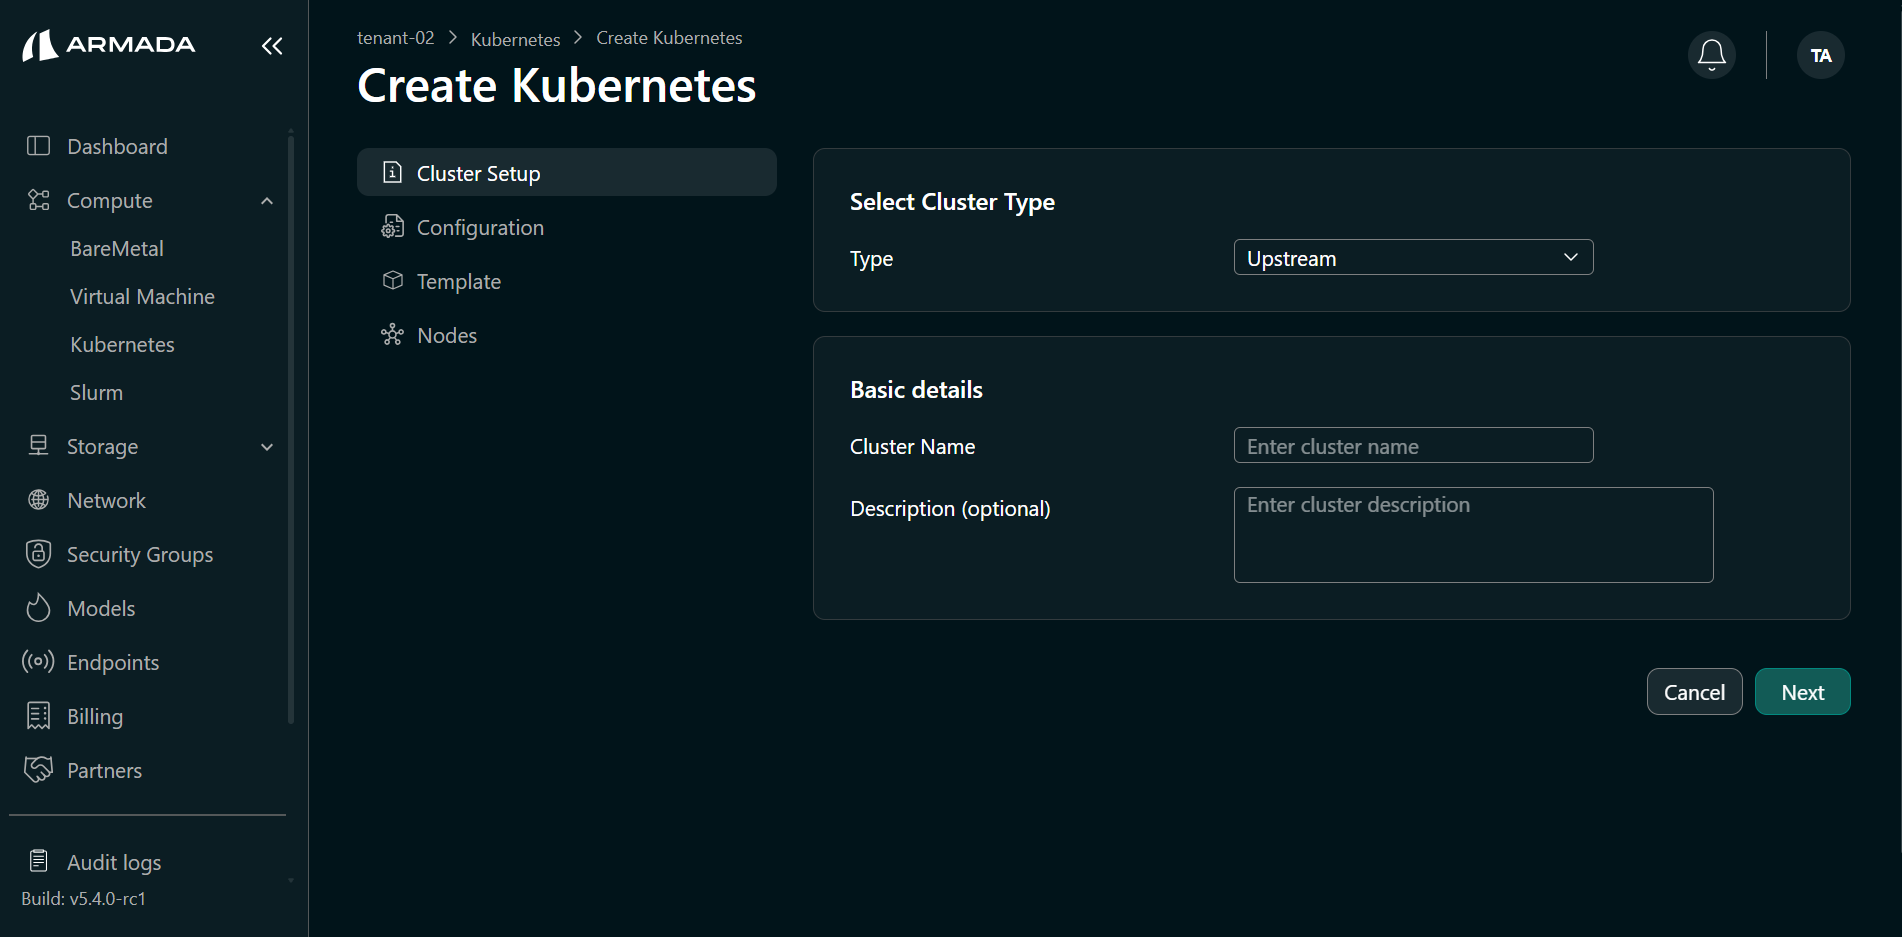
Step 2: Configure Cluster Details
- Select the cluster Type as Upstream.
- Enter a name and description for the cluster, then click Next.
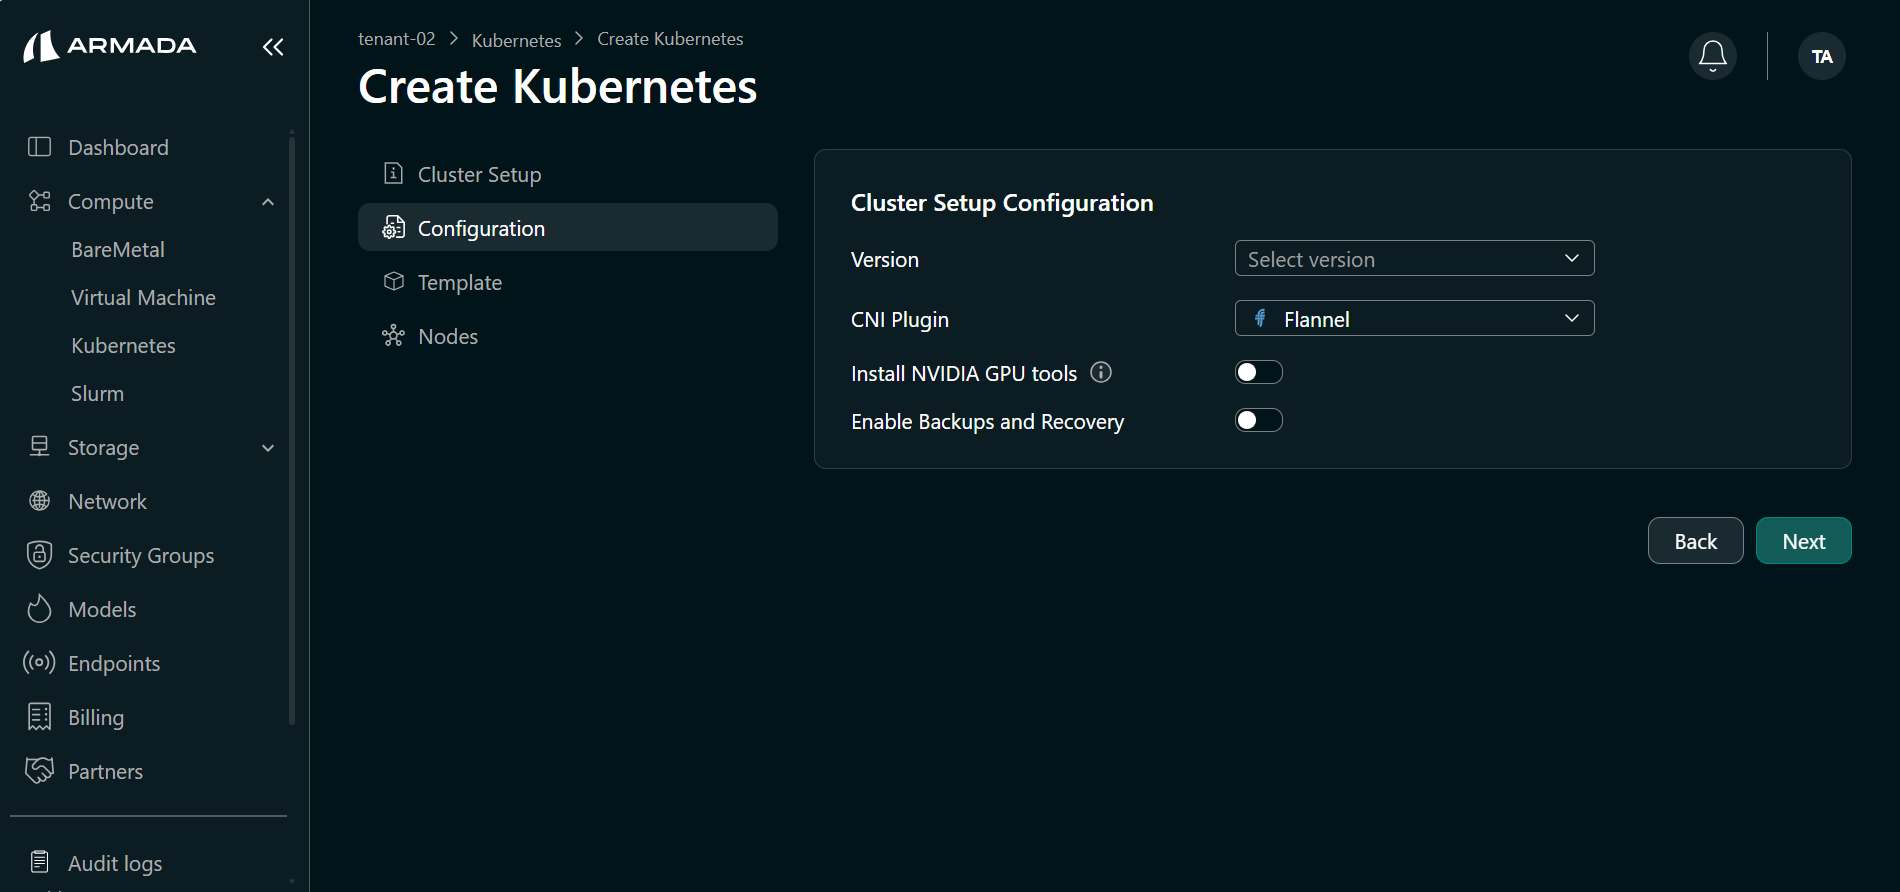
- Select the Kubernetes version.
- Select the CNI plugin. Bridge supports Flannel and Cilium.
- (Optional) Enable Install NVIDIA GPU tools if you want GPU tooling on the cluster.
- Click Next.
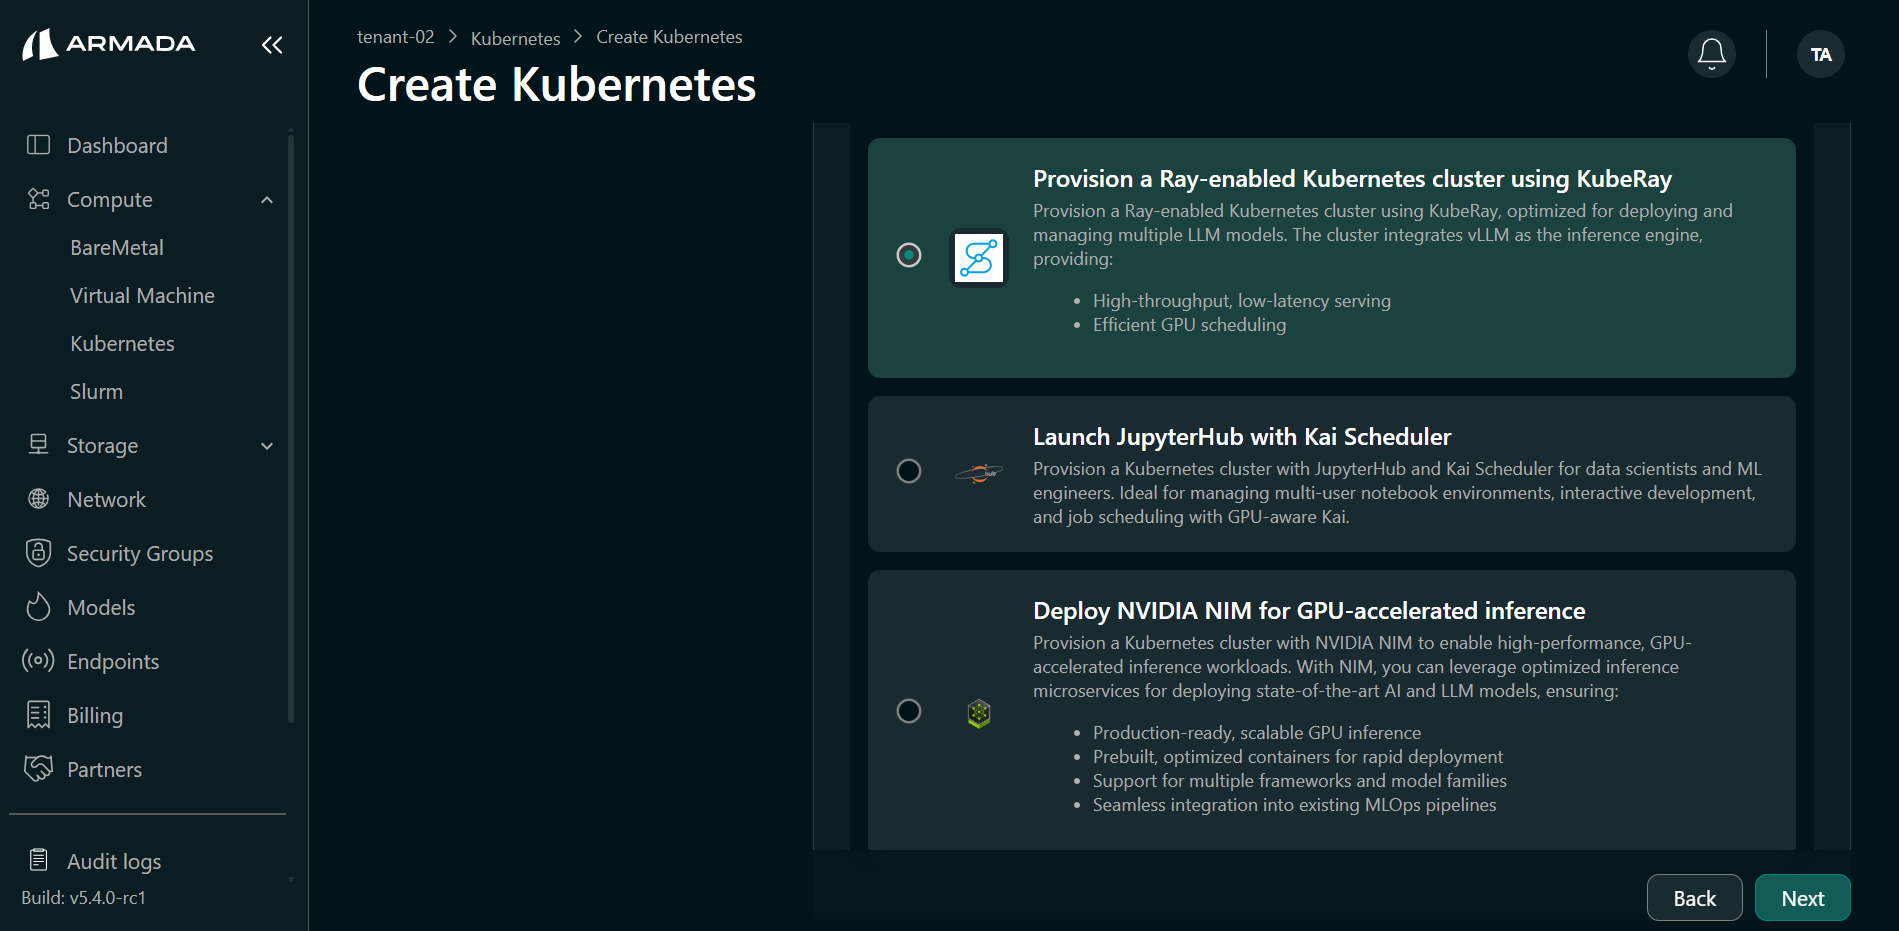
Step 3: Select Cluster Template
- Choose Provision a Ray-enabled Kubernetes cluster using KubeRay template.
- Click Next.
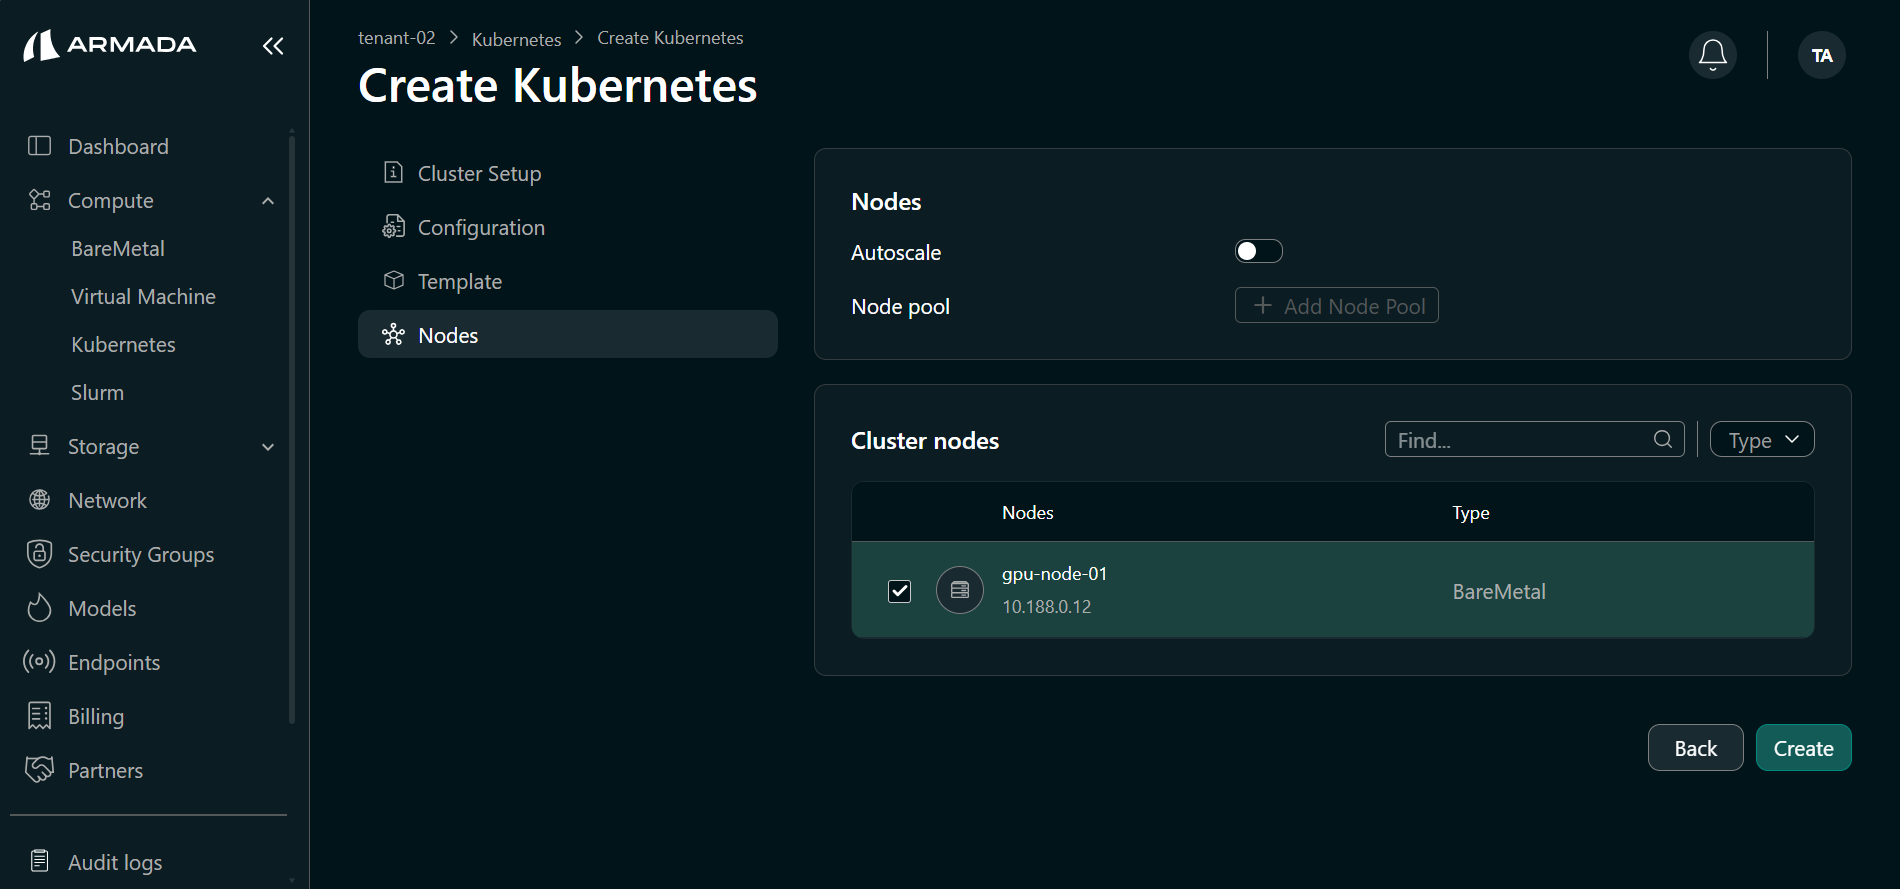
Step 4: Select Nodes and Create
- Select the cluster node(s) (Bare Metal or Virtual Machine).
- Click Create to start cluster creation.
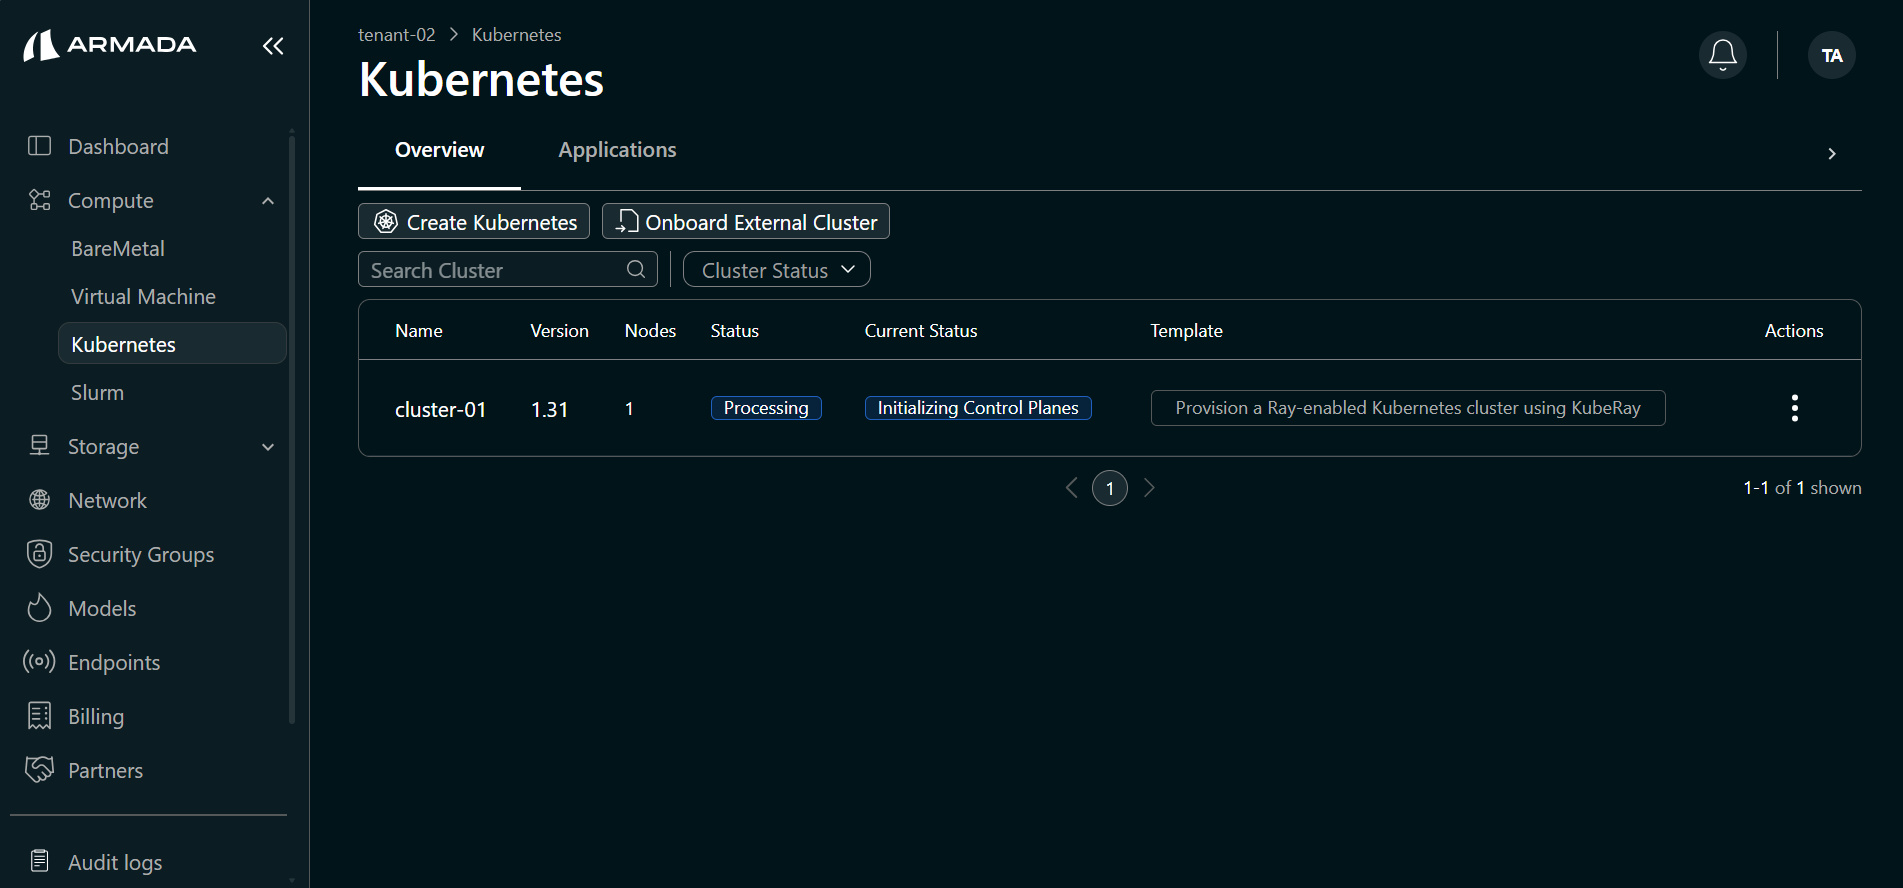
Step 5: Monitor Cluster Creation
Cluster creation runs through several states. Wait until the status is Running.
- Initializing Control Planes — Status shows Processing.
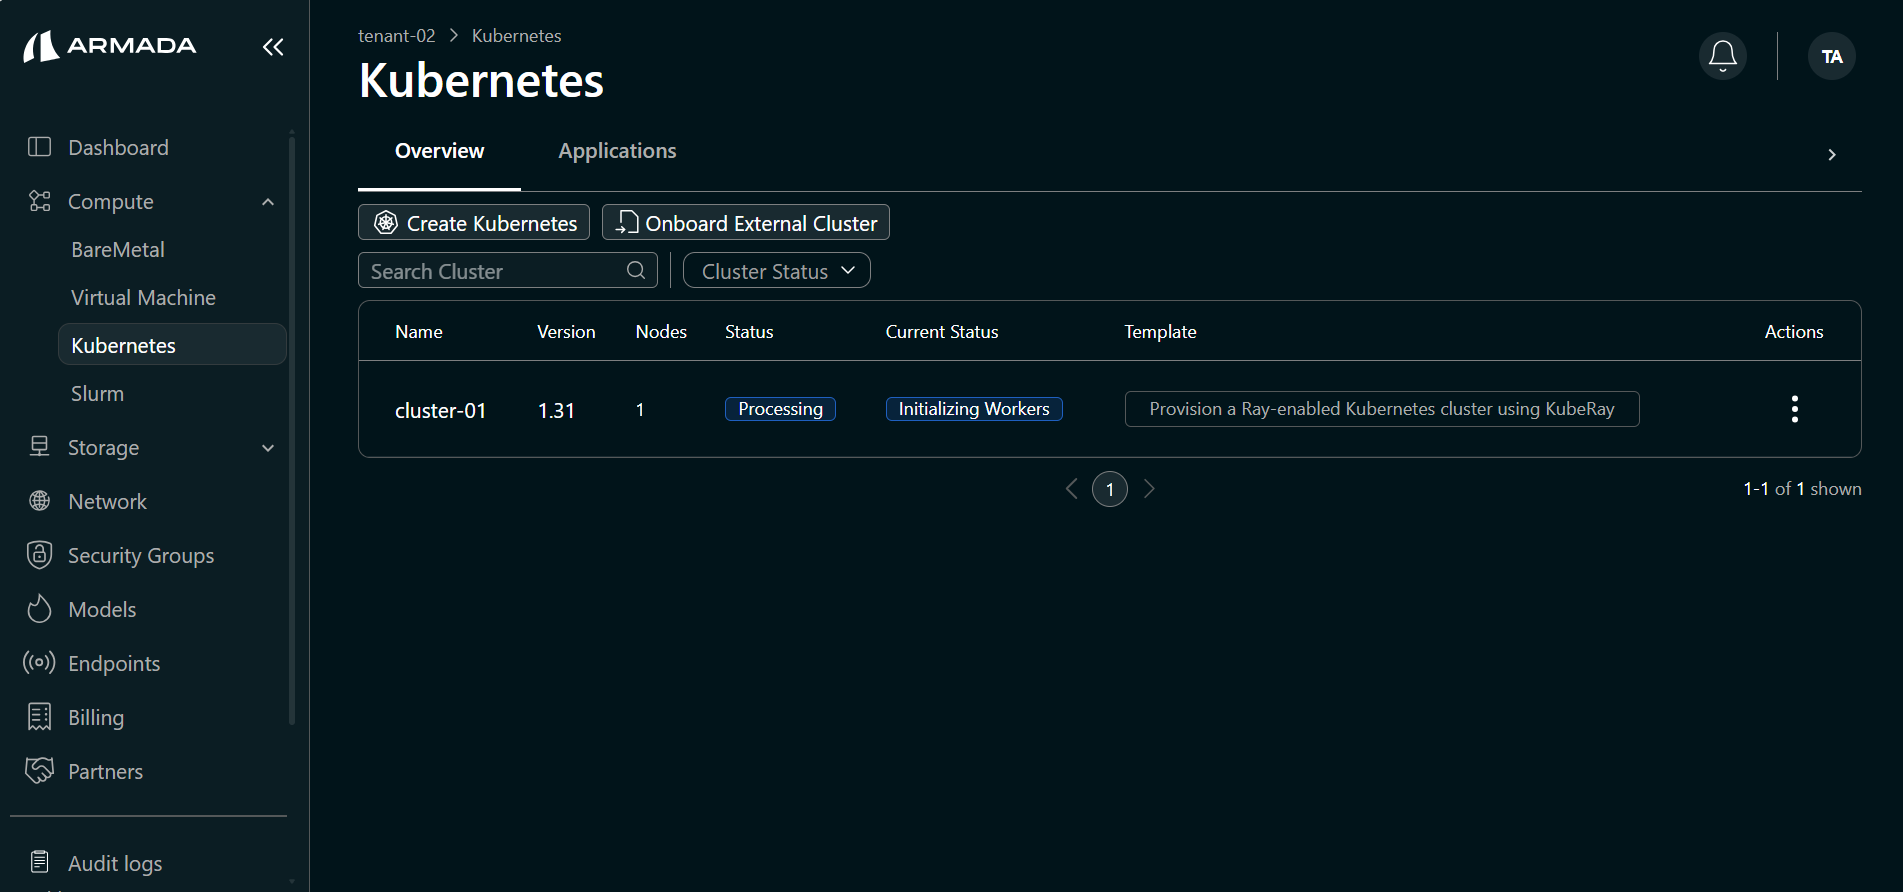
- Initializing Workers — Status remains Processing.
- Deploying Template — Status remains Processing.
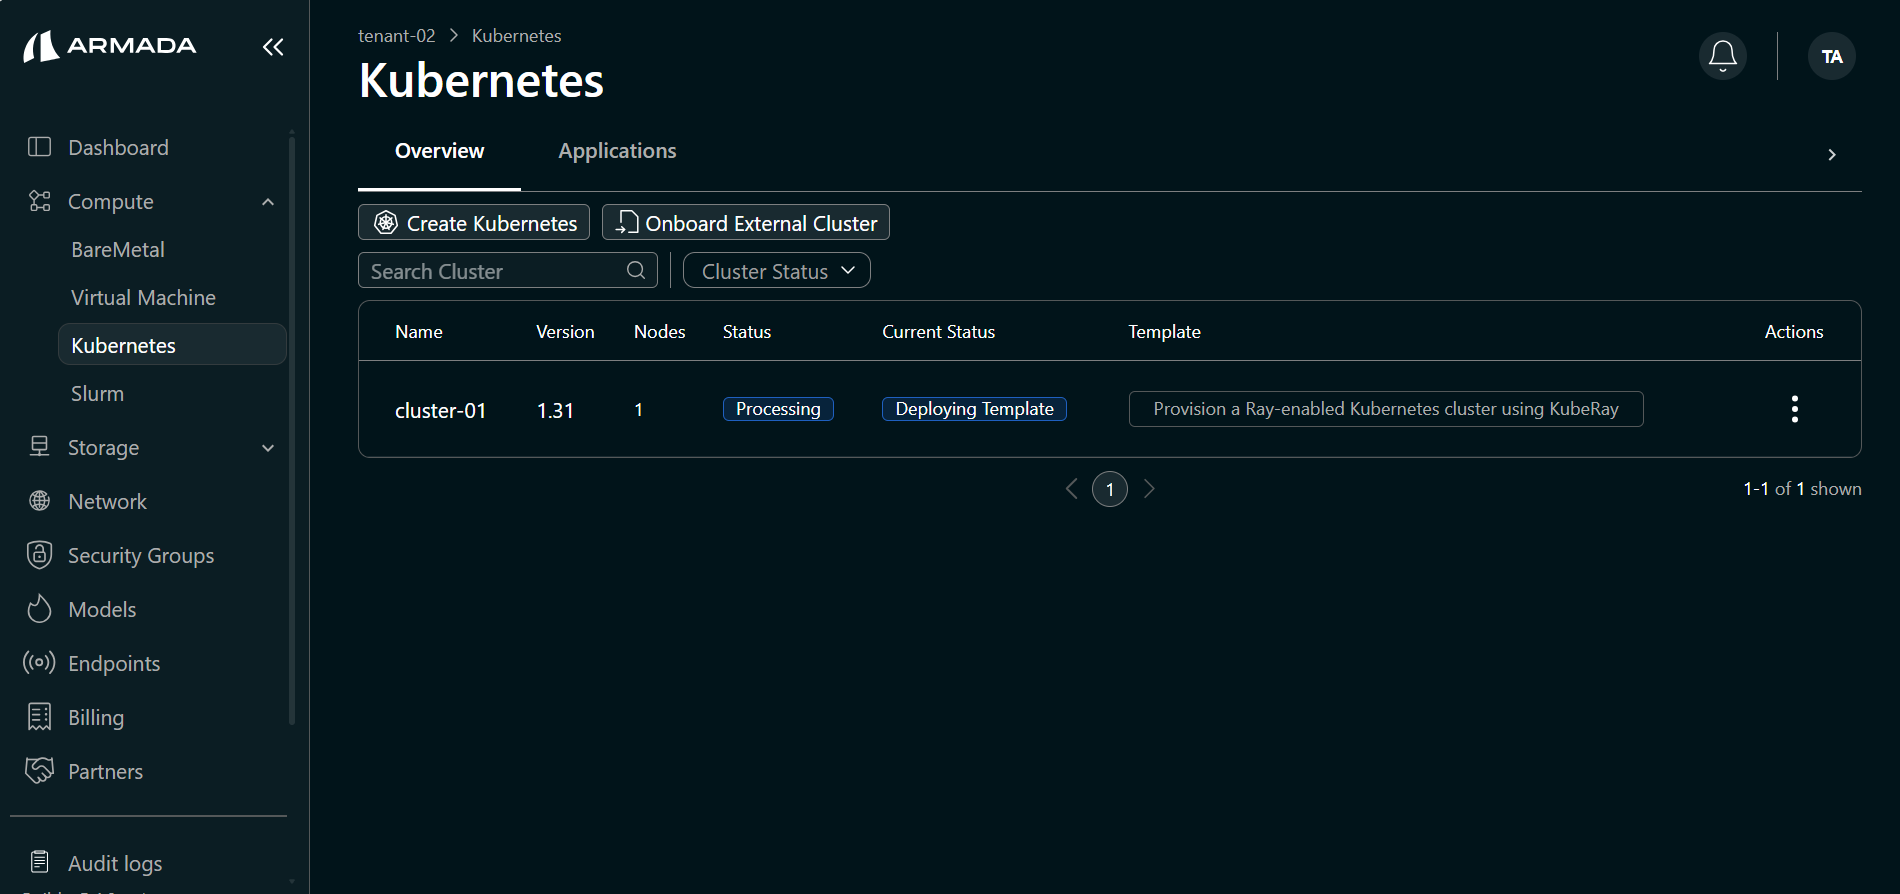
- When creation completes, the Status shows Running.
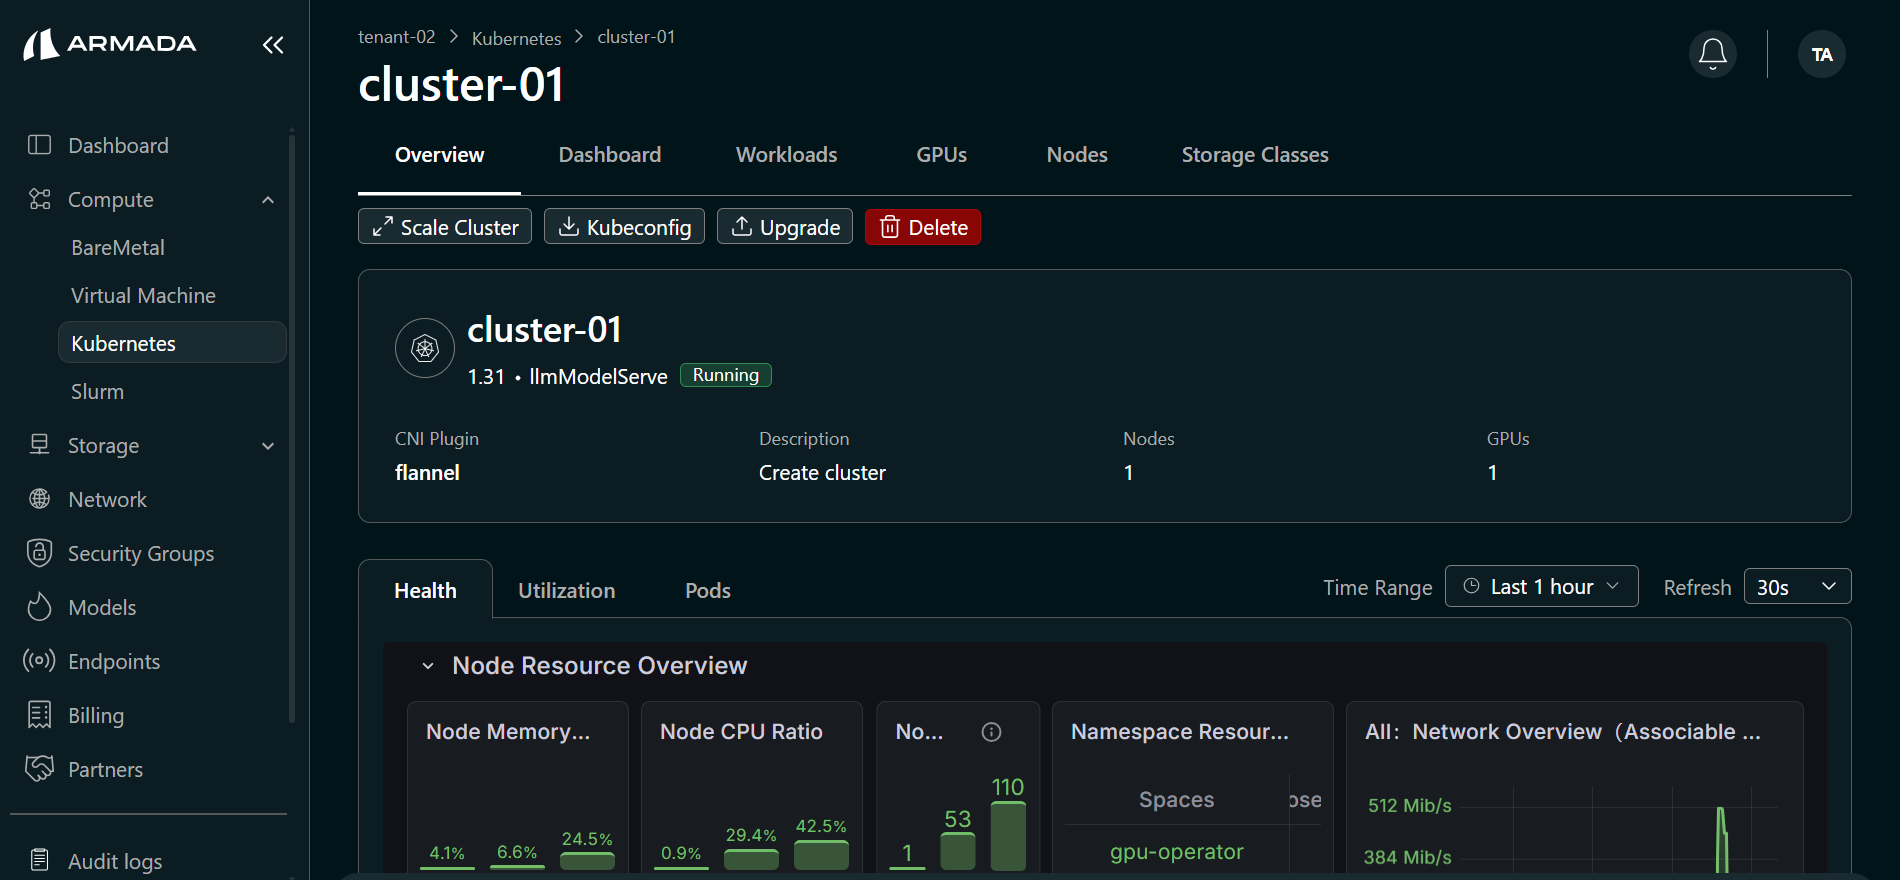
Step 6: View Cluster Details and Access Tools
Click the cluster name to open the cluster detail view.
- Overview — Cluster information, and options to scale the cluster, download kubeconfig, access the dashboard, and delete the cluster.
- Kubectl Terminal — Click the Kubectl Terminal (arrow) icon to run kubectl commands and check pod status from the UI.
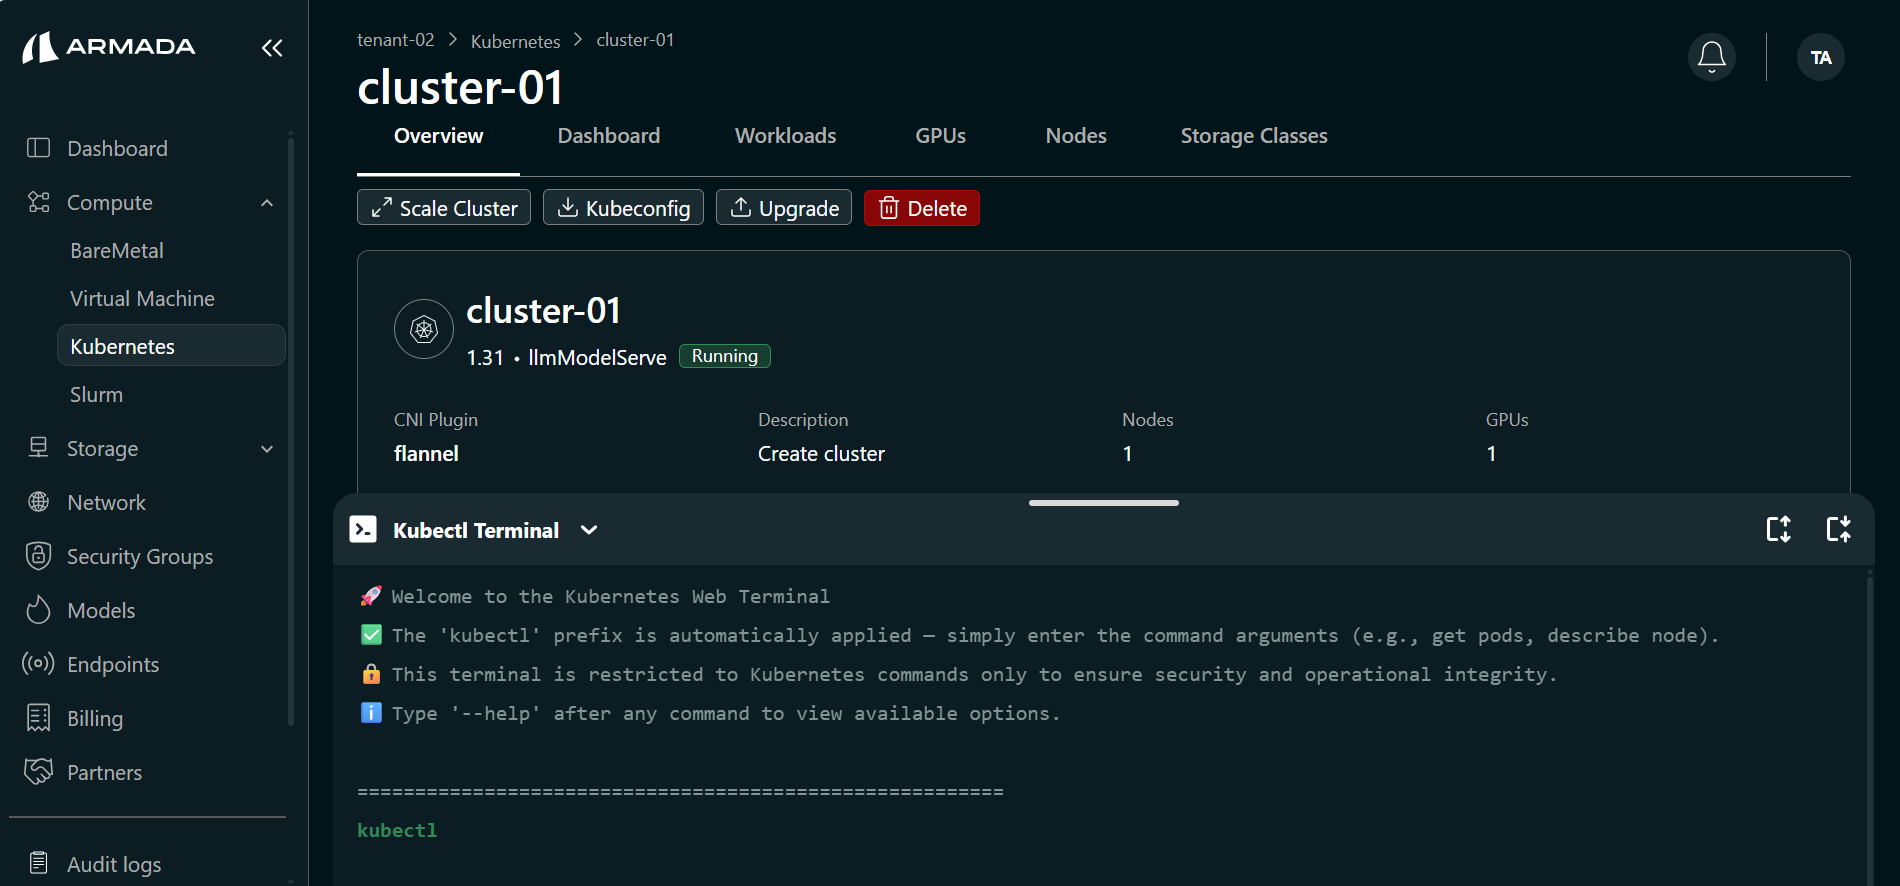
Ensure all pods are in Running state before using the cluster for workloads. In the Kubectl Terminal, run the following to check pod status across all namespaces:
kubectl get pods -A
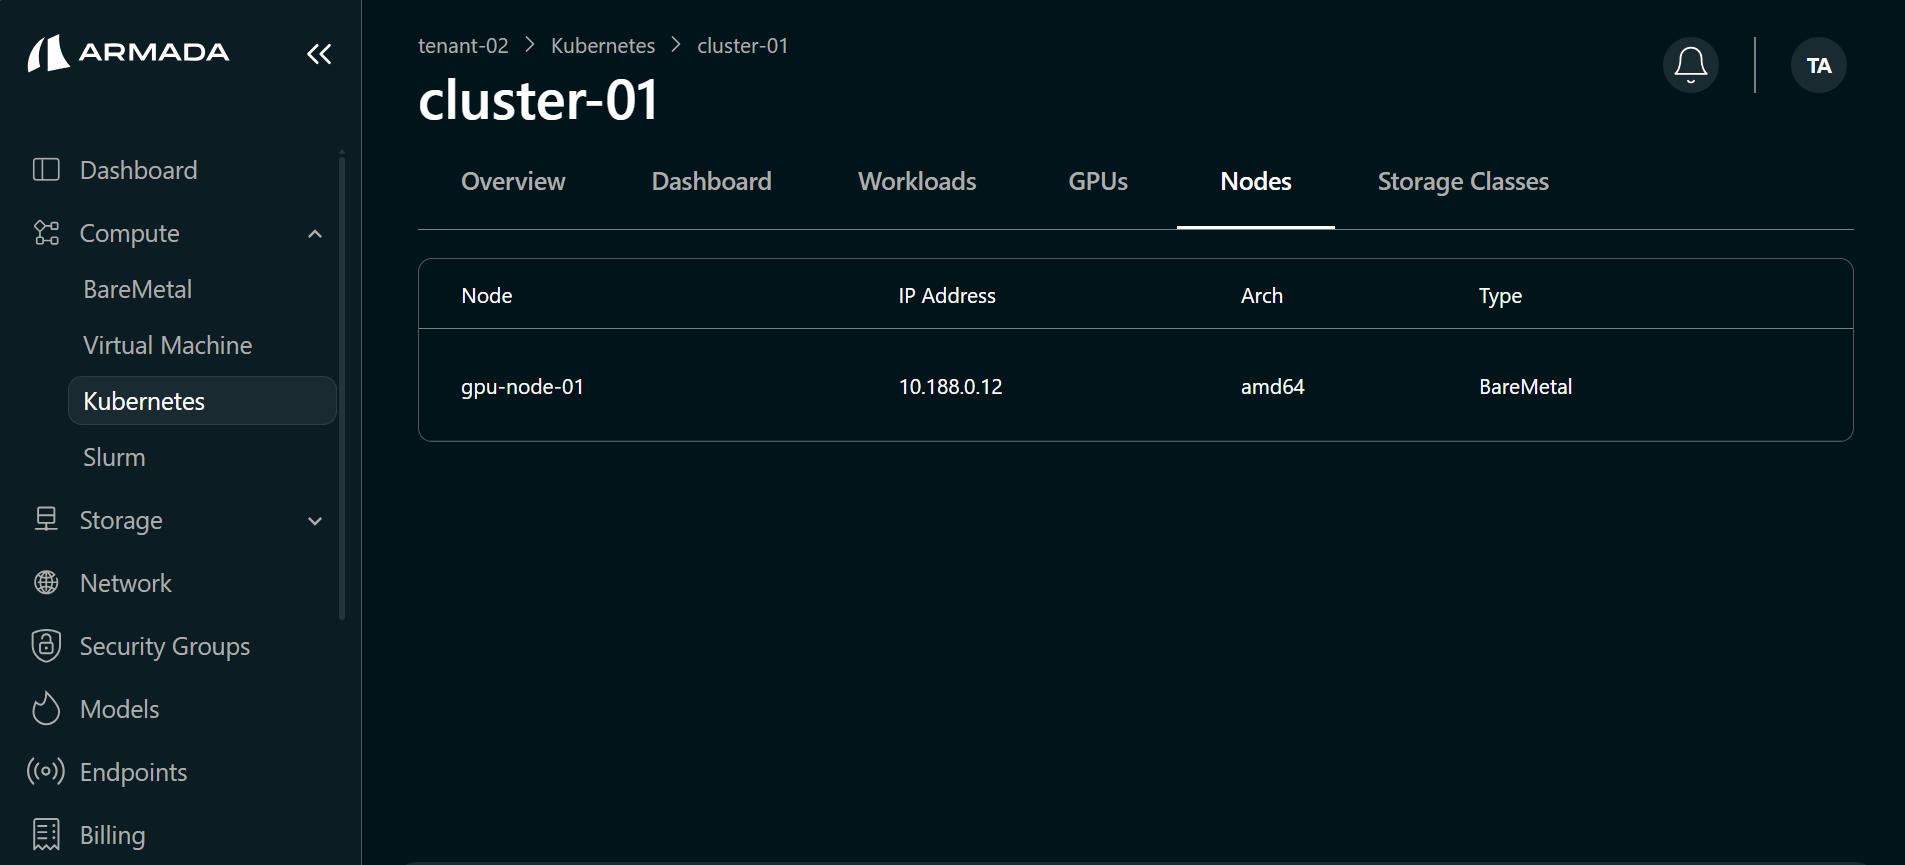
- Nodes — Details of the nodes allocated to the cluster.
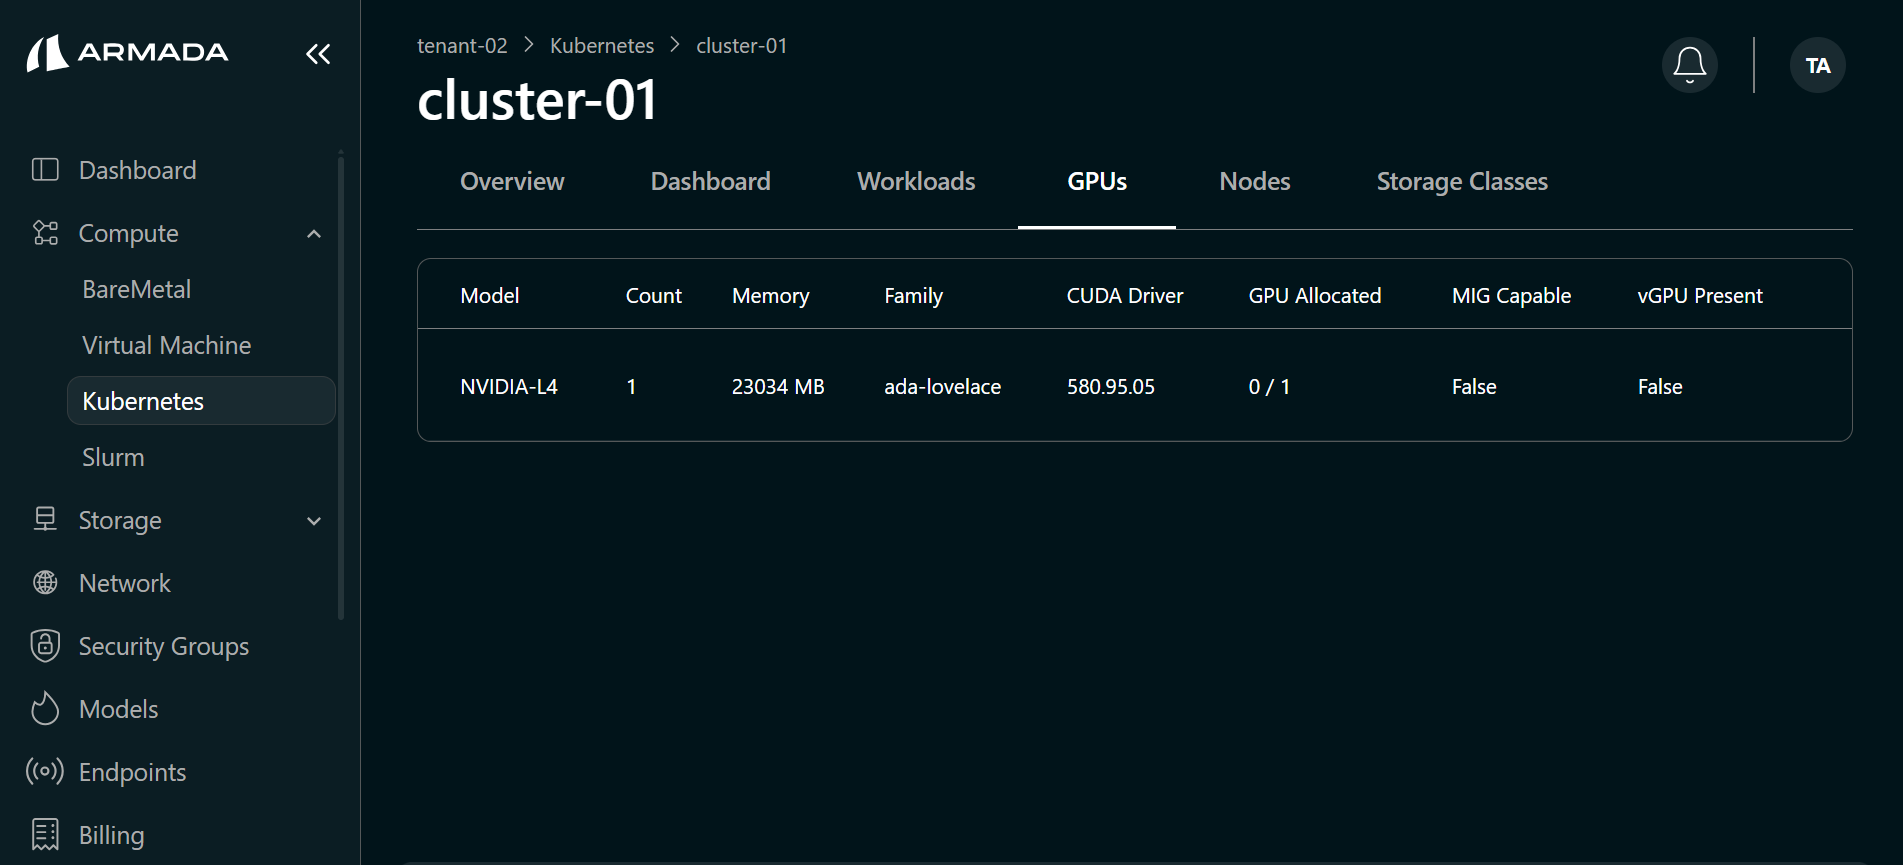
- GPUs — Click the GPUs tab to view GPU details for the cluster.
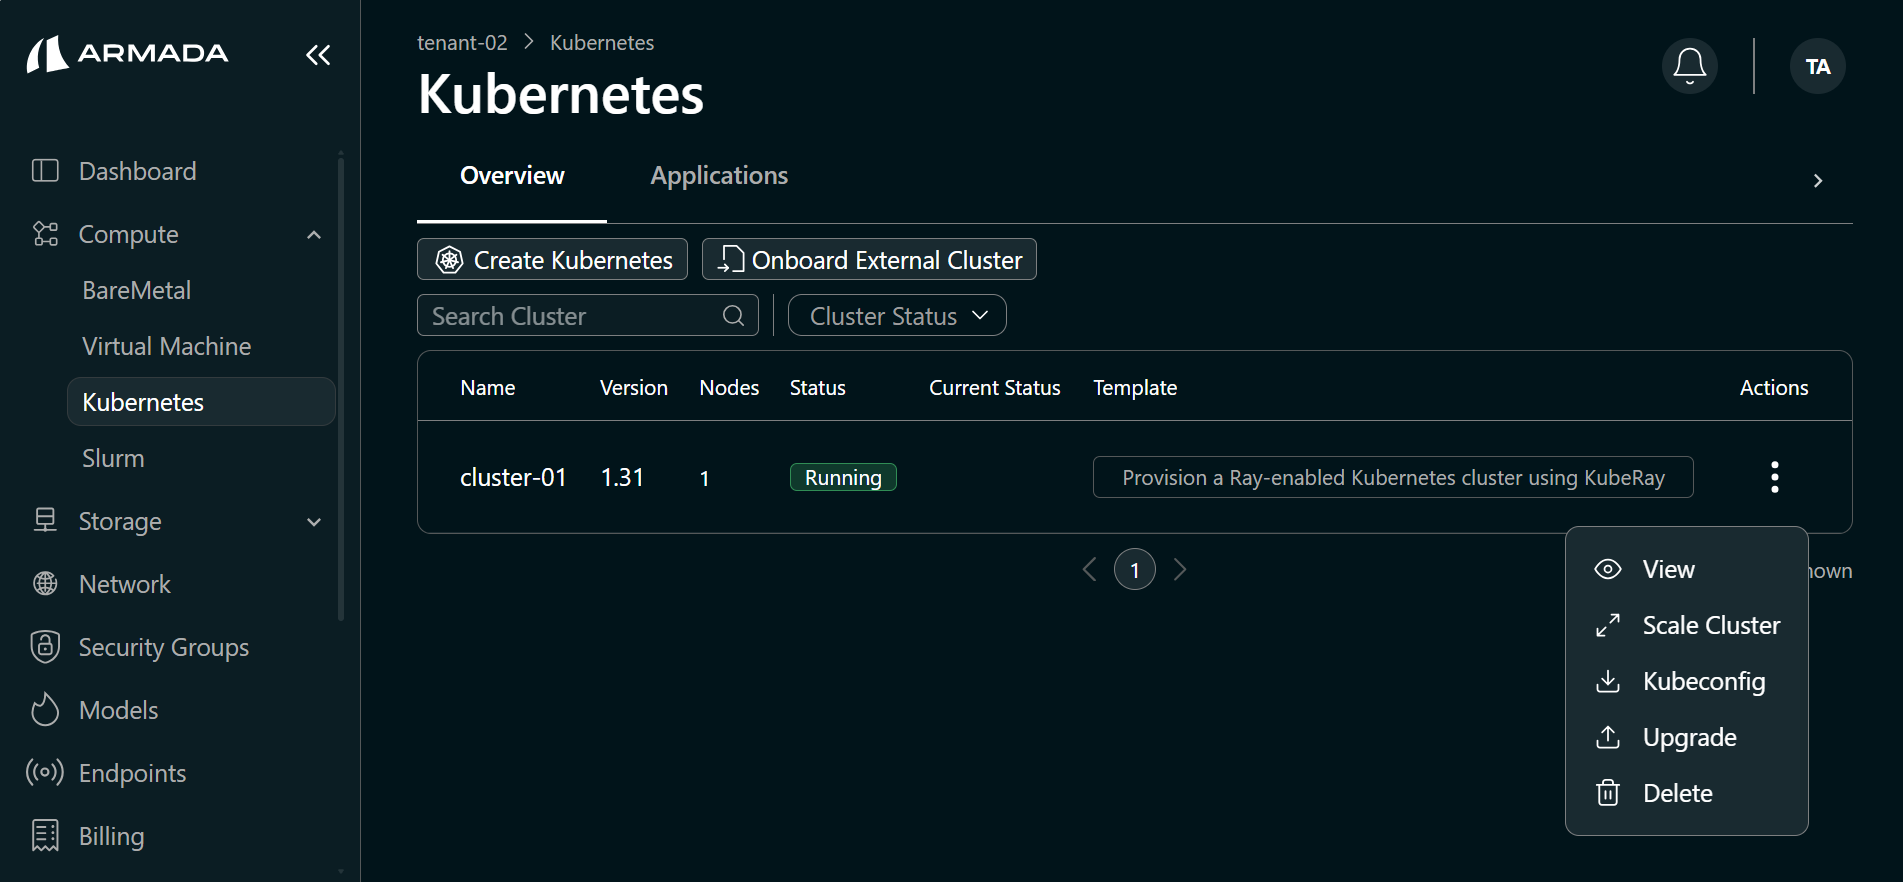
Step 7: Download Kubeconfig
- Click the menu (ellipsis) icon for the cluster.
- Select Kubeconfig to download the cluster kubeconfig file.
Next Steps
- Deploy Hugging Face Model — Deploy open-source models from Hugging Face Hub.
- Deploy NIM Model — Deploy GPU-optimized NVIDIA NIM inference containers.
- Deploy Azure ML Model — Deploy models from your Azure ML model registry.
- Application Deployment — Define and deploy custom applications on your Kubernetes cluster.
- Kubernetes Upgrade — Upgrade your Kubernetes cluster to a newer version.
- Cluster Scaling — Scale worker nodes up or down to match workload demands.